2008 CHEVROLET CORVETTE battery
[x] Cancel search: batteryPage 137 of 432
Instrument Panel Overview...............................3-4
Hazard Warning Flashers................................3-6
Other Warning Devices...................................3-7
Horn .............................................................3-7
Tilt Wheel.....................................................3-7
Turn Signal/Multifunction Lever.........................3-8
Turn and Lane-Change Signals (Auto Signal).....3-9
Headlamp High/Low-Beam Changer..................3-9
Flash-to-Pass...............................................3-10
Windshield Wipers........................................3-10
Windshield Washer.......................................3-11
Cruise Control..............................................3-11
Exterior Lamps.............................................3-15
Wiper Activated Headlamps............................3-16
Headlamps on Reminder................................3-16
Daytime Running Lamps (DRL).......................3-16
Fog Lamps ..................................................3-17
Twilight Sentinel
®..........................................3-18
Exterior Lighting Battery Saver........................3-19
Instrument Panel Brightness...........................3-19
Courtesy Lamps...........................................3-19
Entry/Exit Lighting.........................................3-19
Reading Lamps............................................3-20Battery Run-Down Protection..........................3-20
Head-Up Display (HUD).................................3-20
Accessory Power Outlet(s).............................3-24
Ashtray(s) and Cigarette Lighter......................3-25
Climate Controls............................................3-26
Dual Automatic Climate Control System...........3-26
Outlet Adjustment.........................................3-32
Passenger Compartment Air Filter...................3-32
Warning Lights, Gages, and Indicators............3-34
Instrument Panel Cluster................................3-35
Speedometer and Odometer...........................3-36
Tachometer.................................................3-36
Safety Belt Reminders...................................3-36
Airbag Readiness Light..................................3-37
Passenger Airbag Status Indicator...................3-38
Voltmeter Gage............................................3-40
One-to-Four Shift Light
(Manual Transmission)...............................3-40
Brake System Warning Light..........................3-41
Antilock Brake System (ABS) Warning Light........3-42
Traction Control System (TCS) Warning Light......3-42
Active Handling System Light.........................3-43
Engine Coolant Temperature Gage..................3-44
Section 3 Instrument Panel
3-1
Page 155 of 432
Exterior Lighting Battery Saver
If the manual parking lamps or headlamps have been
left on, the exterior lamps will turn off as soon as
the ignition is turned off or Retained Accessory Power
(RAP) is active. This protects against draining the
battery in case you have accidentally left the headlamps
or parking lamps on. The battery saver does not work
if the headlamps are turned on after the ignition switch is
turned to off.
If you need to leave the lamps on, use the exterior lamp
control to turn the lamps back on.
Instrument Panel Brightness
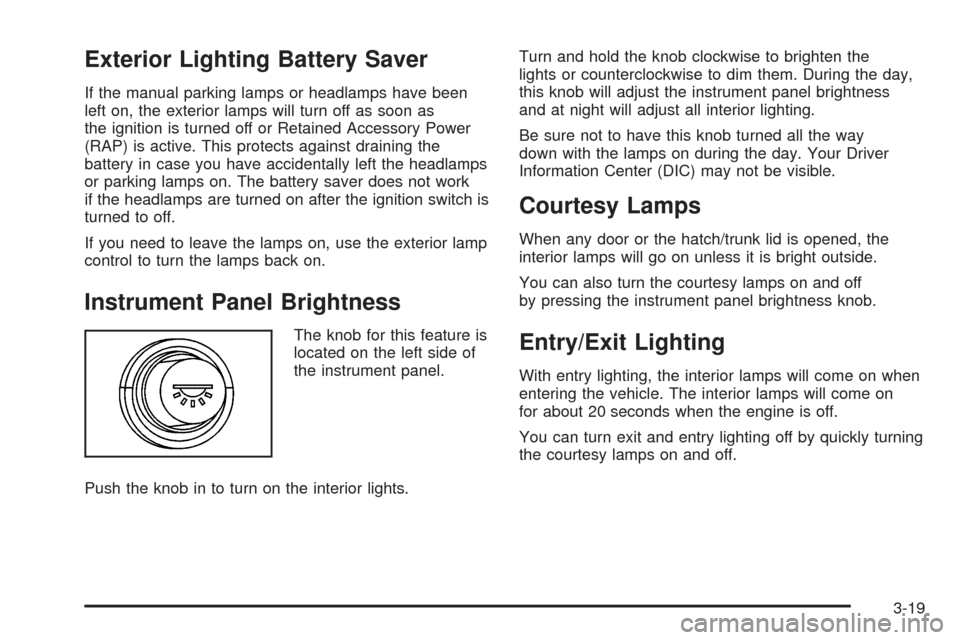
The knob for this feature is
located on the left side of
the instrument panel.
Push the knob in to turn on the interior lights.Turn and hold the knob clockwise to brighten the
lights or counterclockwise to dim them. During the day,
this knob will adjust the instrument panel brightness
and at night will adjust all interior lighting.
Be sure not to have this knob turned all the way
down with the lamps on during the day. Your Driver
Information Center (DIC) may not be visible.
Courtesy Lamps
When any door or the hatch/trunk lid is opened, the
interior lamps will go on unless it is bright outside.
You can also turn the courtesy lamps on and off
by pressing the instrument panel brightness knob.
Entry/Exit Lighting
With entry lighting, the interior lamps will come on when
entering the vehicle. The interior lamps will come on
for about 20 seconds when the engine is off.
You can turn exit and entry lighting off by quickly turning
the courtesy lamps on and off.
3-19
Page 156 of 432
Reading Lamps
The inside rearview mirror includes two reading lamps.
The lamps will go on when a door is opened. When
the doors are closed, each lamp can be turned on
individually by pressing the switch for that lamp.
An ambient light is located in the passenger sun visor
clip. This light stays on while driving to keep the
cabin from being too dark.
Battery Run-Down Protection
This vehicle has a feature to help prevent the battery
from being drained in case any of the following
lamps are left on; the underhood lamp, if your vehicle
has this feature, vanity mirror lamps, cargo lamps,
reading lamps, console or glove box lamps. If any of
these lamps are left on, they will automatically time-out
after about 10 minutes. To reset it, all of the above
lamps must be turned off or the ignition key on.
Head-Up Display (HUD)
{CAUTION:
If the HUD image is too bright, or too high in
your �eld of view, it may take you more time to
see things you need to see when it is dark
outside. Be sure to keep the HUD image dim
and placed low in your �eld of view.
If your vehicle has the Head-Up Display (HUD), you can
see some of the driver information that appears on
the instrument panel cluster.
The information may be displayed in English or metric
units and appears as an image focused out toward
the front of the vehicle. The HUD consists of the
following information:
Speedometer
Turn Signal Indicators
High-Beam Indicator Symbol
Tachometer
3-20
Page 160 of 432
Clean the inside of the windshield as needed to remove
any dirt or �lm that reduces the sharpness or clarity
of the HUD image.
To clean the HUD, spray household glass cleaner on a
soft, clean cloth. Wipe the HUD lens gently, then dry
it. Do not spray cleaner directly on the lens because the
cleaner could leak into the unit.
If the ignition is on and you can not see the HUD
image, check to see if:
Something is covering the HUD unit.
The HUD dimmer control is adjusted properly.
The HUD image is adjusted to the proper height.
Ambient light is low, in the direction your vehicle
is facing.
A fuse is blown. SeeFuses and Circuit Breakers
on page 5-100.
Keep in mind that your windshield is part of the HUD
system. SeeWindshield Replacement on page 5-55.
Accessory Power Outlet(s)
The accessory power outlet can be used to connect
electrical equipment such as a cellular phone or
CB radio.
The accessory power outlet is located inside the center
console storage compartment, on the forward left side.
To use the outlet, remove the tethered cap. When not
using it, always cover the outlet with the protective cap.
Notice:Leaving electrical equipment plugged in
for an extended period of time while the vehicle is
off will drain the battery. Power is always supplied to
the outlets. Always unplug electrical equipment
when not in use and do not plug in equipment that
exceeds the maximum 20 ampere rating.
Certain electrical accessories may not be compatible
with the accessory power outlet and could result
in blown vehicle or adapter fuses. If you experience a
problem, see your dealer/retailer for additional
information on accessory power outlets.
3-24
Page 168 of 432
Outlet Adjustment
Use the tab located on the air outlets to change the
direction of the air�ow.
Operation Tips
Clear away any ice, snow or leaves from the air
inlets at the base of the windshield that may
block the �ow of air into your vehicle.
Use of non-GM approved hood de�ectors may
adversely affect the performance of the system.
Keep the area around the base of the instrument
panel console and air path under the seats clear
of objects to help circulate the air inside of
your vehicle more effectively.
Passenger Compartment Air Filter
The passenger compartment air �lter removes certain
particles from the air including pollen and dust particles.
Reductions in air�ow, which may occur more often in
dusty areas, indicate that the �lter may need to be
replaced. SeeScheduled Maintenance on page 6-4for
information on how often to replace the �lter.
Notice:Driving without a passenger compartment
air �lter in place can cause water and small
particles, like paper and leaves, to be pulled into
your climate control system which may cause
damage to it. Make sure you always replace the old
�lter with a new one.
The passenger compartment air �lter is located on the
passenger side of the engine compartment near the
battery. SeeEngine Compartment Overview on
page 5-14.
3-32
Page 176 of 432
Voltmeter Gage
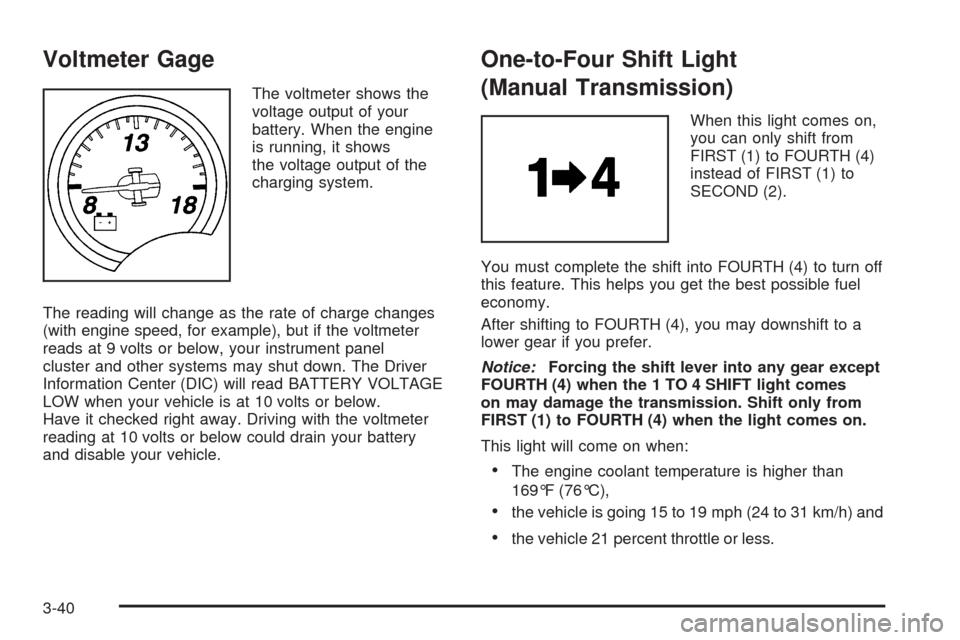
The voltmeter shows the
voltage output of your
battery. When the engine
is running, it shows
the voltage output of the
charging system.
The reading will change as the rate of charge changes
(with engine speed, for example), but if the voltmeter
reads at 9 volts or below, your instrument panel
cluster and other systems may shut down. The Driver
Information Center (DIC) will read BATTERY VOLTAGE
LOW when your vehicle is at 10 volts or below.
Have it checked right away. Driving with the voltmeter
reading at 10 volts or below could drain your battery
and disable your vehicle.
One-to-Four Shift Light
(Manual Transmission)
When this light comes on,
you can only shift from
FIRST (1) to FOURTH (4)
instead of FIRST (1) to
SECOND (2).
You must complete the shift into FOURTH (4) to turn off
this feature. This helps you get the best possible fuel
economy.
After shifting to FOURTH (4), you may downshift to a
lower gear if you prefer.
Notice:Forcing the shift lever into any gear except
FOURTH (4) when the 1 TO 4 SHIFT light comes
on may damage the transmission. Shift only from
FIRST (1) to FOURTH (4) when the light comes on.
This light will come on when:
The engine coolant temperature is higher than
169°F (76°C),
the vehicle is going 15 to 19 mph (24 to 31 km/h) and
the vehicle 21 percent throttle or less.
3-40
Page 183 of 432
Emissions Inspection and
Maintenance Programs
Some state/provincial and local governments have or
might begin programs to inspect the emission control
equipment on your vehicle. Failure to pass this
inspection could prevent you from getting a vehicle
registration.
Here are some things you need to know to help your
vehicle pass an inspection:
Your vehicle will not pass this inspection if the check
engine light is on or not working properly.
To perform a check engine light bulb check with the
keyless ignition, make sure the transmitter fob is in the
passenger compartment. SeeIgnition Positions on
page 2-22. Press the bottom of the Acc. button on
the instrument panel and hold the button down
for �ve seconds. The instrument panel, including the
check engine light, will light up and the ignition will
be on, but the engine will not start — if you press the
bottom of the Acc. button only brie�y, less than
�ve seconds, the accessory power mode will be turned
on, but not the ignition. After the bulb check, be sure
to press and release the Acc. button again to turn
the ignition off and avoid draining the vehicle’s battery.Your vehicle will not pass this inspection if the OBD
(on-board diagnostic) system determines that critical
emission control systems have not been completely
diagnosed by the system. The vehicle would be
considered not ready for inspection. This can happen
if you have recently replaced the battery or if the battery
has run down. The diagnostic system is designed to
evaluate critical emission control systems during normal
driving. This may take several days of routine driving.
If you have done this and your vehicle still does not pass
the inspection for lack of OBD system readiness, your
dealer/retailer can prepare the vehicle for inspection.
3-47
Page 188 of 432
DIC Operation and Displays
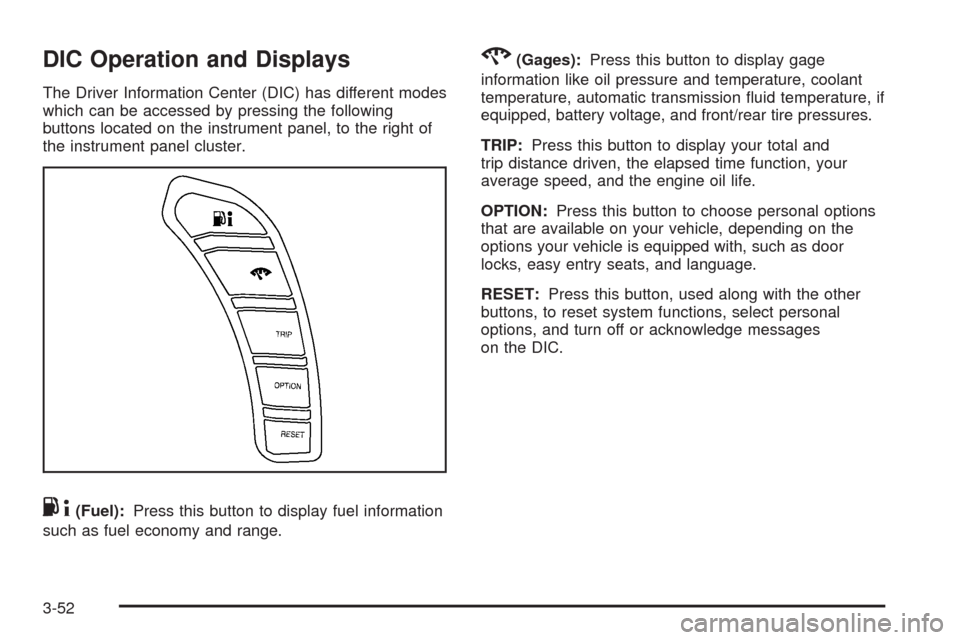
The Driver Information Center (DIC) has different modes
which can be accessed by pressing the following
buttons located on the instrument panel, to the right of
the instrument panel cluster.
.4(Fuel):Press this button to display fuel information
such as fuel economy and range.
2(Gages):Press this button to display gage
information like oil pressure and temperature, coolant
temperature, automatic transmission �uid temperature, if
equipped, battery voltage, and front/rear tire pressures.
TRIP:Press this button to display your total and
trip distance driven, the elapsed time function, your
average speed, and the engine oil life.
OPTION:Press this button to choose personal options
that are available on your vehicle, depending on the
options your vehicle is equipped with, such as door
locks, easy entry seats, and language.
RESET:Press this button, used along with the other
buttons, to reset system functions, select personal
options, and turn off or acknowledge messages
on the DIC.
3-52