2008 BMW Z4 COUPE 3.0SI service
[x] Cancel search: servicePage 77 of 132
Reference
At a glance
Controls
Driving tips
Mobility
75
Drive defensively
Avoid unnecessary acceleration and braking
maneuvers. To do so, keep an adequate dis-
tance to the forward vehicle. A defensive and
smooth driving style keeps fuel consumption
down.
Avoid high engine speeds
Only use first gear when setting off. In second
and higher gears, accelerate without hesitation
or pauses. When accelerating, shift up before
reaching high engine speeds.
When you reach the desired speed, shift into
the highest applicable gear and drive with the
engine speed as low as possible and at a con-
stant speed.
As a rule: driving at low engine speeds lowers
fuel consumption and reduces wear.
Coasting
When approaching a red light, take your foot off
the accelerator and coast to a stop in the high-
est applicable gear.
O n a d o w n h il l s lo p e , t a k e y o u r f o o t o f f t h e a c c el -
erator and coast in a suitable gear.
The fuel supply is interrupted when coasting.
Switch off the engine during lengthy
stops
Switch off the engine when stopping for lengthy
periods, e.g. at traffic lights, railroad crossings
or in traffic congestions. You achieve fuel sav-
ings even if standing time is as short as approx.
4 seconds.
Switch off functions you do not need at
the moment
Functions such as the air conditioner and the
seat or rear window heating draw large amounts
of power and consume additional fuel. Espe-
cially in city traffic and in stop and go driving
they have a considerable impact. Therefore,
switch these functions off when they are not
really needed.
Have the vehicle serviced
Have the vehicle serviced regularly to achieve
good economy and a long vehicle life. BMW
recommends having the vehicle serviced at a
BMW center. Also note the BMW service sys-
tem, refer to page96.
Driving notes
Close the luggage compartment lid/
tailgate
Operate the vehicle only when the lug-
gage compartment lid/tailgate is closed.
Otherwise, exhaust fumes could enter the inte-
rior of the vehicle.<
Should it be absolutely necessary drive with the
luggage compartment lid/tailgate open:
1.Coupe: close both windows.
Roadster: close all windows if the convert-
ible top is closed.
2.Greatly increase the air flow from the air
conditioning or automatic climate control,
refer to page62 or65.
Hot exhaust system
In all vehicles, extremely high tempera-
tures are generated in the exhaust sys-
tem. Never remove the heat shields installed in
this area, nor apply undercoating to their sur-
faces. When driving, standing at idle or parking
the vehicle, take care to avoid contact between
the hot exhaust system and flammable materi-
als, e.g. hay, leaves, grass, etc. Such contact
could lead to a fire, resulting in serious personal
injury and property damage. Do not touch the
hot exhaust pipes to avoid the risk of injury from
burns.<
Hydroplaning
When driving on wet or slushy roads,
reduce vehicle speed. If you do not, a
wedge of water may form between the tires and
the road surface. This situation, known as
hydroplaning, means that the tire can com-
Page 83 of 132
Mobility
This section helps you maintain your car's
mobility by supplying important information
on vital topics including fuels and lubricants,
wheels and tires, service, maintenance and
breakdown assistance.
Mobility
Page 84 of 132
Refueling
82
Refueling
Always switch off the engine before refu-
eling. Otherwise the tank cannot be
refilled. The Service Engine Soon warning lamp
will come on.<
Take all precautionary measures and
observe all applicable regulations when
handling fuel. Do not carry any spare fuel con-
tainers in your vehicle. They can develop a leak
and cause an explosion or cause a fire in the
event of an accident.<
Gas cap
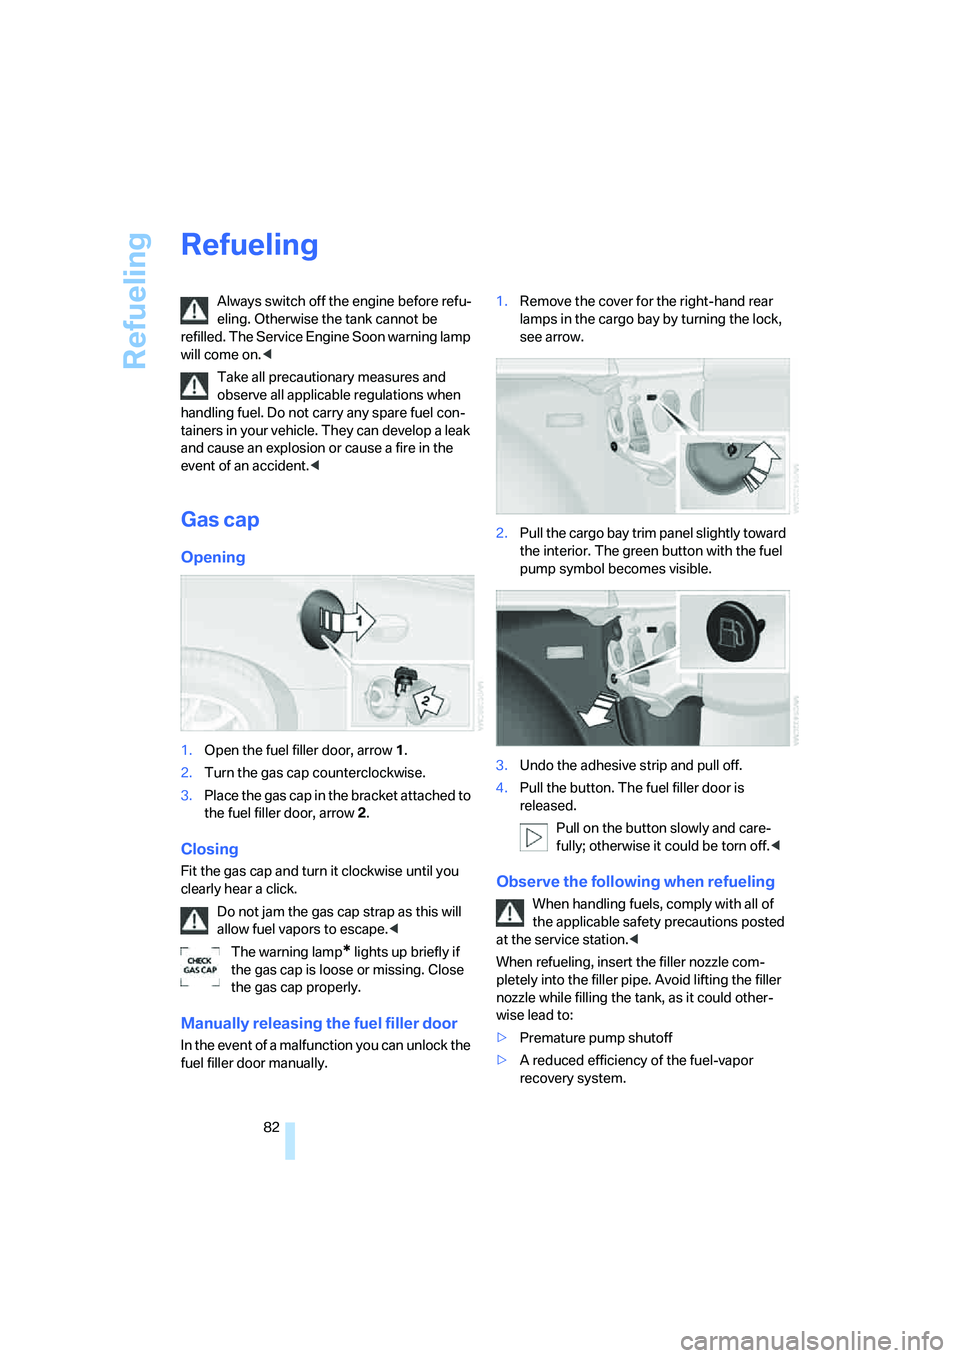
Opening
1.Open the fuel filler door, arrow 1.
2.Turn the gas cap counterclockwise.
3.Place the gas cap in the bracket attached to
the fuel filler door, arrow 2.
Closing
Fit the gas cap and turn it clockwise until you
clearly hear a click.
Do not jam the gas cap strap as this will
allow fuel vapors to escape.<
The warning lamp
* lights up briefly if
the gas cap is loose or missing. Close
the gas cap properly.
Manually releasing the fuel filler door
In the event of a malfunction you can unlock the
fuel filler door manually.1.Remove the cover for the right-hand rear
lamps in the cargo bay by turning the lock,
see arrow.
2.Pull the cargo bay trim panel slightly toward
the interior. The green button with the fuel
pump symbol becomes visible.
3.Undo the adhesive strip and pull off.
4.Pull the button. The fuel filler door is
released.
Pull on the button slowly and care-
fully; otherwise it could be torn off.<
Observe the following when refueling
When handling fuels, comply with all of
the applicable safety precautions posted
at the service station.<
When refueling, insert the filler nozzle com-
pletely into the filler pipe. Avoid lifting the filler
nozzle while filling the tank, as it could other-
wise lead to:
>Premature pump shutoff
>A reduced efficiency of the fuel-vapor
recovery system.
Page 86 of 132
Wheels and tires
84
Wheels and tires
Tire inflation pressure
Information for your safety
It is not merely the tire's service life, but also
driving safety and driving comfort that largely
depend on the condition of the tires and the
maintenance of the specified tire pressure.
Check tire inflation pressures regularly
and correct them if necessary: at least
every two weeks and before every extended
journey. If you fail to observe this precaution
you may be driving on tires with incorrect tire
pressures, a condition that can not only com-
promise your vehicle's driving stability, but also
lead to tire damage and the risk of an accident.
Do not drive with deflated, i.e. flat tires, except
when using Run-Flat Tires. A flat tire will seri-
ously impair your vehicle's handling and braking
response. Attempts to drive on a flat tire can
lead to loss of control over the vehicle.<
Checking pressure
Check the tire inflation pressures only when the
tires are cold. This means after a maximum of
1.25 miles/2 km driving or when the vehicle has
been parked for at least 2 hours. Warm tires
have higher inflation pressures.
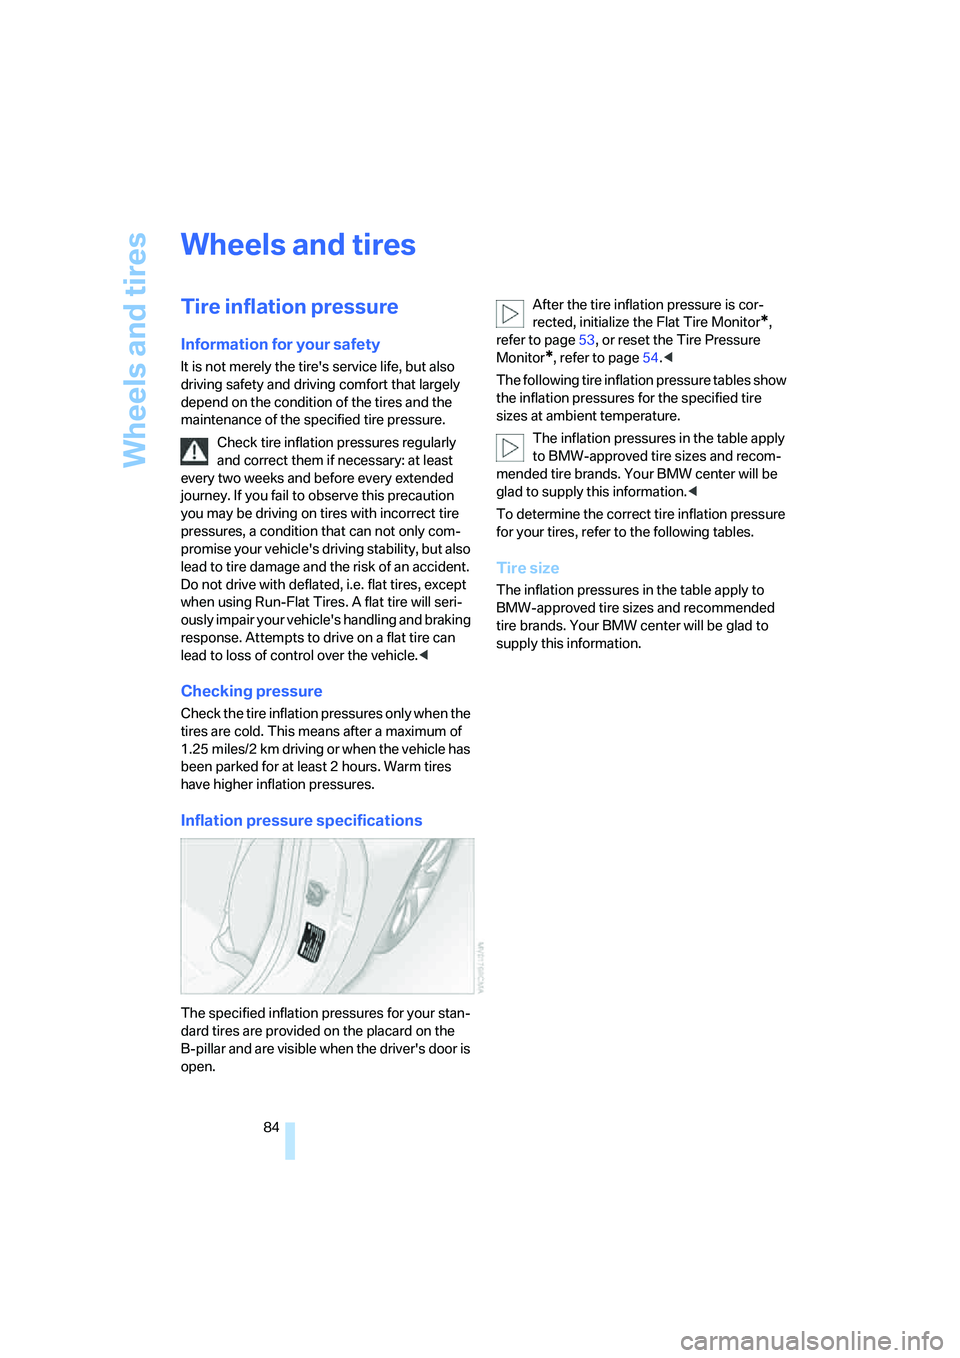
Inflation pressure specifications
The specified inflation pressures for your stan-
dard tires are provided on the placard on the
B-pillar and are visible when the driver's door is
open.After the tire inflation pressure is cor-
rected, initialize the Flat Tire Monitor
*,
refer to page53, or reset the Tire Pressure
Monitor
*, refer to page54.<
The following tire inflation pressure tables show
the inflation pressures for the specified tire
sizes at ambient temperature.
The inflation pressures in the table apply
to BMW-approved tire sizes and recom-
mended tire brands. Your BMW center will be
glad to supply this information.<
To determine the correct tire inflation pressure
for your tires, refer to the following tables.
Tire size
The inflation pressures in the table apply to
BMW-approved tire sizes and recommended
tire brands. Your BMW center will be glad to
supply this information.
Page 89 of 132
Reference
At a glance
Controls
Driving tips
Mobility
87
All passenger car tires must conform to
Federal Safety Requirements in addition
to these grades.<
Tread wear
The tread wear grade is a comparative rating
based on the wear rate of the tire when tested
under controlled conditions on a specified gov-
ernment test course.
For example, a tire graded 150 would wear one
and one-half, 1 γ, times as well on the govern-
ment course as a tire graded 100. The relative
performance of tires depends upon the actual
conditions of their use, however, and may
depart significantly from the norm due to varia-
tions in driving habits, service practices and dif-
ferences in road characteristics and climate.
Traction
The traction grades, from highest to lowest, are
AA, A, B and C.
Those grades represent the tire's ability to stop
on wet pavement as measured under controlled
conditions on specified government test sur-
faces of asphalt and concrete. A tire marked C
may have poor traction performance.
The traction grade assigned to this tire is
based on straight-ahead braking traction
tests, and does not include acceleration, cor-
nering, hydroplaning, or peak traction charac-
teristics.<
Temperature
The temperature grades are A, the highest, B
and C, representing the tire's resistance to the
generation of heat and its ability to dissipate
heat when tested under controlled conditions
on a specified indoor laboratory test wheel.
Sustained high temperature can cause the
material of the tire to degenerate and reduce
tire life, and excessive temperature can lead to
sudden tire failure. The grade C corresponds to
a level of performance which all passenger car
tires must meet under the Federal Motor Vehi-
cle Safety Standard No. 109. Grades B and A
represent higher levels of performance on the
laboratory test wheel than the minimum
required by law.The temperature grade for this tire is
established for a tire that is properly
inflated and not overloaded. Excessive speed,
underinflation, or excessive loading, either sep-
arately or in combination, can cause heat
buildup and possible tire failure.<
RSC: Run-Flat Tires
Run-Flat tires are labeled on the sidewall with a
circular symbol containing the letters RSC.
Refer to page88.
M+S
Winter and all-season tires.
These have better winter performance proper-
ties than summer tires.
Tire condition
Inspect your tires frequently for tread wear,
signs of damage and for foreign objects lodged
in the tread. Check the tread depth.
Minimum tread depth
The tread depth should not drop below 1/8 in/
3 mm, although, for example, European legisla-
tion only specifies a minimum tread depth of
1/16 in/1.6 mm. At tread depths below 1/8 in/
3 mm there is an increased risk of high-speed
hydroplaning, even when only small amounts of
water are present on the road surface.
When winter tires wear down past a tread depth
of 1/6 in/4 mm, they become perceptibly less
suitable for winter conditions. In the interest of
safety, new tires should be installed.
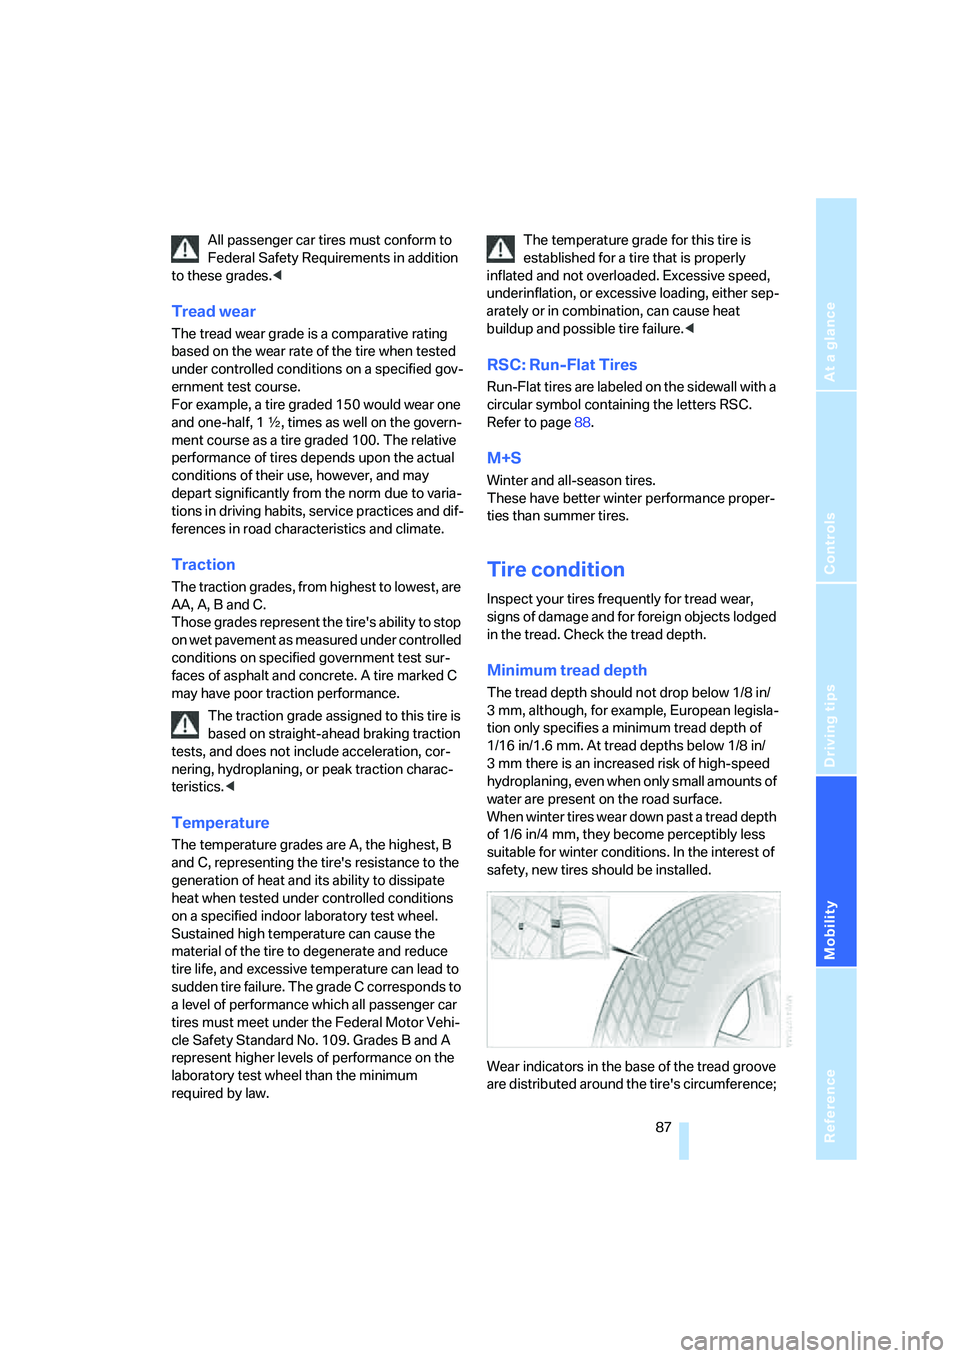
Wear indicators in the base of the tread groove
are distributed around the tire's circumference;
Page 90 of 132
Wheels and tires
88 the letters TWI, for Tread Wear Indicator, on the
tire's sidewalls identify tires that incorporate
these wear indicators. Once the tire tread has
worn down to the wear indicators, the tire has
worn to a depth of 1/16 in/1.6 mm.
Wheel/tire damage
Due to low-profile tires, please note that
wheels, tires and suspension parts are
more susceptible to road hazards and conse-
quential damages.<
Unusual vibrations encountered during normal
vehicle operation can indicate tire failure or
some other vehicle malfunction. This can, for
example, be caused by driving over curbs. The
same applies to any other abnormal road
behavior, such as pulling severely to the right or
left.
In these cases, reduce speed immedi-
ately and have wheels and tires thor-
oughly checked. To do so, drive carefully to the
nearest BMW center or tire shop that works
according to BMW repair procedures with cor-
respondingly trained personnel. If necessary,
have the vehicle towed there.
Tire damage can be extremely dangerous for
vehicle occupants and other road users.<
Tire age
For various reasons, such as the development
of brittleness, BMW recommends tire replace-
ment after no more than 6 years, regardless of
the actual wear of the tires.
The date on which the tire was manufactured is
indicated by the code on the sidewall:
DOT … 5005 indicates that the tire was manu-
factured in week 50 of the year 2005.
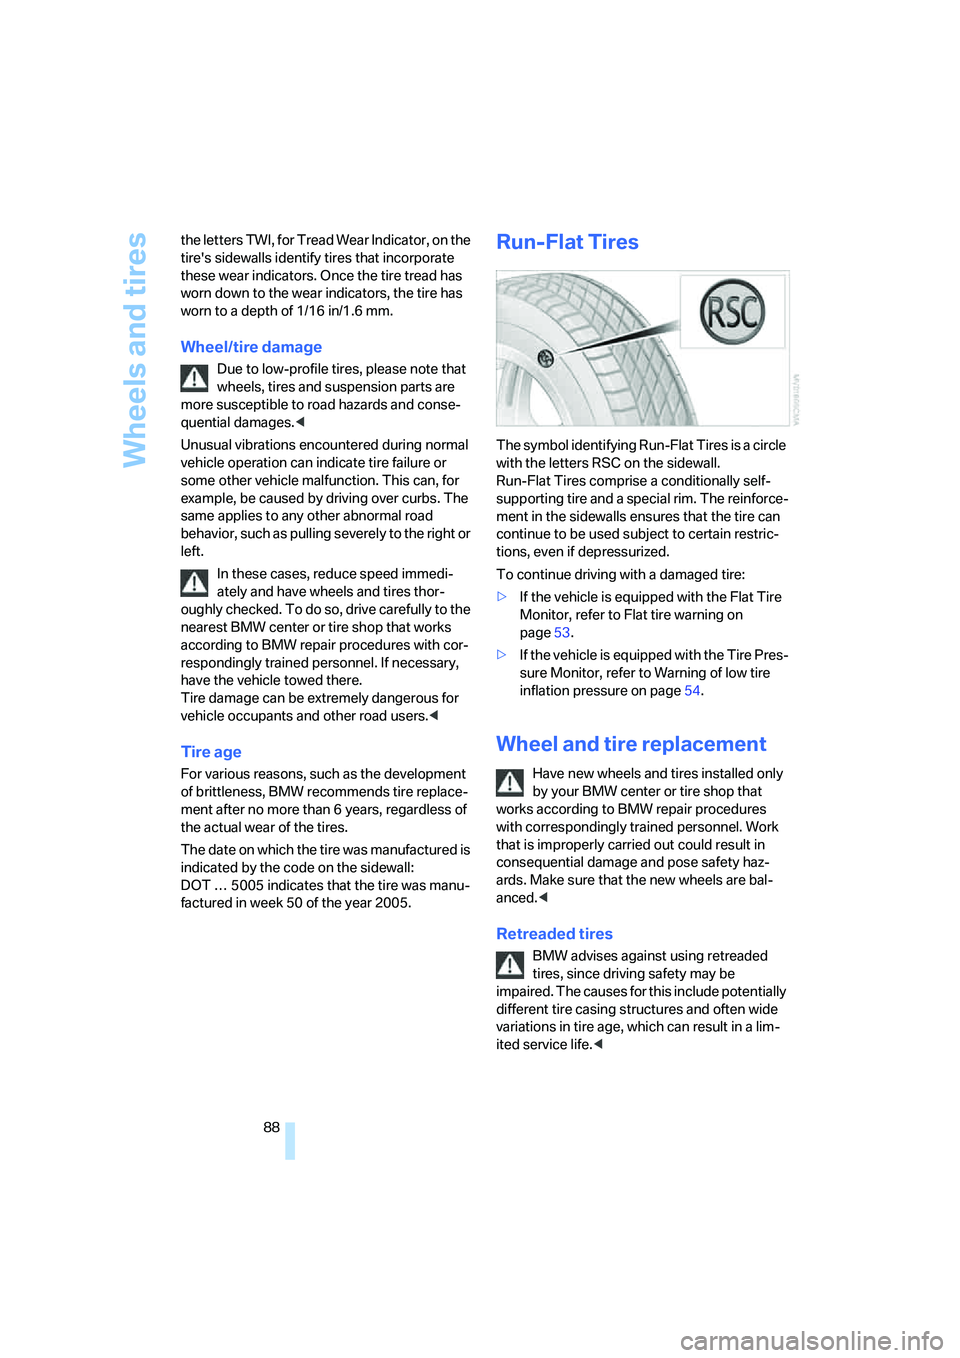
Run-Flat Tires
The symbol identifying Run-Flat Tires is a circle
with the letters RSC on the sidewall.
Run-Flat Tires comprise a conditionally self-
supporting tire and a special rim. The reinforce-
ment in the sidewalls ensures that the tire can
continue to be used subject to certain restric-
tions, even if depressurized.
To continue driving with a damaged tire:
>If the vehicle is equipped with the Flat Tire
Monitor, refer to Flat tire warning on
page53.
>If the vehicle is equipped with the Tire Pres-
sure Monitor, refer to Warning of low tire
inflation pressure on page54.
Wheel and tire replacement
Have new wheels and tires installed only
by your BMW center or tire shop that
works according to BMW repair procedures
with correspondingly trained personnel. Work
that is improperly carried out could result in
consequential damage and pose safety haz-
ards. Make sure that the new wheels are bal-
anced.<
Retreaded tires
BMW advises against using retreaded
tires, since driving safety may be
impaired. The causes for this include potentially
different tire casing structures and often wide
variations in tire age, which can result in a lim-
ited service life.<
Page 98 of 132
Maintenance
96
Maintenance
BMW Maintenance System
The BMW Maintenance System helps maintain
the road safety and operating reliability of your
BMW.
Regular maintenance is not only necessary for
the safety of your vehicle, but also plays a sig-
nificant role in maintaining the resale value of
your vehicle.
Service interval display
The BMW Maintenance System takes the vehi-
cle's operating conditions into account for the
service intervals:
From a maintenance point of view,
62,100 miles/100,000 km accumulated in
short-distance urban driving are not the same
as 62,100 miles/100,000 km accumulated at
moderate cruising speeds in long-distance
highway travel.
The BMW Maintenance System includes the
Engine Oil Service and Inspections I and II.
Determining the maintenance intervals based
on the actual loads on the vehicle covers every
kind of operating situation. Minimal use drivers,
who drive fewer than about 6,210 miles/
10,000 km per year, should nevertheless have
the oil changed at least every 2 years since
engine oil deteriorates over time, regardless of
use.
Service and Warranty Information
Booklet for US models and Warranty
and Service Guide Booklet for
Canadian models
Please consult your Service and Warranty Infor-
mation Booklet for US models and Warranty
and Service Guide Booklet for Canadian models
for additional information on service require-
ments.
BMW recommends that you have service
and repair operations performed at your
BMW center.
Take the time to ensure that these service pro-
cedures are confirmed by entries in your vehi-
cle's Service and Warranty Information Booklet
for US models and Warranty and Service Guide
Booklet for Canadian models. These entries
verify that your vehicle has received the speci-
fied regular maintenance.<
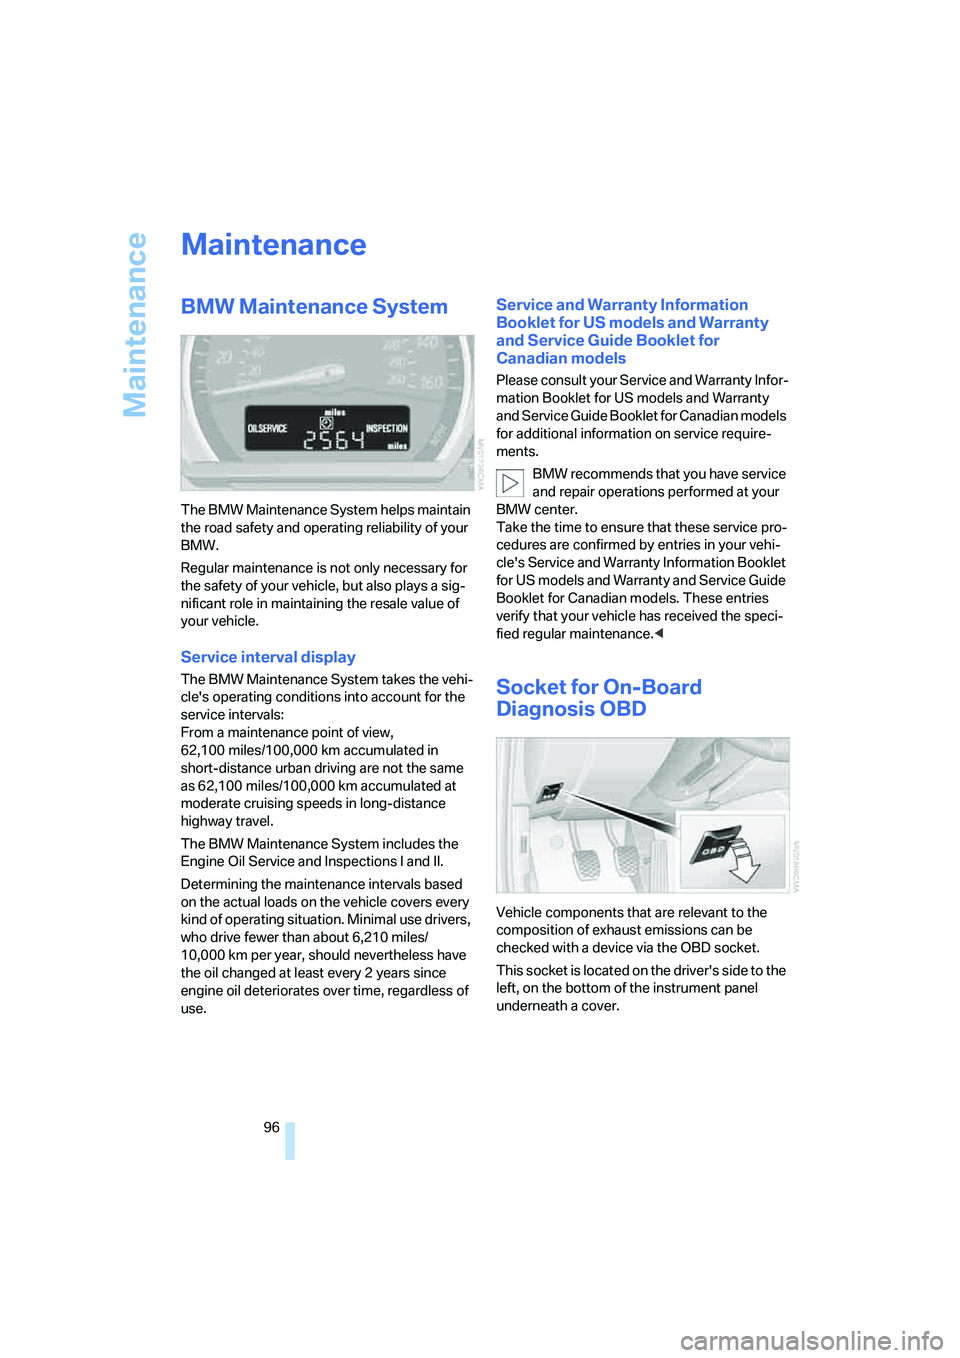
Socket for On-Board
Diagnosis OBD
Vehicle components that are relevant to the
composition of exhaust emissions can be
checked with a device via the OBD socket.
This socket is located on the driver's side to the
left, on the bottom of the instrument panel
underneath a cover.
Page 99 of 132
Reference
At a glance
Controls
Driving tips
Mobility
97
Exhaust emission values
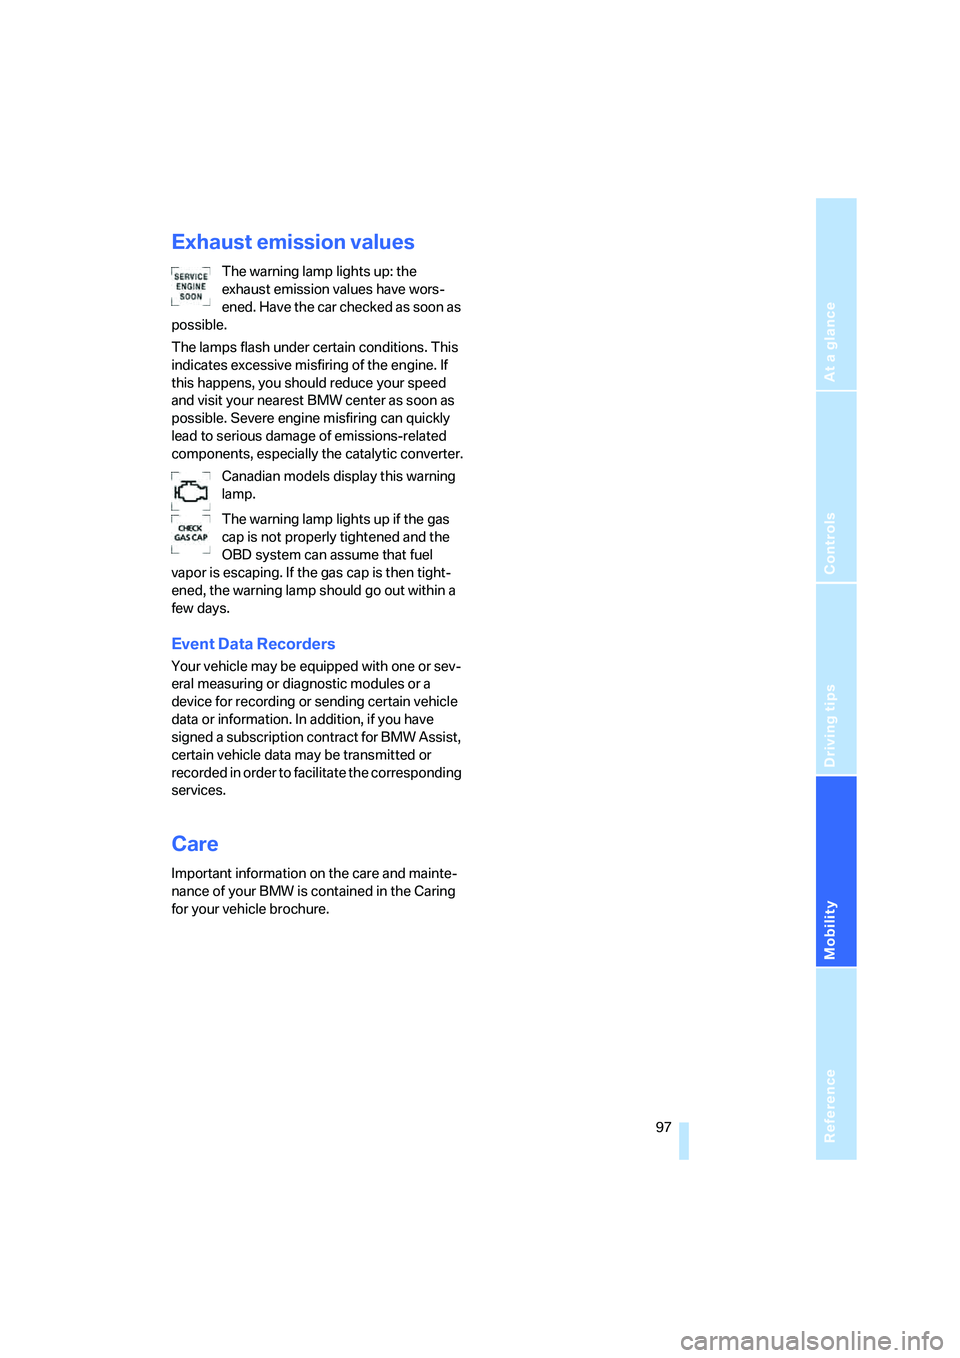
The warning lamp lights up: the
exhaust emission values have wors-
ened. Have the car checked as soon as
possible.
The lamps flash under certain conditions. This
indicates excessive misfiring of the engine. If
this happens, you should reduce your speed
and visit your nearest BMW center as soon as
possible. Severe engine misfiring can quickly
lead to serious damage of emissions-related
components, especially the catalytic converter.
Canadian models display this warning
lamp.
The warning lamp lights up if the gas
cap is not properly tightened and the
OBD system can assume that fuel
vapor is escaping. If the gas cap is then tight-
ened, the warning lamp should go out within a
few days.
Event Data Recorders
Your vehicle may be equipped with one or sev-
eral measuring or diagnostic modules or a
device for recording or sending certain vehicle
data or information. In addition, if you have
signed a subscription contract for BMW Assist,
certain vehicle data may be transmitted or
recorded in order to facilitate the corresponding
services.
Care
Important information on the care and mainte-
nance of your BMW is contained in the Caring
for your vehicle brochure.