Page 42 of 165
recognised as "authorised" for
your motorcycle.A spare key attached
to the same ring as the
ignition key used to start the
engine could "irritate" the
electronics, in which case the
enabling signal for starting is
not issued. The
EWS
warning
appears in the multifunction
display.
Always keep the spare key
separately from the ignition
key.
Replacement keys and
extra keysYou can obtain replace-
ment/extra keys only through
an authorised BMW Motorrad
dealer. The keys are part
of an integrated security
system, so the dealer is under
an obligation to check the
legitimacy of all applications
for replacement/extra keys. If you want to have a lost key
barred, you have to bring with
you all the other keys that
belong to the motorcycle. A
key that has been barred can
subsequently be cleared and
reactivated for use.
Hazard warning flash-
ersSwitching on the hazard
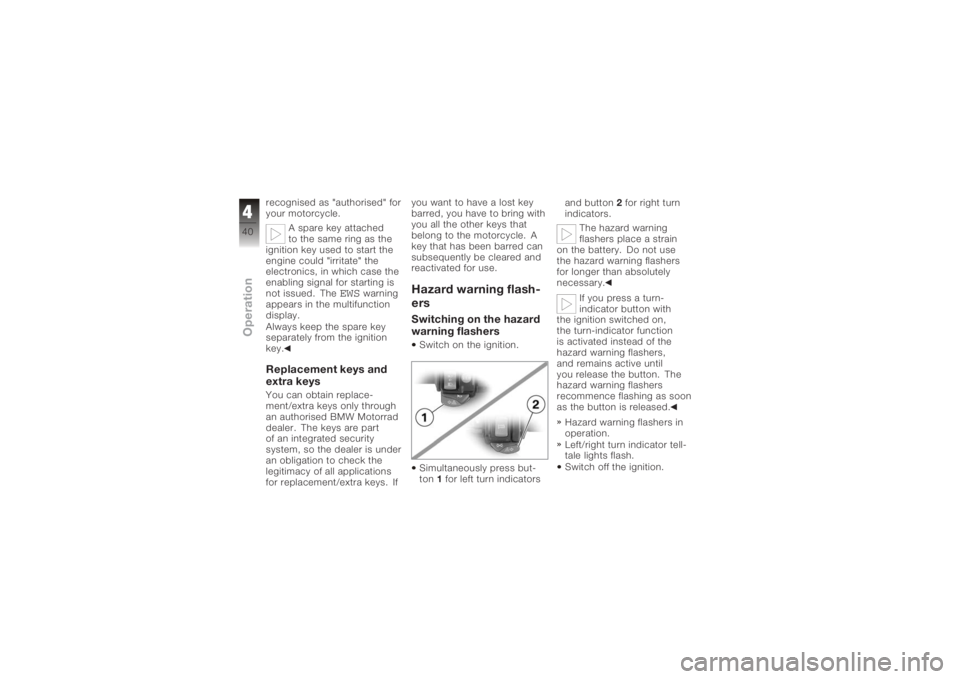
warning flashersSwitch on the ignition.
Simultaneously press but-
ton
1for left turn indicators and button
2for right turn
indicators.
The hazard warning
flashers place a strain
on the battery. Do not use
the hazard warning flashers
for longer than absolutely
necessary.
If you press a turn-
indicator button with
the ignition switched on,
the turn-indicator function
is activated instead of the
hazard warning flashers,
and remains active until
you release the button. The
hazard warning flashers
recommence flashing as soon
as the button is released.
Hazard warning flashers in
operation.
Left/right turn indicator tell-
tale lights flash.
Switch off the ignition.
440zOperation
Page 49 of 165
Emergency off switch
(kill switch)1Emergency off switch (kill
switch).
Operating the kill switch
when riding can cause
the rear wheel to lock and
thus cause a fall.
Do not operate the kill switch
when riding.
The emergency off switch is a
kill switch for switching off the
engine quickly and easily. You cannot start the
engine unless the kill
switch is in the run position.
If you move the kill
switch away from the
RUN position while the
ignition is switched on, the
BMW Integral ABS remains
operational.
A Normal operating posi-
tion (run)
B Engine switched off.
Grip heating
OE
1 Grip heating switch
The handlebar grips have
two-stage heating. Grip
heating can be activated only
when the engine is running. The increase in power
consumption caused by
the grip heating can drain the
battery if you are riding at low
engine speeds. If the charge
level is low, grip heating is
switched off to ensure the
battery's starting capability.
447zOperation
Page 51 of 165
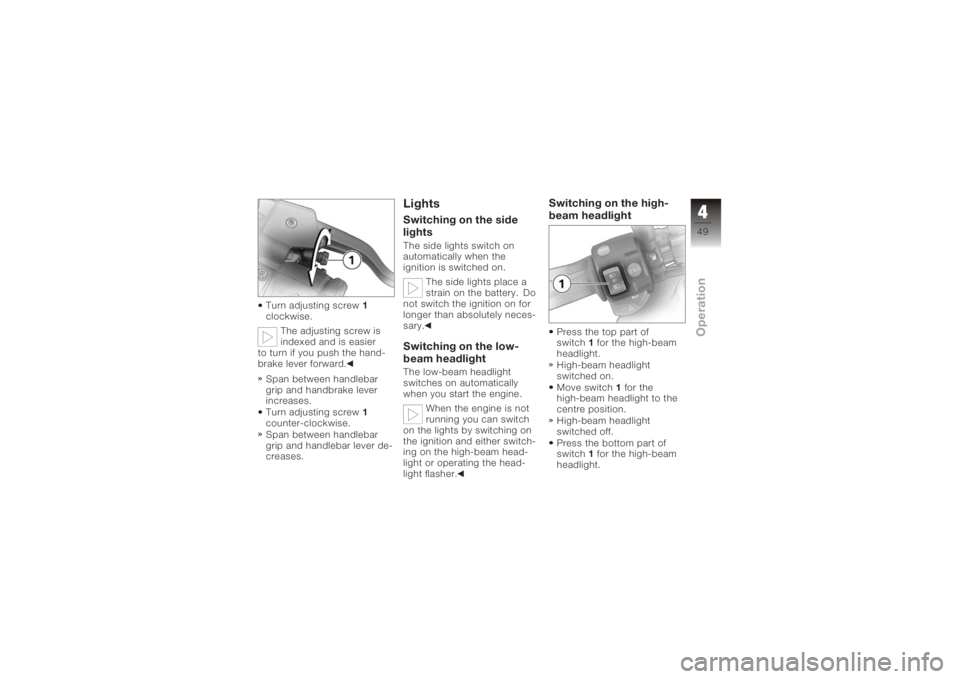
Turn adjusting screw1
clockwise.
The adjusting screw is
indexed and is easier
to turn if you push the hand-
brake lever forward.
Span between handlebar
grip and handbrake lever
increases.
Turn adjusting screw 1
counter-clockwise.
Span between handlebar
grip and handlebar lever de-
creases.
LightsSwitching on the side
lightsThe side lights switch on
automatically when the
ignition is switched on.
The side lights place a
strain on the battery. Do
not switch the ignition on for
longer than absolutely neces-
sary.Switching on the low-
beam headlightThe low-beam headlight
switches on automatically
when you start the engine.
When the engine is not
running you can switch
on the lights by switching on
the ignition and either switch-
ing on the high-beam head-
light or operating the head-
light flasher.
Switching on the high-
beam headlightPress the top part of
switch 1for the high-beam
headlight.
High-beam headlight
switched on.
Move switch 1for the
high-beam headlight to the
centre position.
High-beam headlight
switched off.
Press the bottom part of
switch 1for the high-beam
headlight.
449zOperation
Page 67 of 165
with OE BMW Motorrad Integ-
ral ABS:If you switch on the ig-
nition while the brakes
are applied, then start the
engine and ride off immedi-
ately, the BMW Integral ABS
remains in residual braking
function mode. Self-diagnosis
is performed as soon as the
brake levers are in their fully
released positions for the first
time. Until this completes the
ABS function is not available;
the same applies to power
assistance for the brakes.
When you start the engine,
wait for the ABS to complete
its self-diagnosis.
Switch on the ignition.
Pre-ride check is
performed. ( 65)
ABS self-diagnosis is per-
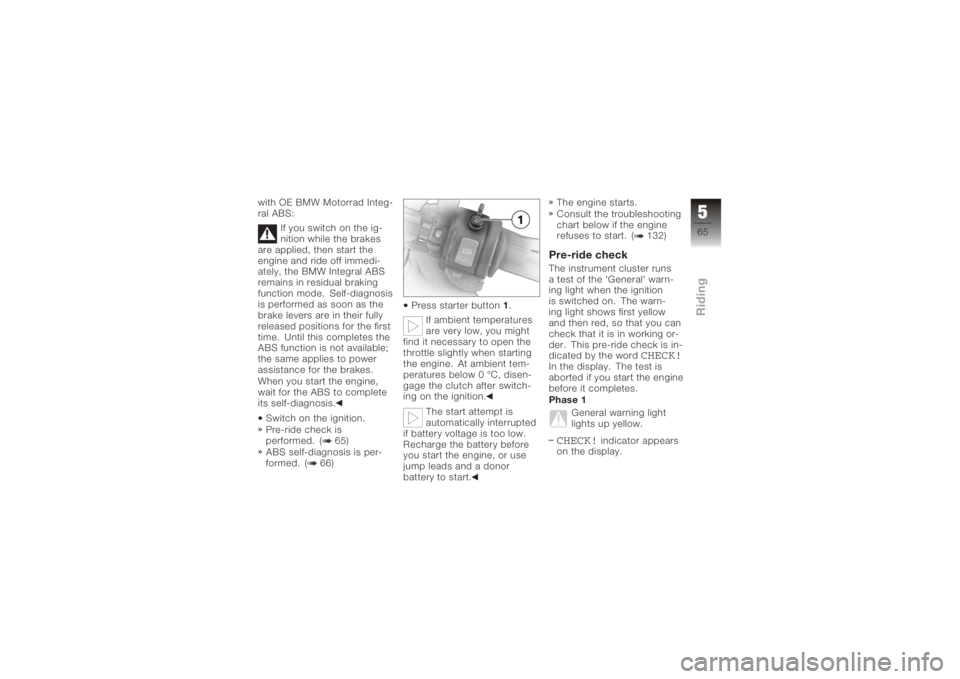
formed. ( 66) Press starter button
1.
If ambient temperatures
are very low, you might
find it necessary to open the
throttle slightly when starting
the engine. At ambient tem-
peratures below 0 °C, disen-
gage the clutch after switch-
ing on the ignition.
The start attempt is
automatically interrupted
if battery voltage is too low.
Recharge the battery before
you start the engine, or use
jump leads and a donor
battery to start. The engine starts.
Consult the troubleshooting
chart below if the engine
refuses to start. ( 132)
Pre-ride checkThe instrument cluster runs
a test of the 'General' warn-
ing light when the ignition
is switched on. The warn-
ing light shows first yellow
and then red, so that you can
check that it is in working or-
der. This pre-ride check is in-
dicated by the word
CHECK!
In the display. The test is
aborted if you start the engine
before it completes.
Phase 1
General warning light
lights up yellow.CHECK!
indicator appears
on the display.
565zRiding
Page 86 of 165
General instructionsBMW Motorrad recommends
the use of parts and ac-
cessories for your motorcycle
that are approved by BMW for
this purpose.
Genuine BMW parts and ac-
cessories and other products
which BMW has approved
can be obtained from your
authorised BMW Motorrad
dealer, together with expert
advice on their installation
and use.
These parts and products
have been tested by BMW for
safety, function and suitability.
BMW accepts product liability
for them.
Conversely, BMW is unable
to accept any liability whatso-
ever for parts and accessor-
ies which it has not approved.BMW cannot examine
or test each product of
outside origin to ensure that it
can be used on or in connec-
tion with BMW motorcycles
without constituting a safety
hazard. Country-specific of-
ficial authorisation does not
suffice as assurance. Tests
conducted by these instances
cannot make provision for all
operating conditions experi-
enced by BMW motorcycles
and, consequently, they are
not sufficient in some circum-
stances.
Use only parts and accessor-
ies approved by BMW for
your motorcycle.
Whenever you are planning
modifications, comply with all
the legal requirements. Make
sure that the motorcycle does
not infringe national road-
vehicle construction and use
regulations.
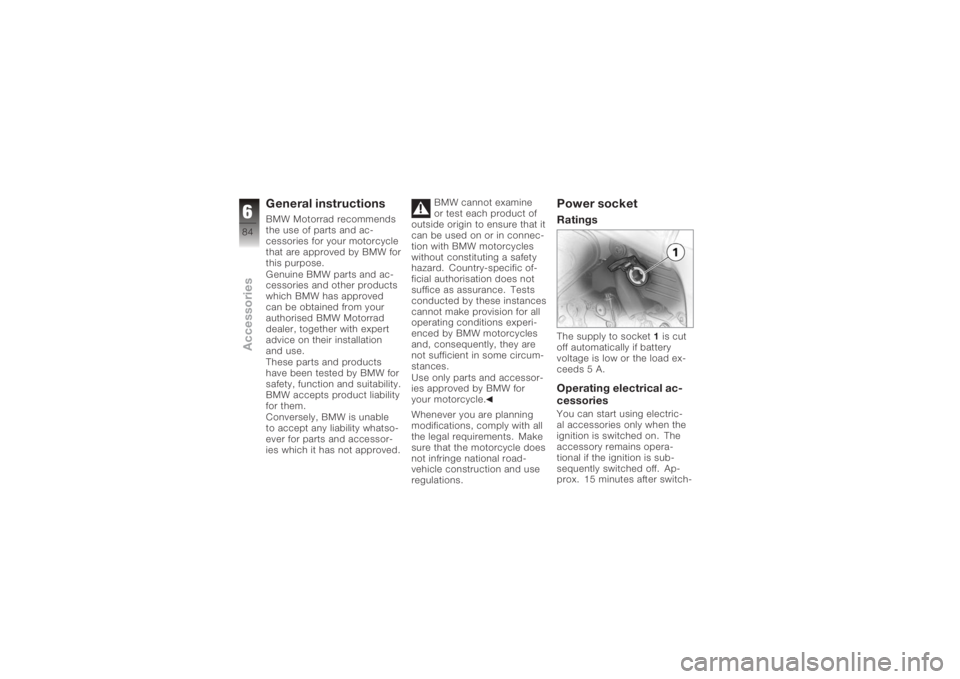
Power socketRatingsThe supply to socket 1is cut
off automatically if battery
voltage is low or the load ex-
ceeds 5 A.Operating electrical ac-
cessoriesYou can start using electric-
al accessories only when the
ignition is switched on. The
accessory remains opera-
tional if the ignition is sub-
sequently switched off. Ap-
prox. 15 minutes after switch-
684zAccessories
Page 93 of 165
Maintenance
Maintenance - general
instructions................... 92
Toolkit ........................ 92
Overview, toolkit .............. 92
Contents, supplementary
kit
OA
.......................... 92
Overview, supplementary kit . . . 92
Engine oil . .................... 93
Brake system, general ......... 95
Brake pads .................... 96
Brake fluid .................... 97
Clutch ....................... 100
Tyres ........................ 101
Rims . ........................ 101
Wheels . . . ................... 102
Front-wheel stand ............ 110 Rear wheel stand
............. 112
Bulbs ........................ 113
Jump starting . . .............. 118
Battery . . . .................... 120
791zMaintenance
Page 120 of 165
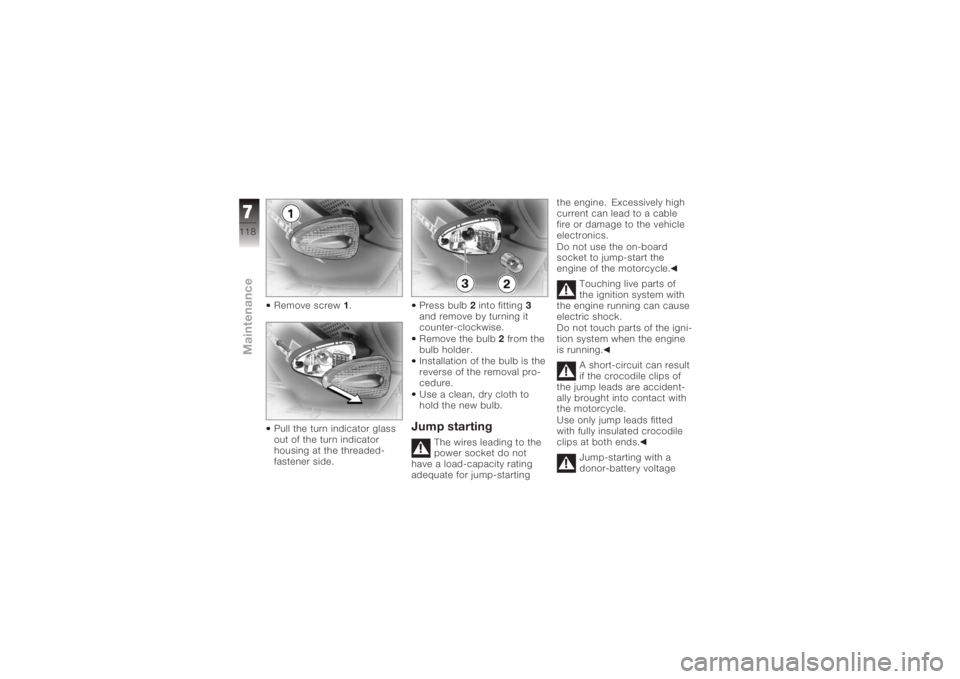
Remove screw1.
Pull the turn indicator glass
out of the turn indicator
housing at the threaded-
fastener side. Press bulb
2into fitting 3
and remove by turning it
counter-clockwise.
Remove the bulb 2 from the
bulb holder.
Installation of the bulb is the
reverse of the removal pro-
cedure.
Use a clean, dry cloth to
hold the new bulb.
Jump starting
The wires leading to the
power socket do not
have a load-capacity rating
adequate for jump-starting the engine. Excessively high
current can lead to a cable
fire or damage to the vehicle
electronics.
Do not use the on-board
socket to jump-start the
engine of the motorcycle.
Touching live parts of
the ignition system with
the engine running can cause
electric shock.
Do not touch parts of the igni-
tion system when the engine
is running.
A short-circuit can result
if the crocodile clips of
the jump leads are accident-
ally brought into contact with
the motorcycle.
Use only jump leads fitted
with fully insulated crocodile
clips at both ends.
Jump-starting with a
donor-battery voltage
7118zMaintenance
Page 121 of 165
higher than 12 V can damage
the vehicle electronics.
Make sure that the battery
of the donor vehicle has a
voltage rating of 12 V.If it is not standing firmly,
the motorcycle could
topple in the course of the
operations described below.
Always make sure that the
motorcycle is stable and
firmly supported.
Make sure the ground is
level and firm and place the
motorcycle on its stand.
When jump-starting the en-
gine, do not disconnect the
battery from the on-board
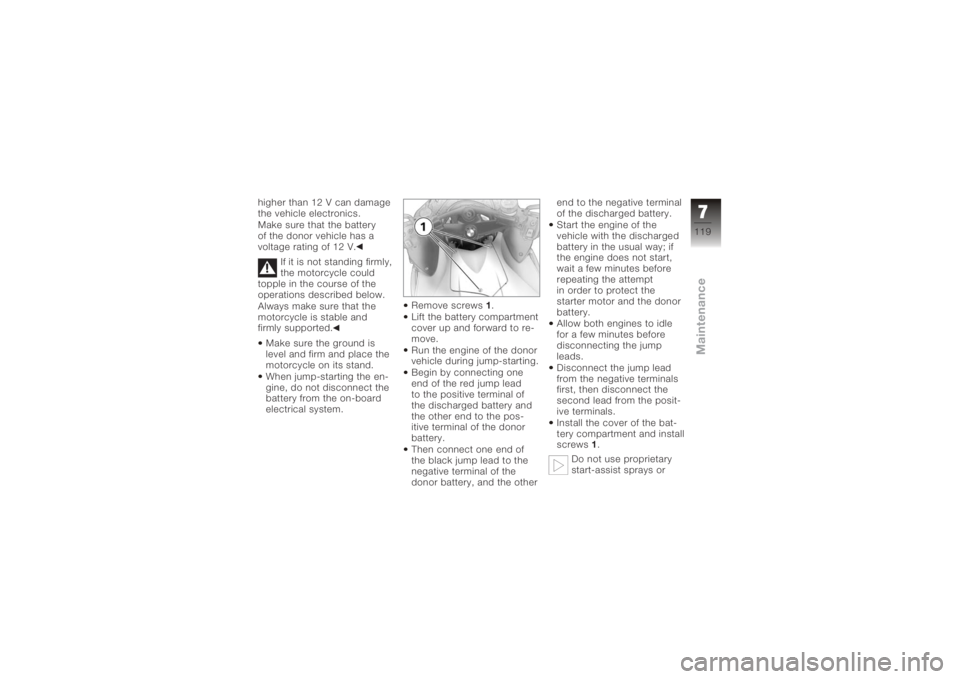
electrical system. Remove screws
1.
Lift the battery compartment
cover up and forward to re-
move.
Run the engine of the donor
vehicle during jump-starting.
Begin by connecting one
end of the red jump lead
to the positive terminal of
the discharged battery and
the other end to the pos-
itive terminal of the donor
battery.
Then connect one end of
the black jump lead to the
negative terminal of the
donor battery, and the other end to the negative terminal
of the discharged battery.
Start the engine of the
vehicle with the discharged
battery in the usual way; if
the engine does not start,
wait a few minutes before
repeating the attempt
in order to protect the
starter motor and the donor
battery.
Allow both engines to idle
for a few minutes before
disconnecting the jump
leads.
Disconnect the jump lead
from the negative terminals
first, then disconnect the
second lead from the posit-
ive terminals.
Install the cover of the bat-
tery compartment and install
screws
1.
Do not use proprietary
start-assist sprays or
7119zMaintenance