2008 BMW 760LI SEDAN tow
[x] Cancel search: towPage 9 of 254
7Reference
At a glance
Controls
Driving tips
Communications
Navigation
Entertainment
Mobility
For Canadian customers
Canadian customers who wish to report a
safety-related defect to Transport Canada,
Defect Investigations and Recalls, may call
1-800-333-0510 toll-free from anywhere in
Canada or 1-613-993-9851 from the Ottawa
region and from other countries, or contact
Transport Canada by mail at: Transport
Canada, ASFAD, Place de Ville, Tower C,
330 Sparks Street, Ottawa, ON, K1A 0N5.
You can also obtain other information about
motor vehicle safety from http://www.tc.gc.ca
Page 20 of 254
iDrive
18 DVDs can only be played on the rear
seat screen, refer to Rear seat
screen
* on page21.<
7Settings
>Parking brake58
>PDC Park Distance Control86
>EDC Electronic Damping Control89
>Programmable buttons52
>FTM Flat Tire Monitor
*90
>TPM Tire Pressure Monitor
*91
>Time and date84
>Language84
>Units of measure and display format84
>Brightness85
>Rear seat screen
*21
>Pairing mobile phone with vehicle182
8Climate
>Intensity of AUTO program104
>Air volume106
>Heated seats
*49
>Parked car ventilation109
>Extra, e.g. rear air conditioner108
Basic operation
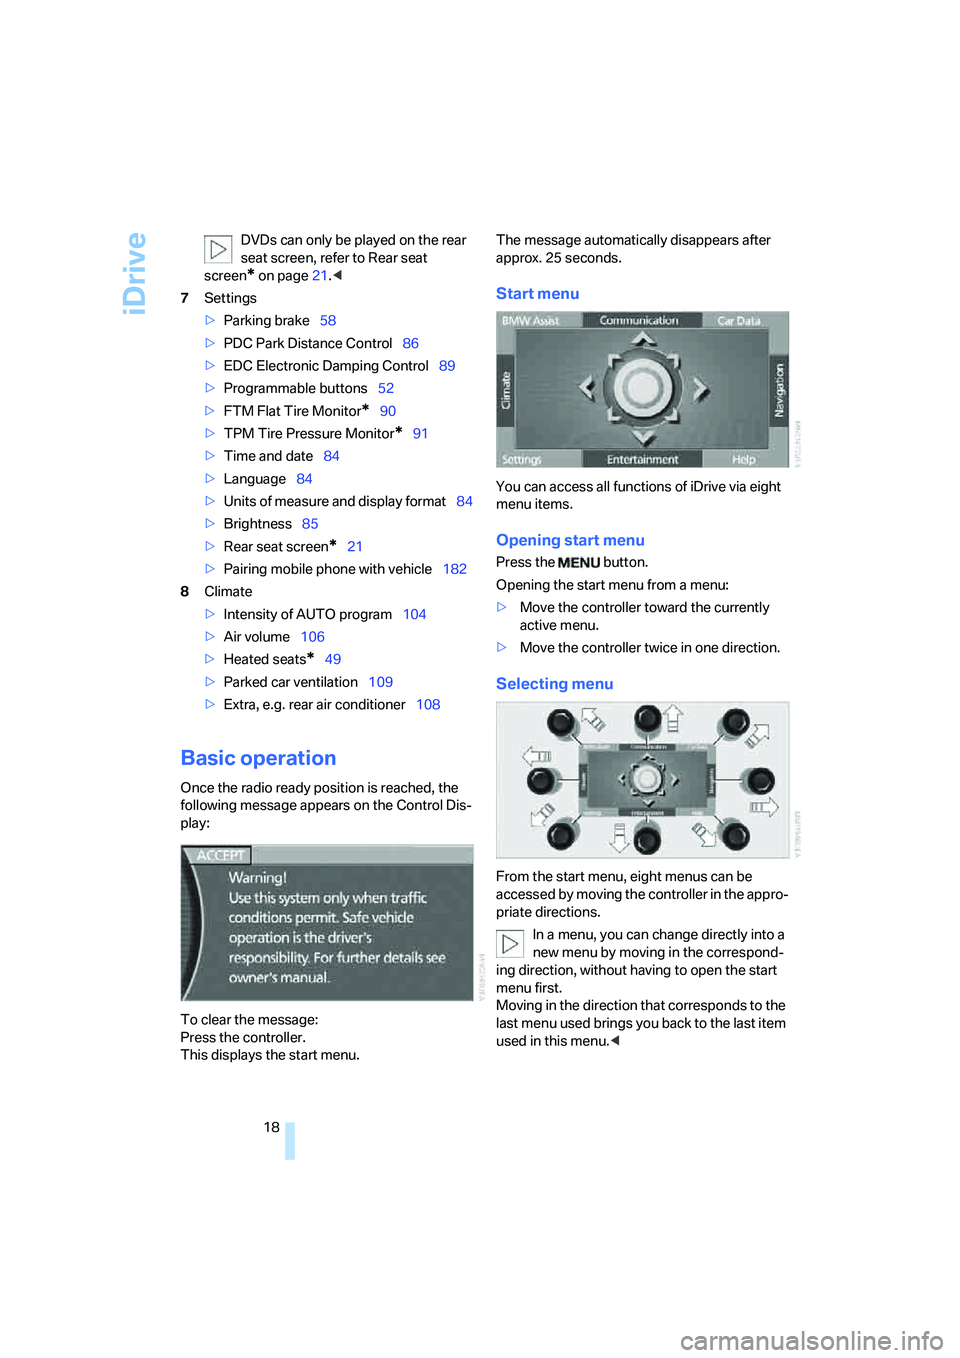
Once the radio ready position is reached, the
following message appears on the Control Dis-
play:
To clear the message:
Press the controller.
This displays the start menu.The message automatically disappears after
approx. 25 seconds.
Start menu
You can access all functions of iDrive via eight
menu items.
Opening start menu
Press the button.
Opening the start menu from a menu:
>Move the controller toward the currently
active menu.
>Move the controller twice in one direction.
Selecting menu
From the start menu, eight menus can be
accessed by moving the controller in the appro-
priate directions.
In a menu, you can change directly into a
new menu by moving in the correspond-
ing direction, without having to open the start
menu first.
Moving in the direction that corresponds to the
last menu used brings you back to the last item
used in this menu.<
Page 21 of 254
At a glance
19Reference
Controls
Driving tips
Communications
Navigation
Entertainment
Mobility
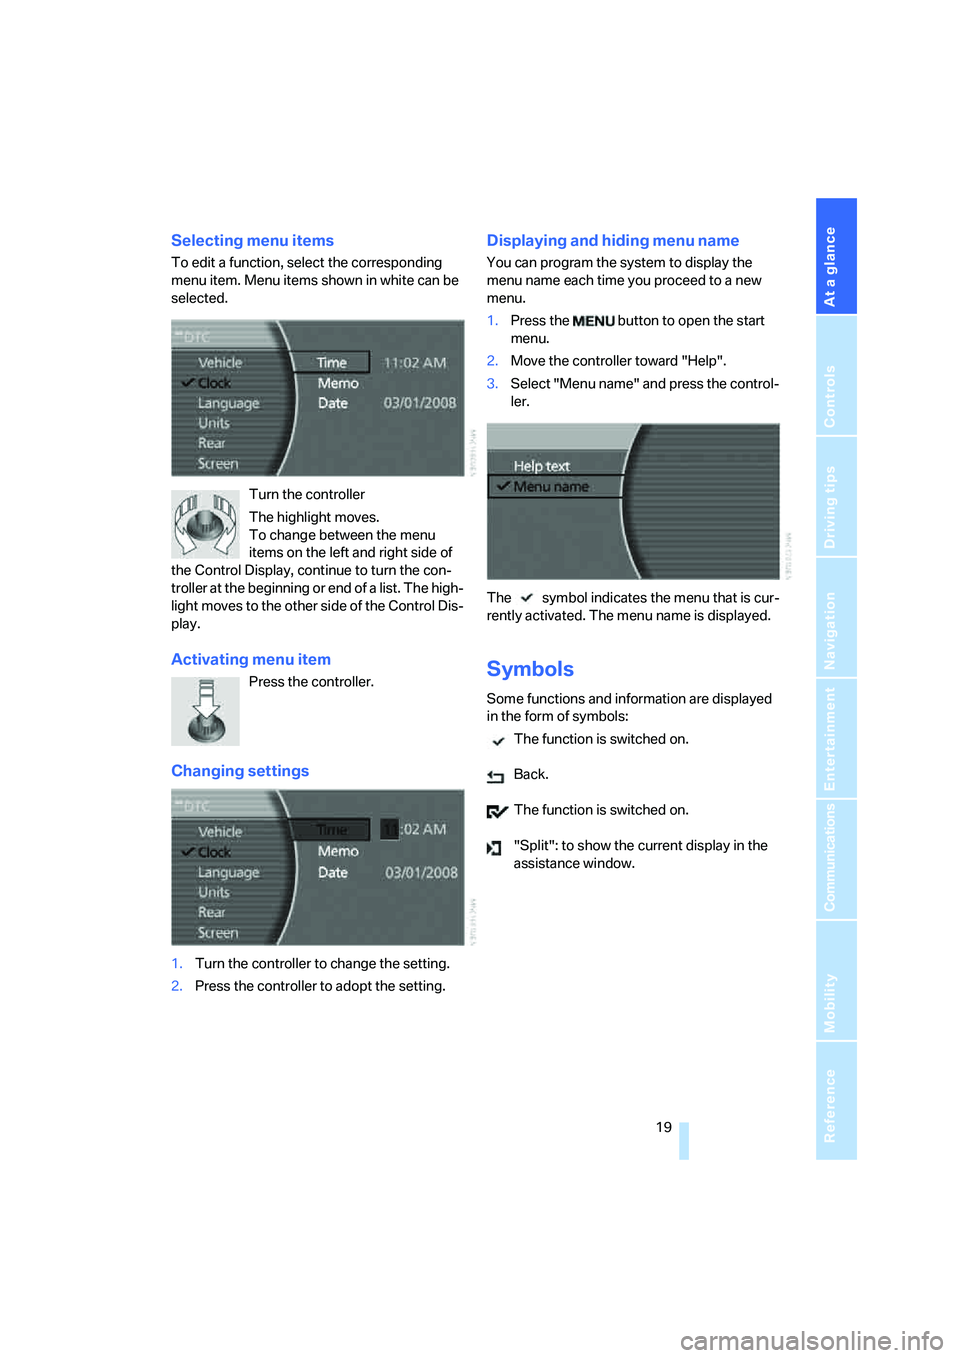
Selecting menu items
To edit a function, select the corresponding
menu item. Menu items shown in white can be
selected.
Turn the controller
The highlight moves.
To change between the menu
items on the left and right side of
the Control Display, continue to turn the con-
troller at the beginning or end of a list. The high-
light moves to the other side of the Control Dis-
play.
Activating menu item
Press the controller.
Changing settings
1.Turn the controller to change the setting.
2.Press the controller to adopt the setting.
Displaying and hiding menu name
You can program the system to display the
menu name each time you proceed to a new
menu.
1.Press the button to open the start
menu.
2.Move the controller toward "Help".
3.Select "Menu name" and press the control-
ler.
The symbol indicates the menu that is cur-
rently activated. The menu name is displayed.
Symbols
Some functions and information are displayed
in the form of symbols:
The function is switched on.
Back.
The function is switched on.
"Split": to show the current display in the
assistance window.
Page 23 of 254
At a glance
21Reference
Controls
Driving tips
Communications
Navigation
Entertainment
Mobility
Showing/hiding help texts
You can display help texts and supplementary
information on selected menu items in the
assistance window.
1.Press the button to open the start
menu.
2.Move the controller toward "Help".
3.Select "Help text" and press the controller.
The symbol indicates the menu that is cur-
rently activated.
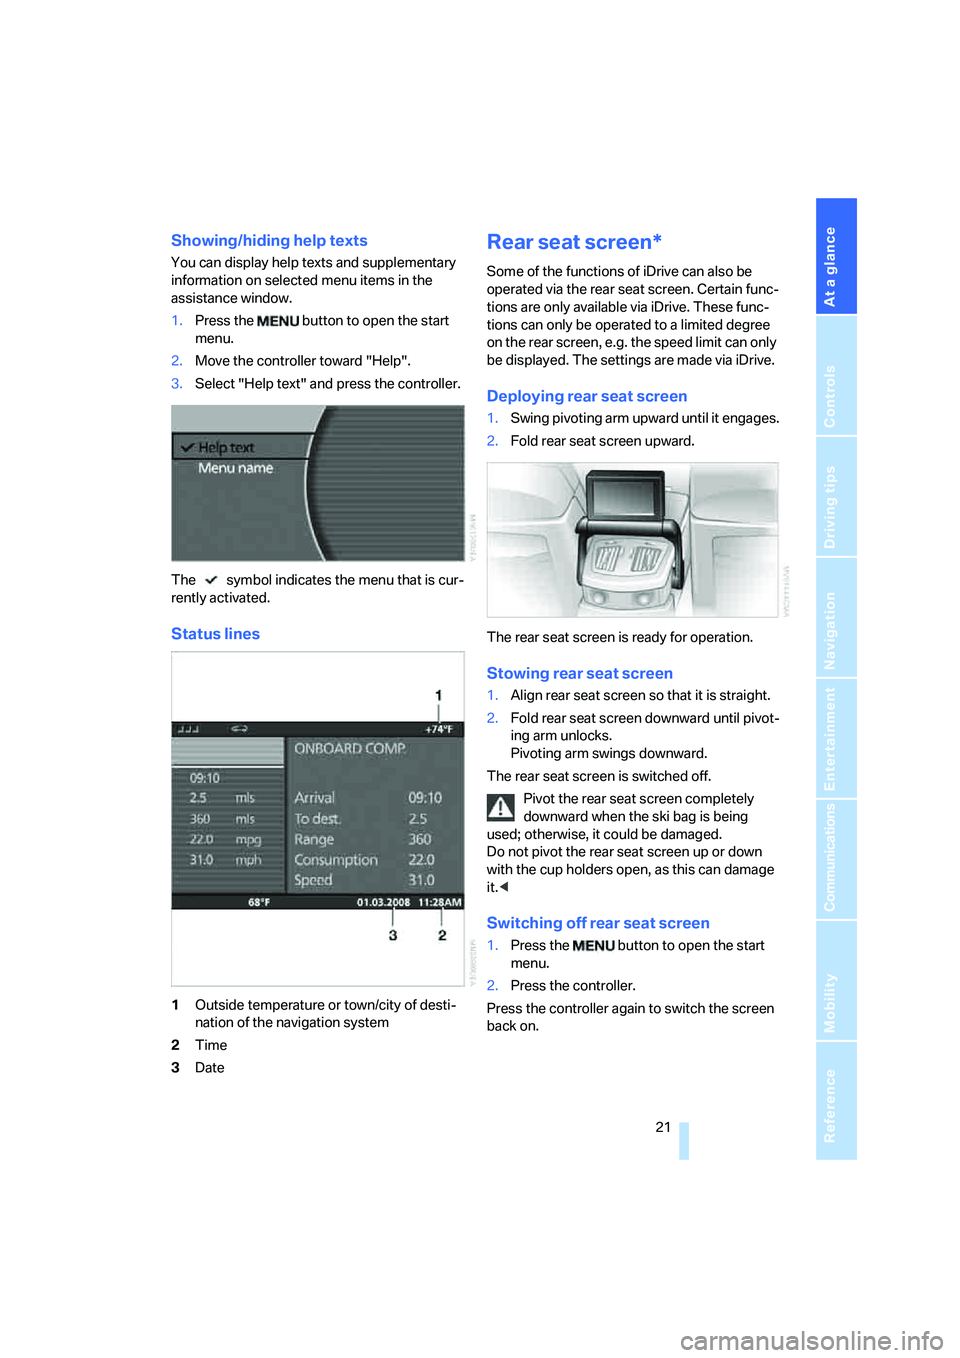
Status lines
1Outside temperature or town/city of desti-
nation of the navigation system
2Time
3Date
Rear seat screen*
Some of the functions of iDrive can also be
operated via the rear seat screen. Certain func-
tions are only available via iDrive. These func-
tions can only be operated to a limited degree
on the rear screen, e.g. the speed limit can only
be displayed. The settings are made via iDrive.
Deploying rear seat screen
1.Swing pivoting arm upward until it engages.
2.Fold rear seat screen upward.
The rear seat screen is ready for operation.
Stowing rear seat screen
1.Align rear seat screen so that it is straight.
2.Fold rear seat screen downward until pivot-
ing arm unlocks.
Pivoting arm swings downward.
The rear seat screen is switched off.
Pivot the rear seat screen completely
downward when the ski bag is being
used; otherwise, it could be damaged.
Do not pivot the rear seat screen up or down
with the cup holders open, as this can damage
it.<
Switching off rear seat screen
1.Press the button to open the start
menu.
2.Press the controller.
Press the controller again to switch the screen
back on.
Page 24 of 254
iDrive
22
Controller/buttons
The controller and buttons are located on the
center armrest.
Rear lock
The available functions are operated with the
respective controller.
You can use iDrive to restrict operation in the
rear or to switch off the rear seat screen.
iDrive, for principle details, refer to page16.
1.Press the button to open the start
menu.
2.Move the controller toward "Settings".
3.Select "Rear" and press the controller.
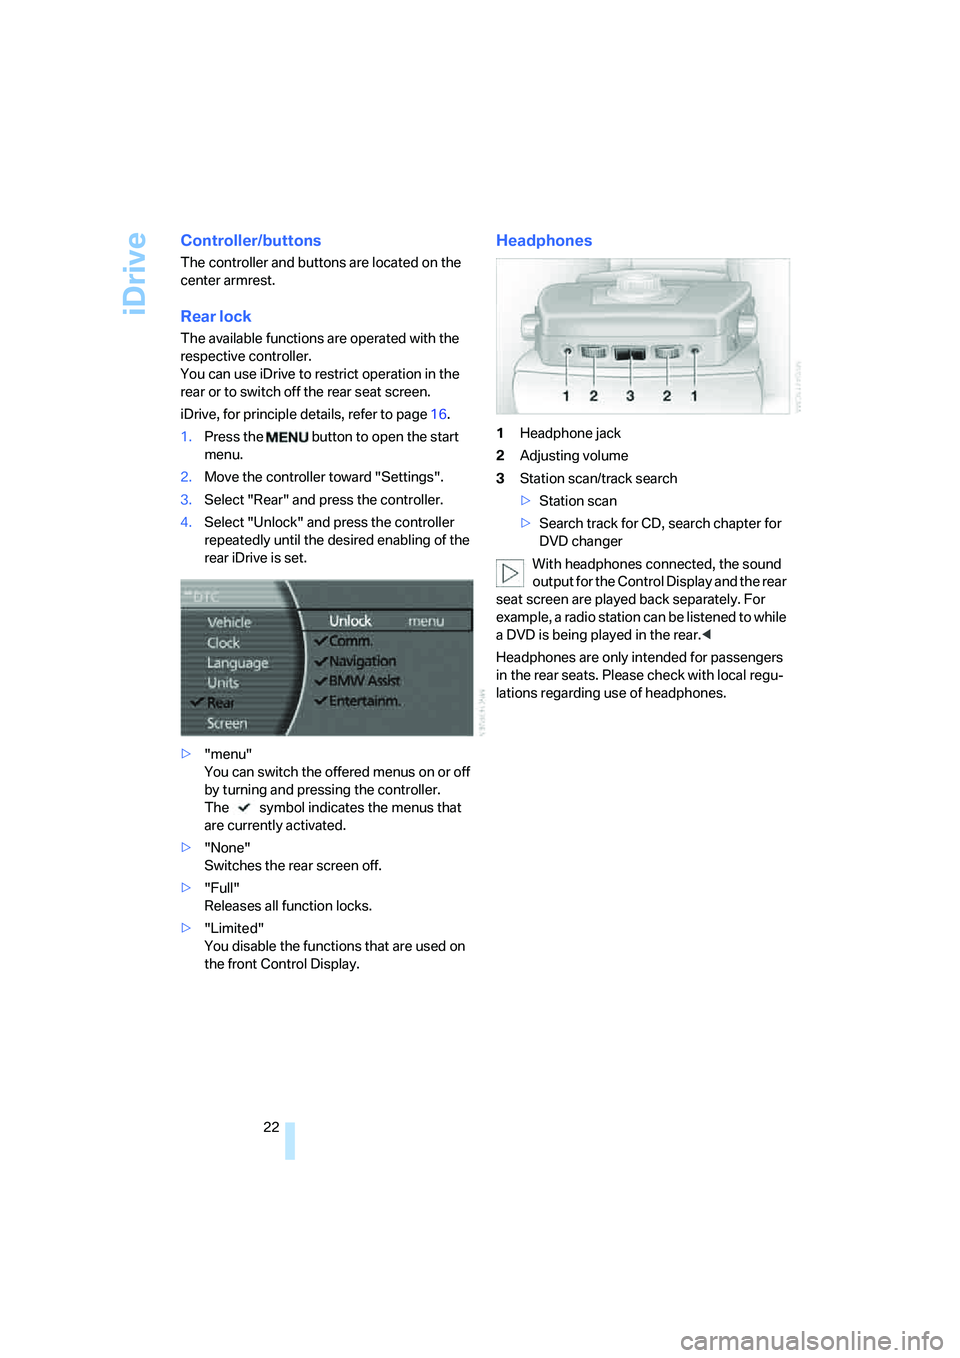
4.Select "Unlock" and press the controller
repeatedly until the desired enabling of the
rear iDrive is set.
>"menu"
You can switch the offered menus on or off
by turning and pressing the controller.
The symbol indicates the menus that
are currently activated.
>"None"
Switches the rear screen off.
>"Full"
Releases all function locks.
>"Limited"
You disable the functions that are used on
the front Control Display.
Headphones
1Headphone jack
2Adjusting volume
3Station scan/track search
>Station scan
>Search track for CD, search chapter for
DVD changer
With headphones connected, the sound
output for the Control Display and the rear
seat screen are played back separately. For
example, a radio station can be listened to while
a DVD is being played in the rear.<
Headphones are only intended for passengers
in the rear seats. Please check with local regu-
lations regarding use of headphones.
Page 27 of 254
At a glance
25Reference
Controls
Driving tips
Communications
Navigation
Entertainment
Mobility
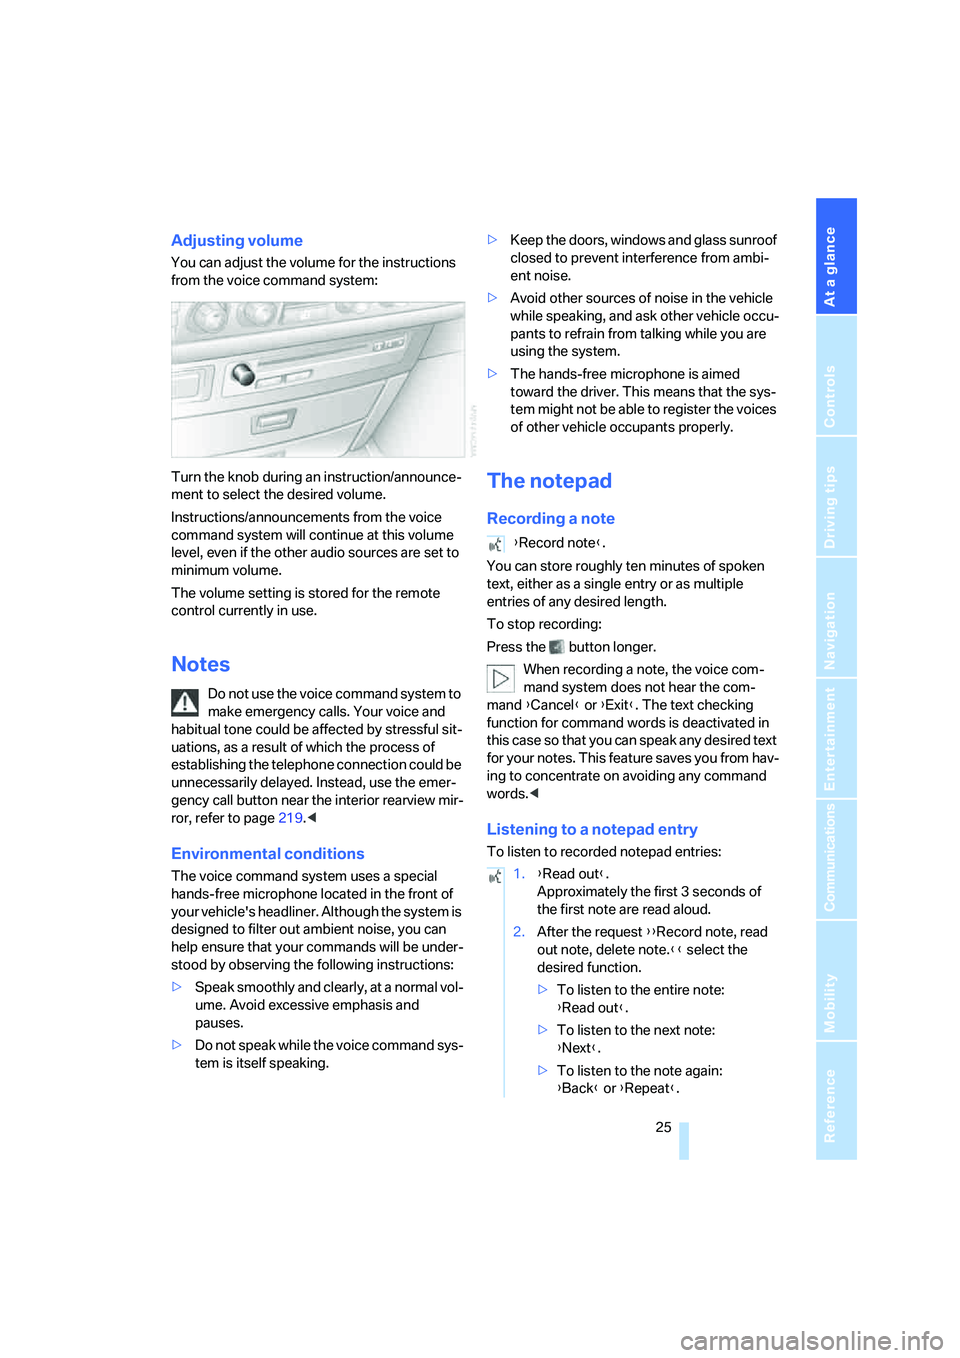
Adjusting volume
You can adjust the volume for the instructions
from the voice command system:
Turn the knob during an instruction/announce-
ment to select the desired volume.
Instructions/announcements from the voice
command system will continue at this volume
level, even if the other audio sources are set to
minimum volume.
The volume setting is stored for the remote
control currently in use.
Notes
Do not use the voice command system to
make emergency calls. Your voice and
habitual tone could be affected by stressful sit-
uations, as a result of which the process of
establishing the telephone connection could be
unnecessarily delayed. Instead, use the emer-
gency call button near the interior rearview mir-
ror, refer to page219.<
Environmental conditions
The voice command system uses a special
hands-free microphone located in the front of
your vehicle's headliner. Although the system is
designed to filter out ambient noise, you can
help ensure that your commands will be under-
stood by observing the following instructions:
>Speak smoothly and clearly, at a normal vol-
ume. Avoid excessive emphasis and
pauses.
>Do not speak while the voice command sys-
tem is itself speaking.>Keep the doors, windows and glass sunroof
closed to prevent interference from ambi-
ent noise.
>Avoid other sources of noise in the vehicle
while speaking, and ask other vehicle occu-
pants to refrain from talking while you are
using the system.
>The hands-free microphone is aimed
toward the driver. This means that the sys-
tem might not be able to register the voices
of other vehicle occupants properly.
The notepad
Recording a note
You can store roughly ten minutes of spoken
text, either as a single entry or as multiple
entries of any desired length.
To stop recording:
Press the button longer.
When recording a note, the voice com-
mand system does not hear the com-
mand {Cancel} or {Exit}. The text checking
function for command words is deactivated in
this case so that you can speak any desired text
for your notes. This feature saves you from hav-
ing to concentrate on avoiding any command
words.<
Listening to a notepad entry
To listen to recorded notepad entries:
{Record note}.
1.{Read out}.
Approximately the first 3 seconds of
the first note are read aloud.
2.After the request {{Record note, read
out note, delete note.}} select the
desired function.
>To listen to the entire note:
{Read out}.
>To listen to the next note:
{Next}.
>To listen to the note again:
{Back} or {Repeat}.
Page 39 of 254
Controls
37Reference
At a glance
Driving tips
Communications
Navigation
Entertainment
Mobility
Manual operation
In the case of an electrical malfunction, you can
unlock the luggage compartment lid with the
key, refer to page35, and slowly open and close
it without sudden movements.
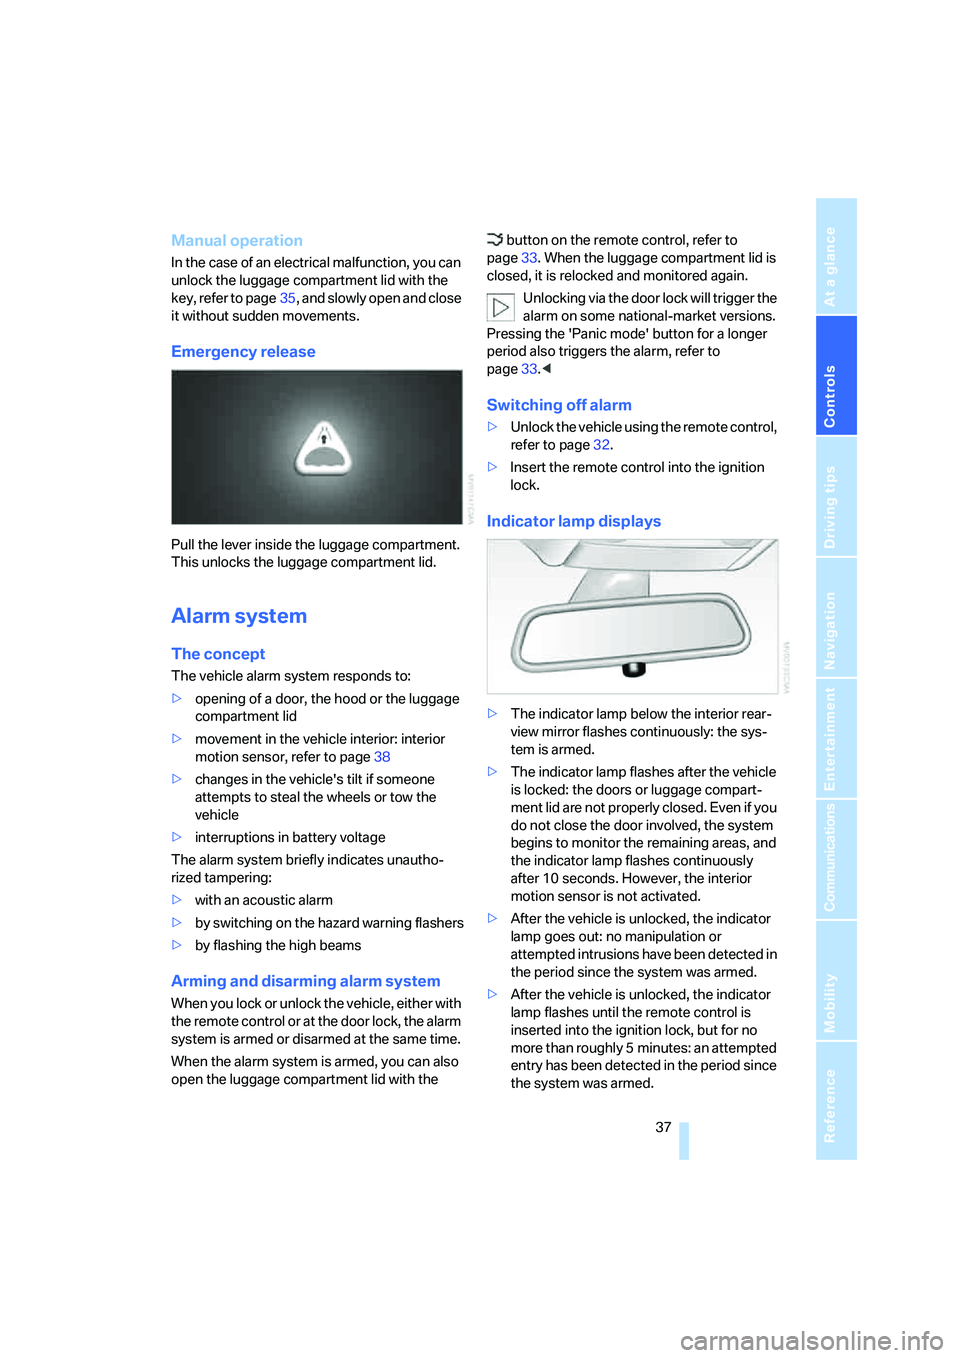
Emergency release
Pull the lever inside the luggage compartment.
This unlocks the luggage compartment lid.
Alarm system
The concept
The vehicle alarm system responds to:
>opening of a door, the hood or the luggage
compartment lid
>movement in the vehicle interior: interior
motion sensor, refer to page38
>changes in the vehicle's tilt if someone
attempts to steal the wheels or tow the
vehicle
>interruptions in battery voltage
The alarm system briefly indicates unautho-
rized tampering:
>with an acoustic alarm
>by switching on
the hazard warning flashers
>by flashing the high beams
Arming and disarming alarm system
When you lock or unlock the vehicle, either with
the remote control or at the door lock, the alarm
system is armed or disarmed at the same time.
When the alarm system is armed, you can also
open the luggage compartment lid with the button on the remote control, refer to
page33. When the luggage compartment lid is
closed, it is relocked and monitored again.
Unlocking via the door lock will trigger the
alarm on some national-market versions.
Pressing the 'Panic mode' button for a longer
period also triggers the alarm, refer to
page33.<
Switching off alarm
>Unlock the vehicle using the remote control,
refer to page32.
>Insert the remote control into the ignition
lock.
Indicator lamp displays
>The indicator lamp below the interior rear-
view mirror flashes continuously: the sys-
tem is armed.
>The indicator lamp flashes after the vehicle
is locked: the doors or luggage compart-
ment lid are not properly closed. Even if you
do not close the door involved, the system
begins to monitor the remaining areas, and
the indicator lamp flashes continuously
after 10 seconds. However, the interior
motion sensor is not activated.
>After the vehicle is unlocked, the indicator
lamp goes out: no manipulation or
attempted intrusions have been detected in
the period since the system was armed.
>After the vehicle is unlocked, the indicator
lamp flashes until the remote control is
inserted into the ignition lock, but for no
more than roughly 5 minutes: an attempted
entry has been detected in the period since
the system was armed.
Page 40 of 254
Opening and closing
38
Tilt alarm sensor
The tilt of the vehicle is monitored. The alarm
system reacts, e.g. in case of an attempted
wheel theft or towing.
Interior motion sensor
In order for the interior motion sensor to func-
tion properly, the windows and glass sunroof
must be completely closed.
Avoiding unintentional alarms
The tilt alarm sensor and interior motion sensor
may be switched off at the same time. This pre-
vents unintentional alarms, e.g. in the following
situations:
>In duplex garages
>During transport on car-carrying trains,
boats/ships or on a trailer
>When animals are to remain in the vehicle
Switching off tilt alarm sensor and
interior motion sensor
Press the button on the remote control
again as soon as the vehicle is locked.
The indicator lamp lights up briefly and then
flashes continuously. The tilt alarm sensor and
the interior motion sensor are switched off until
the next time the vehicle is unlocked and subse-
quently locked again.
Comfort Access*
With Comfort Access, you can have access to
your vehicle without having to hold the remote
control in your hand. It is sufficient to carry the
remote control on your person, e.g. in a jacket
pocket. The vehicle automatically detects the
associated remote control inside the vehicle or
in its immediate vicinity.
Comfort Access supports the following func-
tions:
>Locking/unlocking the vehicle
>Unlocking the luggage compartment lid
separately
>Starting the engine
Functional requirements
>The vehicle can only be locked if the remote
control is outside the vehicle.
>The next unlocking and locking cycle is not
possible until after approx. 2 seconds.
>The engine can only be started if the remote
control is inside the vehicle.
Comparison to conventional remote
control
You can control the functions mentioned previ-
ously with the Comfort Access or by pressing
the buttons on the remote control. Therefore
please first familiarize yourself with the instruc-
tions for opening and closing, starting on
page32.
The specific features involved in the use of
Comfort Access are described below.
If a short delay occurs when opening or
closing the windows and the glass sun-
roof, then this indicates that the system is
checking whether a remote control is located in
the vehicle. Please repeat opening or closing if
necessary.<
Unlocking
Pull a door handle. This corresponds to press-
ing the button.
Only the door of the door handle you have
pulled is unlocked.
You unlock the other doors from the inside,
using the central locking system button, refer to
page34.<
Locking
Push a door handle. This corresponds to press-
ing the button.
Before locking, make sure that the igni-
tion and all current-consuming devices
are switched off in order to minimized the drain
on the battery.
If a remote control is detected in the interior, the
vehicle is unlocked again or not locked in the
first place.<