2008 BMW 750I SEDAN remote control
[x] Cancel search: remote controlPage 114 of 254
Practical interior accessories
112 The corresponding memory button1 is now
programmed with the signal of the original
hand-held transmitter.
You can operate the system when the engine is
running or when the ignition is switched on.
If the device cannot be used after
repeated programming, check whether
the original hand-held transmitter uses an alter-
nating-code system. To do so, either read the
instructions of the original hand-held transmit-
ter or press and hold down the programmed
memory button1 of the integrated universal
remote control. If the LED2 on the integrated
universal remote control flashes rapidly for a
short time and then remains lit for approx.
2 seconds, then this indicates that the original
hand-held transmitter is equipped with an alter-
nating-code system. In the case of an alternat-
ing-code system, program the memory but-
tons 1 as described in the Alternating-code
hand-held transmitters section below.<
Alternating-code hand-held
transmitters
Consult the operating instructions of the unit
you wish to set when programming the univer-
sal remote control. You will find information
there on the possibilities for synchronization.
When programming hand-held transmitters
that employ an alternating code, please follow
the supplementary instructions below:
Programming will be easier with the aid of
a second person.<
1.Park your vehicle within the range of the
remote-controlled device.
2.Program the integrated universal remote
control as described above in the Fixed-
code hand-held transmitters section.
3.Locate the button on the receiver of the
device you want to set up, e.g. on the upper
section of its drive unit.
4.Press the button on the receiver of the
device you want to set up. After step 4, you
have approx. 30 seconds for step 5.5.Press the programmable memory button1
on the integrated universal remote control
three times.
The corresponding memory button1 is now
programmed with the signal of the original
hand-held transmitter.
If you have any additional questions,
please contact your BMW center.<
Deleting stored programs
Press the left and right memory buttons1 for
approx. 20 seconds until the LED2 flashes rap-
idly:
All stored programs are deleted.
It is not possible to delete individual programs.
Roller sun blinds*
Rear window blind
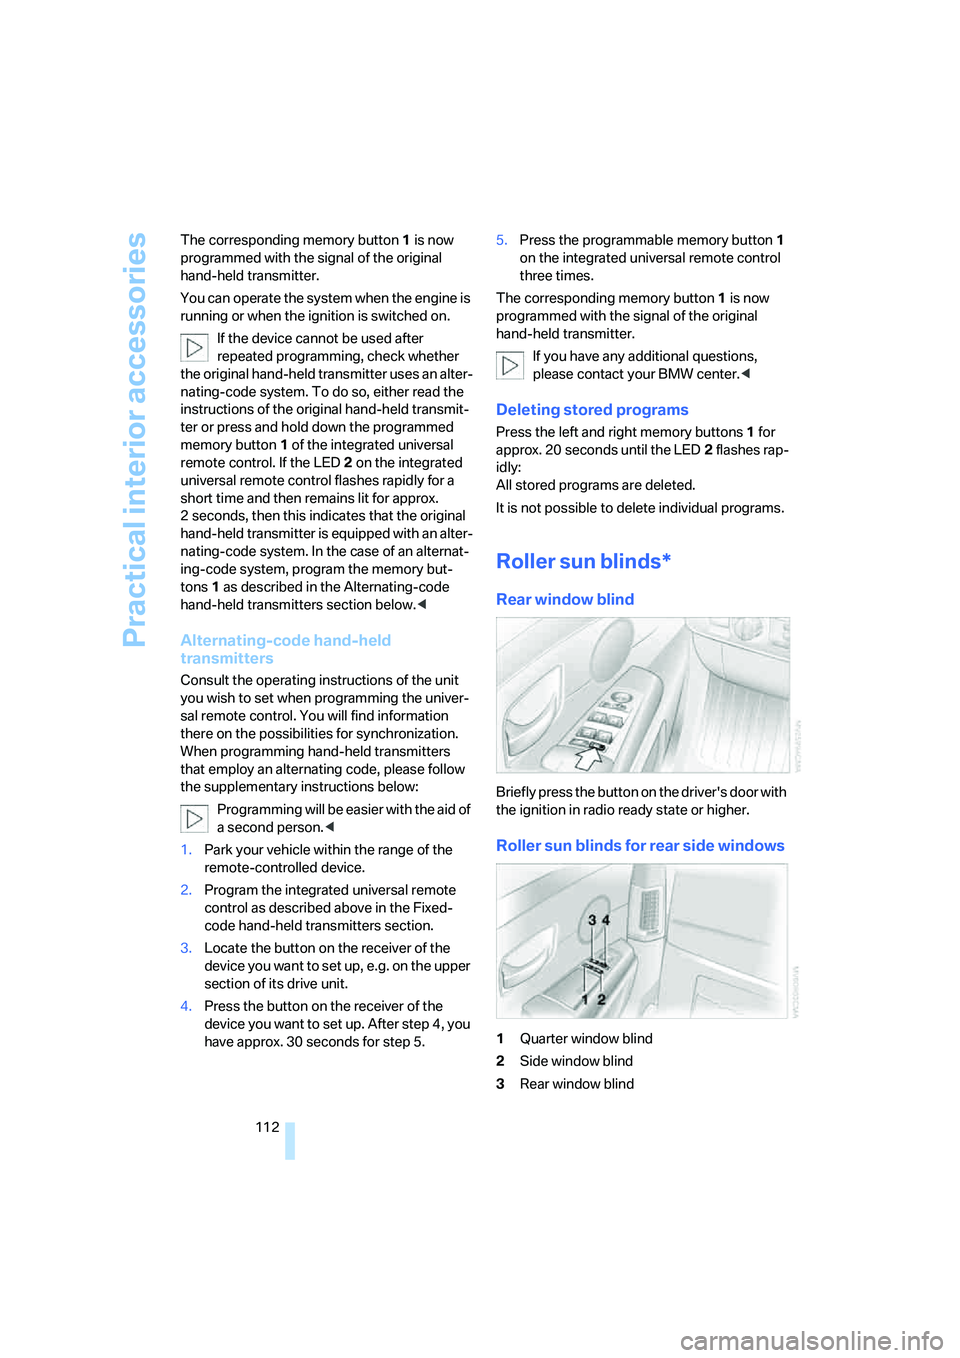
Briefly press the button on the driver's door with
the ignition in radio ready state or higher.
Roller sun blinds for rear side windows
1Quarter window blind
2Side window blind
3Rear window blind
Page 115 of 254
Controls
113Reference
At a glance
Driving tips
Communications
Navigation
Entertainment
Mobility
4Switching to the other side
Briefly press the corresponding button with the
ignition in radio ready state or higher.
The side window blind can not be
extended unless the side window is
closed. If the side window is open, the blind will
rise slightly prior to immediately retracting to its
original position.<
To avoid injuries, make sure that the clos-
ing region of the roller blind is clear.
Press the safety switch on the driver's door,
refer to page40. The LED must light up. This
precaution prevents children from operating
the sun blinds using the rear switches, etc.
When leaving the vehicle parked, remove the
remote control from the ignition lock and close
the doors; this precaution prevents children
from operating the roller sun blinds and injuring
themselves.<
Automatically extending and retracting
sun blinds
You can run the sun blinds up and down
together when you press and hold the button3
longer.
Glove compartment
Releasing
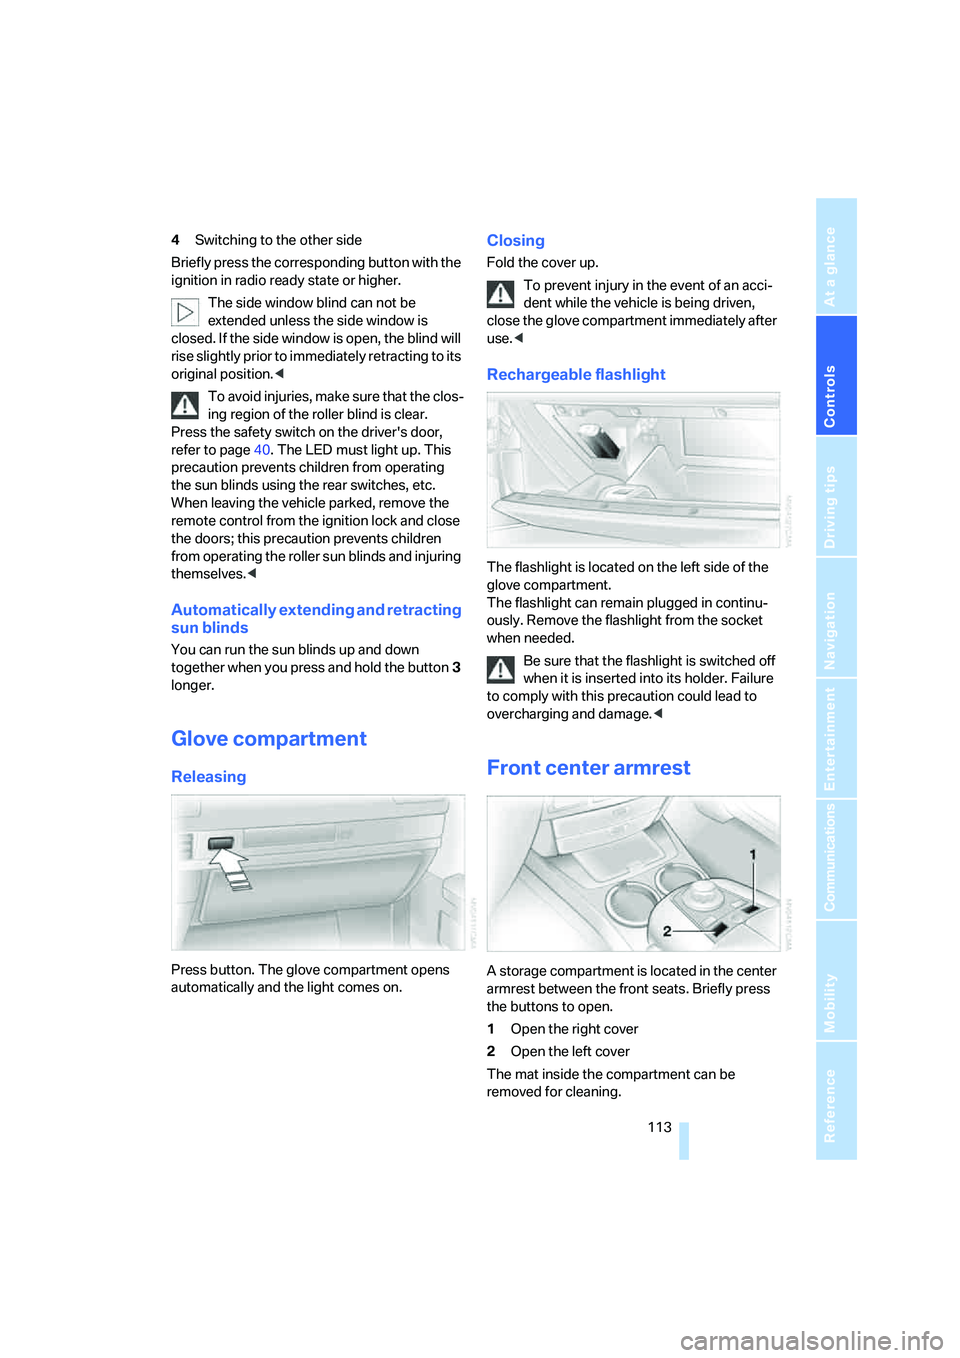
Press button. The glove compartment opens
automatically and the light comes on.
Closing
Fold the cover up.
To prevent injury in the event of an acci-
dent while the vehicle is being driven,
close the glove compartment immediately after
use.<
Rechargeable flashlight
The flashlight is located on the left side of the
glove compartment.
The flashlight can remain plugged in continu-
ously. Remove the flashlight from the socket
when needed.
Be sure that the flashlight is switched off
when it is inserted into its holder. Failure
to comply with this precaution could lead to
overcharging and damage.<
Front center armrest
A storage compartment is located in the center
armrest between the front seats. Briefly press
the buttons to open.
1Open the right cover
2Open the left cover
The mat inside the compartment can be
removed for cleaning.
Page 116 of 254
Practical interior accessories
114 Depending upon your equipment package, any
of the following may be located in the storage
compartment:
>Removable CD holder
*
>Folding, removable storage compartment*,
e.g. for glasses or mobile phone
>Folding, removable waste receptacle
*
Locking storage compartment
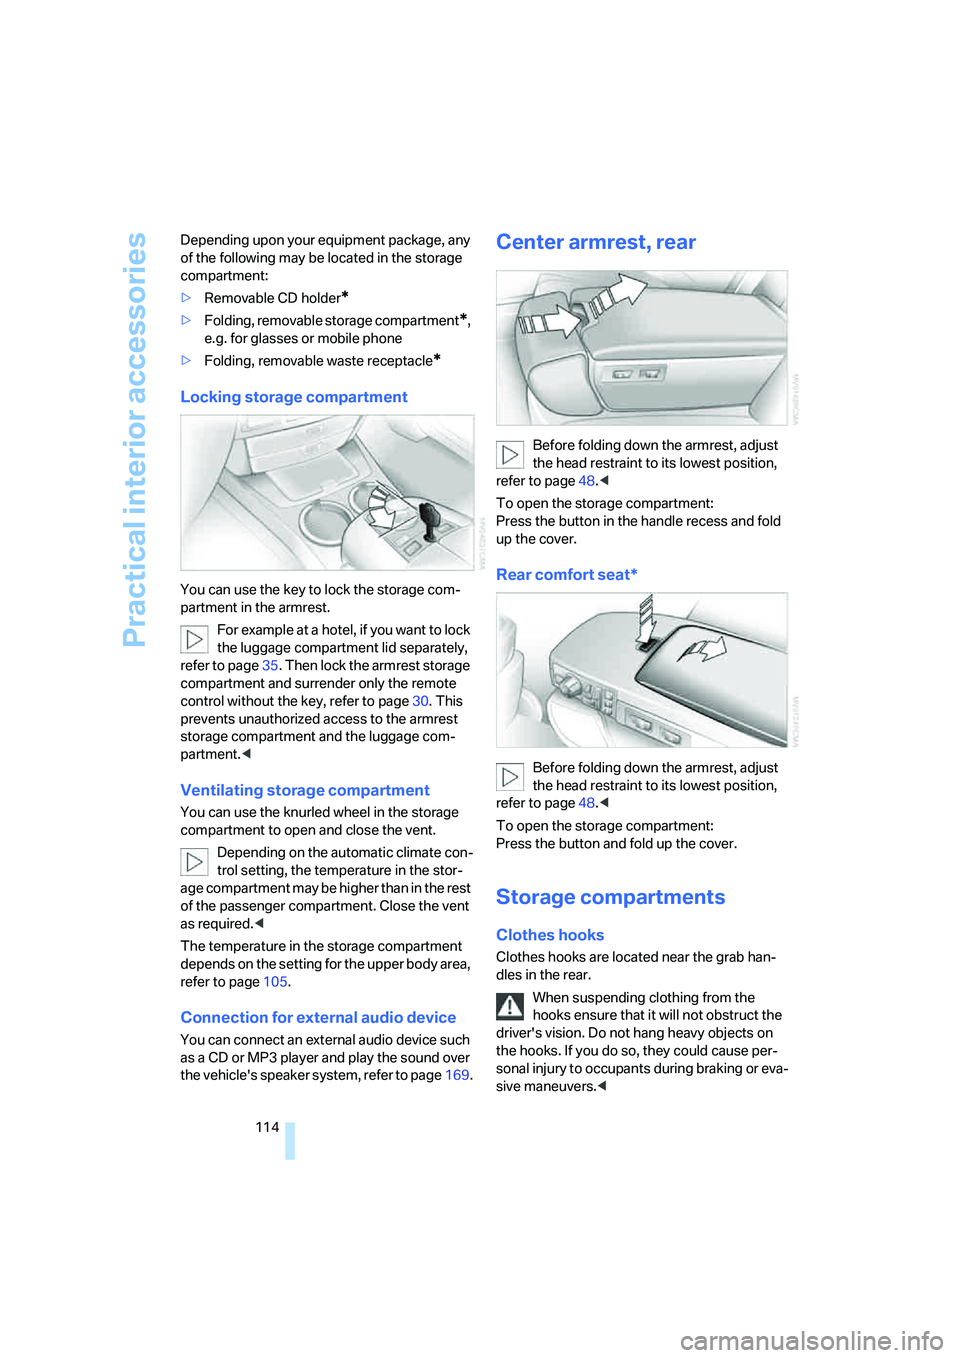
You can use the key to lock the storage com-
partment in the armrest.
For example at a hotel, if you want to lock
the luggage compartment lid separately,
refer to page35. Then lock the armrest storage
compartment and surrender only the remote
control without the key, refer to page30. This
prevents unauthorized access to the armrest
storage compartment and the luggage com-
partment.<
Ventilating storage compartment
You can use the knurled wheel in the storage
compartment to open and close the vent.
Depending on the automatic climate con-
trol setting, the temperature in the stor-
age compartment may be higher than in the rest
of the passenger compartment. Close the vent
as required.<
The temperature in the storage compartment
depends on the setting for the upper body area,
refer to page105.
Connection for external audio device
You can connect an external audio device such
as a CD or MP3 player and play the sound over
the vehicle's speaker system, refer to page169.
Center armrest, rear
Before folding down the armrest, adjust
the head restraint to its lowest position,
refer to page48.<
To open the storage compartment:
Press the button in the handle recess and fold
up the cover.
Rear comfort seat*
Before folding down the armrest, adjust
the head restraint to its lowest position,
refer to page48.<
To open the storage compartment:
Press the button and fold up the cover.
Storage compartments
Clothes hooks
Clothes hooks are located near the grab han-
dles in the rear.
When suspending clothing from the
hooks ensure that it will not obstruct the
driver's vision. Do not hang heavy objects on
the hooks. If you do so, they could cause per-
sonal injury to occupants during braking or eva-
sive maneuvers.<
Page 118 of 254
Practical interior accessories
116
Cigarette lighter, front
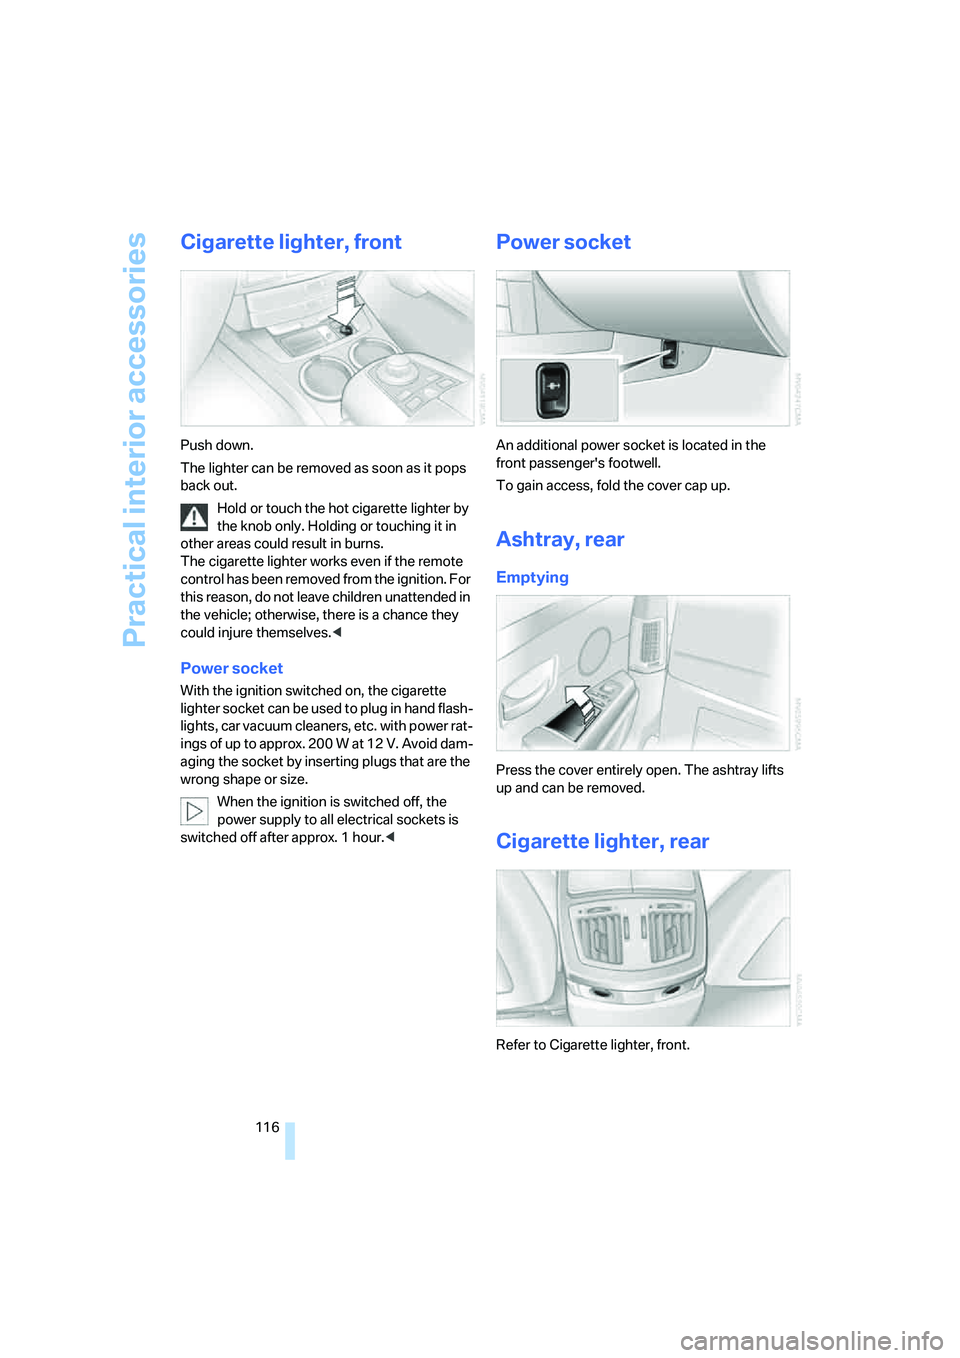
Push down.
The lighter can be removed as soon as it pops
back out.
Hold or touch the hot cigarette lighter by
the knob only. Holding or touching it in
other areas could result in burns.
The cigarette lighter works even if the remote
control has been removed from the ignition. For
this reason, do not leave children unattended in
the vehicle; otherwise, there is a chance they
could injure themselves.<
Power socket
With the ignition switched on, the cigarette
lighter socket can be used to plug in hand flash-
lights, car vacuum cleaners, etc. with power rat-
ings of up to approx. 200 W at 12 V. Avoid dam-
aging the socket by inserting plugs that are the
wrong shape or size.
When the ignition is switched off, the
power supply to all electrical sockets is
switched off after approx. 1 hour.<
Power socket
An additional power socket is located in the
front passenger's footwell.
To gain access, fold the cover cap up.
Ashtray, rear
Emptying
Press the cover entirely open. The ashtray lifts
up and can be removed.
Cigarette lighter, rear
Refer to Cigarette lighter, front.
Page 148 of 254
Route guidance
146
Displaying streets or towns on the
route
You can have the names of the streets and
towns/cities on your route displayed whenever
the route guidance is active.
The display also shows the distances to be trav-
eled on each individual road.
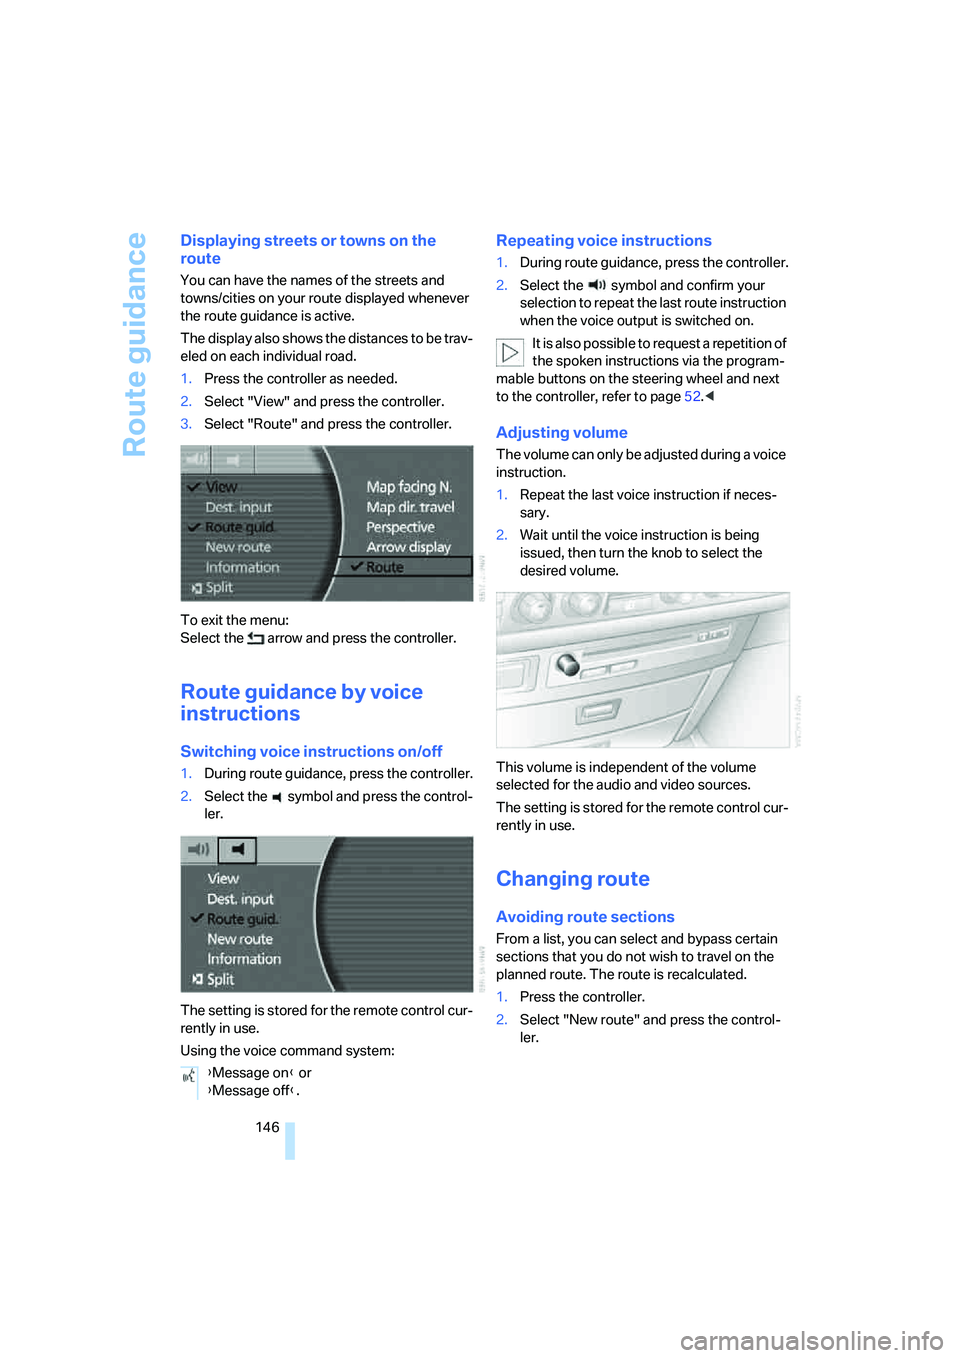
1.Press the controller as needed.
2.Select "View" and press the controller.
3.Select "Route" and press the controller.
To exit the menu:
Select the arrow and press the controller.
Route guidance by voice
instructions
Switching voice instructions on/off
1.During route guidance, press the controller.
2.Select the symbol and press the control-
ler.
The setting is stored for the remote control cur-
rently in use.
Using the voice command system:
Repeating voice instructions
1.During route guidance, press the controller.
2.Select the symbol and confirm your
selection to repeat the last route instruction
when the voice output is switched on.
It is also possible to request a repetition of
the spoken instructions via the program-
mable buttons on the steering wheel and next
to the controller, refer to page52.<
Adjusting volume
The volume can only be adjusted during a voice
instruction.
1.Repeat the last voice instruction if neces-
sary.
2.Wait until the voice instruction is being
issued, then turn the knob to select the
desired volume.
This volume is independent of the volume
selected for the audio and video sources.
The setting is stored for the remote control cur-
rently in use.
Changing route
Avoiding route sections
From a list, you can select and bypass certain
sections that you do not wish to travel on the
planned route. The route is recalculated.
1.Press the controller.
2.Select "New route" and press the control-
ler.
{Message on} or
{Message off}.
Page 155 of 254
Navigation
Entertainment
Driving tips
153Reference
At a glance
Controls
Communications
Mobility
wheel, refer to page11, and via the voice com-
mand system
*, refer to page23.
Switching on/off
In order to switch the Entertainment sound out-
put on/off: press the knob.
The system selects the most recently used
audio or video source, radio, CD, external audio
device, or DVD.
Using the voice command system:
Using with ignition off
The audio and video functions remain available
for use for a period of approx. 30 minutes after
you switch off the ignition.
Switch the sound output back on to enjoy this
function.
Adjusting volume
Turn the knob to the desired volume level.
The sound system automatically reverts
to its mute mode whenever you initiate or
accept a phone call.
Tone control
You can change various tone settings, e.g. tre-
ble and bass or the speed-dependent volume
control. The tone settings are set globally for all
of the audio sources.
Speakers, headsets in the rear, and external
audio devices can be adjusted separately. The
sound settings of the headphones are made on
the rear seat screen with the headphones con-
nected. Only treble, bass and balance can be
adjusted.
The setting is stored for the remote control cur-
rently in use.
Tone adjustment
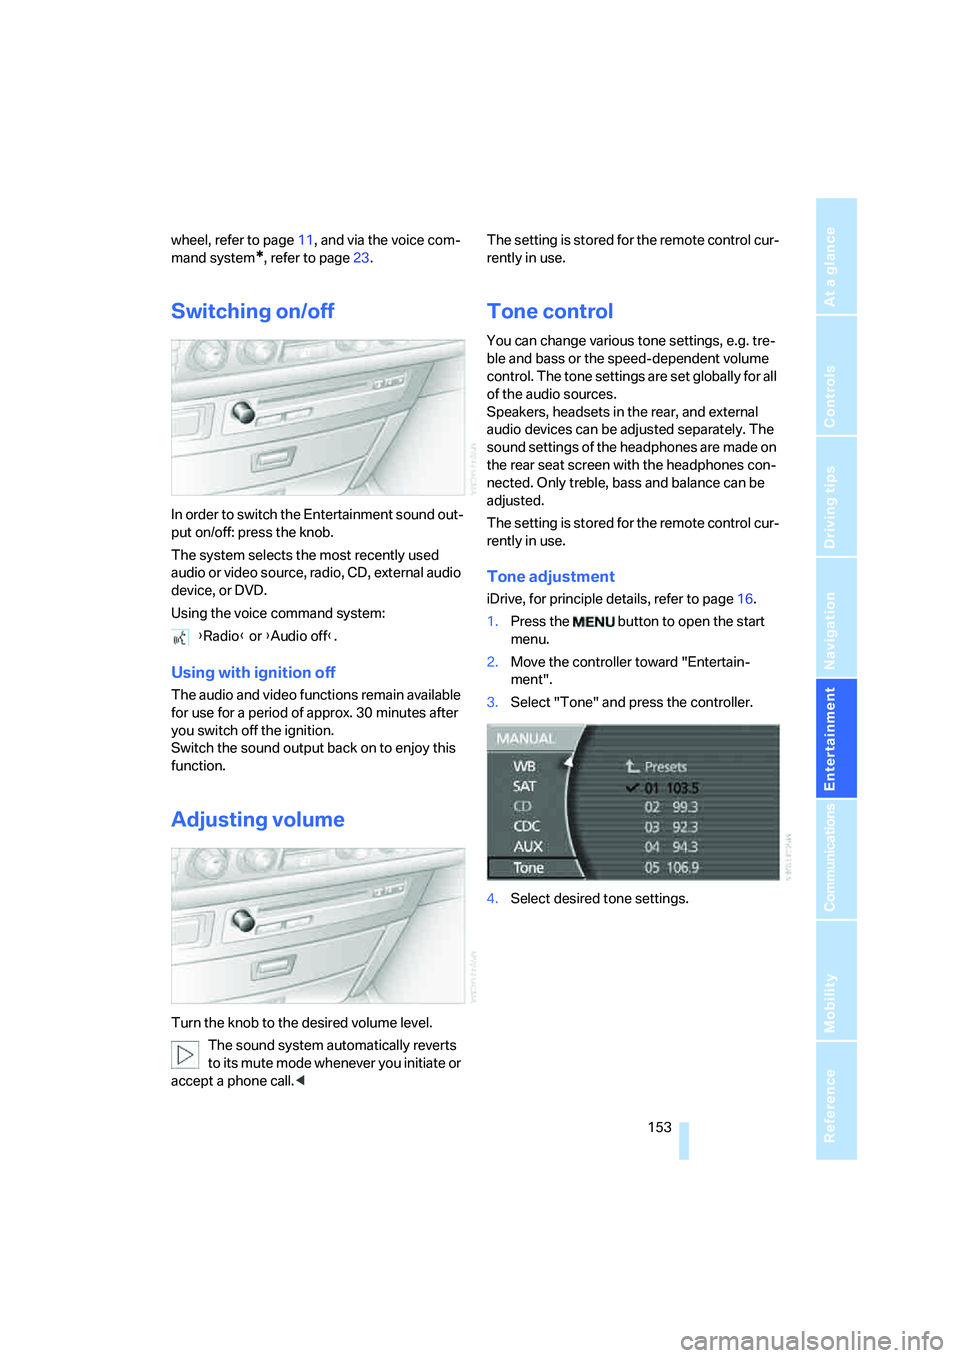
iDrive, for principle details, refer to page16.
1.Press the button to open the start
menu.
2.Move the controller toward "Entertain-
ment".
3.Select "Tone" and press the controller.
4.Select desired tone settings. {Radio} or {Audio off}.
Page 161 of 254
Navigation
Entertainment
Driving tips
159Reference
At a glance
Controls
Communications
Mobility
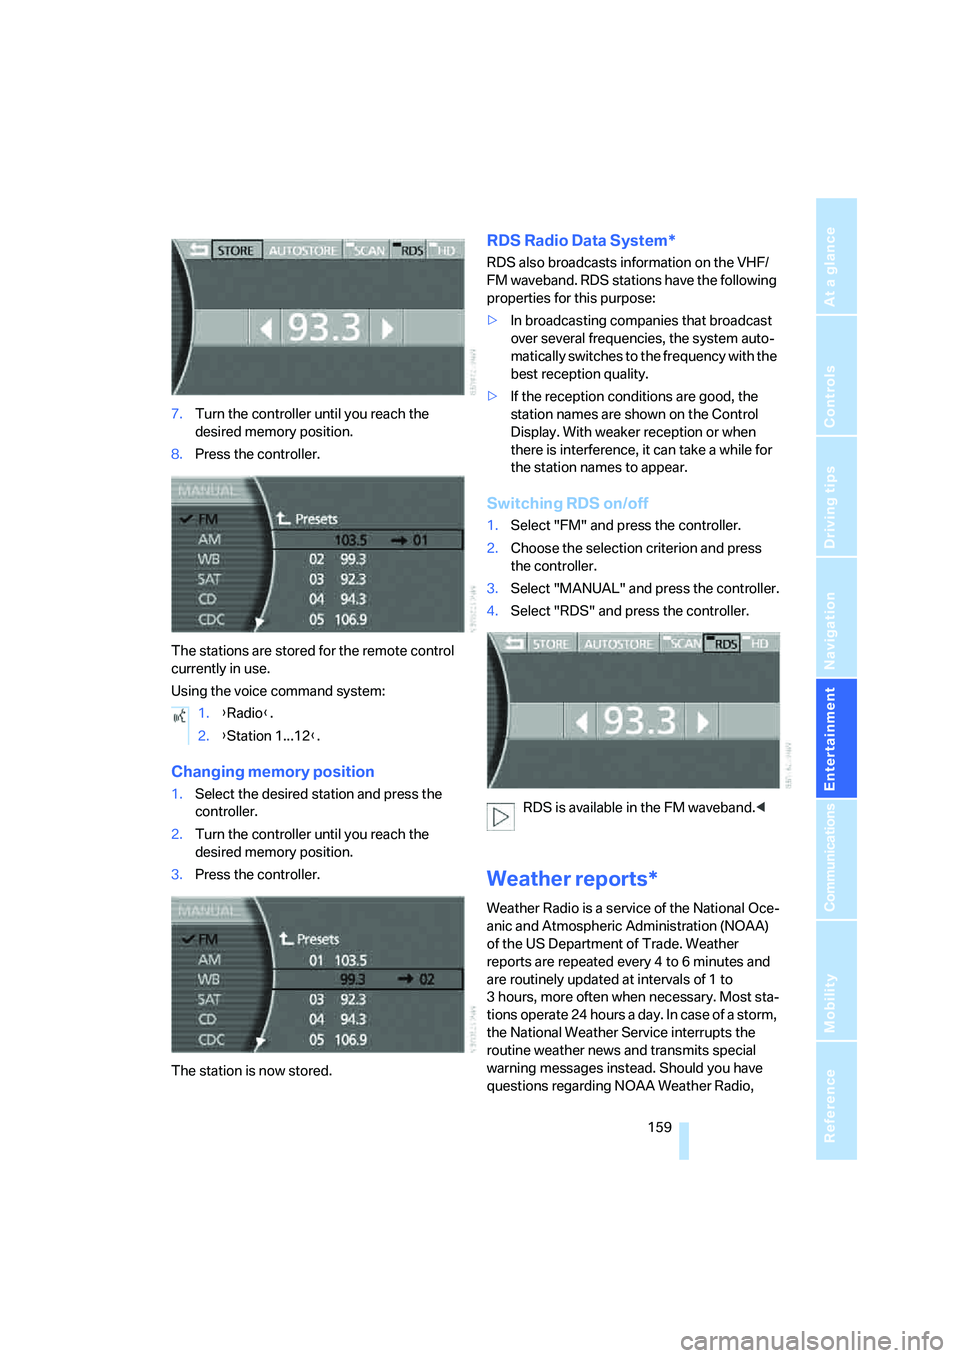
7.Turn the controller until you reach the
desired memory position.
8.Press the controller.
The stations are stored for the remote control
currently in use.
Using the voice command system:
Changing memory position
1.Select the desired station and press the
controller.
2.Turn the controller until you reach the
desired memory position.
3.Press the controller.
The station is now stored.
RDS Radio Data System*
RDS also broadcasts information on the VHF/
FM waveband. RDS stations have the following
properties for this purpose:
>In broadcasting companies that broadcast
over several frequencies, the system auto-
matically switches to the frequency with the
best reception quality.
>If the reception conditions are good, the
station names are shown on the Control
Display. With weaker reception or when
there is interference, it can take a while for
the station names to appear.
Switching RDS on/off
1.Select "FM" and press the controller.
2.Choose the selection criterion and press
the controller.
3.Select "MANUAL" and press the controller.
4.Select "RDS" and press the controller.
RDS is available in the FM waveband.<
Weather reports*
Weather Radio is a service of the National Oce-
anic and Atmospheric Administration (NOAA)
of the US Department of Trade. Weather
reports are repeated every 4 to 6 minutes and
are routinely updated at intervals of 1 to
3 hours, more often when necessary. Most sta-
tions operate 24 hours a day. In case of a storm,
the National Weather Service interrupts the
routine weather news and transmits special
warning messages instead. Should you have
questions regarding NOAA Weather Radio, 1.{Radio}.
2.{Station 1...12}.
Page 181 of 254
179
Entertainment
Reference
At a glance
Controls
Driving tips Communications
Navigation
Mobility
Hands-free system
The hands-free microphone is located on the
left-hand side on the headliner.
The hands-free system is activated whenever
you establish or receive a call using the follow-
ing:
>the button on the steering wheel, refer to
page11
>the retracting telephone keypad
>iDrive, refer to Initiating communication,
page184
>the voice command system
*, refer to
page23, except for incoming calls
Volume adjustment
You can set the volume for the hands-free sys-
tem and the ring tone separately:
>Turn knob during a call.
>Turn knob during an incoming call.
The volume can also be adjusted using
the buttons on the steering wheel.<
This volume is maintained, even if the other
audio sources are set to minimum volume.
The setting is stored for the remote control cur-
rently in use.
Retracting telephone keypad
The telephone keypad allows you to use all of
the basic mobile phone functions without ever
picking up the handset.
Calls are automatically routed through the
hands-free system.
Sliding out
Press telephone keypad1.
It slides out.
It is not possible to remove the telephone
keypad.<
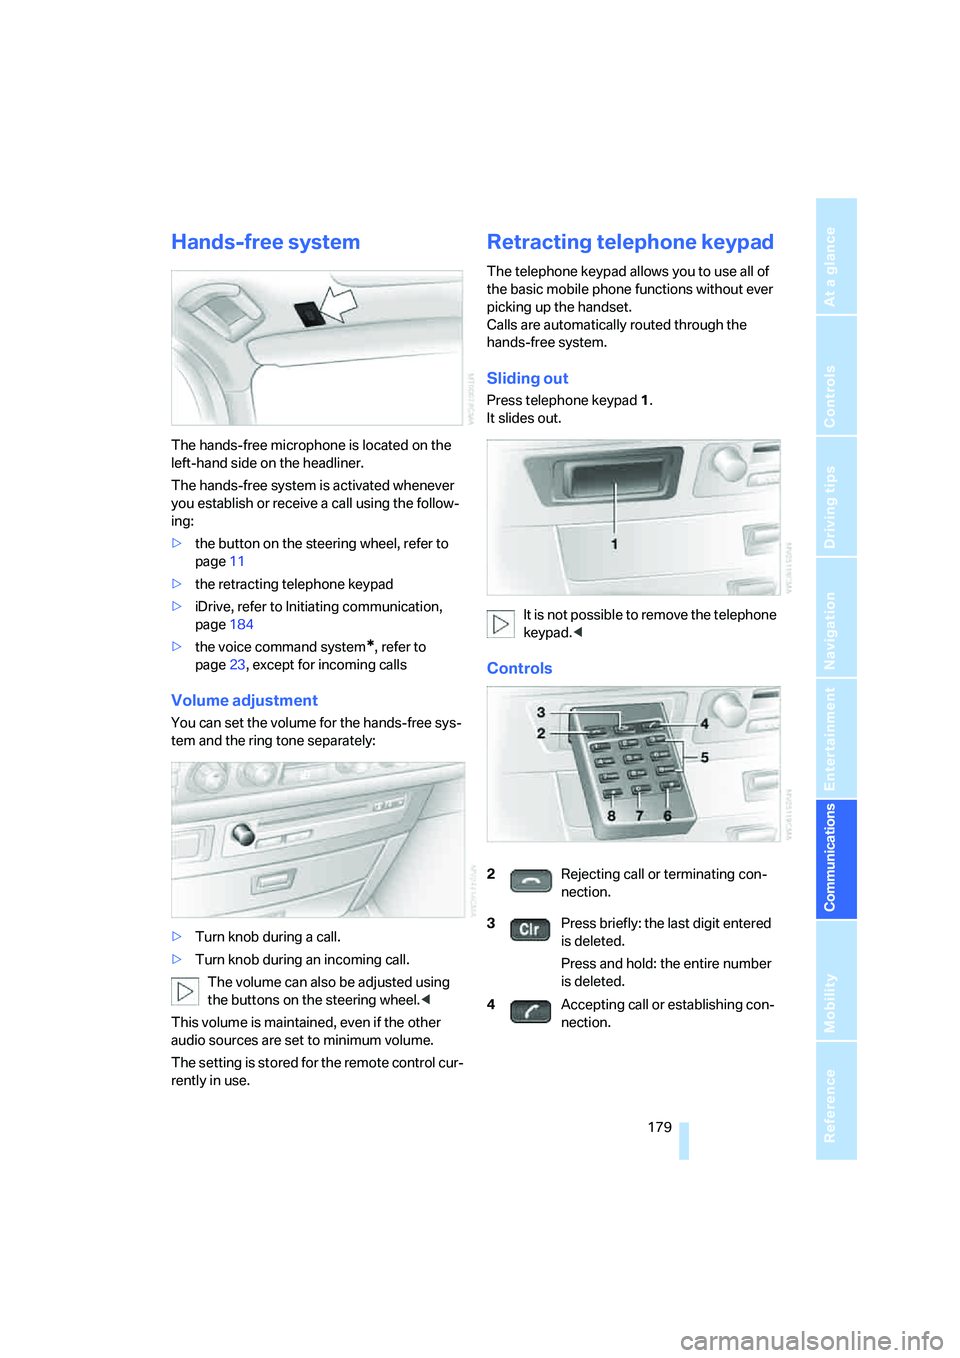
Controls
2Rejecting call or terminating con-
nection.
3Press briefly: the last digit entered
is deleted.
Press and hold: the entire number
is deleted.
4Accepting call or establishing con-
nection.