2008 BMW 750I lights
[x] Cancel search: lightsPage 93 of 254
Controls
91Reference
At a glance
Driving tips
Communications
Navigation
Entertainment
Mobility
6.Start driving.
It takes at least 10 minutes before the Flat
Tire Monitor is once again able to detect
and report a flat tire.
The initialization is completed during driving.
To exit the menu:
Select the arrow and press the controller.
Indication of a flat tire
The warning lamp lights up red and a
message appears on the Info Display. In
addition, a signal sounds. A flat tire or a
major air loss has occurred.
1.Reduce speed and stop the vehicle care-
fully. Avoid sudden braking and steering
maneuvers.
2.Identify the damaged tire.
If identification is not possible, con-
tact your BMW center.<
3.Replace the damaged tire, refer to Chang-
ing wheels on page215.
Run-flat tires*
1.Cautiously reduce the vehicle speed to
below 50 mph/80 km/h. Avoid hard braking
and steering maneuvers and do not exceed
50 mph/80 km/h.
If the vehicle is not equipped with run-
flat tires, refer to page205, do not
continue to drive. Continued driving after a
flat tire can result in serious accidents.<
2.Check the air pressure in all four tires at the
next opportunity.
If the tire inflation pressure in all four
tires is correct, the Flat Tire Monitor
may not have been initialized. The system
must then be initialized.<
3.In the event of a total loss of inflation pres-
sure, 0 psi/kPa, or obvious tire damage, you
can estimate the possible distance for con-
tinued driving on the basis of the following
guide values:
>With low load:
1 to 2 persons without luggage:
approx. 155 miles/250 km.>With medium load:
2 persons, luggage compartment full, or
4 persons without luggage:
approx. 95 miles/150 km.
>With full load:
4 or more persons, luggage compart-
ment full:
approx. 30 miles/50 km.
Drive reservedly and do not exceed a
speed of 50 mph/80 km/h. In the event of
pressure loss, vehicle handling changes. This
includes reduced tracking stability in braking,
extended braking distances, and altered natural
steering characteristics.
If unusual vibrations or loud noises occur while
the vehicle is being driven, this can indicate final
failure of the damaged tire. Reduce speed and
stop at a suitable location as soon as possible;
otherwise, pieces of the tire could come off and
cause an accident. Do not continue driving,
contact your BMW center.<
Malfunction
The warning lamp lights up yellow and
a message appears on the Info Display.
The Flat Tire Monitor has failed. Have
the system checked as soon as possible.
TPM Tire Pressure Monitor*
The concept
TPM checks the tire inflation pressure in the
four mounted tires. The system indicates if the
tire inflation pressure has dropped considerably
in one or several tires.
Functional requirement
In order to assure the reliable reporting of a flat
tire, the system must have been reset with the
correct tire inflation pressure.
Always use wheels with TPM electronics; oth-
erwise, the system cannot be assured of func-
tioning properly.
Reset the system again after each correc-
tion of the tire inflation pressure and after
every tire or wheel change.<
Page 95 of 254
Controls
93Reference
At a glance
Driving tips
Communications
Navigation
Entertainment
Mobility
ing driving. The tires are displayed in green on
the Control Display.
If a flat tire is detected during the reset-
ting and adoption of the tire inflation pres-
sures, all tires are shown in yellow on the Con-
trol Display. The message "Status: Tire low!" is
displayed.<
Low tire pressure message
The warning lamp lights up yellow. A
message appears on the Control Dis-
play. In addition, a signal sounds. A flat
tire or a major air loss has occurred.
1.Reduce speed and stop the vehicle care-
fully. Avoid sudden braking and steering
maneuvers.
2.Check whether your vehicle is equipped
with standard tires or run-flat tires.
You will recognize run-flat tires by a
circular symbol containing the letters
RSC on the side of the tire, refer to
page205.<
Standard tires
1.If all four wheels are shown in yellow, iden-
tify the damaged tire on the vehicle.
2.Replace the damaged wheel or wheels,
refer to Changing wheels on page215.
The spare wheel is equipped with the neces-
sary TPM electronics and when mounted, will
also be monitored once the system has been
reset.
Have the tire replaced by a BMW center or a
workshop that is familiar with handling TPM and
works according to BMW repair procedures
with correspondingly trained personnel.
Run-flat tires*
1.Cautiously reduce speed to below 50 mph/
80 km/h. Avoid hard braking and steering
maneuvers and do not exceed 50 mph/
80 km/h.
If the vehicle is not equipped with run-
flat tires, refer to page205, do not
continue to drive. Continued driving after a
flat tire can result in serious accidents.<2.In the event of complete tire pressure loss,
0 psi/0 kPa, you can estimate the possible
distance for continued driving on the basis
of the following guide values:
>With a light load:
1 to 2 persons without luggage:
approx. 155 miles/250 km
>With a medium load:
2 persons, luggage compartment full, or
4 persons without luggage:
approx. 95 miles/150 km
>With a full load:
4 or more persons, luggage compart-
ment full:
approx. 30 miles/50 km
Drive reservedly and do not exceed a
speed of 50 mph/80 km/h. In the event of
pressure loss, vehicle handling changes. This
includes reduced tracking stability in braking,
extended braking distance and altered natural
steering characteristics.
If unusual vibrations occur while the vehicle is
being driven, this can indicate final failure of the
damaged tire. Reduce speed and stop as soon
as possible; otherwise, pieces of the tire could
come loose and cause an accident. Do not con-
tinue driving, contact your BMW center.<
Malfunction
The yellow warning light flashes and
then lights up continuously. The tires
are shown in gray on the Control Dis-
play and a message is displayed. No flat tire can
be detected. Have system checked.
A message like this is displayed in the following
situations:
>When a malfunction is occurring.
Have the system checked.
>When a wheel without TPM electronics is
mounted.
>When TPM is experiencing temporary inter-
ference from other systems or devices that
use the same radio frequency.
Page 98 of 254
Technology for comfort, convenience and safety
96 refer to page54.
In certain sitting positions, teenagers and adults
can deactivate the front, knee and side airbag
on the front passenger side; when this occurs,
the indicator lamp for the front passenger air-
bags lights up. In these cases, change the sit-
ting position so that the front passenger airbags
are activated and the indicator lamp goes out.
If the desired status cannot be produced by
changing the sitting position, have the person
ride in the back. Do not place slip covers, seat
cushions, beaded mats, or other objects on the
passenger seat that are not specifically recom-
mended by BMW. Do not lay objects under the
seat which could press against the seat from
below. Otherwise, a correct evaluation of the
occupied seat surface cannot be assured.<
Operating state of front passenger
airbags
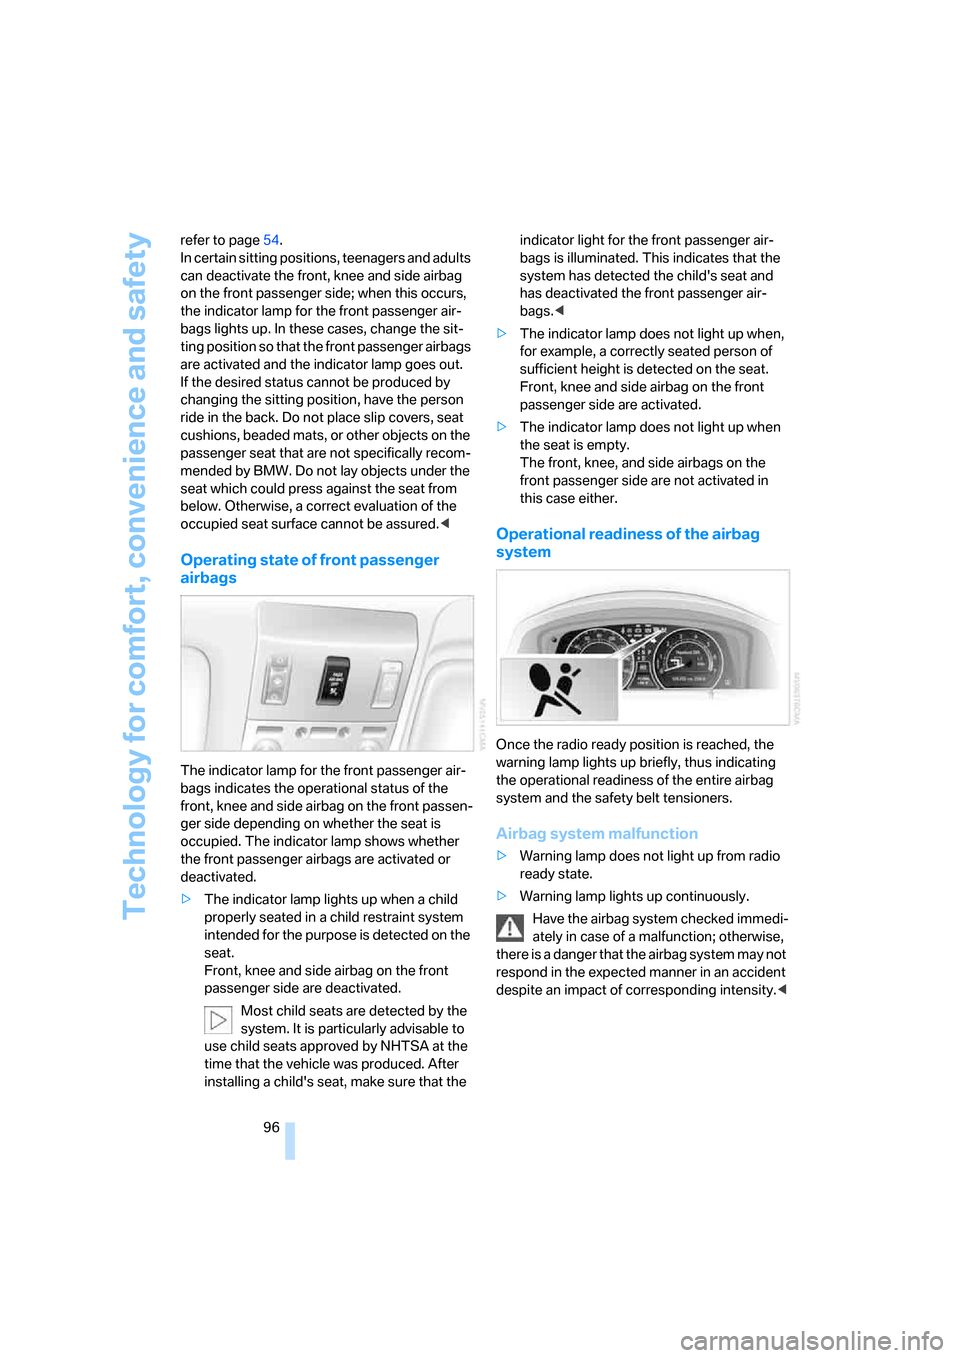
The indicator lamp for the front passenger air-
bags indicates the operational status of the
front, knee and side airbag on the front passen-
ger side depending on whether the seat is
occupied. The indicator lamp shows whether
the front passenger airbags are activated or
deactivated.
>The indicator lamp lights up when a child
properly seated in a child restraint system
intended for the purpose is detected on the
seat.
Front, knee and side airbag on the front
passenger side are deactivated.
Most child seats are detected by the
system. It is particularly advisable to
use child seats approved by NHTSA at the
time that the vehicle was produced. After
installing a child's seat, make sure that the indicator light for the front passenger air-
bags is illuminated. This indicates that the
system has detected the child's seat and
has deactivated the front passenger air-
bags.<
>The indicator lamp does not light up when,
for example, a correctly seated person of
sufficient height is detected on the seat.
Front, knee and side airbag on the front
passenger side are activated.
>The indicator lamp does not light up when
the seat is empty.
The front, knee, and side airbags on the
front passenger side are not activated in
this case either.
Operational readiness of the airbag
system
Once the radio ready position is reached, the
warning lamp lights up briefly, thus indicating
the operational readiness of the entire airbag
system and the safety belt tensioners.
Airbag system malfunction
>Warning lamp does not light up from radio
ready state.
>Warning lamp lights up continuously.
Have the airbag system checked immedi-
ately in case of a malfunction; otherwise,
there is a danger that the airbag system may not
respond in the expected manner in an accident
despite an impact of corresponding intensity.<
Page 103 of 254

Controls
101Reference
At a glance
Driving tips
Communications
Navigation
Entertainment
Mobility
from the headlamp follows the course of the
road.
Activating Adaptive Head Light
In switch position3, the Adaptive Head Light is
activated and Automatic headlamp control is
switched on.
In order not to blind oncoming traffic, the Adap-
tive Head Light is not active when driving in
reverse and only points toward the passenger
side when the vehicle is stationary.
Malfunction
The LED above the symbol for automatic head-
lamp control flashes. Adaptive Head Light is
malfunctioning or has failed. Have the system
checked as soon as possible.
High beams/
roadside parking lamps
1High beams
2Headlamp flasher
3Roadside parking lamps
Roadside parking lamps, left and right*
You also enjoy the option of lighting up just one
side of your vehicle when parking:
After parking the vehicle, press the lever in the
desired direction3, past the resistance point.
The roadside parking lamps drain the bat-
tery. Do not leave them switched on for
long periods of time; otherwise, it may no longer
be possible to start the engine.<
Front fog lamps
Briefly press the button to switch on/off.
The parking lamps or low beams must be
switched on for the fog lamps to operate. The
green indicator lamp on the Info Display lights
up whenever the fog lamps are on.
If the automatic headlamp control is acti-
vated, the low beams will come on auto-
matically when you switch on the fog lamps.<
Instrument lighting
You can adjust the lighting intensity with the
knurled wheel.
Interior lamps
The interior lamps, footwell lamps, door entry
lighting, the perimeter lighting, and the luggage
compartment lamps are controlled automati-
cally.
Page 106 of 254

Climate
104
Automatic climate control
1AUTO program, left side of passenger
compartment, refer to section below
2Outside air/AUC Automatic recirculated-air
control/recirculated air105
3Switching off automatic climate
control105
4Temperature, left side of passenger
compartment105
5Maximum cooling106
6Air volume, left side of passenger
compartment106
7Defrosting windows and removing
condensation106
8Air volume, right side of passenger
compartment1069Temperature, right side of passenger
compartment105
10Residual heat mode106
11Rear window defroster107
12Switching cooling function on and off
manually107
13AUTO program, right side of passenger
compartment, refer to section below
14Air grille for interior temperature sensor –
please keep clear and unobstructed
15Parked car ventilation109
> lights up: activation time activated
> flashes: parked car ventilation
switched on
The current setting for air distribution appears
on the Control Display, refer to page106.
A congenial climate
For almost all conditions, the AUTO program1
offers the optimal air distribution and air vol-
ume. Select an interior temperature that you
find pleasant.
The following section contains more detailed
information on the available setting options.
The settings are stored for the remote key cur-
rently in use.
AUTO program
The AUTO program handles the
adjustment of air distribution to the
windshield and side windows, in
the direction of the upper body, and in the foot-
well, as well as the adjustment of the air volume. It also adapts your instructions for the tempera-
ture to outside influences throughout the year.
The cooling is switched on automatically with
the AUTO program. At the same time, a con-
densation sensor controls the program so as to
prevent window condensation as much as pos-
sible.
Intensity of AUTO program
You can adjust the intensity of the AUTO pro-
gram by repeatedly pressing the AUTO button.
Press the button to have the current setting
briefly displayed on the lower status line of the
Control Display.
You can also adjust the intensity of the AUTO
program via iDrive.
Page 108 of 254

Climate
106 5.Turn the controller to adjust the tempera-
ture:
>Turn toward the left, toward blue: colder
>Turn toward the right, toward red:
warmer
6.Press the controller to save the setting.
Maximum cooling
Maximally cooled air is obtained as
quickly as possible at an outside
temperature of approx. 327/06
and with the engine running.
The automatic climate control
changes over to the lowest temperature and
switches into the recirculated-air mode. The
maximum air quantity only flows out of the vents
for the upper body. So open these vents for
maximum cooling.
Air volume
You can vary the air volume by
turning. You can reactivate the
automatic air supply mode by
pressing the AUTO button.
Manual air distribution
You can adapt the air distribution to your own
personal preferences:
1.Open the start menu.
2.Open "Climate".
3.Turn the controller to select driver's side or
passenger side.4.Select the desired field and press the con-
troller.
1Air directed toward the windshield and side
windows
2Air to the upper body
3Air to footwell
You can only use the condensation sensor in
the AUTO program. Press the AUTO button
when you notice condensation on windows and
wish to take advantage of the condensation
sensor.
Defrosting windows and removing
condensation
Quickly remove ice and condensa-
tion from the windshield and front
side windows.
Also switch on the air conditioner.
Residual heat
The system uses the warmth
stored in the engine to heat the
interior when the ignition is off, e.g.
while the vehicle is stopped at a
school to pick up a child.
The function can be switched on when the fol-
lowing conditions are met:
>up to 15 minutes after switching off the
engine
>with the engine at operating temperature
>with sufficient battery voltage
>at an outside temperature below 777/
256
The LED lights up when the function is
switched on.
Page 112 of 254
Climate
110 6.Enter the desired time:
>Turn to change the setting.
>Press the controller to adopt the setting.
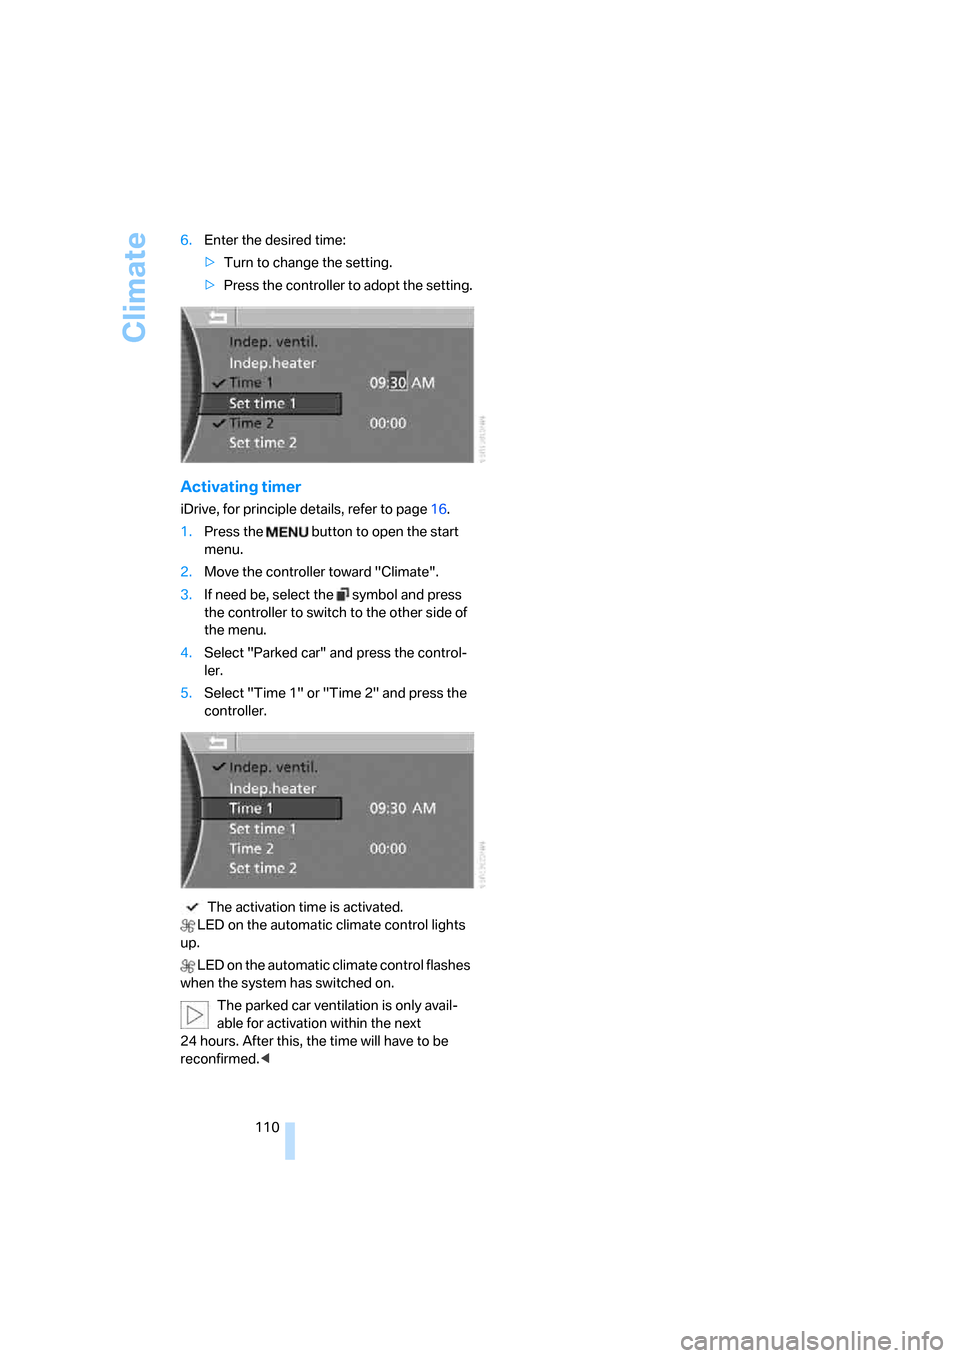
Activating timer
iDrive, for principle details, refer to page16.
1.Press the button to open the start
menu.
2.Move the controller toward "Climate".
3.If need be, select the symbol and press
the controller to switch to the other side of
the menu.
4.Select "Parked car" and press the control-
ler.
5.Select "Time 1" or "Time 2" and press the
controller.
The activation time is activated.
LED on the automatic climate control lights
up.
LED on the automatic climate control flashes
when the system has switched on.
The parked car ventilation is only avail-
able for activation within the next
24 hours. After this, the time will have to be
reconfirmed.<
Page 118 of 254
Practical interior accessories
116
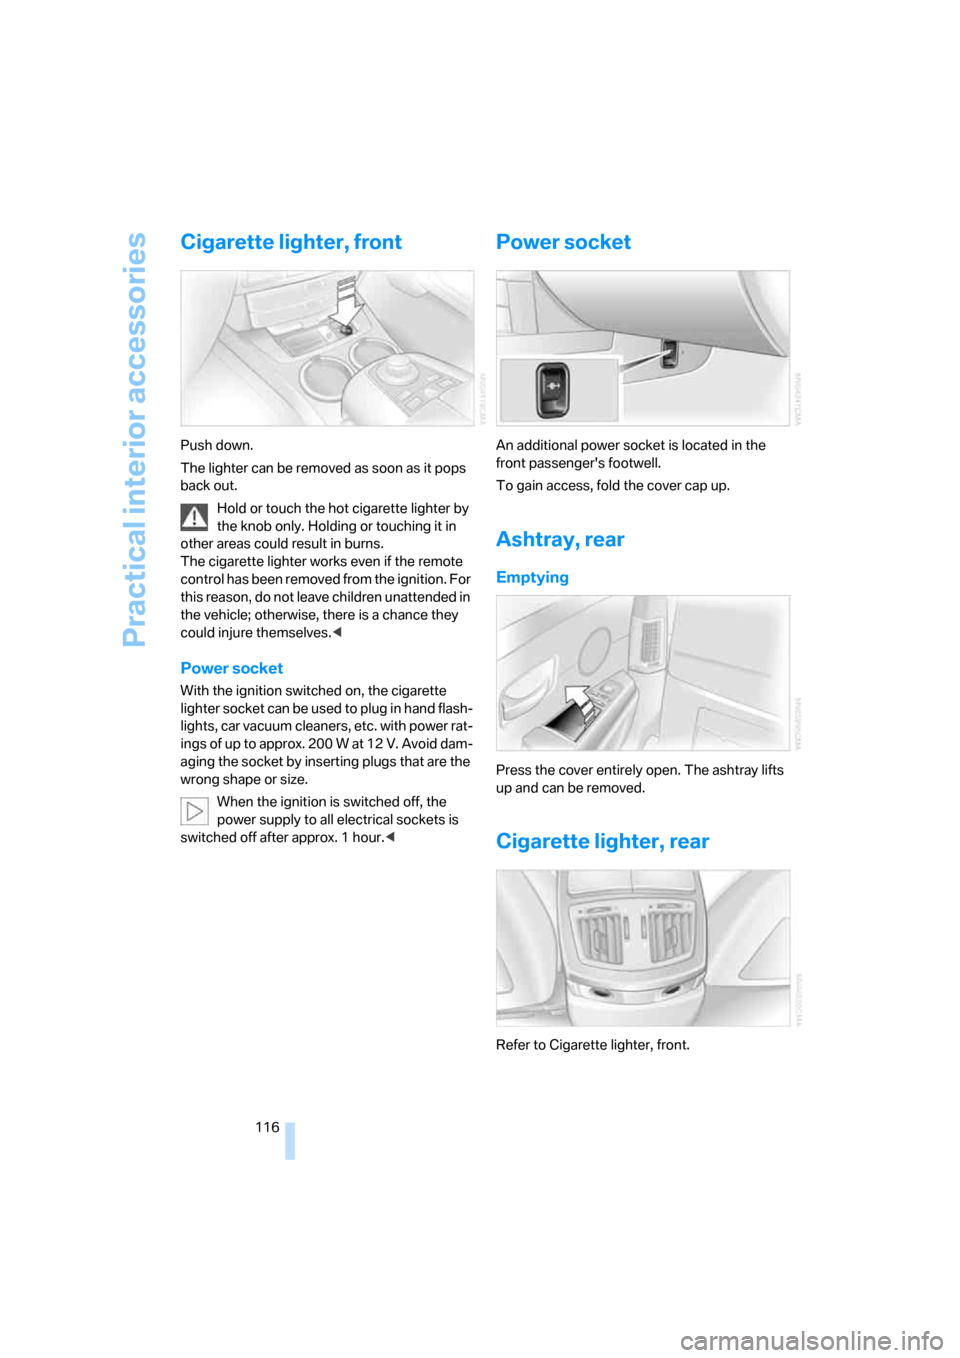
Cigarette lighter, front
Push down.
The lighter can be removed as soon as it pops
back out.
Hold or touch the hot cigarette lighter by
the knob only. Holding or touching it in
other areas could result in burns.
The cigarette lighter works even if the remote
control has been removed from the ignition. For
this reason, do not leave children unattended in
the vehicle; otherwise, there is a chance they
could injure themselves.<
Power socket
With the ignition switched on, the cigarette
lighter socket can be used to plug in hand flash-
lights, car vacuum cleaners, etc. with power rat-
ings of up to approx. 200 W at 12 V. Avoid dam-
aging the socket by inserting plugs that are the
wrong shape or size.
When the ignition is switched off, the
power supply to all electrical sockets is
switched off after approx. 1 hour.<
Power socket
An additional power socket is located in the
front passenger's footwell.
To gain access, fold the cover cap up.
Ashtray, rear
Emptying
Press the cover entirely open. The ashtray lifts
up and can be removed.
Cigarette lighter, rear
Refer to Cigarette lighter, front.