2008 BMW 525XI TOURING window
[x] Cancel search: windowPage 43 of 292

Controls
41Reference
At a glance
Driving tips
Communications
Navigation
Entertainment
Mobility
Closing without pinch protection
system
In case of danger from outside or if, for example,
ice on the window prevents normal closing, pro-
ceed as follows:
1.Pull the switch beyond the resistance point
and hold. The pinch protection system is
limited and the window opens slightly if the
closing force exceeds a certain value.
2.Pull the switch beyond the resistance point
and hold again within approx. 4 seconds.
The window closes without the pinch pro-
tection system.
Safety switch
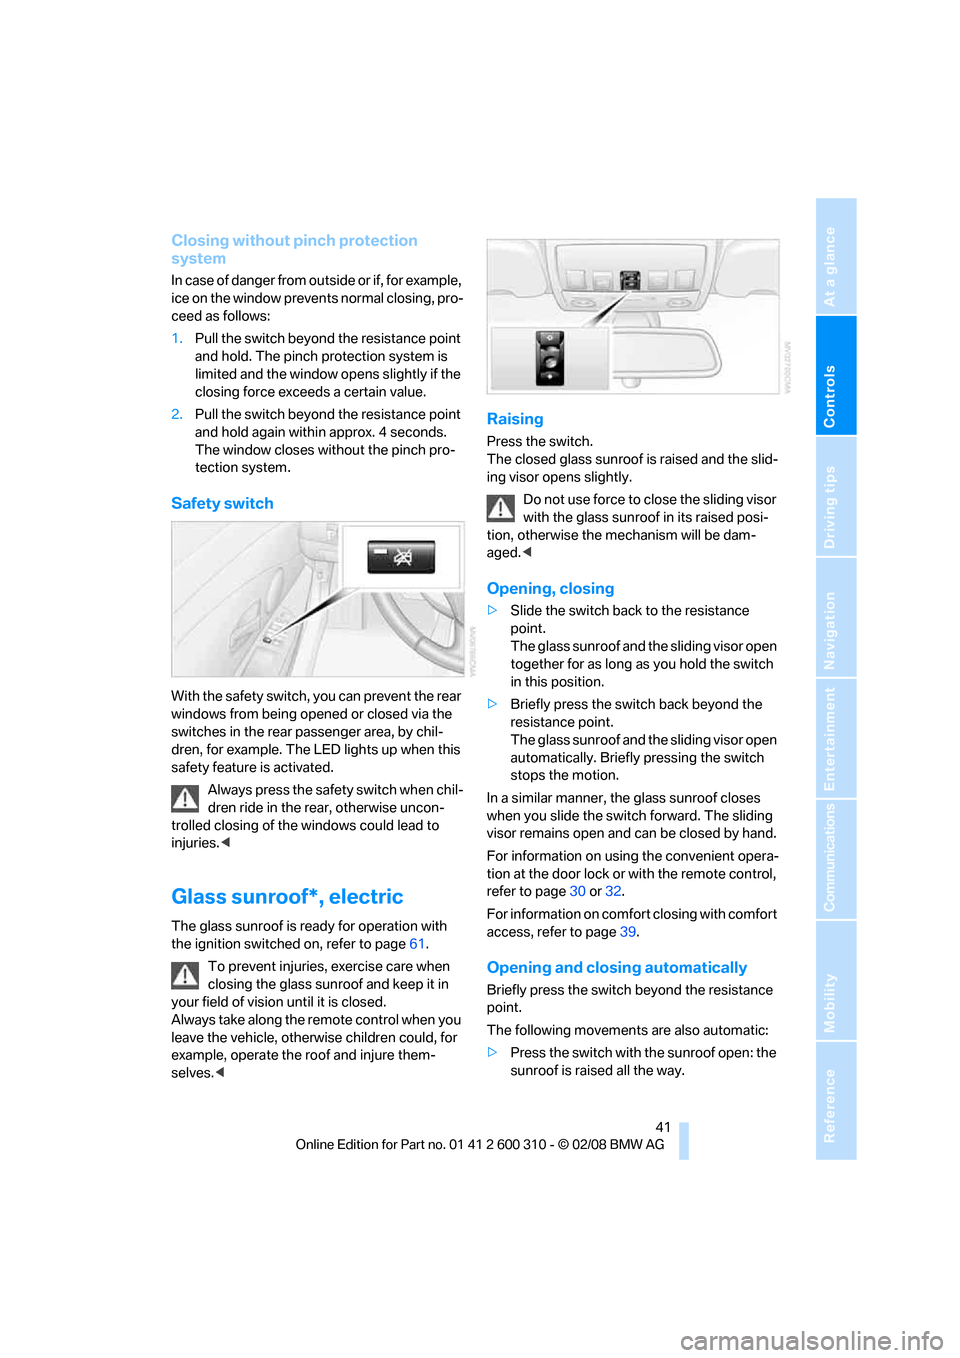
With the safety switch, you can prevent the rear
windows from being opened or closed via the
switches in the rear passenger area, by chil-
dren, for example. The LED lights up when this
safety feature is activated.
Always press the safety switch when chil-
dren ride in the rear, otherwise uncon-
trolled closing of the windows could lead to
injuries.<
Glass sunroof*, electric
The glass sunroof is ready for operation with
the ignition switched on, refer to page61.
To prevent injuries, exercise care when
closing the glass sunroof and keep it in
your field of vision until it is closed.
Always take along the remote control when you
leave the vehicle, otherwise children could, for
example, operate the roof and injure them-
selves.<
Raising
Press the switch.
The closed glass sunroof is raised and the slid-
ing visor opens slightly.
Do not use force to close the sliding visor
with the glass sunroof in its raised posi-
tion, otherwise the mechanism will be dam-
aged.<
Opening, closing
>Slide the switch back to the resistance
point.
The glass sunroof and the sliding visor open
together for as long as you hold the switch
in this position.
>Briefly press the switch back beyond the
resistance point.
The glass sunroof and the sliding visor open
automatically. Briefly pressing the switch
stops the motion.
In a similar manner, the glass sunroof closes
when you slide the switch forward. The sliding
visor remains open and can be closed by hand.
For information on using the convenient opera-
tion at the door lock or with the remote control,
refer to page30 or32.
For information on comfort closing with comfort
access, refer to page39.
Opening and closing automatically
Briefly press the switch beyond the resistance
point.
The following movements are also automatic:
>Press the switch with the sunroof open: the
sunroof is raised all the way.
Page 60 of 292

Transporting children safely
58
Child restraint system with tether strap
Only use the tether-strap mounting
points to secure child restraint systems,
otherwise the mounting points could be dam-
aged.<
Sedan
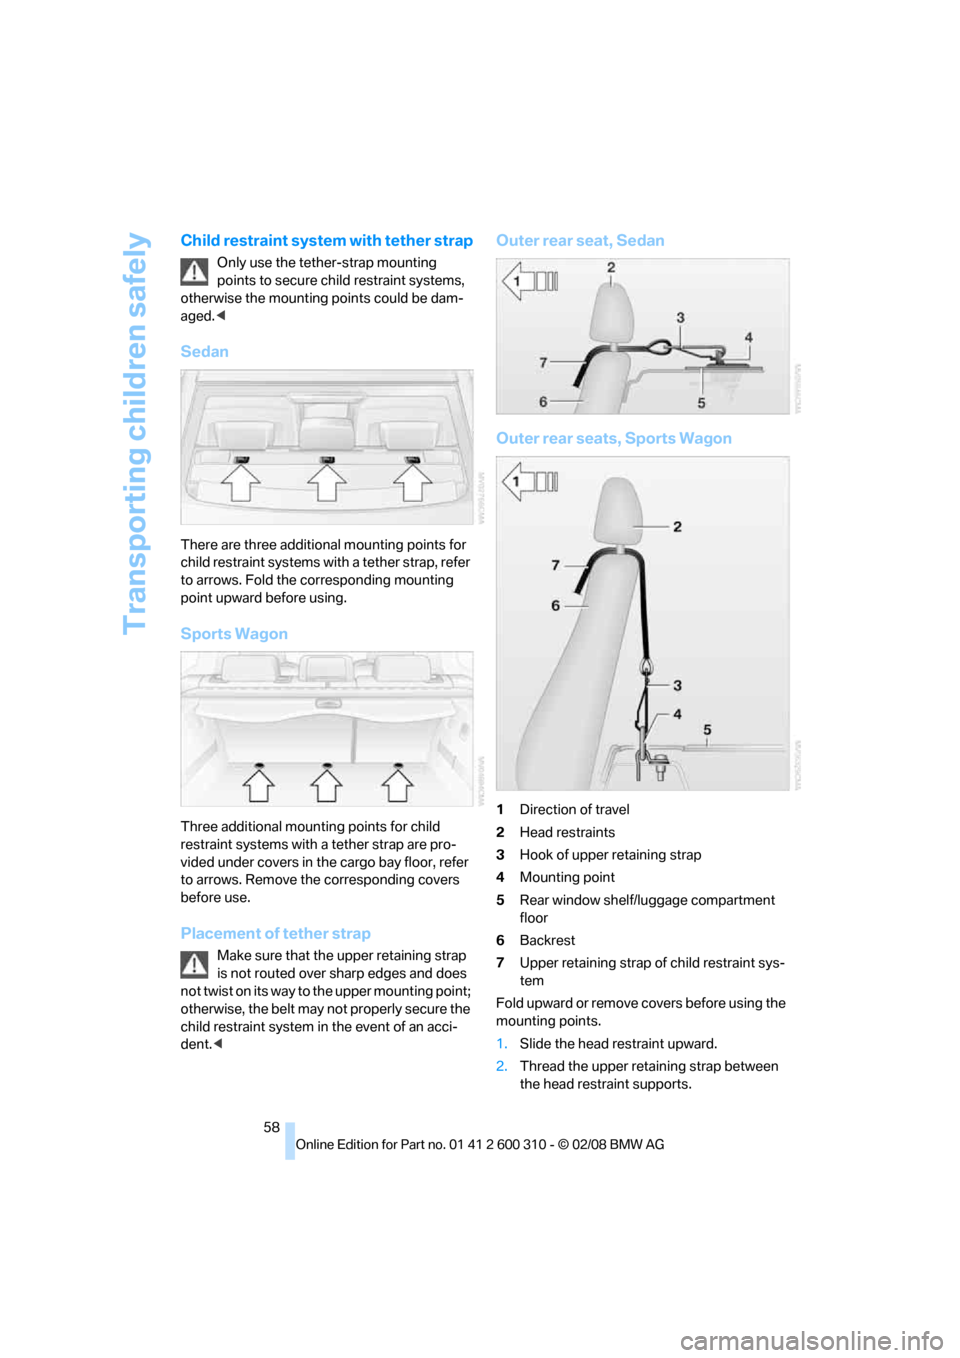
There are three additional mounting points for
child restraint systems with a tether strap, refer
to arrows. Fold the corresponding mounting
point upward before using.
Sports Wagon
Three additional mounting points for child
restraint systems with a tether strap are pro-
vided under covers in the cargo bay floor, refer
to arrows. Remove the corresponding covers
before use.
Placement of tether strap
Make sure that the upper retaining strap
is not routed over sharp edges and does
not twist on its way to the upper mounting point;
otherwise, the belt may not properly secure the
child restraint system in the event of an acci-
dent.<
Outer rear seat, Sedan
Outer rear seats, Sports Wagon
1Direction of travel
2Head restraints
3Hook of upper retaining strap
4Mounting point
5Rear window shelf/luggage compartment
floor
6Backrest
7Upper retaining strap of child restraint sys-
tem
Fo ld upward or remo ve covers before us ing the
mounting points.
1.Slide the head restraint upward.
2.Thread the upper retaining strap between
the head restraint supports.
Page 62 of 292

Transporting children safely
60
Safety switch for power windows
Always press the safety switch for the power
windows, refer to page41, when children are
riding in the rear of the vehicle.
Page 71 of 292

Controls
69Reference
At a glance
Driving tips
Communications
Navigation
Entertainment
Mobility
Windshield washer nozzles
The windshield washer nozzles are heated
when the engine is running or the ignition is
switched on.
Sports Wagon:
Rear window wiper
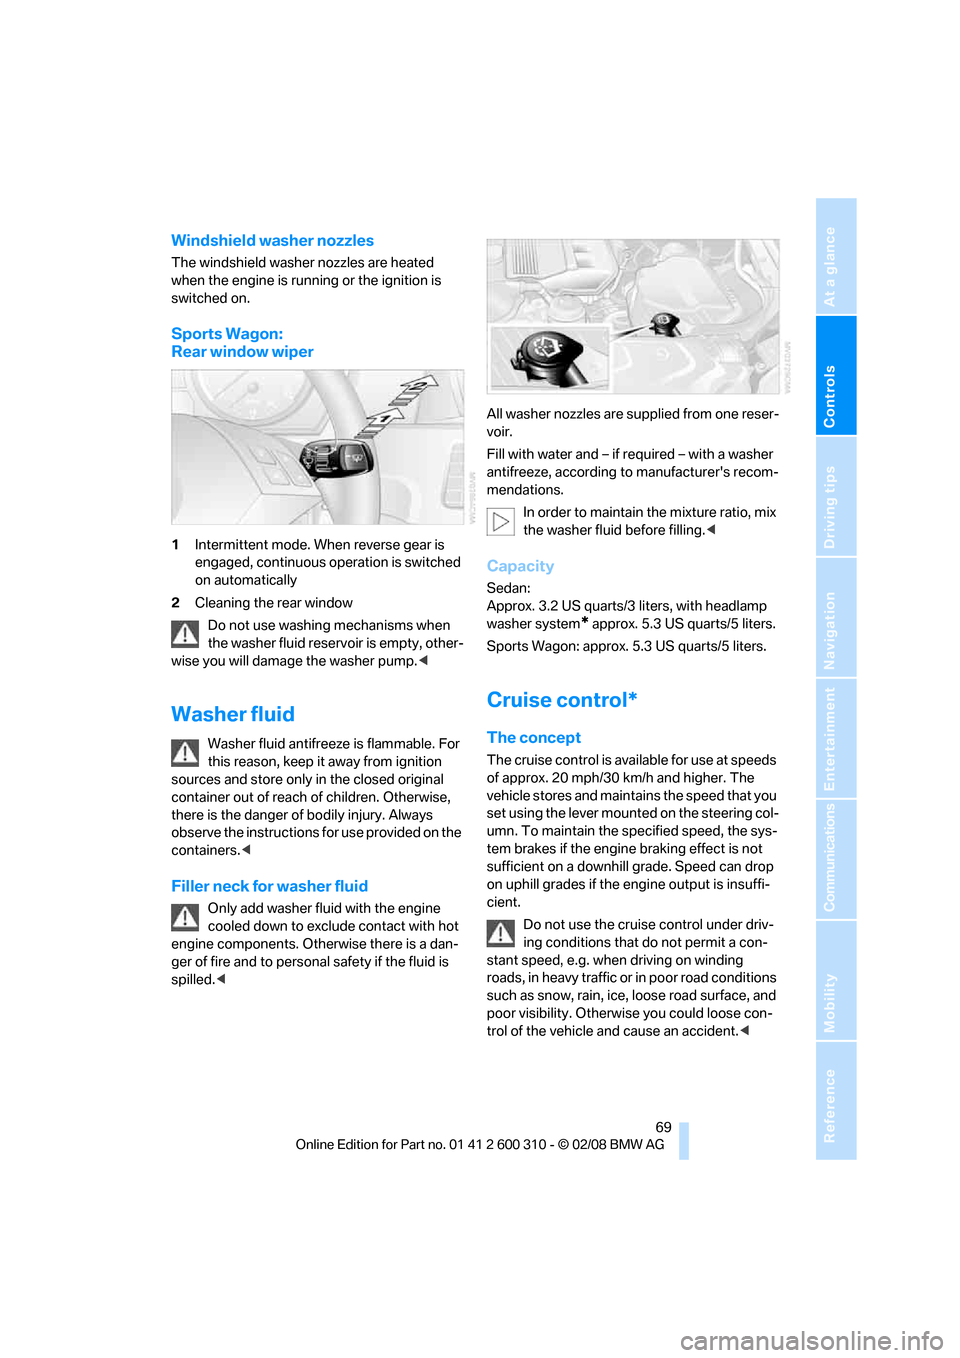
1Intermittent mode. When reverse gear is
engaged, continuous operation is switched
on automatically
2Cleaning the rear window
Do not use washing mechanisms when
the washer fluid reservoir is empty, other-
wise you will damage the washer pump.<
Washer fluid
Washer fluid antifreeze is flammable. For
this reason, keep it away from ignition
sources and store only in the closed original
container out of reach of children. Otherwise,
there is the danger of bodily injury. Always
observe the instructions for use provided on the
containers.<
Filler neck for washer fluid
Only add washer fluid with the engine
cooled down to exclude contact with hot
engine components. Otherwise there is a dan-
ger of fire and to personal safety if the fluid is
spilled.
Fill with water and – if required – with a washer
antifreeze, according to manufacturer's recom-
mendations.
In order to maintain the mixture ratio, mix
the washer fluid before filling.<
Capacity
Sedan:
Approx. 3.2 US quarts/3 liters, with headlamp
washer system
* approx. 5.3 US quarts/5 liters.
Sports Wagon: approx. 5.3 US quarts/5 liters.
Cruise control*
The concept
The cruise control is available for use at speeds
of approx. 20 mph/30 km/h and higher. The
vehicle stores and maintains the speed that you
set using the lever mounted on the steering col-
umn. To maintain the specified speed, the sys-
tem brakes if the engine braking effect is not
sufficient on a downhill grade. Speed can drop
on uphill grades if the engine output is insuffi-
cient.
Do not use the cruise control under driv-
ing conditions that do not permit a con-
stant speed, e.g. when driving on winding
roads, in heavy traffic or in poor road conditions
such as snow, rain, ice, loose road surface, and
poor visibility. Otherwise you could loose con-
trol of the vehicle and cause an accident.<
Page 83 of 292

Controls
81Reference
At a glance
Driving tips
Communications
Navigation
Entertainment
Mobility
3.Select "Car Data" and press the controller.
4.Select "Trip computer" and press the con-
troller.
>Departure time
>Driving time
>Distance traveled
>Average speed
>Average fuel consumption
Starting or stopping the trip computer, or reset-
ting all values:
1.Select "Set" and press the controller.
2.Select the desired menu item.
3.Press the controller.
Display options
You can display the computer or the trip com-
puter in the assistance window.
1.Move the controller to the right to change to
the assistance window and press the con-
troller.
2.Select "Onboard info" or "Trip computer".3.Press the controller.
Service requirements
The remaining driving distance and the date for
the next maintenance are displayed briefly with
the ignition switched on.
Your BMW Service Advisor can deter-
mine your vehicle's current service
requirements by reading out the data stored in
the remote control.<
Additional information
You can select a display of more detailed infor-
mation on the maintenance scope on the Con-
trol Display. For operating principle refer to
page16.
1.Open the start menu.
2.Press the controller to open the menu.
3.Select "Info sources" and press the control-
ler.
4.Select "Service Info" and press the control-
ler.
Page 105 of 292

Controls
103Reference
At a glance
Driving tips
Communications
Navigation
Entertainment
Mobility
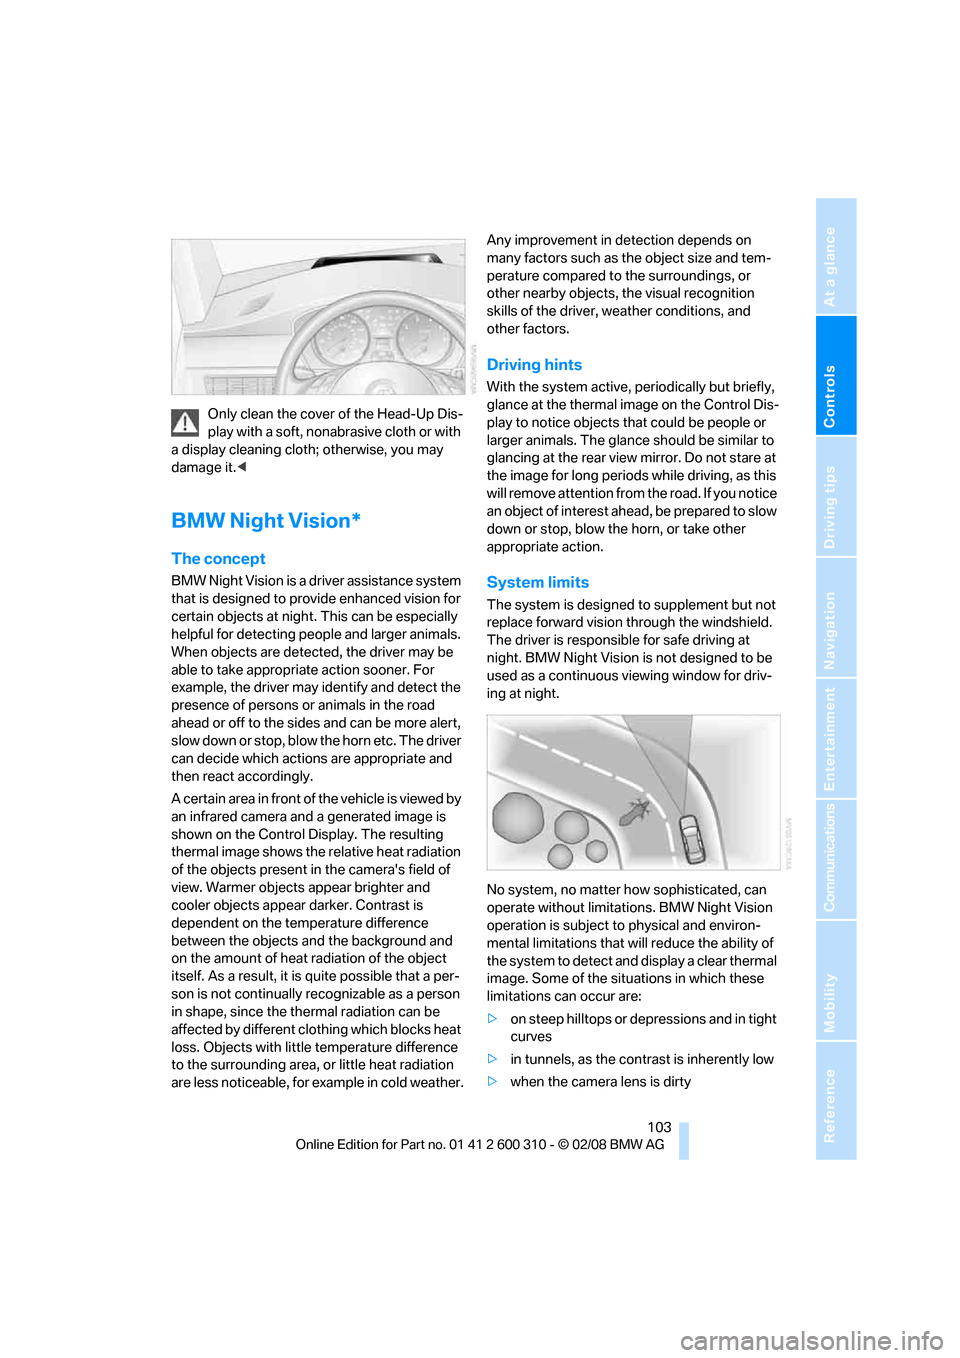
Only clean the cover of the Head-Up Dis-
play with a soft, nonabrasive cloth or with
a display cleaning cloth; otherwise, you may
damage it.<
BMW Night Vision*
The concept
BMW Night Vision is a driver assistance system
that is designed to provide enhanced vision for
certain objects at night. This can be especially
helpful for detecting people and larger animals.
When objects are detected, the driver may be
able to take appropriate action sooner. For
example, the driver may identify and detect the
presence of persons or animals in the road
ahead or off to the sides and can be more alert,
slow down or stop, blow the horn etc. The driver
can decide which actions are appropriate and
then react accordingly.
A certain area in front of the vehicle is viewed by
an infrared camera and a generated image is
shown on the Control Display. The resulting
thermal image shows the relative heat radiation
of the objects present in the camera's field of
view. Warmer objects appear brighter and
cooler objects appear darker. Contrast is
dependent on the temperature difference
between the objects and the background and
on the amount of heat radiation of the object
itself. As a result, it is quite possible that a per-
son is not continually recognizable as a person
in shape, since the thermal radiation can be
affected by different clothing which blocks heat
loss. Objects with little temperature difference
to the surrounding area, or little heat radiation
are less noticeable, for example in cold weather.Any improvement in detection depends on
many factors such as the object size and tem-
perature compared to the surroundings, or
other nearby objects, the visual recognition
skills of the driver, weather conditions, and
other factors.
Driving hints
With the system active, periodically but briefly,
glance at the thermal image on the Control Dis-
play to notice objects that could be people or
larger animals. The glance should be similar to
glancing at the rear view mirror. Do not stare at
the image for long periods while driving, as this
will remove attention from the road. If you notice
an object of interest ahead, be prepared to slow
down or stop, blow the horn, or take other
appropriate action.
System limits
The system is designed to supplement but not
replace forward vision through the windshield.
The driver is responsible for safe driving at
night. BMW Night Vision is not designed to be
used as a continuous viewing window for driv-
ing at night.
No system, no matter how sophisticated, can
operate without limitations. BMW Night Vision
operation is subject to physical and environ-
mental limitations that will reduce the ability of
the system to detect and display a clear thermal
image. Some of the situations in which these
limitations can occur are:
>on steep hilltops or depressions and in tight
curves
>in tunnels, as the contrast is inherently low
>when the camera lens is dirty
Page 115 of 292

Controls
113Reference
At a glance
Driving tips
Communications
Navigation
Entertainment
Mobility
Climate
Automatic climate control
1Air directed toward the windshield and side
windows
2Air for the upper body region, refer to Front
ventilation on page117
3Air to footwell
4Temperature, left side of passenger com-
partment
5Manual air distribution, driver's side
6Defrosting windows and removing conden-
sation
7Manual air volume, switching off automatic
climate control, residual heat utilization8AUTO program
9Switching cooling function on and off man-
ually
10Temperature, right side of passenger com-
partment
11Manual air distribution, front passenger side
12Maximum cooling
13AUC Automatic recirculated-air control/
recirculated-air mode
14LED for residual heat utilization and parked-
car ventilation system
15Rear window defroster
Page 116 of 292

Climate
114 16Air grill for interior temperature sensor –
please keep clear and unobstructed
The current setting for air distribution is dis-
played on the Control Display.
A congenial climate
The AUTO program offers the optimum air dis-
tribution and air volume for virtually all condi-
tions, refer to AUTO program below. Now you
only need to select an interior temperature
pleasant to you.
The following sections contain more detailed
information on the available setting options.
Most settings are stored for the remote control
currently in use, also refer to Personal Profile
settings on page29.
AUTO program
The AUTO program handles the
adjustment of air volume and air
distribution to the windshield and
side windows, in the direction of
the upper body and in the footwell.
It also adapts your instructions for the tempera-
ture to outside influences throughout the year.
The cooling function is switched on along with
the AUTO program. At the same time, a con-
densation sensor controls the program in such
a way that window condensation is prevented
as much as possible.
Intensity of AUTO program
You can adjust the intensity of the AUTO pro-
gram by repeatedly pressing the AUTO button.
The respective current setting is briefly dis-
played on the Control Display when the button
is pressed.
You can also adjust the intensity of the AUTO
program via iDrive.
iDrive, for operating principle refer to page16.
1.Press the button.
This opens the start menu.
2.Move the controller to the left to open "Cli-
mate".3.Select "Automatic programs" and press the
controller.
4.Select the desired intensity and press the
controller.
The marked intensity of the automatic
program is switched on.
Temperature
Set the desired temperature indi-
vidually on the driver's and front
passenger side.
The automatic climate control
adjusts this temperature as quickly as possible
at any time of year, if necessary with the maxi-
mum cooling or heating capacity, and then
keeps it constant.
When changing between different tem-
perature settings in rapid succession, the
automatic climate control does not have suffi-
cient time to adjust the set temperature.<
In the highest setting you activate the maximum
heating output, regardless of the outside tem-
perature.
Adjusting temperature in upper body
region
1.Press the button to display the current set-
ting on the Control Display.
2.Select the field by moving the controller and
turning the controller to adjust the temper-
ature.