2008 BMW 525XI TOURING change wheel
[x] Cancel search: change wheelPage 162 of 292
Destination guidance
160
Repeating and canceling voice
instructions
With the programmable buttons on the steering
wheel you can also make the following settings,
refer to page54:
>Repeat the voice instruction:
Press button.
>Switch voice instructions on/off:
Press button longer.
Setting volume of voice instructions
The volume can only be adjusted while a voice
instruction is being output.
1.Repeat the last voice instruction, if neces-
sary.
2.Turn the knob during the voice instruction
to select the desired volume.
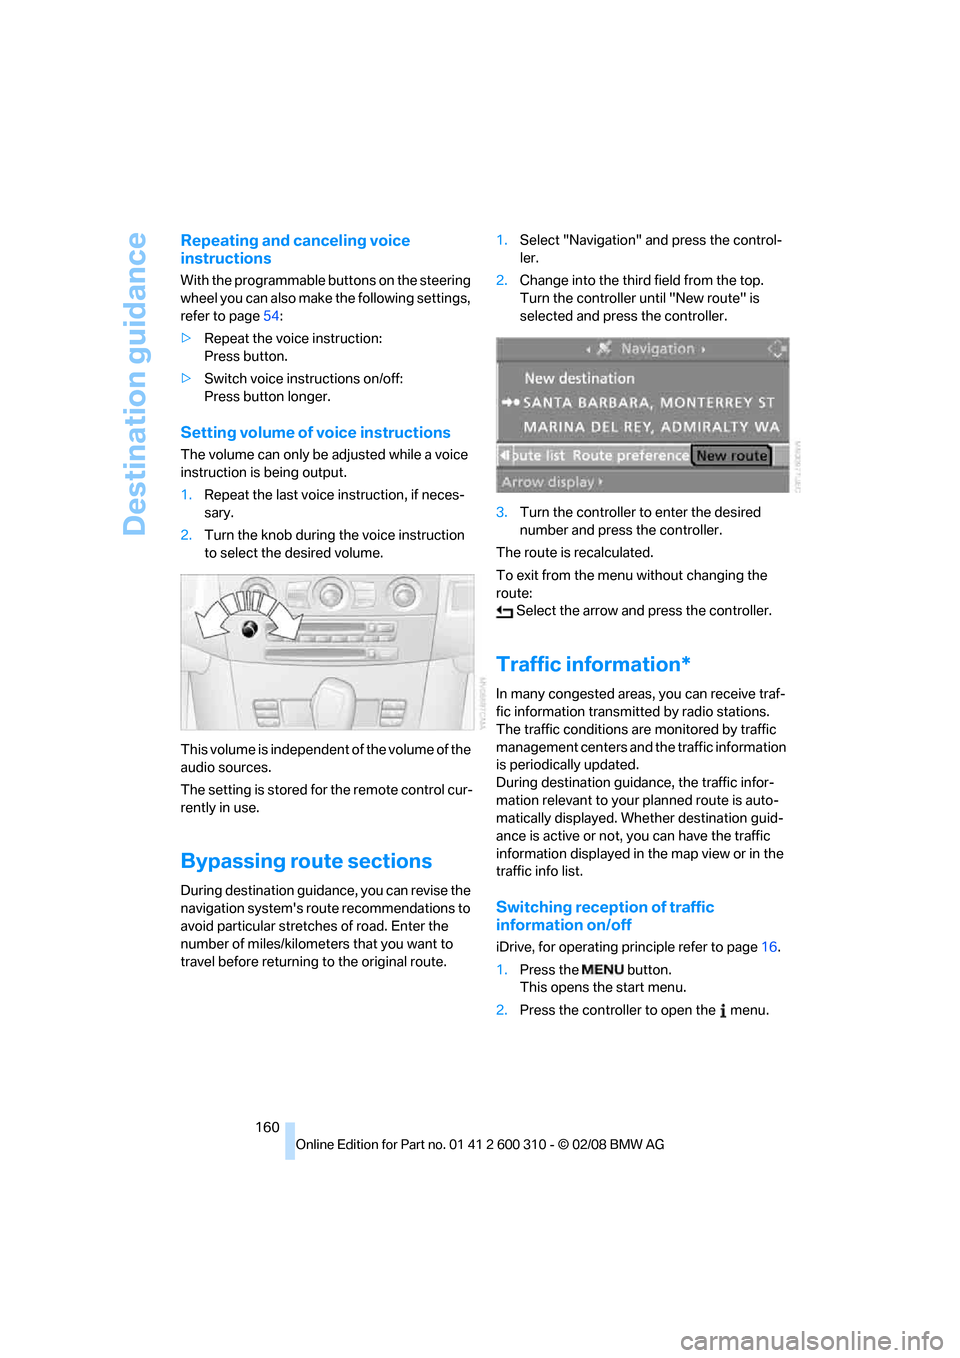
This volume is independent of the volume of the
audio sources.
The setting is stored for the remote control cur-
rently in use.
Bypassing route sections
During destination guidance, you can revise the
navigation system's route recommendations to
avoid particular stretches of road. Enter the
number of miles/kilometers that you want to
travel before returning to the original route.1.Select "Navigation" and press the control-
ler.
2.Change into the third field from the top.
Turn the controller until "New route" is
selected and press the controller.
3.Turn the controller to enter the desired
number and press the controller.
The route is recalculated.
To exit from the menu without changing the
route:
Select the arrow and press the controller.
Traffic information*
In many congested areas, you can receive traf-
fic information transmitted by radio stations.
The traffic conditions are monitored by traffic
management centers and the traffic information
is periodically updated.
During destination guidance, the traffic infor-
mation relevant to your planned route is auto-
matically displayed. Whether destination guid-
ance is active or not, you can have the traffic
information displayed in the map view or in the
traffic info list.
Switching reception of traffic
information on/off
iDrive, for operating principle refer to page16.
1.Press the button.
This opens the start menu.
2.Press the controller to open the menu.
Page 170 of 292

On/off and tone
168
On/off and tone
The following audio sources have shared con-
trols and setting options:
>Professional
* radio or
Business radio
>CD player
>CD changer
*
Controls
The audio sources can be operated using:
>Buttons in the area of the CD player
>iDrive
>Buttons on steering wheel, refer to page11
>Programmable memory buttons, refer to
page21
Buttons in area of CD player
The layout of the buttons can vary depending
on your vehicle's equipment.
One drive:
Two drives:1Entertainment sound output on/off, volume
>Press: switch on/off.
When the system is switched on, the
most recently selected radio station or
CD track is played.
>Turn: adjust volume.
2Drive for audio CDs
3 Eject CD
4 Station scan/track search
>Change radio station.
>Select track for CD player and
CD changer.
5Drive for navigation DVDs
Operation via iDrive
iDrive, for operating principle refer to page16.
1.Press the button.
This opens the start menu.
2.Move the controller backwards to open
"Entertainment".
You have the following choices:
>"FM" and "AM": radio reception
>"WB": Weather Band station
>"SAT": satellite radio
>"CD": CD player or CD changer
*
>"AUX": AUX-In connection
>USB audio interface
*
>"Set": depending on the audio source,
other adjustments can be made, e.g. with
the radio: update station with strongest
Page 171 of 292

Navigation
Entertainment
Driving tips
169Reference
At a glance
Controls
Communications
Mobility
reception, store station, tone control, sam-
ple stations.
From another menu, you can change
directly to the screen last displayed,
refer to Comfort opening of menu items,
page18.<
From radio readiness, the selected audio
source is stored for the remote control currently
in use.
Switching on/off
To switch the Entertainment sound output on
and off:
Press knob1 next to the CD player.
This symbol on the Control Display indi-
cates that sound output is switched off.
For a single drive, the sound output is available
for approx. 20 minutes with the ignition
switched off.
Switch on the sound output again for this pur-
pose.
Adjusting volume
Turn knob1 next to the CD player until the
desired volume is set.
You can also adjust the volume with buttons on
the steering wheel, refer to page11.
From radio readiness, the setting is stored for
the remote control currently in use.
Tone control
You can alter various tone settings, e. g. treble
and bass, or the speed-dependent volume
increase.
The tone settings are set for all audio sources at
once.
From radio readiness, the settings are stored
for the remote control currently in use.
Changing tone settings
1.Press the button.
This opens the start menu.
2.Press the controller to open the menu.
3.Turn the controller until "Settings" is
selected and press the controller.
4.Select "Audio" and press the controller.
The tone settings can also be selected when
you have opened "Entertainment" in the start
menu:
Select "Set" and then "Tone", and press the
controller.
Treble and bass
1.Change to upper field if necessary. Turn the
controller until "Treble / Bass" is selected
and press the controller.
Page 175 of 292

Navigation
Entertainment
Driving tips
173Reference
At a glance
Controls
Communications
Mobility
>"Manual":
To set stations that can be received in addi-
tion to those displayed, refer to Selecting
frequency manually on page173.
Changing selection criteria
In addition to the stations currently displayed,
you can have stations with another selection
criterion displayed.
You can choose from the following selection
criteria:
>"All stations":
Stations that can currently be received in
the "FM" waveband.
>"Autostore":
The stations with the strongest received
signals in the "AM" waveband.
>"Presets":
Stations you have previously stored, refer to
page174.
>"Manual":
To set stations that can be received in addi-
tion to those displayed, refer to Selecting
frequency manually on page173.
1.Change into the second field from the top.
2.Turn the controller until the desired selec-
tion criterion is selected and press the con-
troller.
Buttons next to CD player
Press the button for the corresponding
direction.
The system changes to the next displayed sta-
tion.
You can also change stations with buttons on
the steering wheel, refer to page11.
Sampling stations, scan
The system plays a brief sample from each of
the stations on the current waveband.
1.Select "FM" or "AM" and press the control-
ler.
"Set" is selected.
2.Press the controller.
Other menu items are displayed.
3.Select "Scan" and press the controller.
The stations are sampled.
To end sampling:
1.Press the controller.
2.Select "Scan" and press the controller.
This cancels sampling of the stations, and the
radio remains on the current station.
Buttons next to CD player
To sample the stations, press and hold the
button for the corresponding direction.
To stop scanning, press the button again.
Selecting frequency manually
With "Manual" you can select stations that are
received in addition to those displayed.
1.Select "FM" or "AM" and press the control-
ler.
2.Change into the second field from the top.
3.Select "Manual" and press the controller.
Page 178 of 292
Radio
176
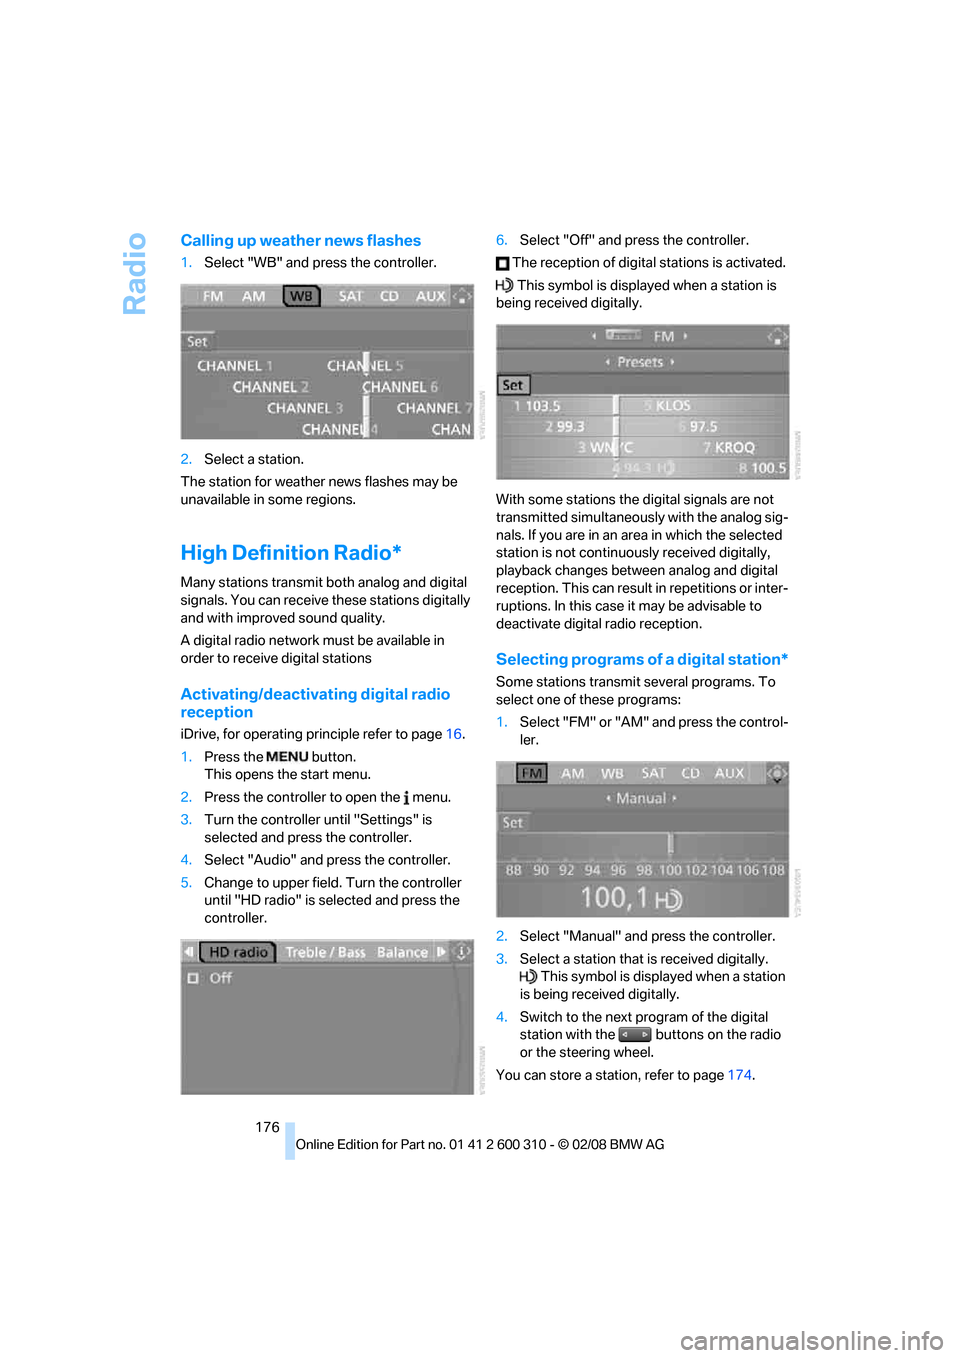
Calling up weather news flashes
1.Select "WB" and press the controller.
2.Select a station.
The station for weather news flashes may be
unavailable in some regions.
High Definition Radio*
Many stations transmit both analog and digital
signals. You can receive these stations digitally
and with improved sound quality.
A digital radio network must be available in
order to receive digital stations
Activating/deactivating digital radio
reception
iDrive, for operating principle refer to page16.
1.Press the button.
This opens the start menu.
2.Press the controller to open the menu.
3.Turn the controller until "Settings" is
selected and press the controller.
4.Select "Audio" and press the controller.
5.Change to upper field. Turn the controller
until "HD radio" is selected and press the
controller.6.Select "Off" and press the controller.
The reception of digital stations is activated.
This symbol is displayed when a station is
being received digitally.
With some stations the digital signals are not
transmitted simultaneously with the analog sig-
nals. If you are in an area in which the selected
station is not continuously received digitally,
playback changes between analog and digital
reception. This can result in repetitions or inter-
ruptions. In this case it may be advisable to
deactivate digital radio reception.
Selecting programs of a digital station*
Some stations transmit several programs. To
select one of these programs:
1.Select "FM" or "AM" and press the control-
ler.
2.Select "Manual" and press the controller.
3.Select a station that is received digitally.
This symbol is displayed when a station
is being received digitally.
4.Switch to the next program of the digital
station with the buttons on the radio
or the steering wheel.
You can store a station, refer to page174.
Page 184 of 292
CD player and CD changer
182
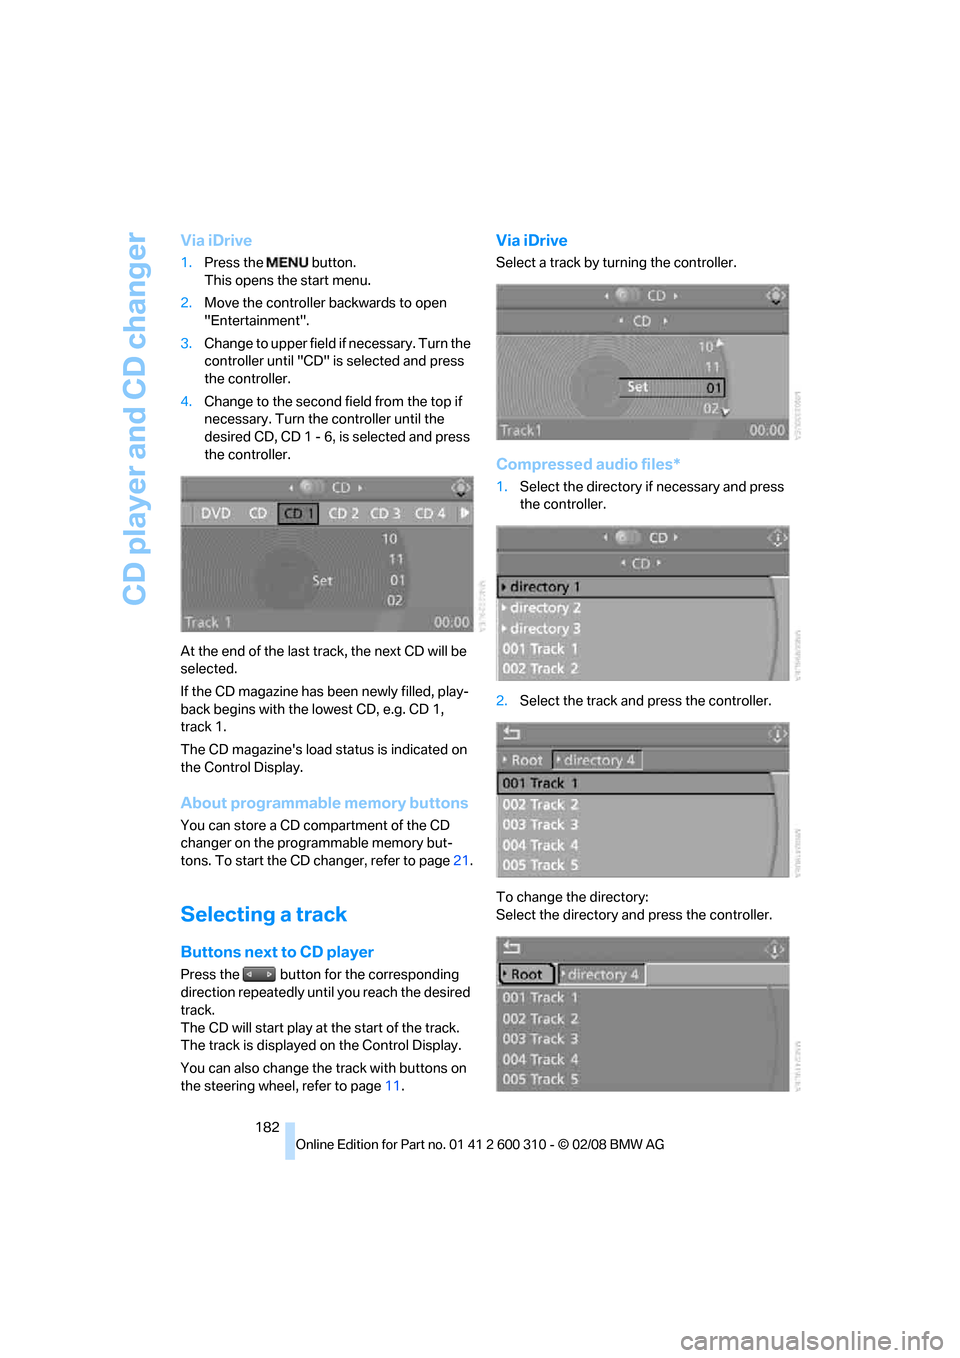
Via iDrive
1.Press the button.
This opens the start menu.
2.Move the controller backwards to open
"Entertainment".
3.Change to upper field if necessary. Turn the
controller until "CD" is selected and press
the controller.
4.Change to the second field from the top if
necessary. Turn the controller until the
desired CD, CD 1 - 6, is selected and press
the controller.
At the end of the last track, the next CD will be
selected.
If the CD magazine has been newly filled, play-
back begins with the lowest CD, e.g. CD 1,
track 1.
The CD magazine's load status is indicated on
the Control Display.
About programmable memory buttons
You can store a CD compartment of the CD
changer on the programmable memory but-
tons. To start the CD changer, refer to page21.
Selecting a track
Buttons next to CD player
Press the button for the corresponding
direction repeatedly until you reach the desired
track.
The CD will start play at the start of the track.
The track is displayed on the Control Display.
You can also change the track with buttons on
the steering wheel, refer to page11.
Via iDrive
Select a track by turning the controller.
Compressed audio files*
1.Select the directory if necessary and press
the controller.
2.Select the track and press the controller.
To change the directory:
Select the directory and press the controller.
Page 207 of 292
205
Entertainment
Reference
At a glance
Controls
Driving tips Communications
Navigation
Mobility
Changing between mobile
phone and hands-free system
From mobile phone to hands-free
system*
You can continue calls begun outside the Blue-
tooth range of the vehicle via the hands-free
system when the motor is running or the igni-
tion is switched on. Depending on your mobile
phone, the system automatically changes over
to the hands-free mode.
For mobile phones that do not automatically
change over to the hands-free mode:
>Depending on the mobile phone model
used, the conversation can be continued via
the hands-free system if necessary. Act
according to what is shown on the mobile
phone display, refer to the operating
instructions of your mobile phone.
>Press the button above the storage
compartment. Changing over may take sev-
eral seconds.
From hands-free system to mobile
phone
When you telephone via the hands-free system,
you can also continue the call via the mobile
phone if necessary, depending on the mobile
phone model. Act according to what is shown
on the mobile phone display, refer to the oper-
ating instructions of your mobile phone.
As an alternative, you can deactivate the Blue-
tooth link.
Depending on your mobile phone model, poor
reception of the wireless communications net-
work can result in the system changing from the
hands-free system to the mobile phone.
Operation by voice*
The concept
You can operate your mobile phone without
having to remove your hands from the steering
wheel. When making your entries, you will be
supported by announcements or questions in
many cases.
The same prerequisites as for operation via
iDrive apply, refer to page200.
Voice commands
Activating system
1.Briefly press the button on the steering
wheel.
An acoustic signal indicates that you can
say commands.
2.Say the command.
Ending/canceling operation by voice
Press the button on the steering wheel
or
In dialogs where text is spoken, not a command,
e.g. a name, canceling is only possible using the
button on the steering wheel.
Having possible commands read aloud
The system understands default commands
that must be spoken word for word.
You can have the possible commands spoken
by the system at any point:
Using alternative commands
There are often a number of commands to run a
function, e.g.:
The system recognizes digits from zero to nine.
You can say each digit individually or group
them into a sequence to accelerate the input.
{Cancel}.
{Help}.
{Dial name} or {Name}.
Page 231 of 292
Mobility
229Reference
At a glance
Controls
Driving tips
Communications
Navigation
Entertainment
Tire condition
Inspect your tires frequently for tread wear,
signs of damage and for foreign objects lodged
in the tread. Check the tread depth.
Minimum tread depth
The tread depth should not drop below 0.12 in/
3 mm, although, for example, European legisla-
tion only specifies a minimum tread depth of
0.063 in/1.6 mm. At tread depths below 0.12 in/
3 mm there is an increased risk of high-speed
hydroplaning, even when only small amounts of
water are present on the road surface.
When winter tires wear down past a tread depth
of 0.16 in/4 mm, they become perceptibly less
suitable for winter conditions. For the sake of
safety, new tires should be installed.
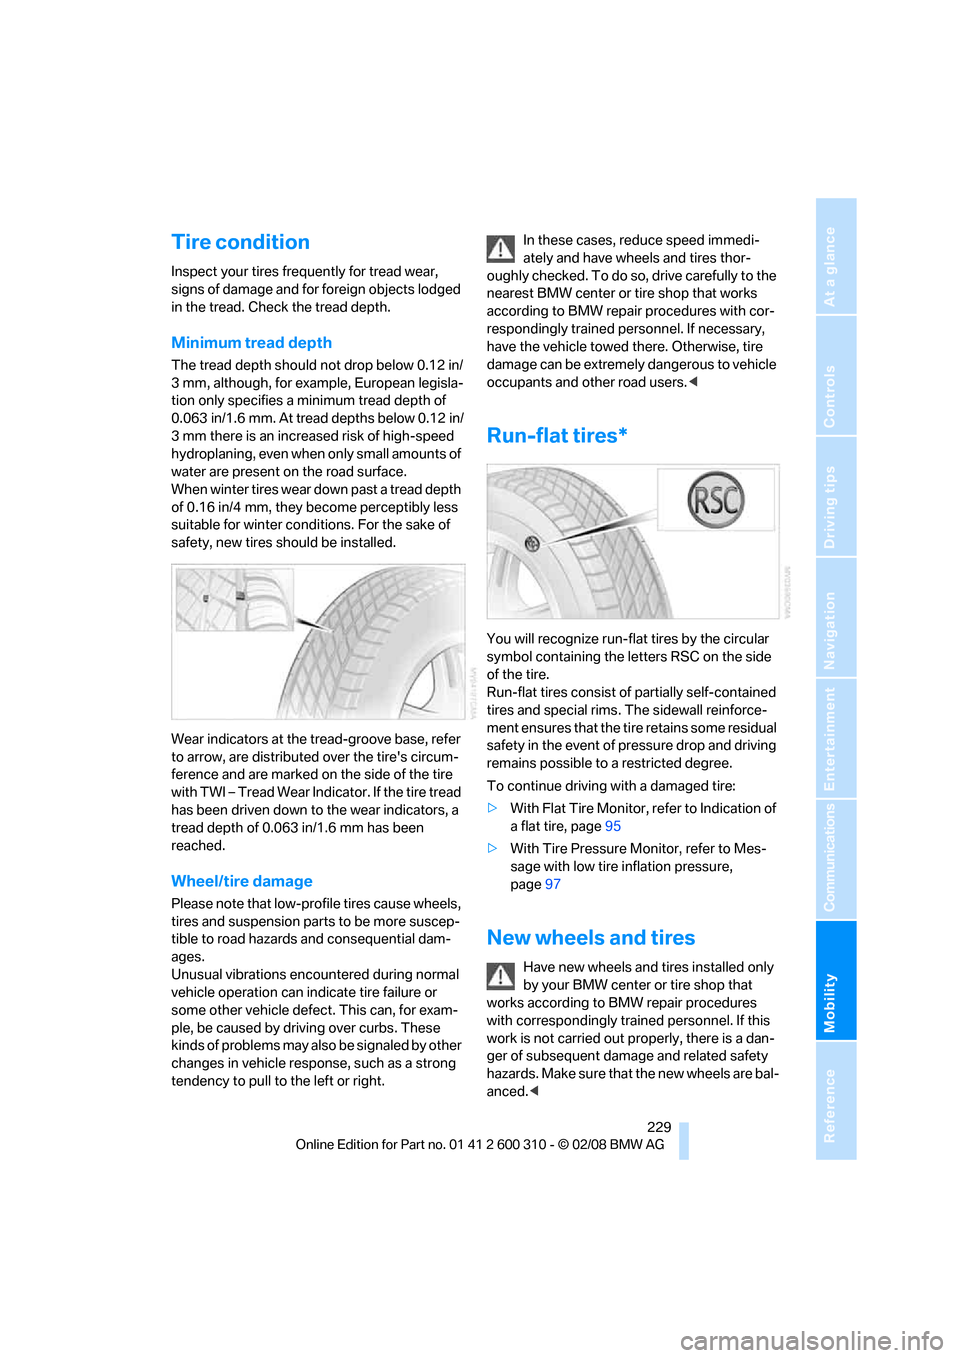
Wear indicators at the tread-groove base, refer
to arrow, are distributed over the tire's circum-
ference and are marked on the side of the tire
with TWI – Tread Wear Indicator. If the tire tread
has been driven down to the wear indicators, a
tread depth of 0.063 in/1.6 mm has been
reached.
Wheel/tire damage
Please note that low-profile tires cause wheels,
tires and suspension parts to be more suscep-
tible to road hazards and consequential dam-
ages.
Unusual vibrations encountered during normal
vehicle operation can indicate tire failure or
some other vehicle defect. This can, for exam-
ple, be caused by driving over curbs. These
kinds of problems may also be signaled by other
changes in vehicle response, such as a strong
tendency to pull to the left or right.In these cases, reduce speed immedi-
ately and have wheels and tires thor-
oughly checked. To do so, drive carefully to the
nearest BMW center or tire shop that works
according to BMW repair procedures with cor-
respondingly trained personnel. If necessary,
have the vehicle towed there. Otherwise, tire
damage can be extremely dangerous to vehicle
occupants and other road users.<
Run-flat tires*
You will recognize run-flat tires by the circular
symbol containing the letters RSC on the side
of the tire.
Run-flat tires consist of partially self-contained
tires and special rims. The sidewall reinforce-
ment ensures that the tire retains some residual
safety in the event of pressure drop and driving
remains possible to a restricted degree.
To continue driving with a damaged tire:
>With Flat Tire Monitor, refer to Indication of
a flat tire, page95
>With Tire Pressure Monitor, refer to Mes-
sage with low tire inflation pressure,
page97
New wheels and tires
Have new wheels and tires installed only
by your BMW center or tire shop that
works according to BMW repair procedures
with correspondingly trained personnel. If this
work is not carried out properly, there is a dan-
ger of subsequent damage and related safety
hazards. Make sure that the new wheels are bal-
anced.<