2008 AUDI S5 door lock
[x] Cancel search: door lockPage 51 of 294
Downloaded from www.Manualslib.com manuals search engine Doors and windows49
Controls
Safety
Driving tips
General maintenance
Self-help
Technical data
Manual release of the boot lid
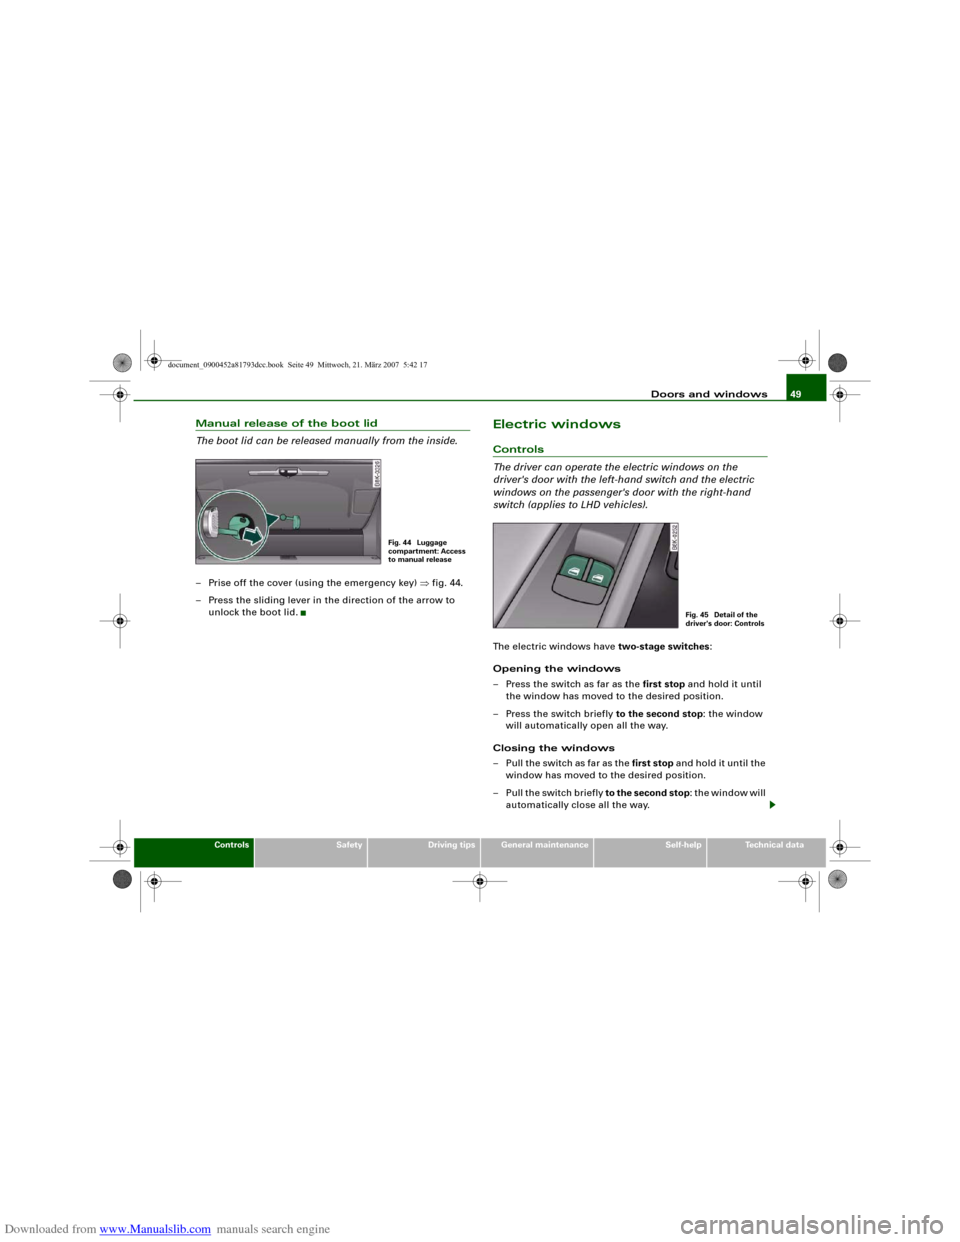
The boot lid can be released manually from the inside.– Prise off the cover (using the emergency key) ⇒fig. 44.
– Press the sliding lever in the direction of the arrow to
unlock the boot lid.
Electric windowsControls
The driver can operate the electric windows on the
driver's door with the left-hand switch and the electric
windows on the passenger's door with the right-hand
switch (applies to LHD vehicles).The electric windows have two-stage switches:
Opening the windows
– Press the switch as far as the first stop and hold it until
the window has moved to the desired position.
– Press the switch briefly to the second stop: the window
will automatically open all the way.
Closing the windows
– Pull the switch as far as the first stop and hold it until the
window has moved to the desired position.
–Pull the switch briefly to the second stop: the window will
automatically close all the way.
Fig. 44 Luggage
compartment: Access
to manual release
Fig. 45 Detail of the
driver's door: Controls
document_0900452a81793dcc.book Seite 49 Mittwoch, 21. März 2007 5:42 17
Page 52 of 294
Downloaded from www.Manualslib.com manuals search engine Doors and windows 50
WARNING
•
Always take the key with you when leaving the vehicle - even if
you only intend to be gone for a short time. This is especially
important if children are left in the car. They might otherwise be
able to start the engine or use power-operated equipment such as
the electric windows - this could lead to injuries. The window
switches are only deactivated when the driver's door or the front
passenger's door is opened.
•
Always be careful when closing the windows. Careless use of
the electric windows can cause severe injuries.
•
When locking the vehicle from the outside, make sure that
nobody is inside the vehicle, as the windows cannot be opened
from the inside in an emergency.Note
•
When the doors are opened the windows will automatically
come down approximately 10 mm.
•
The windows can be operated for about ten minutes after the
ignition has been switched off. The window switches are only deac-
tivated when the driver's door or the front passenger's door is
opened.
Convenience open/close function
The convenience open/close function allows you to open
and close the windows and tilting panorama roof* with
the remote control key.You can select which windows are opened in the settings on
the sound system or MMI* ⇒page 51.Convenience open function
– Press and hold the unlocking button
on the remote
control key until all the windows have reached the
desired position and the tilting panorama roof* is open.
Convenience close function
– Press and hold the locking button
on the remote
control key until the windows and the tilting panorama
roof* are closed ⇒.
Convenience close function with advanced key*
– Touch and keep your hand in contact with the locking
sensor on the door handle until the windows and the
tilting panorama roof* are closed.
The electric blind is opened and closed together with the tilting
panorama roof*.
WARNING
•
Take care when closing the windows and the tilting panorama
roof*. Careless or uncontrolled use can cause injuries.
•
For safety reasons, you should only use the remote control
open and close functions within about 2 metres of the vehicle. To
avoid injuries, always keep an eye on the windows when pressing
the button to close them. The windows and panorama roof stop
moving as soon as the button is released.
document_0900452a81793dcc.book Seite 50 Mittwoch, 21. März 2007 5:42 17
Page 57 of 294
Downloaded from www.Manualslib.com manuals search engine Lights and vision55
Controls
Safety
Driving tips
General maintenance
Self-help
Technical data
WARNING
The automatic headlights are only intended to assist the driver.
The driver must always ensure that the headlights are used when
required, and may have to switch them on manually when the light
conditions or visibility are poor. For example, the light sensors are
not able to detect fog. Therefore, you should always switch on the
headlights
in these conditions and when driving after dark.
Note
•
The light sensor for automatic headlight control is located in the
mounting for the interior mirror. Do not affix any stickers on this
section of the windscreen to avoid malfunctioning of the sensor.
•
The default sensitivity of the light sensor, which is set at the
factory, can be changed in the MMI menu Auto headlights
⇒page 56.
•
If the lights are left on after the key has been taken out of the
ignition lock, a buzzer sounds when the driver's door is opened.
•
The use of the lighting described here is subject to the relevant
statutory requirements.
•
The coming home/leaving home function is active only when the
light switch is set to AUTO.
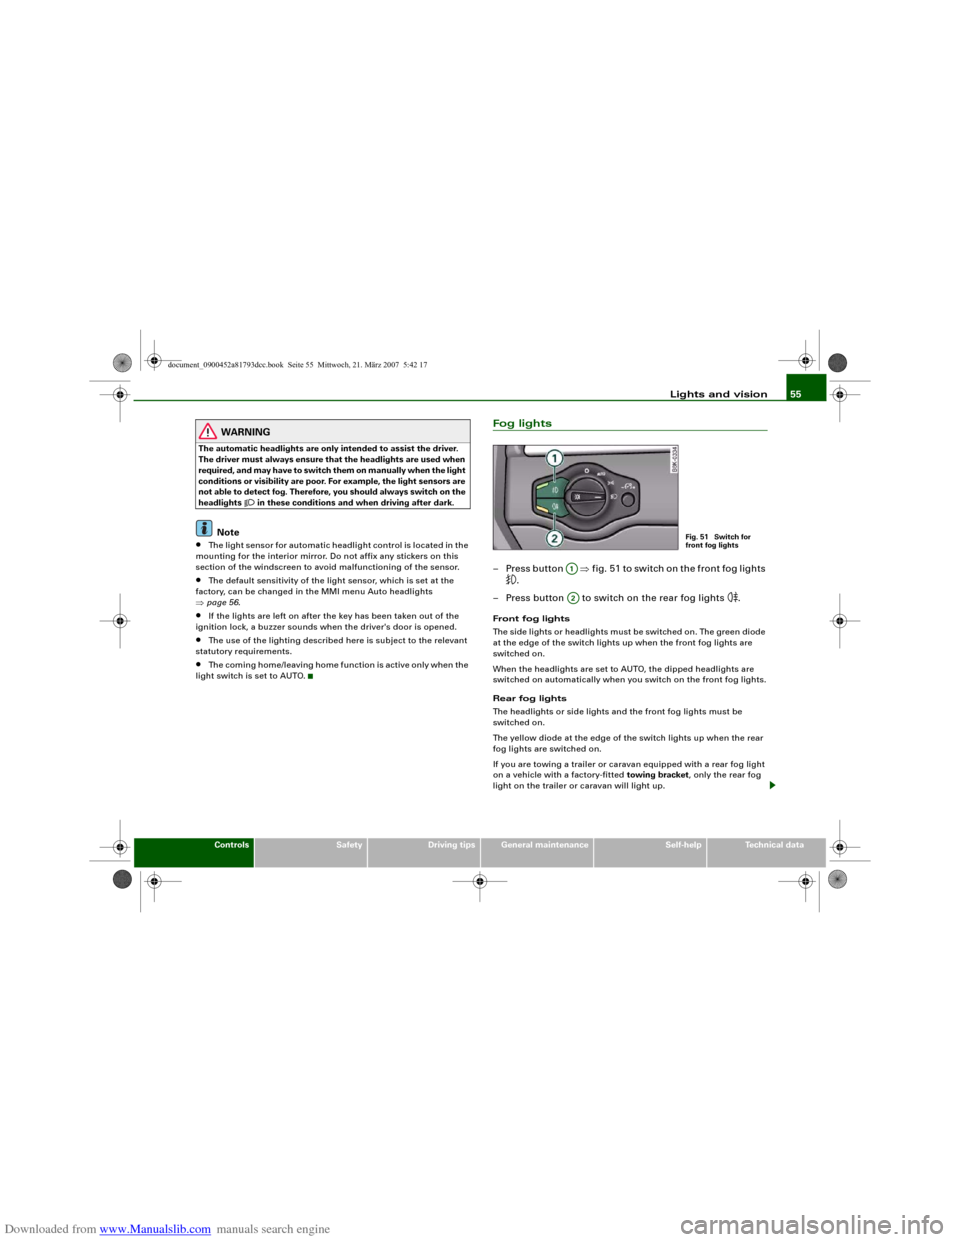
Fog lights– Press button ⇒fig. 51 to switch on the front fog lights
.
– Press button to switch on the rear fog lights
.
Front fog lights
The side lights or headlights must be switched on. The green diode
at the edge of the switch lights up when the front fog lights are
switched on.
When the headlights are set to AUTO, the dipped headlights are
switched on automatically when you switch on the front fog lights.
Rear fog lights
The headlights or side lights and the front fog lights must be
switched on.
The yellow diode at the edge of the switch lights up when the rear
fog lights are switched on.
If you are towing a trailer or caravan equipped with a rear fog light
on a vehicle with a factory-fitted towing bracket, only the rear fog
light on the trailer or caravan will light up.
Fig. 51 Switch for
front fog lights
A1A2
document_0900452a81793dcc.book Seite 55 Mittwoch, 21. März 2007 5:42 17
Page 58 of 294
Downloaded from www.Manualslib.com manuals search engine Lights and vision 56
CautionTo avoid dazzling the traffic behind you, the rear fog light should
only be used in accordance with statutory regulations.Exterior lighting settings
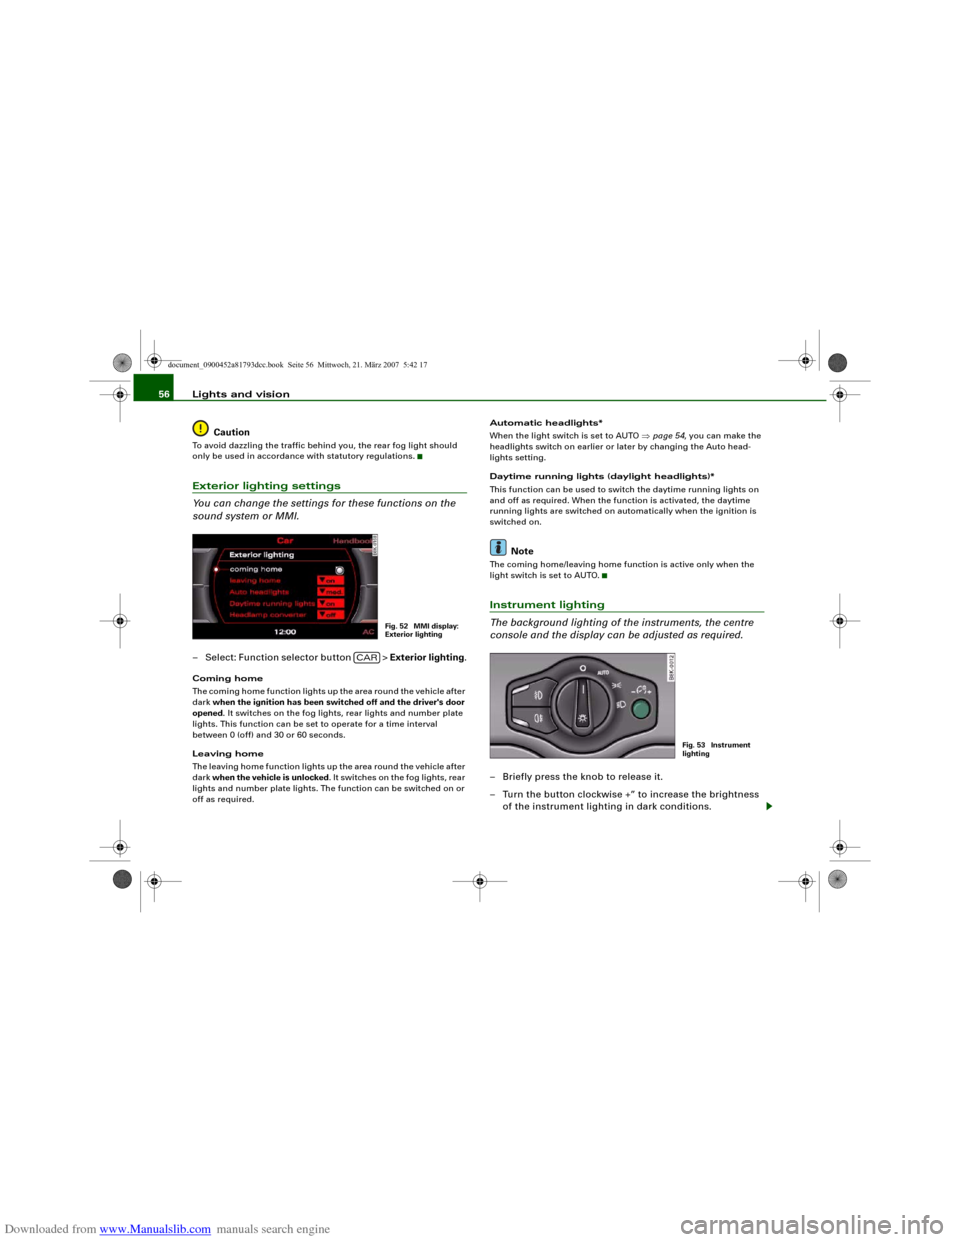
You can change the settings for these functions on the
sound system or MMI.– Select: Function selector button > Exterior lighting.Coming home
The coming home function lights up the area round the vehicle after
dark when the ignition has been switched off and the driver's door
opened. It switches on the fog lights, rear lights and number plate
lights. This function can be set to operate for a time interval
between 0 (off) and 30 or 60 seconds.
Leaving home
The leaving home function lights up the area round the vehicle after
dark when the vehicle is unlocked. It switches on the fog lights, rear
lights and number plate lights. The function can be switched on or
off as required.Automatic headlights*
When the light switch is set to AUTO ⇒page 54, you can make the
headlights switch on earlier or later by changing the Auto head-
lights setting.
Daytime running lights (daylight headlights)*
This function can be used to switch the daytime running lights on
and off as required. When the function is activated, the daytime
running lights are switched on automatically when the ignition is
switched on.
Note
The coming home/leaving home function is active only when the
light switch is set to AUTO.Instrument lighting
The background lighting of the instruments, the centre
console and the display can be adjusted as required.– Briefly press the knob to release it.
– Turn the button clockwise +” to increase the brightness
of the instrument lighting in dark conditions.
Fig. 52 MMI display:
Exterior lighting
CAR
Fig. 53 Instrument
lighting
document_0900452a81793dcc.book Seite 56 Mittwoch, 21. März 2007 5:42 17
Page 62 of 294
Downloaded from www.Manualslib.com manuals search engine Lights and vision 60
Interior light switched on
– Move switch to position I.
Interior light switched off
– Move switch to position O.
Front reading lights
– Press one of the switches ⇒page 59, fig. 58 to switch
the left or right reading light on and off.If you switch on the courtesy lighting, the interior lights come on
automatically when the vehicle is unlocked or the doors are opened.
The light also comes on when the key is pulled out of the ignition. It
goes out approximately 30 seconds after the doors are closed. The
interior light is switched off immediately when the vehicle is locked
or when the ignition is switched on.
If a door is left open, the light is switched off after about 10 minutes
to prevent the battery from running flat.
The brightness of the light is automatically adjusted by a dimmer
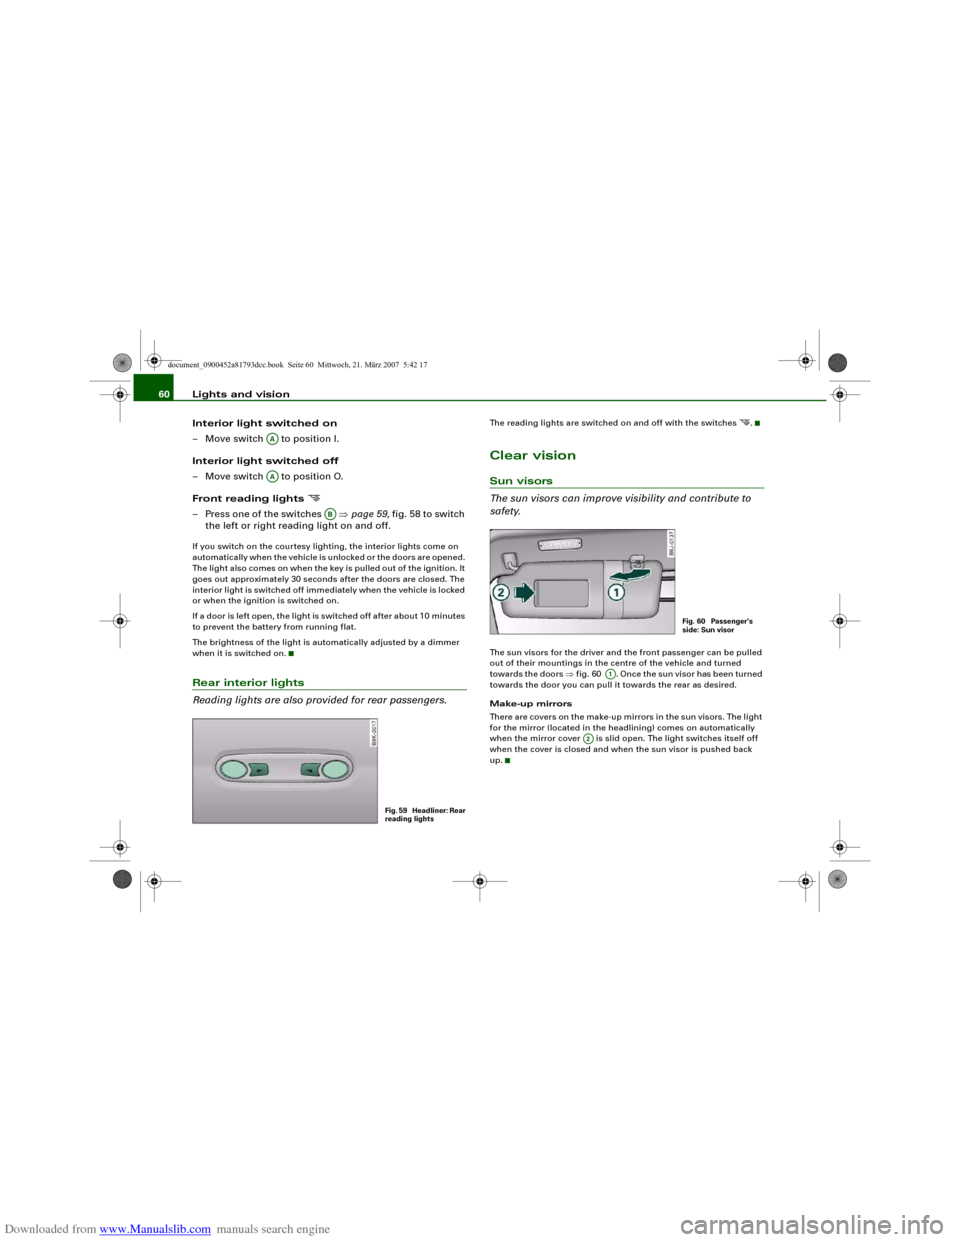
when it is switched on.Rear interior lights
Reading lights are also provided for rear passengers.
The reading lights are switched on and off with the switches
.
Clear visionSun visors
The sun visors can improve visibility and contribute to
safety.The sun visors for the driver and the front passenger can be pulled
out of their mountings in the centre of the vehicle and turned
towards the doors ⇒fig. 60 . Once the sun visor has been turned
towards the door you can pull it towards the rear as desired.
Make-up mirrors
There are covers on the make-up mirrors in the sun visors. The light
for the mirror (located in the headlining) comes on automatically
when the mirror cover is slid open. The light switches itself off
when the cover is closed and when the sun visor is pushed back
up.
AAAA
AB
Fig. 59 Headliner: Rear
reading lights
Fig. 60 Passenger's
side: Sun visor
A1
A2
document_0900452a81793dcc.book Seite 60 Mittwoch, 21. März 2007 5:42 17
Page 74 of 294
Downloaded from www.Manualslib.com manuals search engine Seats and storage 72When the front seats are moved forward, their original positions are
stored in a memory. The seats then stop automatically in this posi-
tion when they are moved back. If you want to move one of the seats
back further, release the switch and press it again.
The head restraints on the front seats retract automatically
(depending on the seat height setting) when the backrests are
tipped forward, and move back to their original positions when the
backrests are returned to the upright position.
Note
The easy-entry switches on the relevant seat are out of action when
the driver's or passenger's doors are closed.Seat memoryApplies to vehicles: with seat memoryMemory for driver's seat
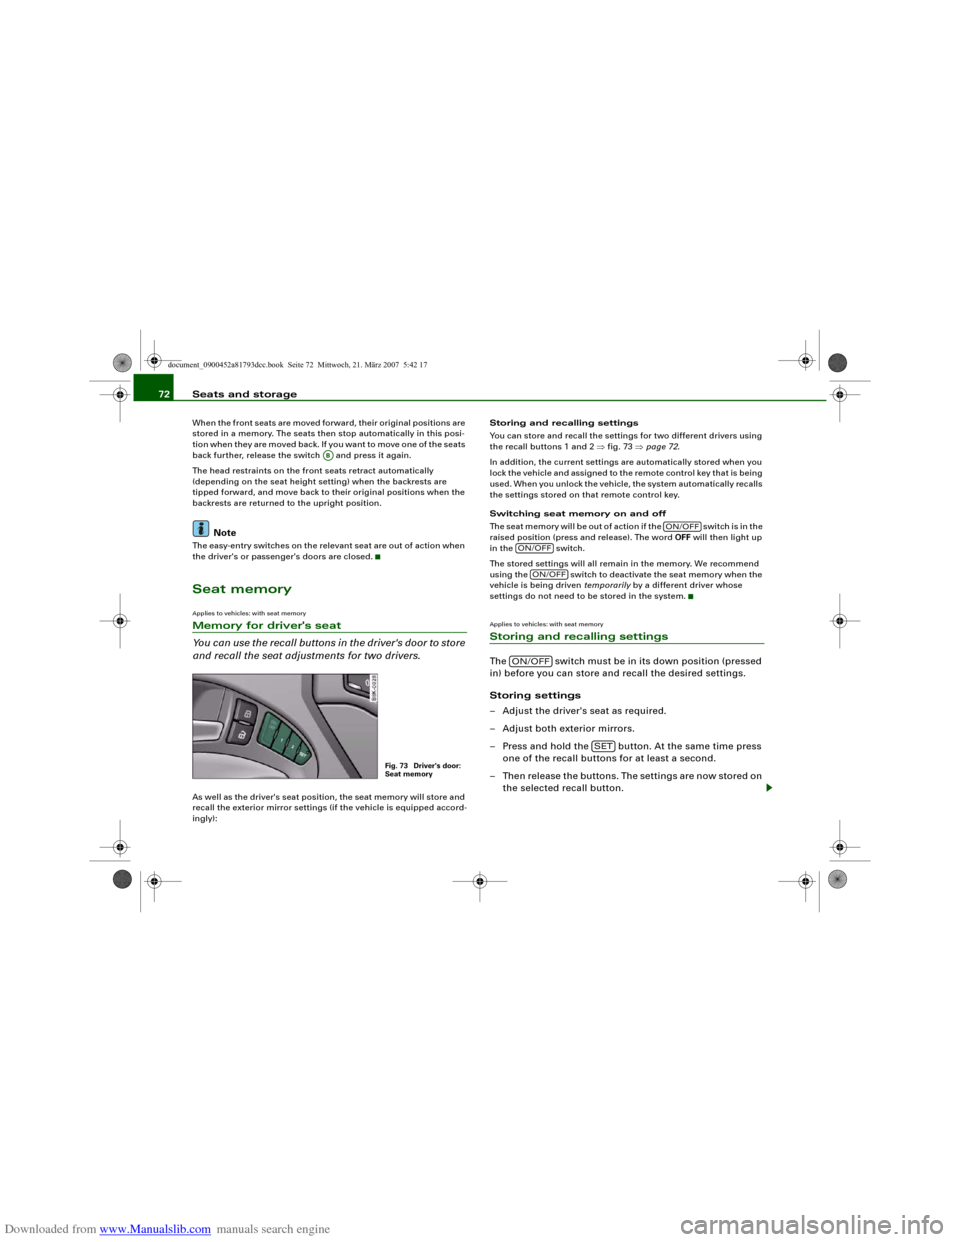
You can use the recall buttons in the driver's door to store
and recall the seat adjustments for two drivers.As well as the driver's seat position, the seat memory will store and
recall the exterior mirror settings (if the vehicle is equipped accord-
ingly):Storing and recalling settings
You can store and recall the settings for two different drivers using
the recall buttons 1 and 2 ⇒fig. 73 ⇒page 72.
In addition, the current settings are automatically stored when you
lock the vehicle and assigned to the remote control key that is being
used. When you unlock the vehicle, the system automatically recalls
the settings stored on that remote control key.
Switching seat memory on and off
Th e s e a t m e m o r y w i l l b e o u t o f a c t i o n i f t h e s w i t c h i s i n t h e
raised position (press and release). The word OFF will then light up
in the switch.
The stored settings will all remain in the memory. We recommend
using the switch to deactivate the seat memory when the
vehicle is being driven temporarily by a different driver whose
settings do not need to be stored in the system.
Applies to vehicles: with seat memoryStoring and recalling settingsThe switch must be in its down position (pressed
in) before you can store and recall the desired settings.
Storing settings
– Adjust the driver's seat as required.
– Adjust both exterior mirrors.
– Press and hold the button. At the same time press
one of the recall buttons for at least a second.
– Then release the buttons. The settings are now stored on
the selected recall button.
AB
Fig. 73 Driver's door:
Seat memory
ON/OFF
ON/OFF
ON/OFF
ON/OFF
SET
document_0900452a81793dcc.book Seite 72 Mittwoch, 21. März 2007 5:42 17
Page 75 of 294
Downloaded from www.Manualslib.com manuals search engine Seats and storage73
Controls
Safety
Driving tips
General maintenance
Self-help
Technical data
Recalling settings
– If the driver's door is open, press the desired recall
button briefly.
– If the driver's door is closed, press and hold down the
desired recall button until the programmed settings are
reached.A tone will sound and the diode in the button ⇒page 72,
fig. 73 will light up to confirm that the settings have been stored.
When you lock the vehicle the current settings are automatically
stored and assigned to the remote control key. However, the
settings assigned to the remote control key will not overwrite the
settings stored on recall buttons 1 and 2. The settings stored on the
recall buttons can be called up at any time. When you unlock the
vehicle, the settings assigned to the remote control key are recalled
automatically.
If your vehicle is also driven by other persons using your remote
control key, it is advisable to store your personal settings on one of
the recall buttons. You can then recall your own settings at any time
simply by pressing the corresponding recall button. When you lock
the vehicle these settings are then stored automatically and
assigned once again to the remote control key.
WARNING
•
For safety reasons, never recall seat settings when the vehicle
is moving - this could lead to an accident.
•
In an emergency the recall function can be stopped at any time
by pressing the switch, or by briefly pressing any of the
recall buttons.
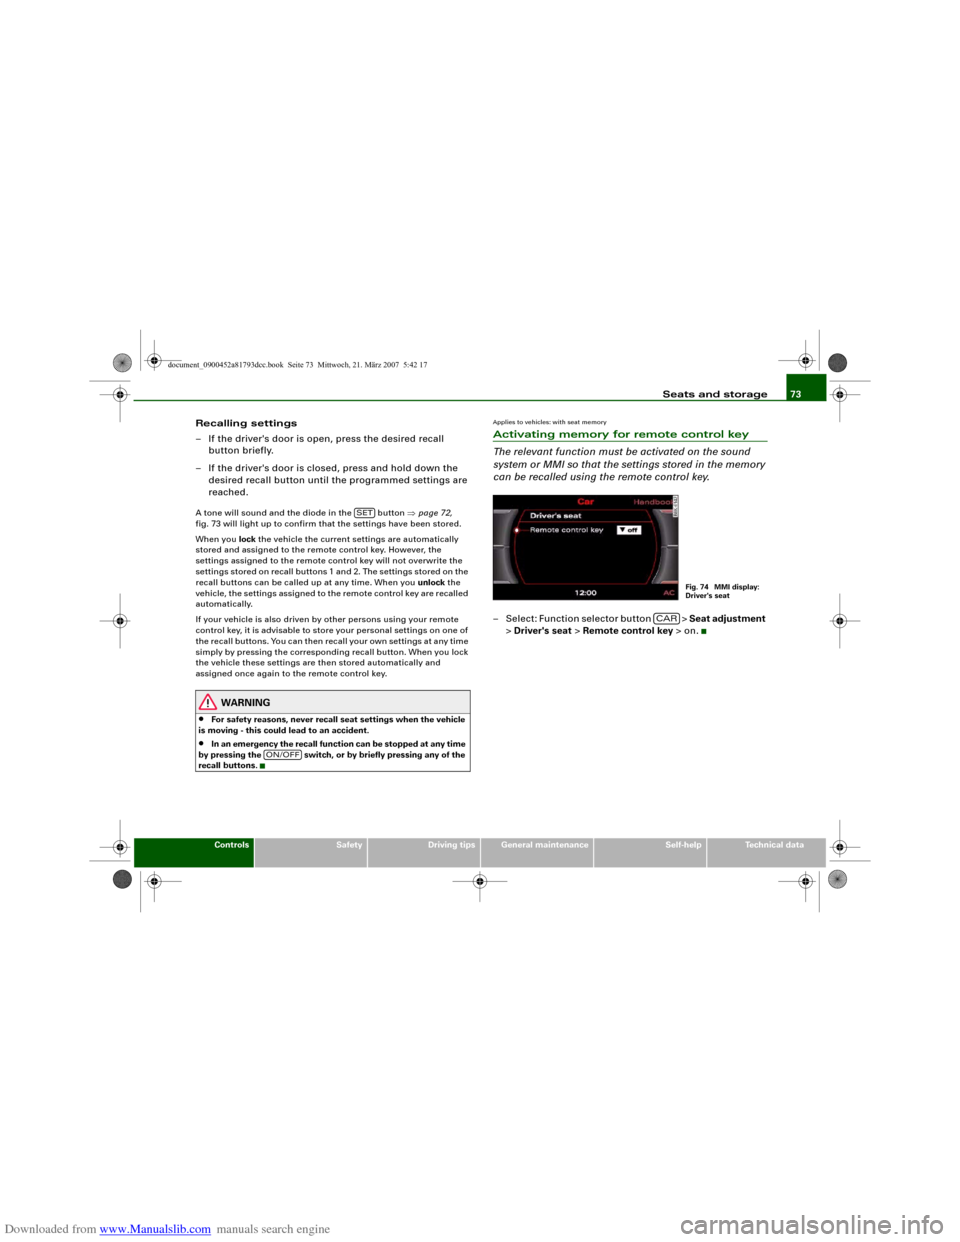
Applies to vehicles: with seat memoryActivating memory for remote control key
The relevant function must be activated on the sound
system or MMI so that the settings stored in the memory
can be recalled using the remote control key.– Select: Function selector button > Seat adjustment
> Driver's seat > Remote control key > on.
SET
ON/OFF
Fig. 74 MMI display:
Driver's seat
CAR
document_0900452a81793dcc.book Seite 73 Mittwoch, 21. März 2007 5:42 17
Page 117 of 294
Downloaded from www.Manualslib.com manuals search engine Driving115
Controls
Safety
Driving tips
General maintenance
Self-help
Technical data When starting from cold the engine may be a little noisy for the first
few seconds until oil pressure has built up in the hydraulic tappets.
This is quite normal and no cause for concern.
If the engine fails to start straight-away, switch off the starter after
about 10 seconds and try again after about half a minute.
Driver message in the instrument cluster display
Press brake pedal to start engine
This message appears on vehicles with an automatic gearbox if you
try to start the engine without first pressing the brake pedal.
Press clutch pedal to start engine
This message appears on vehicles with a manual gearbox if you try
to start the engine without first pressing the clutch pedal.
Engage N or P to start engine
This message will appear if you try to start the engine when the
selector lever of the automatic gearbox is not in P or N.
Shift to P, otherwise vehicle can roll away. Doors do not lock if lever
is not in P. or Please move selector lever to position P. Vehicle
cannot be locked.
For safety reasons, this message will appear and a warning buzzer
will sound if the selector lever of the automatic gearbox is not in
position P after you switch off the ignition. Put the selector lever in
position P; otherwise the vehicle can roll away. If the lever is not in
position P you will not be able to lock the vehicle using the exterior
locking switch on the door handle or the remote control key.
Steering lock
The steering is locked when the key is not in the ignition. The
steering lock acts as a theft deterrent. .
WARNING
•
Always take the key with you when you leave the vehicle.
Otherwise the engine can be started or power-operated equip-
ment such as the electric windows can be used. This could result
in serious injury.
•
Never leave children or disabled people alone in the car. The
doors could be locked with the remote control key and the occu-
pants could become trapped in the vehicle. The vehicle occupants
could be exposed to extremely high or low temperatures,
depending on the time of year.
•
Never remove the key from the ignition while the vehicle is
moving. The steering lock could engage suddenly, and you would
not be able to steer the car.Caution
•
If a malfunction occurs in the electronic ignition lock, a flashing
symbol and the message Ignition lock defective will appear in the
instrument cluster display.
•
Avoid high engine speeds, full throttle and extreme load condi-
tions until the engine has reached its normal operating tempera-
ture, otherwise this can damage the engine.For the sake of the environment
Do not warm up the engine by running it with the car stationary. You
should drive off immediately whenever possible. This will help avoid
unnecessary exhaust emissions.
Note
If the key should become stuck in the ignition lock, remove the top
part of the key and use it to lock the vehicle.
document_0900452a81793dcc.book Seite 115 Mittwoch, 21. März 2007 5:42 17