2008 AUDI S5 ECO mode
[x] Cancel search: ECO modePage 148 of 294
Downloaded from www.Manualslib.com manuals search engine HomeLink 146
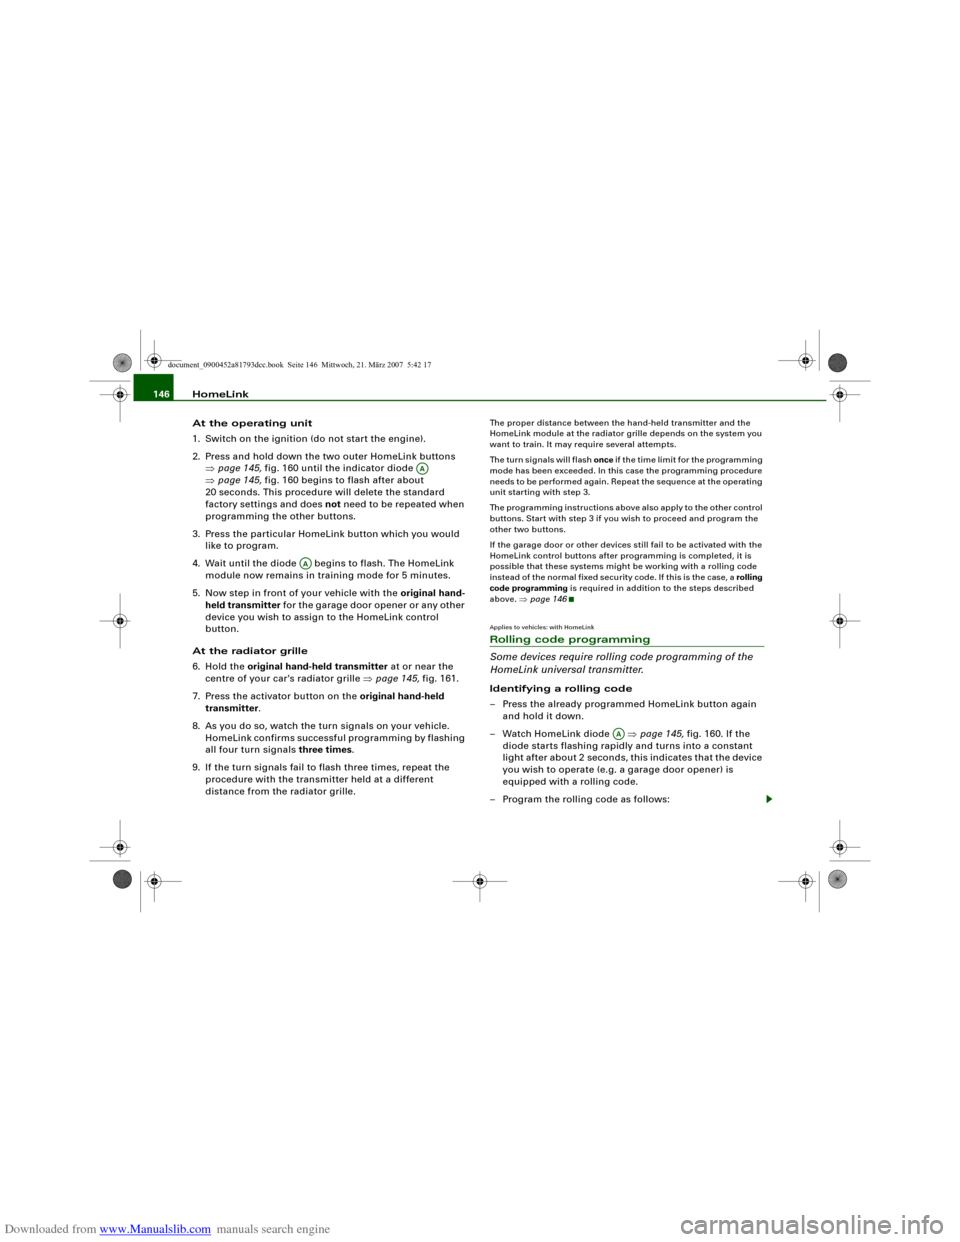
At the operating unit
1. Switch on the ignition (do not start the engine).
2. Press and hold down the two outer HomeLink buttons
⇒page 145, fig. 160 until the indicator diode
⇒page 145, fig. 160 begins to flash after about
20 seconds. This procedure will delete the standard
factory settings and does not need to be repeated when
programming the other buttons.
3. Press the particular HomeLink button which you would
like to program.
4. Wait until the diode begins to flash. The HomeLink
module now remains in training mode for 5 minutes.
5. Now step in front of your vehicle with the original hand-
held transmitter for the garage door opener or any other
device you wish to assign to the HomeLink control
button.
At the radiator grille
6. Hold the original hand-held transmitter at or near the
centre of your car's radiator grille ⇒page 145, fig. 161.
7. Press the activator button on the original hand-held
transmitter.
8. As you do so, watch the turn signals on your vehicle.
HomeLink confirms successful programming by flashing
all four turn signals three times.
9. If the turn signals fail to flash three times, repeat the
procedure with the transmitter held at a different
distance from the radiator grille.
The proper distance between the hand-held transmitter and the
HomeLink module at the radiator grille depends on the system you
want to train. It may require several attempts.
The turn signals will flash once if the time limit for the programming
mode has been exceeded. In this case the programming procedure
needs to be performed again. Repeat the sequence at the operating
unit starting with step 3.
The programming instructions above also apply to the other control
buttons. Start with step 3 if you wish to proceed and program the
other two buttons.
If the garage door or other devices still fail to be activated with the
HomeLink control buttons after programming is completed, it is
possible that these systems might be working with a rolling code
instead of the normal fixed security code. If this is the case, a rolling
code programming is required in addition to the steps described
above. ⇒page 146Applies to vehicles: with HomeLinkRolling code programming
Some devices require rolling code programming of the
HomeLink universal transmitter.Identifying a rolling code
– Press the already programmed HomeLink button again
and hold it down.
–Watch HomeLink diode ⇒page 145, fig. 160. If the
diode starts flashing rapidly and turns into a constant
light after about 2 seconds, this indicates that the device
you wish to operate (e.g. a garage door opener) is
equipped with a rolling code.
– Program the rolling code as follows:
AA
AA
AA
document_0900452a81793dcc.book Seite 146 Mittwoch, 21. März 2007 5:42 17
Page 149 of 294
Downloaded from www.Manualslib.com manuals search engine HomeLink147
Controls
Safety
Driving tips
General maintenance
Self-help
Technical data
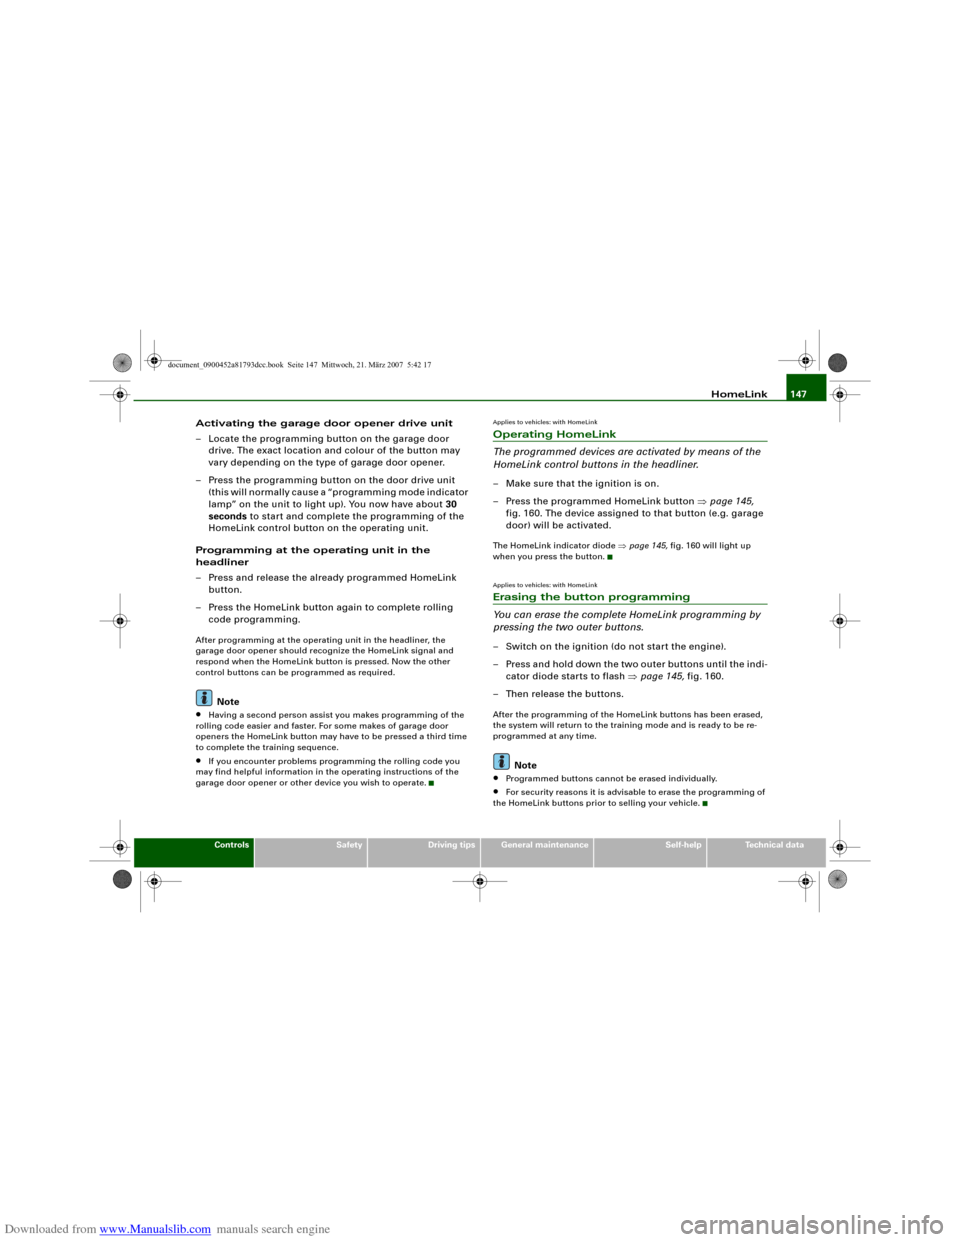
Activating the garage door opener drive unit
– Locate the programming button on the garage door
drive. The exact location and colour of the button may
vary depending on the type of garage door opener.
– Press the programming button on the door drive unit
(this will normally cause a “programming mode indicator
lamp” on the unit to light up). You now have about 30
seconds to start and complete the programming of the
HomeLink control button on the operating unit.
Programming at the operating unit in the
headliner
– Press and release the already programmed HomeLink
button.
– Press the HomeLink button again to complete rolling
code programming.After programming at the operating unit in the headliner, the
garage door opener should recognize the HomeLink signal and
respond when the HomeLink button is pressed. Now the other
control buttons can be programmed as required.
Note
•
Having a second person assist you makes programming of the
rolling code easier and faster. For some makes of garage door
openers the HomeLink button may have to be pressed a third time
to complete the training sequence.
•
If you encounter problems programming the rolling code you
may find helpful information in the operating instructions of the
garage door opener or other device you wish to operate.
Applies to vehicles: with HomeLinkOperating HomeLink
The programmed devices are activated by means of the
HomeLink control buttons in the headliner.– Make sure that the ignition is on.
– Press the programmed HomeLink button ⇒page 145,
fig. 160. The device assigned to that button (e.g. garage
door) will be activated.The HomeLink indicator diode ⇒page 145, fig. 160 will light up
when you press the button.Applies to vehicles: with HomeLinkErasing the button programming
You can erase the complete HomeLink programming by
pressing the two outer buttons.– Switch on the ignition (do not start the engine).
– Press and hold down the two outer buttons until the indi-
cator diode starts to flash ⇒page 145, fig. 160.
– Then release the buttons.After the programming of the HomeLink buttons has been erased,
the system will return to the training mode and is ready to be re-
programmed at any time.
Note
•
Programmed buttons cannot be erased individually.
•
For security reasons it is advisable to erase the programming of
the HomeLink buttons prior to selling your vehicle.
document_0900452a81793dcc.book Seite 147 Mittwoch, 21. März 2007 5:42 17
Page 181 of 294
Downloaded from www.Manualslib.com manuals search engine Child safety179
Controls
Safety
Driving tips
General maintenance
Self-help
Technical data
Fitting child safety seatsGeneral information
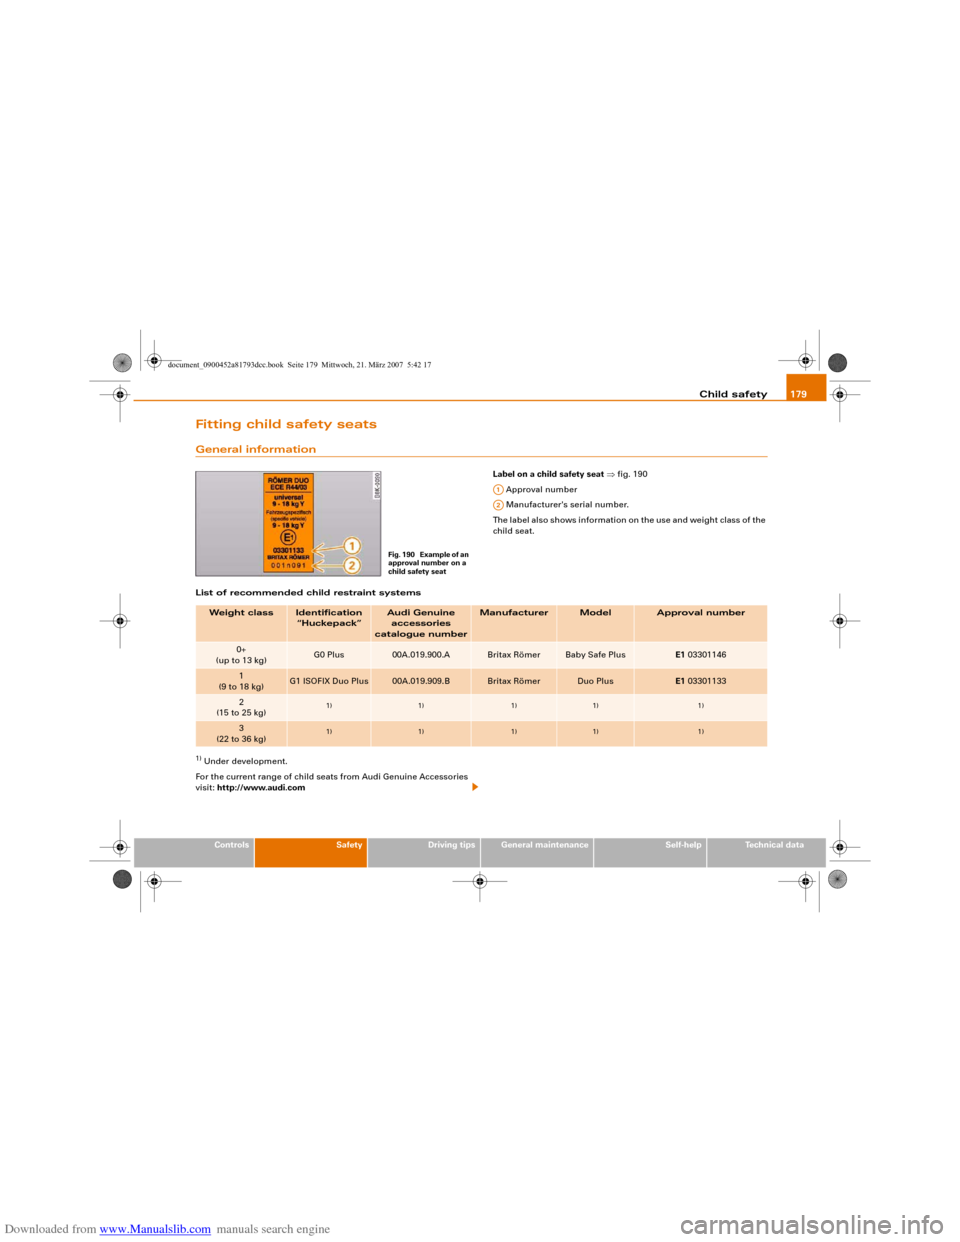
Label on a child safety seat ⇒fig. 190
Approval number
Manufacturer's serial number.
The label also shows information on the use and weight class of the
child seat.
List of recommended child restraint systems
1) Under development.
For the current range of child seats from Audi Genuine Accessories
visit: http://www.audi.com
Fig. 190 Example of an
approval number on a
child safety seat
A1A2
Weight class
Identification
“Huckepack”
Audi Genuine
accessories
catalogue number
Manufacturer
Model
Approval number
0+
(up to 13 kg)
G0 Plus
00A.019.900.A
Britax Römer
Baby Safe Plus
E1 03301146
1
(9 to 18 kg)
G1 ISOFIX Duo Plus
00A.019.909.B
Britax Römer
Duo Plus
E1 03301133
2
(15 to 25 kg)
1)
1)
1)
1)
1)
3
(22 to 36 kg)
1)
1)
1)
1)
1)
document_0900452a81793dcc.book Seite 179 Mittwoch, 21. März 2007 5:42 17
Page 182 of 294
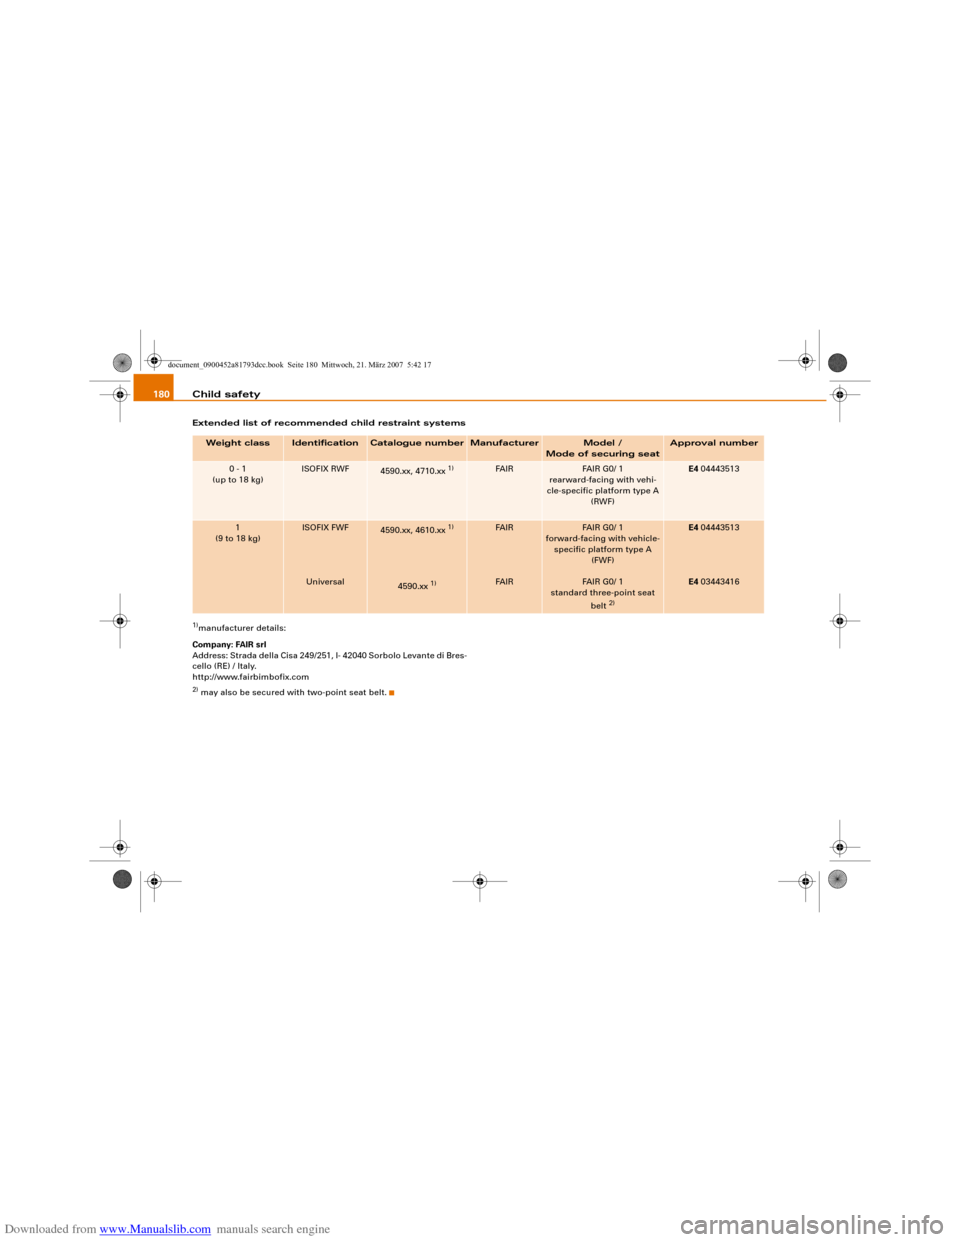
Downloaded from www.Manualslib.com manuals search engine Child safety 180Extended list of recommended child restraint systems1)manufacturer details:
Company: FAIR srl
Address: Strada della Cisa 249/251, I- 42040 Sorbolo Levante di Bres-
cello (RE) / Italy.
http://www.fairbimbofix.com2) may also be secured with two-point seat belt.Weight class
Identification
Catalogue number
Manufacturer
Model /
Mode of securing seat
Approval number
0 - 1
(up to 18 kg)
ISOFIX RWF
4590.xx, 4710.xx
1)
FA I R
FAIR G0/ 1
rearward-facing with vehi-
cle-specific platform type A
(RWF)
E4 04443513
1
(9 to 18 kg)
ISOFIX FWF
Universal
4590.xx, 4610.xx
1)
4590.xx
1)
FA I R
FA I R
FAIR G0/ 1
forward-facing with vehicle-
specific platform type A
(FWF)
FAIR G0/ 1
standard three-point seat
belt
2)
E4 04443513
E4 03443416
document_0900452a81793dcc.book Seite 180 Mittwoch, 21. März 2007 5:42 17
Page 190 of 294
Downloaded from www.Manualslib.com manuals search engine Intelligent technology 188pedal very quickly, the brake assist system automatically boosts the
braking force to the maximum level, up to the point where the anti-
lock brake function (ABS) intervenes to stop the wheels from
locking. You should then keep the brake pedal pressed until the
vehicle has braked to the required speed. The brake assist system
switches itself off as soon as you release the brake pedal.
The brake assist system will not be operative if there is a malfunc-
tion in the ABS.
WARNING
Please remember that the accident risk always increases if you
drive too fast, especially in corners or on a slippery road, or if you
follow too close behind the vehicle in front of you. An increased
accident risk cannot be compensated even by the brake assist
system, so always be sure to maintain a safe speed.Traction control system (ASR)
The traction control system prevents the driven wheels
from spinning when the car is accelerating.General notes
The traction control system (ASR) is one of the functions incorpo-
rated in the electronic stabilisation program (ESP).
The traction control system (ASR) helps the car to start moving,
accelerate and climb a gradient in slippery conditions where this
may otherwise be difficult or even impossible.
How the system works
The ASR acts automatically i.e. without the driver's intervention.
With the aid of the ABS sensors ⇒page 187, the ASR monitors the
speed of the driven wheels. If the wheels start to spin, the engine
power is reduced automatically to match the amount of grip avail-
able. The system works at all speeds.The ASR works in conjunction with the ABS. If a malfunction should
occur in the ABS, the ASR will also be out of action.
Switching on
The ESP is switched on automatically when the engine is started
and performs a self-test routine. As soon as this routine is complete,
the system switches back to normal operating mode. If the traction
control system (ASR) has been deactivated (for one of the reasons
noted below) you can switch it back on manually by pressing the
switch ⇒page 186, fig. 192. The message ESP/ASR on will appear
briefly in the display.
You can switch the traction control system (ASR) on again if neces-
sary by pressing the switch ⇒page 186, fig. 192.
Switching off
If required, the ASR can also be switched off manually by pressing
the switch briefly ⇒page 186, fig. 192 (for less than 3 seconds). The
ESP warning lamp lights up when the traction control system (ASR)
is switched off, see ⇒page 16. The message ASR off will appear in
the display. The ASR can be deactivated at any speed.
The traction control system should normally remain switched on at
all times. It should only be switched off manually in particular
circumstances where a certain amount of wheel slip may be desir-
able. For example:
•
when driving with snow chains
•
when driving in deep snow or on loose surfaces
•
when rocking the car backwards and forwards to free it.
The ASR should be switched on again afterwards as soon as
possible.Note
To ensure that the ASR works properly, all four wheels must be fitted
with identical tyres. Any differences in the rolling radius of the tyres
document_0900452a81793dcc.book Seite 188 Mittwoch, 21. März 2007 5:42 17
Page 193 of 294
Downloaded from www.Manualslib.com manuals search engine Intelligent technology191
Controls
Safety
Driving tips
General maintenance
Self-help
Technical data If a fault should occur in the servotronic system the power steering
will still operate. The degree of power assistance will, however, no
longer adapt to different speeds. If the electronic regulating system
is not working properly, this is most noticeable when turning the
steering wheel at low speeds (for instance when parking) – more
effort will be required than usual. The fault should be corrected by
a qualified workshop as soon as possible.
The power steering does not function when the engine is switched
off. In this case the steering wheel is very hard to turn.
If the steering is held at its turning limit when the car is stationary,
this will place an excessive load on the power steering system. In
this case, the power steering system will make noises. It will also
reduce the idling speed of the engine.
Caution
Do not keep the steering in the full-lock position for longer than
15 seconds when the engine is running – this could cause damage
to the power steering system.
Note
•
If the power steering should fail at any time or the engine is
switched off (for instance when being towed), the car can still be
steered. However, more effort will be required to turn the steering
wheel.
•
If the system is leaking or malfunctioning, please take the car to
a qualified workshop as soon as possible.
•
The power steering requires a special hydraulic fluid. The fluid
reservoir is located at the front of the engine compartment on the
left ⇒page 222. The correct fluid level in the reservoir is important
for the power steering to function properly. The hydraulic fluid level
is checked at the Inspection Service.
Four-wheel drive (quattro
®)
On quattro models the engine power is distributed to all
four wheelsGeneral notes
On four-wheel drive vehicles, the engine power is distributed to all
four wheels. The distribution of power is controlled automatically
according to your driving style and the road conditions. Also refer
to ⇒page 189, “Electronic differential lock (EDL)”.
The four-wheel drive is specially designed to complement the supe-
rior engine power of your Audi. This combination gives the car
exceptional handling and performance capabilities – both on
normal roads and in more difficult conditions, such as snow and ice.
Even so (or perhaps especially for this reason), it is important to
observe certain safety points ⇒.
Winter tyres
Thanks to its four-wheel drive, your car will have plenty of traction
in winter conditions, even with the standard tyres. Nevertheless, we
still recommend that winter tyres or all-season tyres should be fitted
on all four wheels when winter road conditions are expected, mainly
because this will give a better braking response.
Snow chains
On roads where snow chains are mandatory, this also applies to cars
with four-wheel drive ⇒page 237, “Snow chains”.
Replacing tyres
On vehicles with four-wheel drive, all four tyres must have the same
rolling circumference. Also avoid using tyres with varying tread
depths ⇒page 234, “Replacing wheels and tyres”.
Off-roader?
Your Audi does not have enough ground clearance to be used as an
off-road vehicle. It is therefore best to avoid rough tracks and
uneven terrain as much as possible.
document_0900452a81793dcc.book Seite 191 Mittwoch, 21. März 2007 5:42 17
Page 198 of 294
Downloaded from www.Manualslib.com manuals search engine Your vehicle and the environment 196How to improve economy and minimise pollutionFuel economy, environmental impact and wear on the engine,
brakes and tyres depend largely on the way you drive the vehicle. By
adopting an economical driving style and anticipating the traffic
situation ahead, you can reduce fuel consumption by 10-15%. The
following section gives you some tips on lessening the impact on
the environment and reducing your operating costs at the same
time.
Anticipate well in advance
A car uses most fuel when accelerating. If you anticipate hazards
and speed changes well in advance, you will need to brake less and
thus accelerate less. Wherever possible, let the car slow down grad-
ually with a gear engaged, for instance when you can see that the
next traffic lights are red. This takes advantage of the engine
braking effect, reducing wear on the brakes and tyres. Emissions
and fuel consumption will drop to zero due to the overrun fuel cut-
off.
Change gear early to save fuel
An effective way of saving fuel is to change up quickly through the
gears. Running the engine at high rpm in the lower gears uses an
unnecessary amount of fuel.
Manual gearbox: Shift up to second gear as soon as possible. If
possible, we recommend shifting up to the next gear at approx.
2,000 rpm.
Automatic gearbox: Press the accelerator slowly and avoid using
the “kick-down” feature.
Avoid driving at high speed
Avoid travelling at top speed. Fuel consumption, exhaust emissions
and noise levels all increase very rapidly at higher speeds. Driving at
moderate speeds will help to save fuel.Do not let the engine idle for longer than necessary
It is worthwhile switching off the engine when waiting in a traffic
jam, at level crossings or at traffic lights with a long red phase. The
fuel saved after only 30 - 40 seconds is greater than the amount of
fuel needed to restart the engine.
The engine takes a very long time to warm up when it is running at
idling speed. Mechanical wear and pollutant emissions are also
especially high during this initial warm-up phase. It is therefore best
to drive off immediately after starting the engine. Avoid running the
engine at high speed.
Regular servicing
Regular servicing can establish a basis for good fuel economy
before you start driving. A well-serviced engine gives you the
benefit of improved fuel efficiency as well as maximum reliability
and an enhanced resale value. A badly tuned engine can consume
up to ten percent more fuel than necessary.
Avoid short trips
The engine and emission control system need to reach their proper
working temperature in order to minimise fuel consumption and
emissions.
A cold engine uses disproportionately more fuel. The engine only
reaches its working temperature after about four kilometres, when
fuel consumption will return to a normal level. This is the reason
why we recommend avoiding short trips wherever possible.
Maintain the correct tyre pressures
Always make sure the tyres are inflated to the correct pressures
⇒page 232 to save fuel. If the tyre pressures are just 0.5 bar too low,
this can increase the fuel consumption by as much as 5 %. Due to
the greater rolling resistance, under-inflation also increases tyre
wear and impairs handling.
Do not use winter tyres all through the year; they will increase fuel
consumption by up to 10 %.
document_0900452a81793dcc.book Seite 196 Mittwoch, 21. März 2007 5:42 17
Page 265 of 294
Downloaded from www.Manualslib.com manuals search engine Fuses and bulbs263
Controls
Safety
Driving tips
General maintenance
Self-help
Technical data
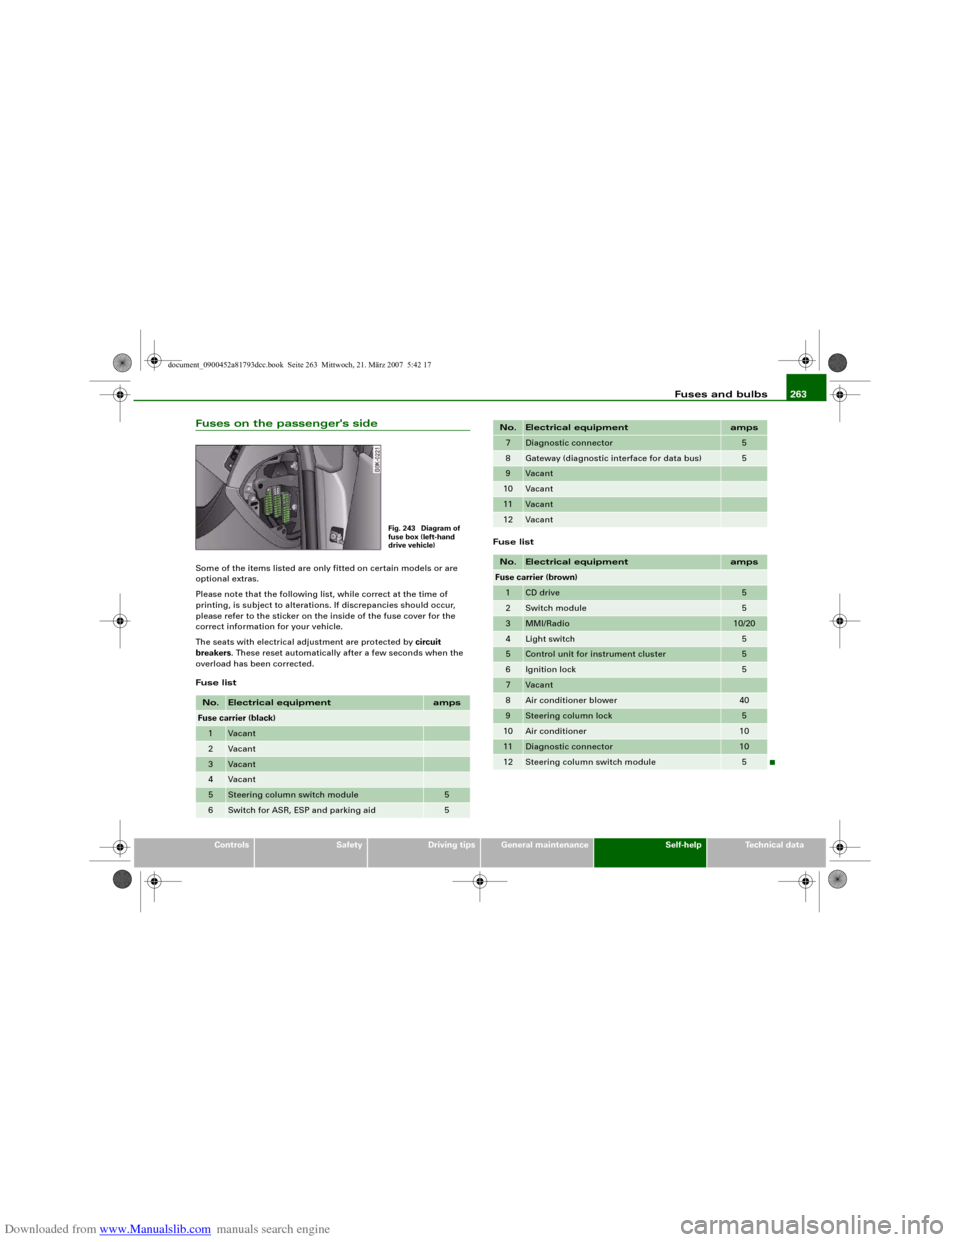
Fuses on the passenger's sideSome of the items listed are only fitted on certain models or are
optional extras.
Please note that the following list, while correct at the time of
printing, is subject to alterations. If discrepancies should occur,
please refer to the sticker on the inside of the fuse cover for the
correct information for your vehicle.
The seats with electrical adjustment are protected by circuit
breakers. These reset automatically after a few seconds when the
overload has been corrected.
Fuse listFuse listNo.
Electrical equipment
amps
Fuse carrier (black)1
Vacant
2
Vacant
3
Vacant
4
Vacant
5
Steering column switch module
5
6
Switch for ASR, ESP and parking aid
5
Fig. 243 Diagram of
fuse box (left-hand
drive vehicle)
7
Diagnostic connector
5
8
Gateway (diagnostic interface for data bus)
5
9
Vacant
10
Vacant
11
Vacant
12
Vacant
No.
Electrical equipment
amps
Fuse carrier (brown)1
CD drive
5
2
Switch module
5
3
MMI/Radio
10/20
4
Light switch
5
5
Control unit for instrument cluster
5
6
Ignition lock
5
7
Vacant
8
Air conditioner blower
40
9
Steering column lock
5
10
Air conditioner
10
11
Diagnostic connector
10
12
Steering column switch module
5
No.
Electrical equipment
amps
document_0900452a81793dcc.book Seite 263 Mittwoch, 21. März 2007 5:42 17