2008 AUDI S5 sensor
[x] Cancel search: sensorPage 59 of 294
Downloaded from www.Manualslib.com manuals search engine Lights and vision57
Controls
Safety
Driving tips
General maintenance
Self-help
Technical data
– Turn the button anti-clockwise -” to reduce the bright-
ness of the instrument lighting in dark conditions.
– Press the knob in again to prevent the setting from being
changed unintentionally.The instrument lighting (dials and needles), the centre console illu-
mination and the illumination of the displays are regulated by a
light sensor incorporated in the instrument cluster. In bright condi-
tions any changes made to the brightness of the instrument lighting
have no effect.
Note
The instrument lighting (illumination of dials and needles) is
switched on when the ignition is on and the vehicle's lights are off.
The instrument lighting is dimmed automatically as the daylight
starts to fade; it is switched off completely when the light condi-
tions become very poor. This function is intended to remind the
driver to switch on the dipped-beam headlights in good time when
light conditions become poor.Applies to vehicles: with xenon headlight bulbsDynamic headlight range controlHeadlights with xenon gas-discharge bulbs automatically adapt to
suit the load being carried when the engine is switched on. The
headlights are also automatically adjusted when the vehicle is in
motion (e.g. when accelerating and braking).
Applies to vehicles: with adaptive lightadaptive light
This feature provides better illumination when you drive
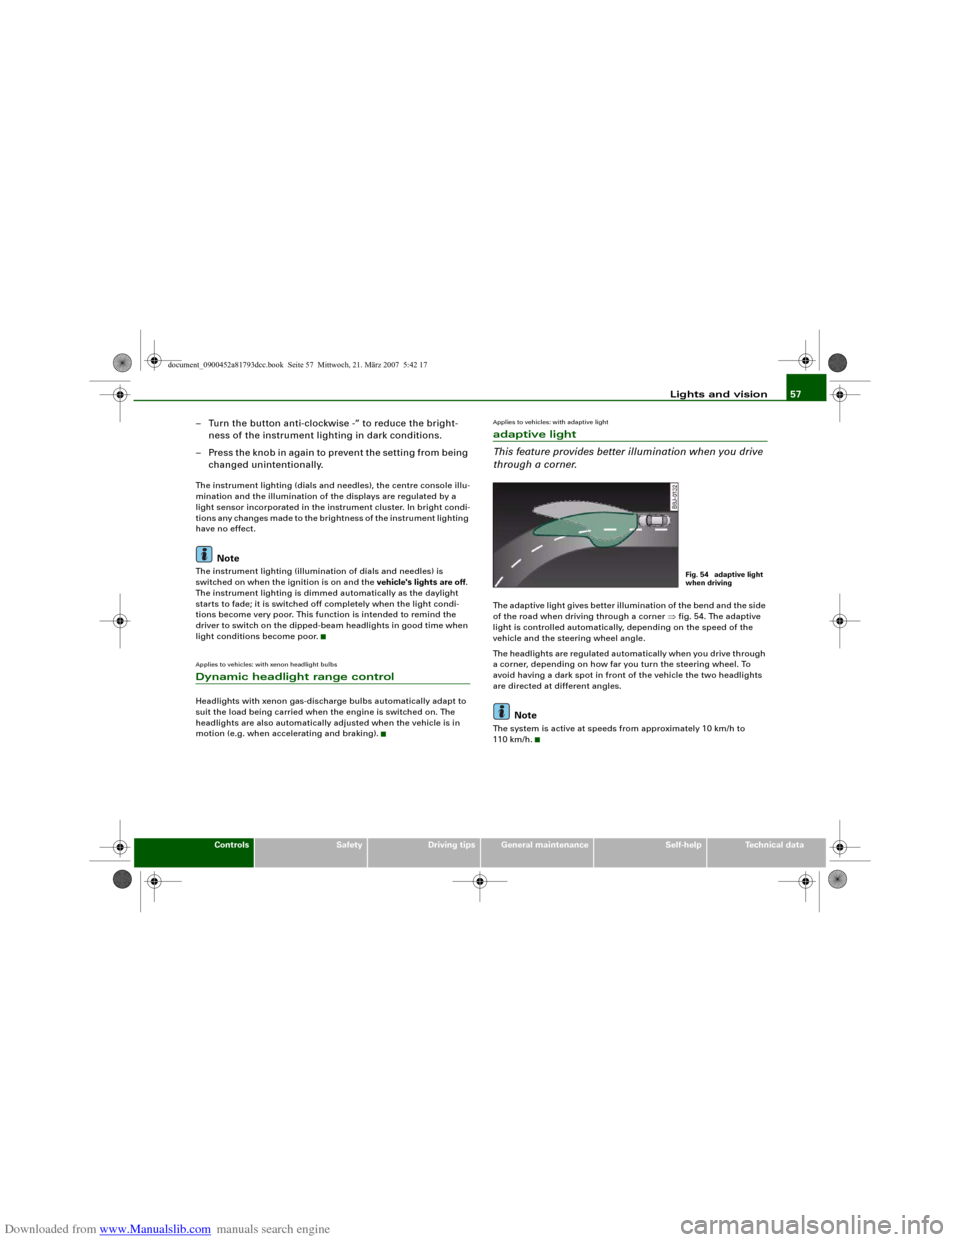
through a corner.The adaptive light gives better illumination of the bend and the side
of the road when driving through a corner ⇒fig. 54. The adaptive
light is controlled automatically, depending on the speed of the
vehicle and the steering wheel angle.
The headlights are regulated automatically when you drive through
a corner, depending on how far you turn the steering wheel. To
avoid having a dark spot in front of the vehicle the two headlights
are directed at different angles.
Note
The system is active at speeds from approximately 10 km/h to
110 km/h.
Fig. 54 adaptive light
when driving
document_0900452a81793dcc.book Seite 57 Mittwoch, 21. März 2007 5:42 17
Page 64 of 294
Downloaded from www.Manualslib.com manuals search engine Lights and vision 62Windscreen wipersWindscreen wipers
The windscreen wiper lever controls the windscreen
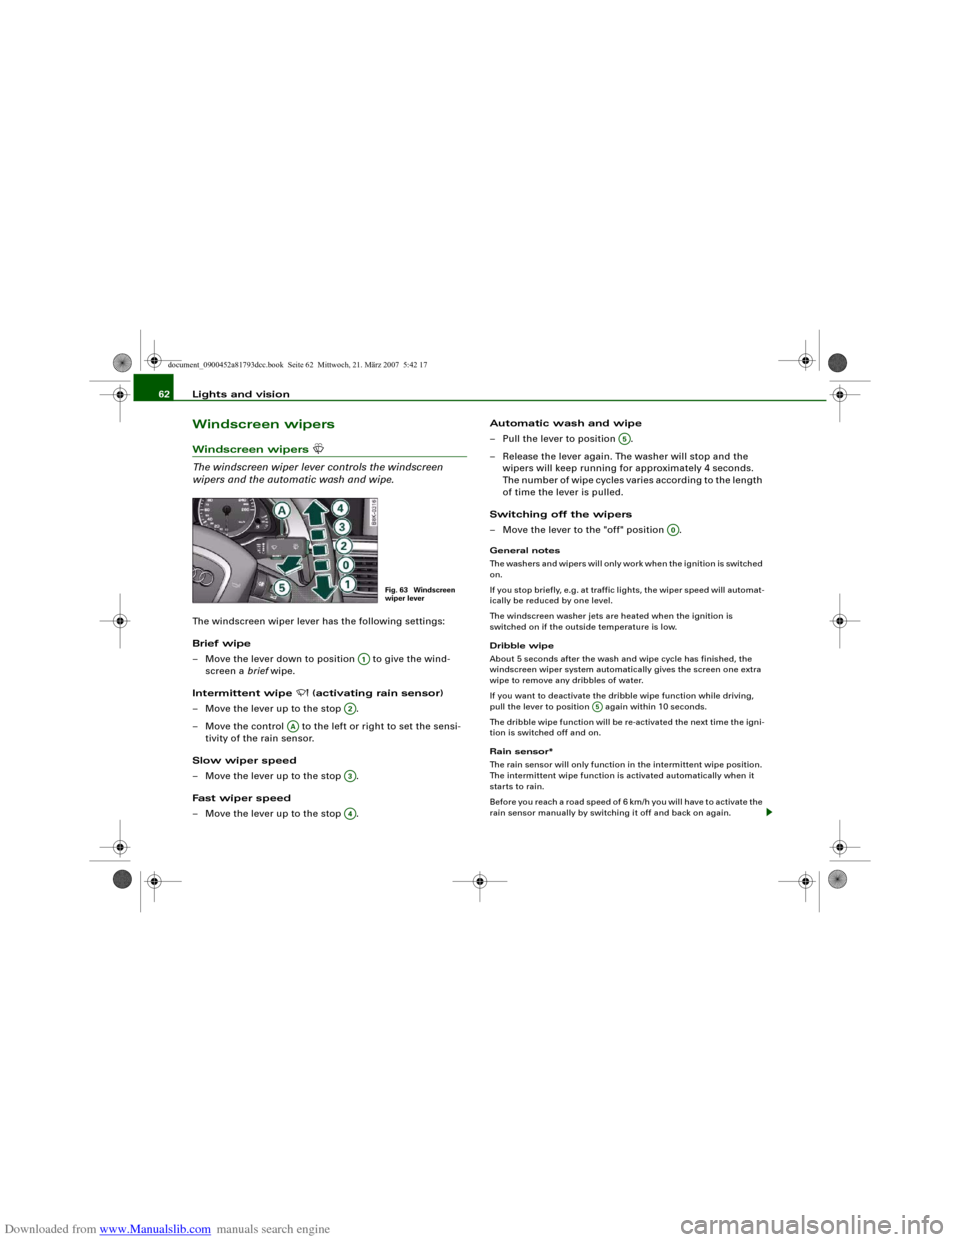
wipers and the automatic wash and wipe.The windscreen wiper lever has the following settings:
Brief wipe
– Move the lever down to position to give the wind-
screen a brief wipe.
Intermittent wipe
(activating rain sensor)
– Move the lever up to the stop .
– Move the control to the left or right to set the sensi-
tivity of the rain sensor.
Slow wiper speed
– Move the lever up to the stop .
Fast wiper speed
– Move the lever up to the stop .Automatic wash and wipe
– Pull the lever to position .
– Release the lever again. The washer will stop and the
wipers will keep running for approximately 4 seconds.
The number of wipe cycles varies according to the length
of time the lever is pulled.
Switching off the wipers
– Move the lever to the "off" position .
General notes
The washers and wipers will only work when the ignition is switched
on.
If you stop briefly, e.g. at traffic lights, the wiper speed will automat-
ically be reduced by one level.
The windscreen washer jets are heated when the ignition is
switched on if the outside temperature is low.
Dribble wipe
About 5 seconds after the wash and wipe cycle has finished, the
windscreen wiper system automatically gives the screen one extra
wipe to remove any dribbles of water.
If you want to deactivate the dribble wipe function while driving,
pull the lever to position again within 10 seconds.
The dribble wipe function will be re-activated the next time the igni-
tion is switched off and on.
Rain sensor*
The rain sensor will only function in the intermittent wipe position.
The intermittent wipe function is activated automatically when it
starts to rain.
Before you reach a road speed of 6 km/h you will have to activate the
rain sensor manually by switching it off and back on again.
Fig. 63 Windscreen
wiper lever
A1
A2
AA
A3A4
A5
A0
A5
document_0900452a81793dcc.book Seite 62 Mittwoch, 21. März 2007 5:42 17
Page 65 of 294
Downloaded from www.Manualslib.com manuals search engine Lights and vision63
Controls
Safety
Driving tips
General maintenance
Self-help
Technical data To reduce the sensitivity level of the rain sensor move control
⇒page 62, fig. 63 to the left. To increase the sensitivity level of the
rain sensor move the control to the right.
If you have selected a high sensitivity level for the rain sensor the
windscreen wipers will react sooner to any moisture on the wind-
screen. The wiper intervals in the intermittent wipe setting are also
varied automatically according to the road speed (in addition to the
sensitivity setting).
WARNING
•
Poor visibility can cause accidents. Always ensure that the
wiper blades are in good condition ⇒page 64, “Changing wiper
blades”.
•
The rain sensor is only intended to assist the driver. The driver
is still obliged to manually operate the windscreen wipers as
required depending on visibility.
•
Do not use water-repellent coatings on the windscreen. In bad
visibility conditions such as light rain, low sun or when driving at
night these coatings can cause increased dazzle, which is a
serious safety hazard. Such coatings can also cause the wiper
blades to judder.Caution
•
In icy conditions, always check that the wiper blades are not
frozen to the glass before using the wiper for the first time. If you
switch on the wipers when the wiper blades are frozen to the glass,
this could damage both the wiper blades and the wiper motor.
•
Make sure you switch off the windscreen wiper system (lever in
position "0") before you use an automatic car wash. This will avoid
inadvertent triggering of the wipers and possible damage to the
wiper system.
Note
•
Check that the washer fluid reservoir is full before starting a long
journey. Filling the reservoir ⇒page 231.
•
Worn or dirty wiper blades can cause smearing on the glass
which can also impair the effectiveness of the rain sensor. Please
check the wiper blades regularly.
Applies to vehicles: with headlight washersHeadlight washer systemThe headlight washer system only operates when the lights
are switched on.
– Move the automatic wash and wipe lever to position
⇒page 62, fig. 63.The headlight washer system is always activated the first time you
operate the automatic wash and wipe. Subsequently, it is only acti-
vated about every five wash and wipe cycles. The headlights are
always washed if you hold the lever for longer than about
2 seconds.
The headlight washer jets come out of the bumper automatically
(under water pressure).
Clean off stubborn dirt (insects, etc.) from the lenses at regular
intervals, for instance when stopping for fuel.
To ensure that the system works properly in winter, keep the nozzle
holders free of snow and remove any ice with a de-icer spray.
AA
A5
document_0900452a81793dcc.book Seite 63 Mittwoch, 21. März 2007 5:42 17
Page 68 of 294
Downloaded from www.Manualslib.com manuals search engine Lights and vision 66•
when the interior lighting is switched on
•
when reverse gear is engaged
WARNING
Electrolyte fluid can leak from a broken mirror. This fluid can cause
irritation to the skin, eyes, and respiratory organs. Wash thor-
oughly with clean water should you come into contact with this
fluid. Seek medical assistance if needed.
Caution
Electrolyte fluid leaking from a broken mirror can cause damage to
plastic surfaces. Use a sponge or similar to remove the fluid as soon
as possible.
Note
•
If you switch off the anti-dazzle function for the interior mirror,
this will also deactivate the anti-dazzle function for the exterior
mirrors.
•
The automatic anti-dazzle function will only work properly if the
sun blind* for the rear window is not in use and there are no other
objects preventing light from reaching the interior mirror.
•
Do not attach any stickers to the windscreen in front of the
sensors, as these could lead to malfunctioning of the mirror.
Exterior mirrors
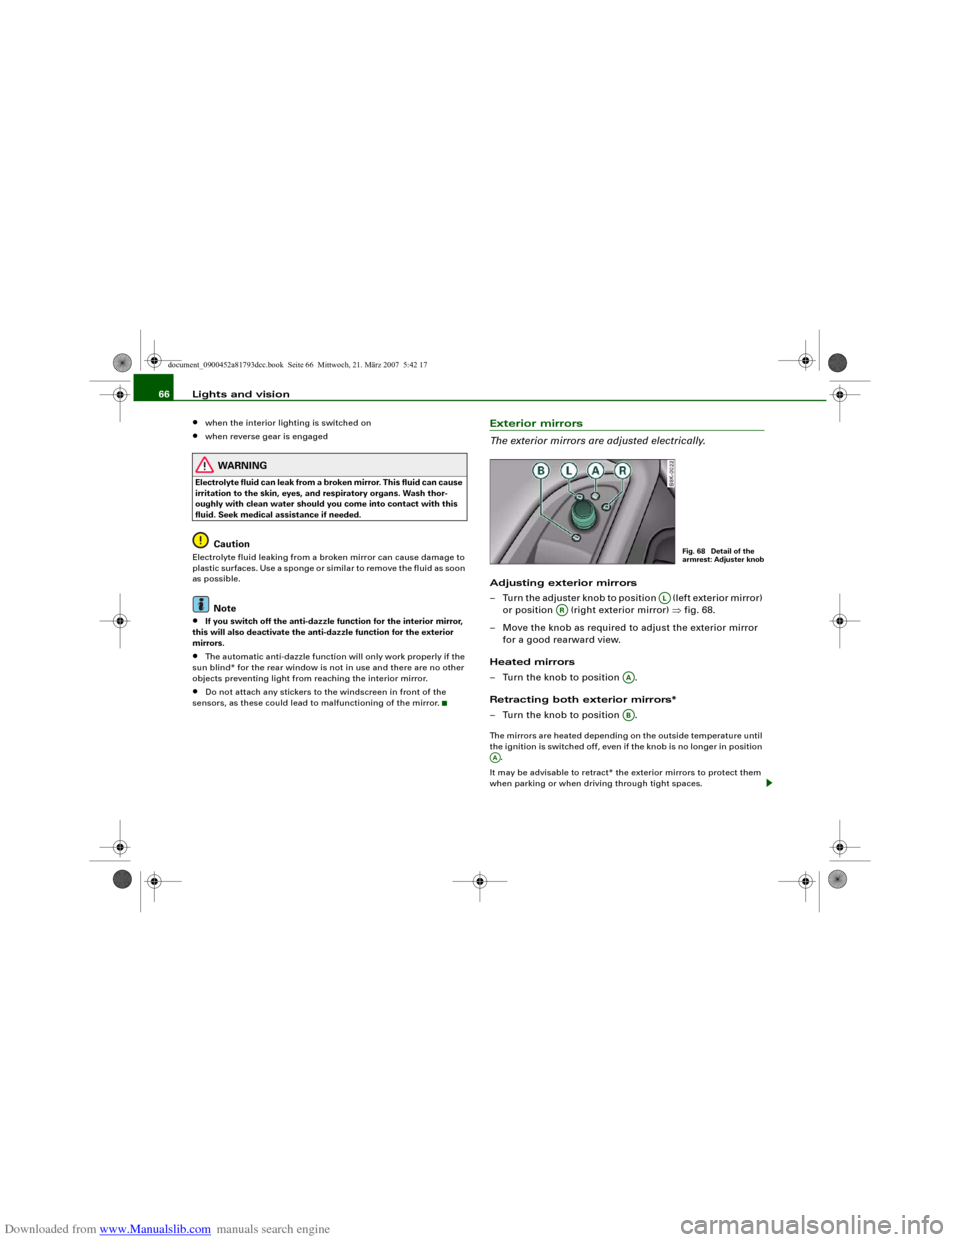
The exterior mirrors are adjusted electrically.Adjusting exterior mirrors
– Turn the adjuster knob to position (left exterior mirror)
or position (right exterior mirror) ⇒fig. 68.
– Move the knob as required to adjust the exterior mirror
for a good rearward view.
Heated mirrors
– Turn the knob to position .
Retracting both exterior mirrors*
– Turn the knob to position .The mirrors are heated depending on the outside temperature until
the ignition is switched off, even if the knob is no longer in position
.
It may be advisable to retract* the exterior mirrors to protect them
when parking or when driving through tight spaces.
Fig. 68 Detail of the
armrest: Adjuster knob
AL
AR
AAAB
AA
document_0900452a81793dcc.book Seite 66 Mittwoch, 21. März 2007 5:42 17
Page 95 of 294
Downloaded from www.Manualslib.com manuals search engine Heating and cooling93
Controls
Safety
Driving tips
General maintenance
Self-help
Technical data
Note
The grille on the control console ⇒page 92, fig. 103 must be kept
free. Please ensure that it is not covered by stickers or similar. Meas-
uring sensors are located behind it.Applies to vehicles: with deluxe automatic air conditionerSwitching on and offSwitching on air conditioner
– Press the button briefly, or
– Press the button.
Switching off air conditioner
– Press the button to switch off the air conditioner
and cut off the supply of fresh air from outside the
vehicle.The air conditioner will switch on again if one of the control buttons
is pressed.
Applies to vehicles: with deluxe automatic air conditionerAutomatic mode
The standard operating mode for all seasons.Switching on automatic mode
– Select a temperature between +16 °C (60 °F) and +28 °C
(84 °F).
– Press the button.The automatic mode maintains a constant temperature inside the
vehicle and dehumidifies the air. Air temperature, air delivery and
air distribution are regulated automatically to reach the desired
interior temperature as quickly as possible, and then to maintain
this temperature. The system automatically compensates for any
variations in the outside temperature and for the effect of direct
sunlight.
The automatic temperature regulation only operates at temperature
settings between +16 °C and +28 °C. If a temperature below +16 °C
is selected, LO appears on the display. If a temperature above +28 °C
is selected, the display will show HI. In the two extreme settings the
air conditioner operates continuously with maximum cooling or
heating output, and the temperature is not regulated
automatically.
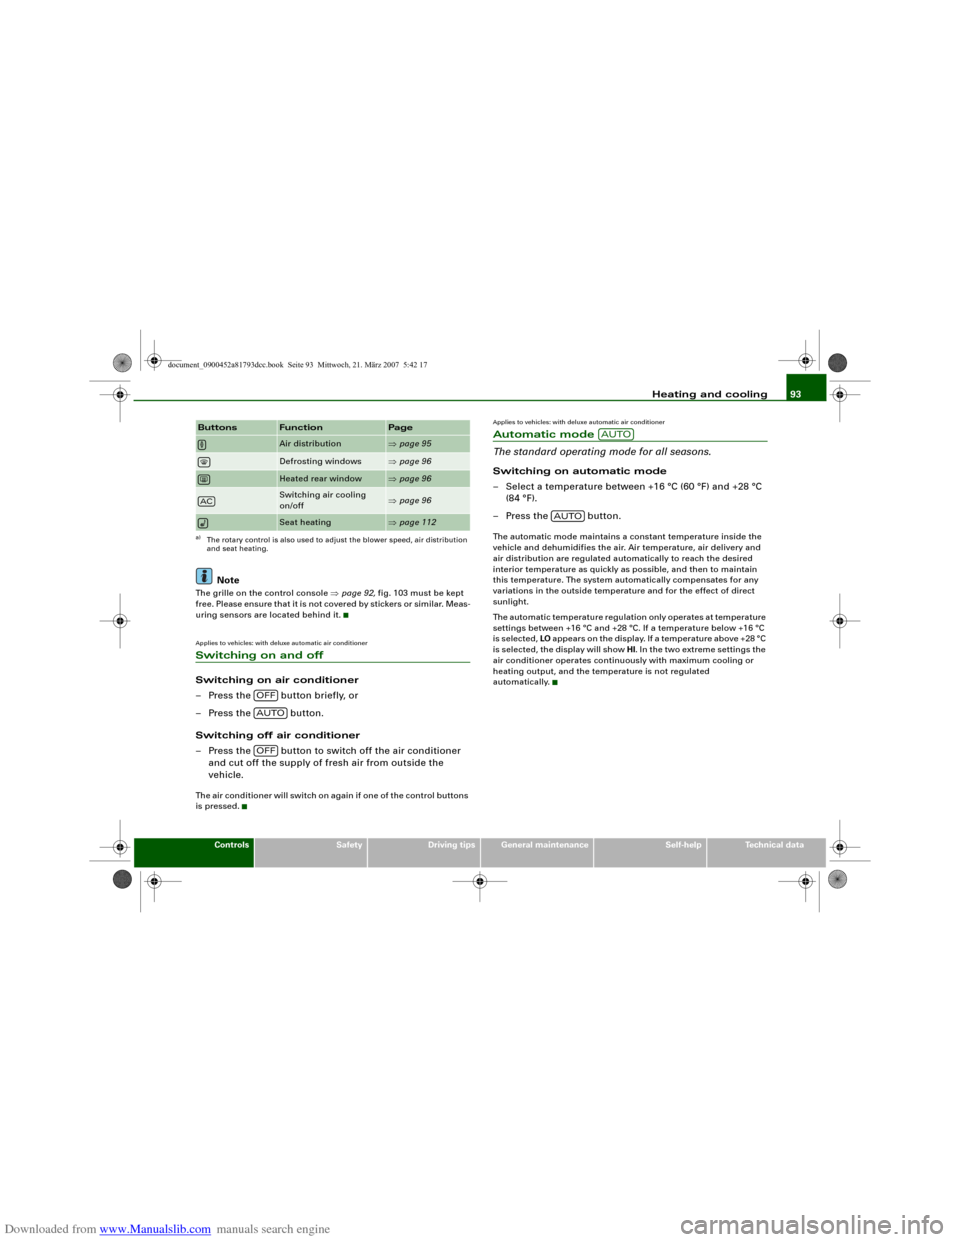
Air distribution
⇒page 95
Defrosting windows
⇒page 96
Heated rear window
⇒page 96
Switching air cooling
on/off
⇒page 96
Seat heating
⇒page 112
a)The rotary control is also used to adjust the blower speed, air distribution
and seat heating.Buttons
Function
Page
AC
OFFAUTOOFF
AUTO
AUTO
document_0900452a81793dcc.book Seite 93 Mittwoch, 21. März 2007 5:42 17
Page 103 of 294
Downloaded from www.Manualslib.com manuals search engine Heating and cooling101
Controls
Safety
Driving tips
General maintenance
Self-help
Technical data
Note
•
The grille on the control console ⇒page 100, fig. 113 must be
kept free. Please ensure that it is not covered by stickers or similar.
Measuring sensors are located behind it.
Applies to vehicles: with deluxe automatic air conditioner plusSwitching on and off Switching on air conditioner
– Press the button briefly, or
– Press the button.
Switching off air conditioner
– Press the button for at least 2 seconds to switch off
the air conditioner and cut off the supply of fresh air from
outside the vehicle. The display will show “OFF”.The air conditioner will switch on again if you operate the tempera-
ture control.
Note
You can press the button when the ignition is switched off to
activate the "residual heat" function. The system will then heat the
interior using the remaining heat in the engine coolant.Applies to vehicles: with deluxe automatic air conditioner plusAutomatic mode
The standard operating mode for all seasons.Switching on automatic mode
– Select a temperature between +16 °C (60 °F) and +28 °C
(84 °F).
– Press the button.The automatic mode maintains a constant temperature inside the
vehicle and dehumidifies the air. Air temperature, air delivery and
air distribution are regulated automatically to reach the desired
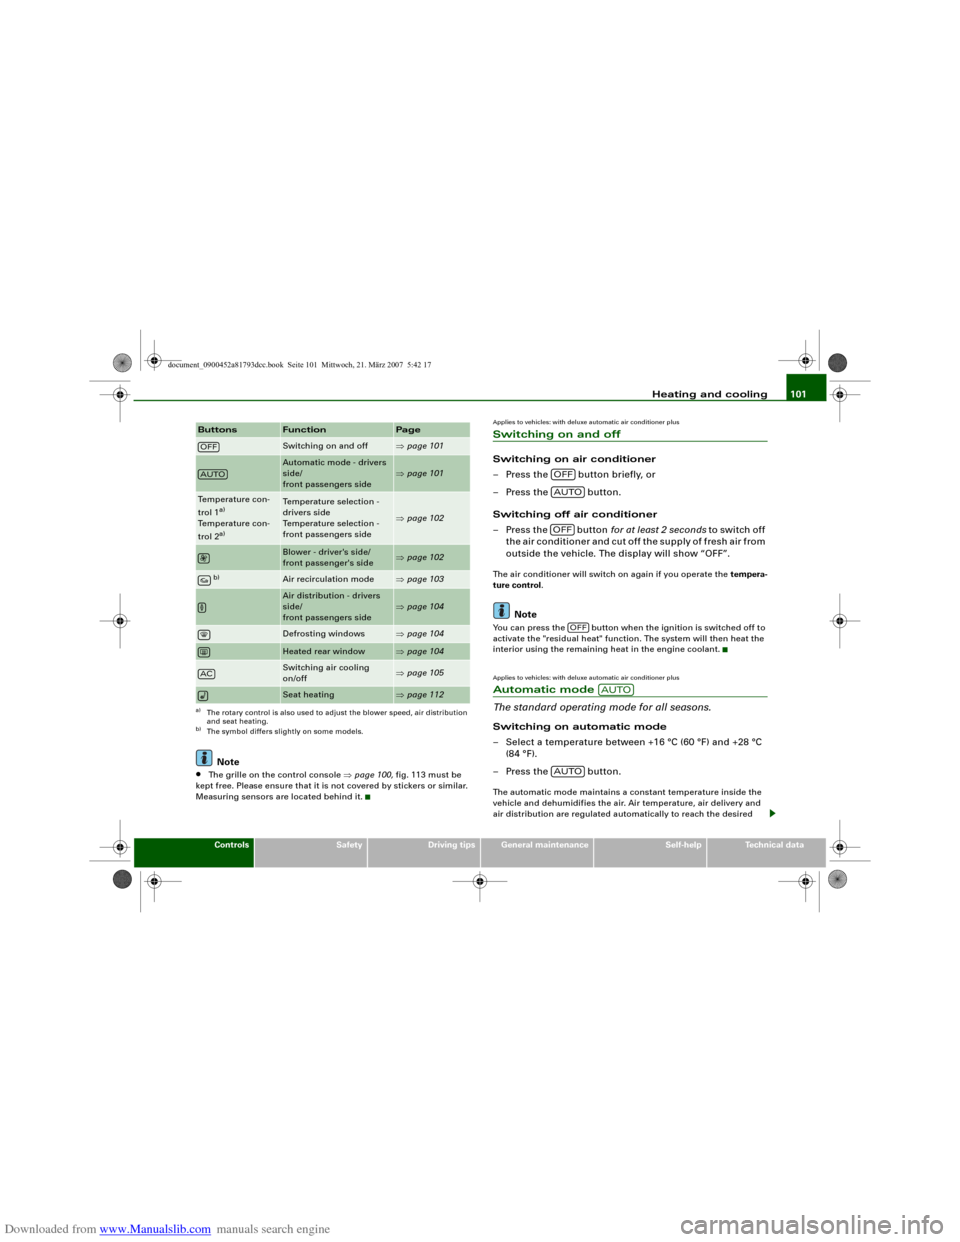
Buttons
Function
Page
Switching on and off
⇒page 101
Automatic mode - drivers
side/
front passengers side
⇒page 101
Temperature con-
trol 1
a)
Temperature con-
trol 2a)
a)The rotary control is also used to adjust the blower speed, air distribution
and seat heating.
Temperature selection -
drivers side
Temperature selection -
front passengers side
⇒page 102
Blower - driver's side/
front passenger's side
⇒page 102
b)
b)The symbol differs slightly on some models.
Air recirculation mode
⇒page 103
Air distribution - drivers
side/
front passengers side
⇒page 104
Defrosting windows
⇒page 104
Heated rear window
⇒page 104
Switching air cooling
on/off
⇒page 105
Seat heating
⇒page 112
OFFAUTOAC
OFFAUTOOFF
OFF
AUTO
AUTO
document_0900452a81793dcc.book Seite 101 Mittwoch, 21. März 2007 5:42 17
Page 109 of 294
Downloaded from www.Manualslib.com manuals search engine Heating and cooling107
Controls
Safety
Driving tips
General maintenance
Self-help
Technical data
Deluxe automatic air conditioner plus
- basic settingsApplies to vehicles: with deluxe automatic air conditioner plusGeneral notes
You can change the basic settings for the air conditioner
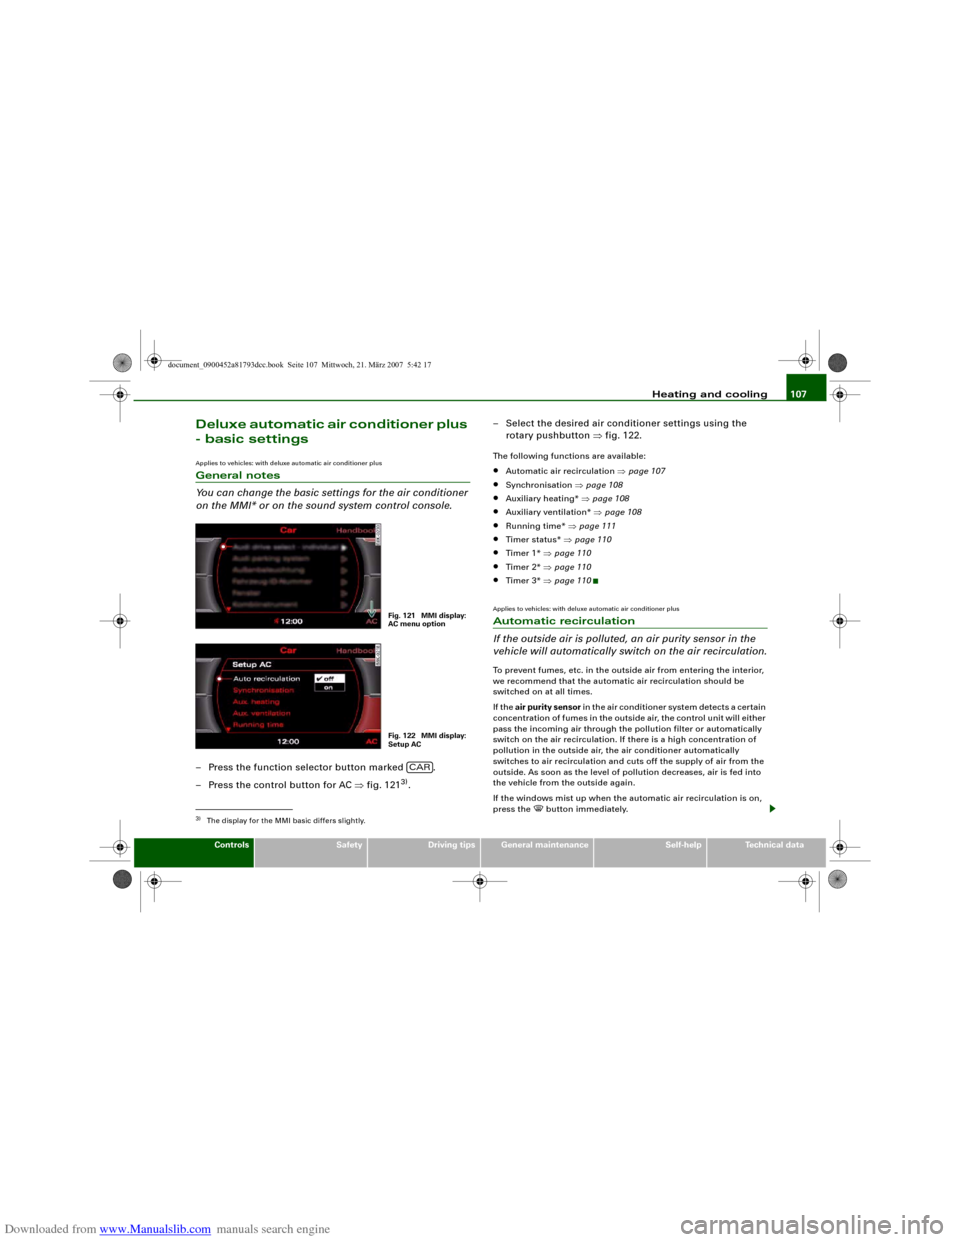
on the MMI* or on the sound system control console.– Press the function selector button marked .
– Press the control button for AC ⇒fig. 121
3).– Select the desired air conditioner settings using the
rotary pushbutton ⇒fig. 122.
The following functions are available:•
Automatic air recirculation ⇒page 107
•
Synchronisation ⇒page 108
•
Auxiliary heating* ⇒page 108
•
Auxiliary ventilation* ⇒page 108
•
Running time* ⇒page 111
•
Timer status* ⇒page 110
•
Timer 1* ⇒page 110
•
Timer 2* ⇒page 110
•
Timer 3* ⇒page 110
Applies to vehicles: with deluxe automatic air conditioner plusAutomatic recirculation
If the outside air is polluted, an air purity sensor in the
vehicle will automatically switch on the air recirculation.To prevent fumes, etc. in the outside air from entering the interior,
we recommend that the automatic air recirculation should be
switched on at all times.
If the air purity sensor in the air conditioner system detects a certain
concentration of fumes in the outside air, the control unit will either
pass the incoming air through the pollution filter or automatically
switch on the air recirculation. If there is a high concentration of
pollution in the outside air, the air conditioner automatically
switches to air recirculation and cuts off the supply of air from the
outside. As soon as the level of pollution decreases, air is fed into
the vehicle from the outside again.
If the windows mist up when the automatic air recirculation is on,
press the
button immediately.
3)The display for the MMI basic differs slightly.
Fig. 121 MMI display:
AC menu optionFig. 122 MMI display:
Setup AC
CAR
document_0900452a81793dcc.book Seite 107 Mittwoch, 21. März 2007 5:42 17
Page 115 of 294
Downloaded from www.Manualslib.com manuals search engine Heating and cooling113
Controls
Safety
Driving tips
General maintenance
Self-help
Technical data
– Turn the rotary control to the desired setting.In setting 0 the seat heating is switched off. Possible settings range
from 1 to 6.
The seat heating setting will be shown on the MMI display
⇒page 112, fig. 129 for a few seconds if the MMI is switched on.
Caution
To avoid damaging the heating elements of the seat heating, please
do not kneel on the seat or apply sharp pressure at a single point.Applies to vehicles: with seat heating for rear seatsSeat heating for rear seats
The seat cushions and backrests of the two outer rear
seats can be heated electrically.– Turn the left thumbwheel (on the centre console) to
switch on and regulate the heating for the left rear seat.
– Turn the right thumbwheel (on the centre console) to
switch on and regulate the heating for the right rear seat.The heating is switched off when the thumbwheel is set to 0.
Possible settings range from 1 to 6.
The heating for the rear seats only operates when a sensor registers
the weight of the occupant in the seat. If nobody is travelling on the
rear seats, please switch off the rear seat heating to avoid activating
it unintentionally.
Caution
To avoid damaging the heating elements of the seat heating, please
do not kneel on the seat or apply sharp pressure at a single point.
document_0900452a81793dcc.book Seite 113 Mittwoch, 21. März 2007 5:42 17