2008 AUDI A5 turn signal
[x] Cancel search: turn signalPage 117 of 313
Heating and cooling115
Controls
Safety
Driving tips
General maintenance
Self-help
Technical data Transmitting range
The range of the remote control transmitter is about 600 metres.
However, this can be greatly reduced by obstacles (buildings, etc.)
between the remote control transmitter and the vehicle. Hold the
aerial upright when using the remote control.
You should not normally use the remote control at a distance of less
than 3 metres from the vehicle. If you are closer than this, or if you
use the remote control inside the vehicle, this can cause signal over-
load.
For the sake of the environment
Please dispose of old batteries in the proper manner so that they do
not harm the environment.Seat heatingApplies to vehicles: with front seat heatingSeat heating for front seats
The seat cushions and backrests of the front seats can be
heated electrically.– Press the button for the seat heating .– Turn the rotary control to the desired setting.
In setting 0 the seat heating is switched off. Possible settings range
from 1 to 6.
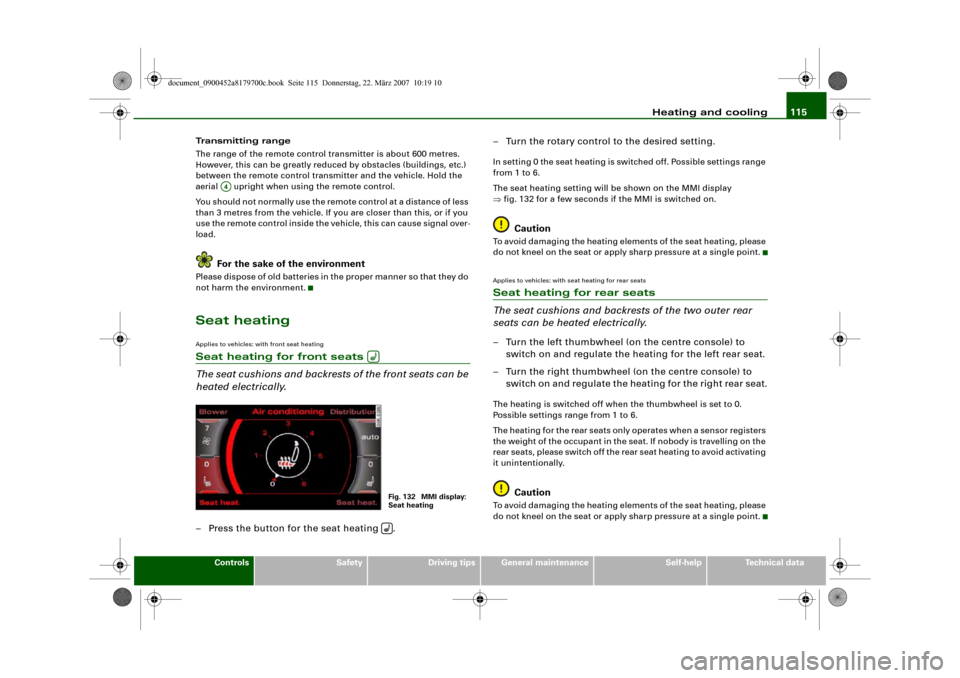
The seat heating setting will be shown on the MMI display
⇒fig. 132 for a few seconds if the MMI is switched on.
Caution
To avoid damaging the heating elements of the seat heating, please
do not kneel on the seat or apply sharp pressure at a single point.Applies to vehicles: with seat heating for rear seatsSeat heating for rear seats
The seat cushions and backrests of the two outer rear
seats can be heated electrically.– Turn the left thumbwheel (on the centre console) to
switch on and regulate the heating for the left rear seat.
– Turn the right thumbwheel (on the centre console) to
switch on and regulate the heating for the right rear seat.The heating is switched off when the thumbwheel is set to 0.
Possible settings range from 1 to 6.
The heating for the rear seats only operates when a sensor registers
the weight of the occupant in the seat. If nobody is travelling on the
rear seats, please switch off the rear seat heating to avoid activating
it unintentionally.
Caution
To avoid damaging the heating elements of the seat heating, please
do not kneel on the seat or apply sharp pressure at a single point.
A4
Fig. 132 MMI display:
Seat heating
document_0900452a8179700c.book Seite 115 Donnerstag, 22. März 2007 10:19 10
Page 149 of 313
Audi parking system147
Controls
Safety
Driving tips
General maintenance
Self-help
Technical data
– Press the control button for Mode ⇒page 145,
fig. 161. “Parking mode 2” ⇒fig. 162 will appear in the
MMI display.
– Reverse and align the position of your vehicle in such a
way that the dark blue area marking ⇒fig. 162
borders onto the vehicle behind or onto the parking
space line marking. If you are not parking next to obsta-
cles ⇒page 150 the long side of the dark blue marking
should border onto the kerb. The complete dark blue
area marking must fit into the parking space ⇒page 143,
fig. 157.
– When the vehicle is stationary turn the steering wheel to
the right as far as it will go.
– Reverse into the parking space. If you are not parking
next to obstacles ⇒page 150 the dark blue marking
should touch the kerb ⇒page 146, fig. 163. Stop your
vehicle.
– Turn the steering wheel to the left as far as it will go
(vehicle is stationary).
– Continue to reverse into the parking space until the
vehicle is standing parallel to the kerb. When reversing
you must also keep a close watch on the front end of the
vehicle ⇒.You can use “Parking mode 2” to park on the left or the right side of
the road. For this reason, the blue markings are shown in various
shades of blue. The dark blue area marking and the dark blue
curve are used when parking on the right side of the road. The
light blue area marking and the light blue curve are used
when parking on the left side of the road.When the turn signals are on, the display will only show the mark-
ings for the relevant side. To change the display to the other side,
just switch on the opposite turn signals.
The light blue and dark blue cur v e s s h o w y o u w h e n t o t u r n t h e
steering wheel in the other direction, i.e. when the curve touches
the kerb. ⇒page 146, fig. 163.
The distance from your rear bumper to the red line is approx.
40 cm. From here at the latest, the driver should not reverse any
further ⇒page 151.
WARNING
Please note that objects which are not touching the ground may
appear to be further away than they actually are (e.g. the bumper
of a parked vehicle, a towing bracket or the rear end of a truck). In
this case you should not use the orientation lines for judging the
distance (accident risk).
Caution
The MMI display shows the path of the rear end of the vehicle if you
were to reverse using the current steering angle. NB: The front end
of the vehicle swings out further than the rear.
Note
To ensure that the reversing camera works properly, the lens of the
camera ⇒page 140, fig. 154 must be kept clean and free of snow
and ice. Please observe the additional notes on ⇒page 152.Applies to vehicles: with parking system and towing bracketTo w i n g b r a c k e tOnce the electrical connector for the trailer socket is plugged in on
vehicles with a factory-fitted towing bracket the rear sensors for the
AAA2
A4
A2
A4
A1
A3
A3
A4
A5
A6
document_0900452a8179700c.book Seite 147 Donnerstag, 22. März 2007 10:19 10
Page 157 of 313
HomeLink155
Controls
Safety
Driving tips
General maintenance
Self-help
Technical data
At the operating unit
1. Switch on the ignition (do not start the engine).
2. Press and hold down the two outer HomeLink buttons
⇒page 154, fig. 171 until the indicator diode
⇒page 154, fig. 171 begins to flash after about
20 seconds. This procedure will delete the standard
factory settings and does not need to be repeated when
programming the other buttons.
3. Press the particular HomeLink button which you would
like to program.
4. Wait until the diode begins to flash. The HomeLink
module now remains in training mode for 5 minutes.
5. Now step in front of your vehicle with the original hand-
held transmitter for the garage door opener or any other
device you wish to assign to the HomeLink control
button.
At the radiator grille
6. Hold the original hand-held transmitter at or near the
centre of your car's radiator grille ⇒page 154, fig. 172.
7. Press the activator button on the original hand-held
transmitter.
8. As you do so, watch the turn signals on your vehicle.
HomeLink confirms successful programming by flashing
all four turn signals three times.
9. If the turn signals fail to flash three times, repeat the
procedure with the transmitter held at a different
distance from the radiator grille.
The proper distance between the hand-held transmitter and the
HomeLink module at the radiator grille depends on the system you
want to train. It may require several attempts.
The turn signals will flash once if the time limit for the programming
mode has been exceeded. In this case the programming procedure
needs to be performed again. Repeat the sequence at the operating
unit starting with step 3.
The programming instructions above also apply to the other control
buttons. Start with step 3 if you wish to proceed and program the
other two buttons.
If the garage door or other devices still fail to be activated with the
HomeLink control buttons after programming is completed, it is
possible that these systems might be working with a rolling code
instead of the normal fixed security code. If this is the case, a rolling
code programming is required in addition to the steps described
above. ⇒page 155Applies to vehicles: with HomeLinkRolling code programming
Some devices require rolling code programming of the
HomeLink universal transmitter.Identifying a rolling code
– Press the already programmed HomeLink button again
and hold it down.
–Watch HomeLink diode ⇒page 154, fig. 171. If the
diode starts flashing rapidly and turns into a constant
light after about 2 seconds, this indicates that the device
you wish to operate (e.g. a garage door opener) is
equipped with a rolling code.
– Program the rolling code as follows:
AA
AA
AA
document_0900452a8179700c.book Seite 155 Donnerstag, 22. März 2007 10:19 10
Page 158 of 313
HomeLink 156
Activating the garage door opener drive unit
– Locate the programming button on the garage door
drive. The exact location and colour of the button may
vary depending on the type of garage door opener.
– Press the programming button on the door drive unit
(this will normally cause a “programming mode indicator
lamp” on the unit to light up). You now have about 30
seconds to start and complete the programming of the
HomeLink control button on the operating unit.
Programming at the operating unit in the
headliner
– Press and release the already programmed HomeLink
button.
– Press the HomeLink button again to complete rolling
code programming.After programming at the operating unit in the headliner, the
garage door opener should recognize the HomeLink signal and
respond when the HomeLink button is pressed. Now the other
control buttons can be programmed as required.
Note
•
Having a second person assist you makes programming of the
rolling code easier and faster. For some makes of garage door
openers the HomeLink button may have to be pressed a third time
to complete the training sequence.
•
If you encounter problems programming the rolling code you
may find helpful information in the operating instructions of the
garage door opener or other device you wish to operate.
Applies to vehicles: with HomeLinkOperating HomeLink
The programmed devices are activated by means of the
HomeLink control buttons in the headliner.– Make sure that the ignition is on.
– Press the programmed HomeLink button ⇒page 154,
fig. 171. The device assigned to that button (e.g. garage
door) will be activated.The HomeLink indicator diode ⇒page 154, fig. 171 will light up
when you press the button.Applies to vehicles: with HomeLinkErasing the button programming
You can erase the complete HomeLink programming by
pressing the two outer buttons.– Switch on the ignition (do not start the engine).
– Press and hold down the two outer buttons until the indi-
cator diode starts to flash ⇒page 154, fig. 171.
– Then release the buttons.After the programming of the HomeLink buttons has been erased,
the system will return to the training mode and is ready to be re-
programmed at any time.
Note
•
Programmed buttons cannot be erased individually.
•
For security reasons it is advisable to erase the programming of
the HomeLink buttons prior to selling your vehicle.
document_0900452a8179700c.book Seite 156 Donnerstag, 22. März 2007 10:19 10
Page 159 of 313
HomeLink157
Controls
Safety
Driving tips
General maintenance
Self-help
Technical data
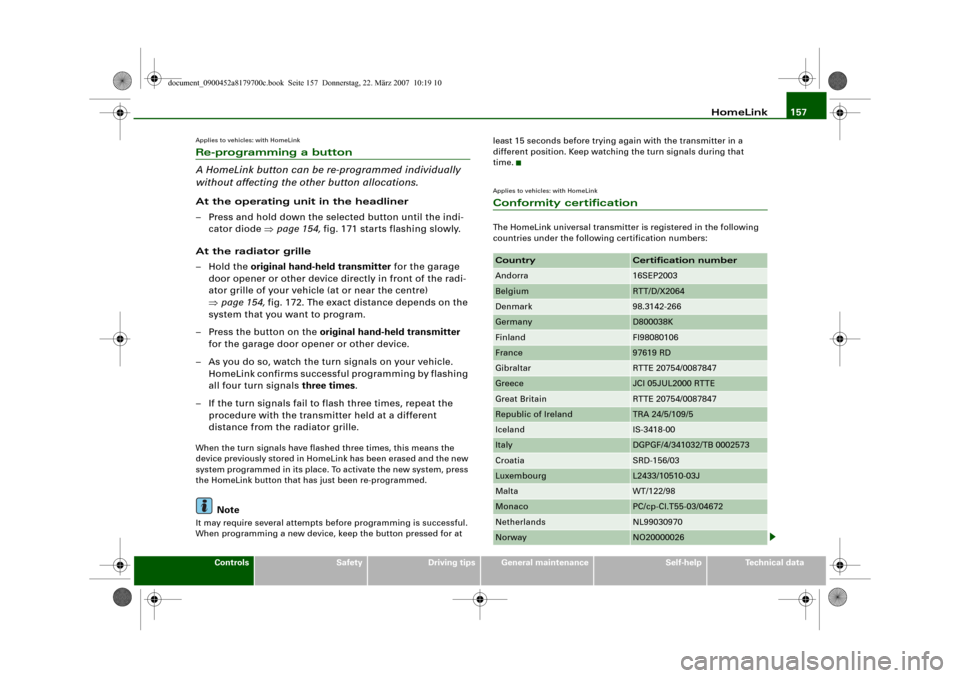
Applies to vehicles: with HomeLinkRe-programming a button
A HomeLink button can be re-programmed individually
without affecting the other button allocations.At the operating unit in the headliner
– Press and hold down the selected button until the indi-
cator diode ⇒page 154, fig. 171 starts flashing slowly.
At the radiator grille
–Hold the original hand-held transmitter for the garage
door opener or other device directly in front of the radi-
ator grille of your vehicle (at or near the centre)
⇒page 154, fig. 172. The exact distance depends on the
system that you want to program.
– Press the button on the original hand-held transmitter
for the garage door opener or other device.
– As you do so, watch the turn signals on your vehicle.
HomeLink confirms successful programming by flashing
all four turn signals three times.
– If the turn signals fail to flash three times, repeat the
procedure with the transmitter held at a different
distance from the radiator grille.When the turn signals have flashed three times, this means the
device previously stored in HomeLink has been erased and the new
system programmed in its place. To activate the new system, press
the HomeLink button that has just been re-programmed.
Note
It may require several attempts before programming is successful.
When programming a new device, keep the button pressed for at least 15 seconds before trying again with the transmitter in a
different position. Keep watching the turn signals during that
time.
Applies to vehicles: with HomeLinkConformity certificationThe HomeLink universal transmitter is registered in the following
countries under the following certification numbers:Country
Certification number
Andorra
16SEP2003
Belgium
RTT/D/X2064
Denmark
98.3142-266
Germany
D800038K
Finland
FI98080106
France
97619 RD
Gibraltar
RTTE 20754/0087847
Greece
JCI 05JUL2000 RTTE
Great Britain
RTTE 20754/0087847
Republic of Ireland
TRA 24/5/109/5
Iceland
IS-3418-00
Italy
DGPGF/4/341032/TB 0002573
Croatia
SRD-156/03
Luxembourg
L2433/10510-03J
Malta
WT/122/98
Monaco
PC/cp-CI.T55-03/04672
Netherlands
NL99030970
Norway
NO20000026
document_0900452a8179700c.book Seite 157 Donnerstag, 22. März 2007 10:19 10
Page 165 of 313
Safe driving163
Controls
Safety
Driving tips
General maintenance
Self-help
Technical data
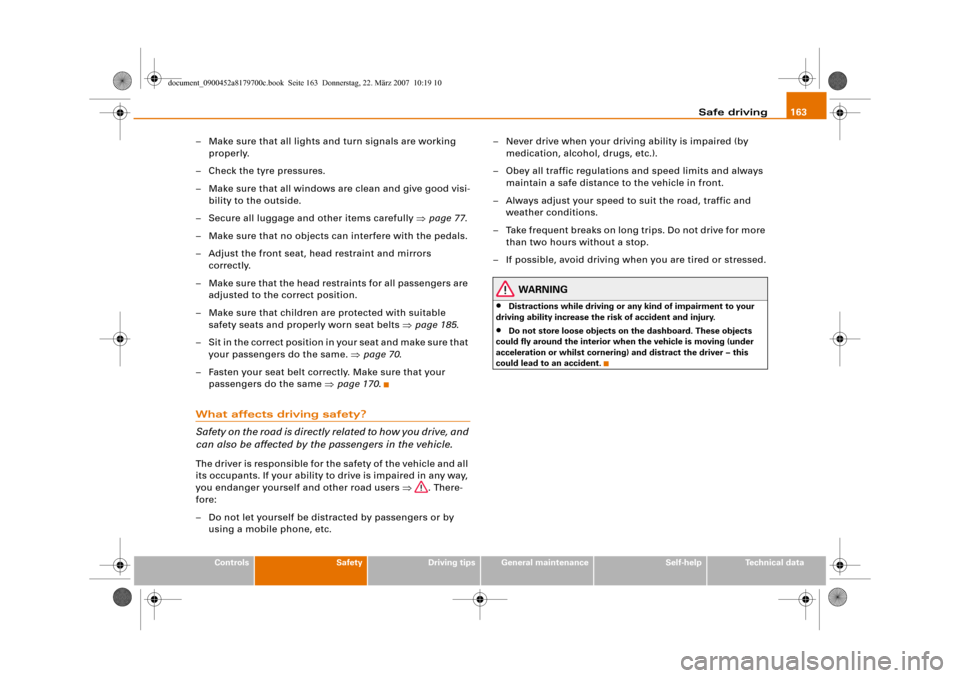
– Make sure that all lights and turn signals are working
properly.
– Check the tyre pressures.
– Make sure that all windows are clean and give good visi-
bility to the outside.
– Secure all luggage and other items carefully ⇒page 77.
– Make sure that no objects can interfere with the pedals.
– Adjust the front seat, head restraint and mirrors
correctly.
– Make sure that the head restraints for all passengers are
adjusted to the correct position.
– Make sure that children are protected with suitable
safety seats and properly worn seat belts ⇒page 185.
– Sit in the correct position in your seat and make sure that
your passengers do the same. ⇒page 70.
– Fasten your seat belt correctly. Make sure that your
passengers do the same ⇒page 170.What affects driving safety?
Safety on the road is directly related to how you drive, and
can also be affected by the passengers in the vehicle.The driver is responsible for the safety of the vehicle and all
its occupants. If your ability to drive is impaired in any way,
you endanger yourself and other road users ⇒. There-
fore:
– Do not let yourself be distracted by passengers or by
using a mobile phone, etc.– Never drive when your driving ability is impaired (by
medication, alcohol, drugs, etc.).
– Obey all traffic regulations and speed limits and always
maintain a safe distance to the vehicle in front.
– Always adjust your speed to suit the road, traffic and
weather conditions.
– Take frequent breaks on long trips. Do not drive for more
than two hours without a stop.
– If possible, avoid driving when you are tired or stressed.
WARNING
•
Distractions while driving or any kind of impairment to your
driving ability increase the risk of accident and injury.
•
Do not store loose objects on the dashboard. These objects
could fly around the interior when the vehicle is moving (under
acceleration or whilst cornering) and distract the driver – this
could lead to an accident.
document_0900452a8179700c.book Seite 163 Donnerstag, 22. März 2007 10:19 10
Page 179 of 313
Airbag system177
Controls
Safety
Driving tips
General maintenance
Self-help
Technical data
•
The airbag system can only be activated once; if the airbag has
been triggered, the system must be replaced. Should the airbag
system or airbag modules have to be replaced, the qualified work-
shop carrying out the replacement will document all details in the
appropriate section of the Service Schedule.
•
If you sell the vehicle, please remember to pass on the
complete Service Wallet to the new owner. If any of the airbags
have been deactivated, it is important that the new owner is also
given the relevant documents.
•
The relevant safety requirements must be observed when the
vehicle or components of the airbag or belt tensioner systems are
scrapped.
•
In an accident in which one or more airbags are triggered the
alternator and the starter are - for safety reasons - both discon-
nected from the battery via a pyrotechnic circuit breaker.
−Any repairs to the pyrotechnic circuit breaker must always
be performed by a qualified workshop (accident risk).
−The relevant safety requirements must be observed when
the vehicle or the circuit breaker are scrapped.
When are the airbags triggered?
The airbag system is triggered in collisions with a severe
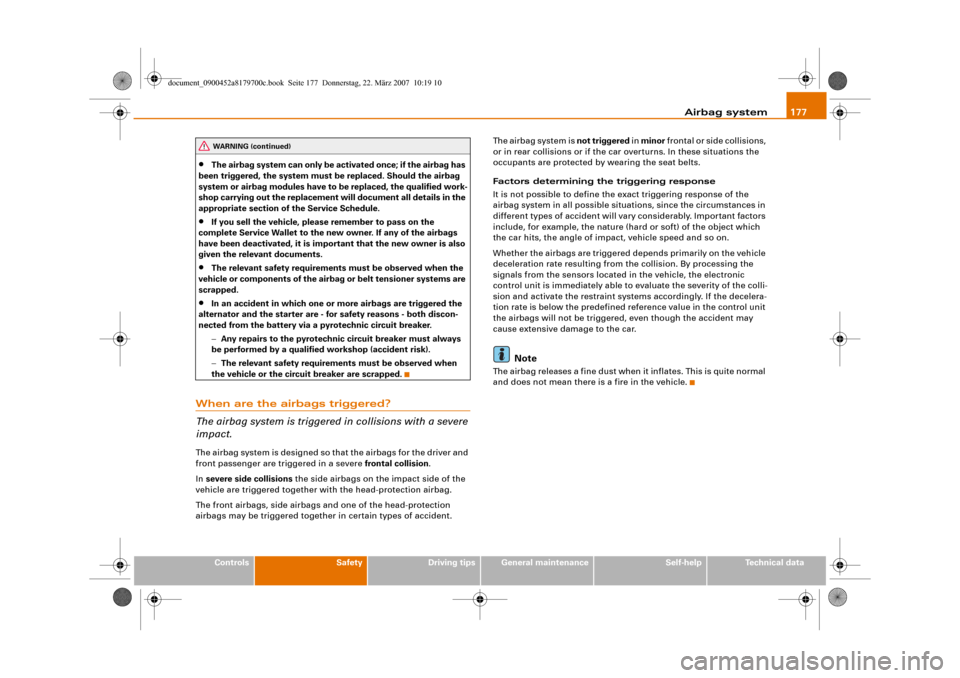
impact.The airbag system is designed so that the airbags for the driver and
front passenger are triggered in a severe frontal collision.
In severe side collisions the side airbags on the impact side of the
vehicle are triggered together with the head-protection airbag.
The front airbags, side airbags and one of the head-protection
airbags may be triggered together in certain types of accident.The airbag system is not triggered in minor frontal or side collisions,
or in rear collisions or if the car overturns. In these situations the
occupants are protected by wearing the seat belts.
Factors determining the triggering response
It is not possible to define the exact triggering response of the
airbag system in all possible situations, since the circumstances in
different types of accident will vary considerably. Important factors
include, for example, the nature (hard or soft) of the object which
the car hits, the angle of impact, vehicle speed and so on.
Whether the airbags are triggered depends primarily on the vehicle
deceleration rate resulting from the collision. By processing the
signals from the sensors located in the vehicle, the electronic
control unit is immediately able to evaluate the severity of the colli-
sion and activate the restraint systems accordingly. If the decelera-
tion rate is below the predefined reference value in the control unit
the airbags will not be triggered, even though the accident may
cause extensive damage to the car.
Note
The airbag releases a fine dust when it inflates. This is quite normal
and does not mean there is a fire in the vehicle.
WARNING (continued)
document_0900452a8179700c.book Seite 177 Donnerstag, 22. März 2007 10:19 10
Page 269 of 313
Self-help267
Controls
Safety
Driving tips
General maintenance
Self-help
Technical data terminal must not touch metal parts of the vehicle: this can cause
short circuiting.
•
Do not bend over the batteries – risk of acid burns.
•
The screw plugs on the battery cells must be screwed in firmly.
•
Keep sparks, flame and lighted cigarettes away from batteries:
the gases given off can cause an explosion.
•
If jump-starting another vehicle, position the jump leads in
such a way that they cannot come into contact with any moving
parts in the engine compartment of the other vehicle.Caution
Please note that the above method of connecting the leads is meant
for jump-starting your vehicle. If jump-starting another vehicle, you
should not connect the negative lead (–) to the negative terminal of
the discharged battery, but directly to the engine block or a solid
metal part bolted to the engine block. If the battery of the other
vehicle does not have a gas vent, there is a risk that a mixture of
oxygen and hydrogen gas can accumulate and cause an
explosion.Tow-starting and towing awayGeneral notes
Points to observe when tow-starting or towing awayIf you use a towrope:
Notes for the driver of the towing vehicle
– The towrope must be taut before driving off.– Engage the clutch very gently when starting to move; on
vehicles with automatic gearbox press the accelerator
slowly.
Notes for the driver of the towed vehicle
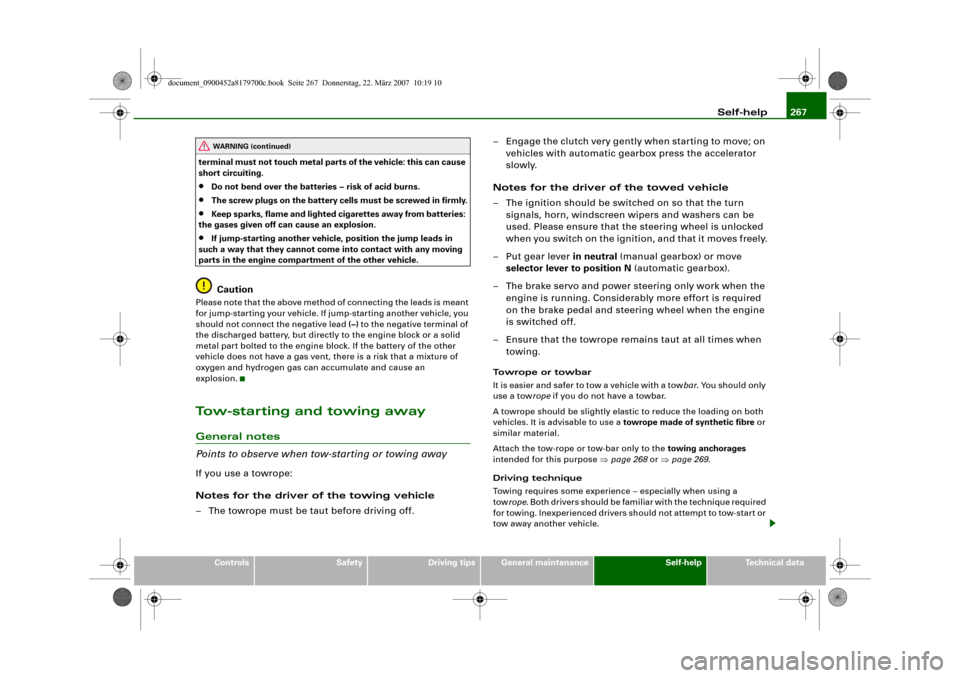
– The ignition should be switched on so that the turn
signals, horn, windscreen wipers and washers can be
used. Please ensure that the steering wheel is unlocked
when you switch on the ignition, and that it moves freely.
–Put gear lever in neutral (manual gearbox) or move
selector lever to position N (automatic gearbox).
– The brake servo and power steering only work when the
engine is running. Considerably more effort is required
on the brake pedal and steering wheel when the engine
is switched off.
– Ensure that the towrope remains taut at all times when
towing.
Towrope or towbar
It is easier and safer to tow a vehicle with a towbar. You should only
use a towrope if you do not have a towbar.
A towrope should be slightly elastic to reduce the loading on both
vehicles. It is advisable to use a towrope made of synthetic fibre or
similar material.
Attach the tow-rope or tow-bar only to the towing anchorages
intended for this purpose ⇒page 268 or ⇒page 269.
Driving technique
Towing requires some experience – especially when using a
towrope. Both drivers should be familiar with the technique required
for towing. Inexperienced drivers should not attempt to tow-start or
tow away another vehicle.
WARNING (continued)
document_0900452a8179700c.book Seite 267 Donnerstag, 22. März 2007 10:19 10