2008 AUDI A5 technical data
[x] Cancel search: technical dataPage 21 of 313
Instruments and warning/indicator lamps19
Controls
Safety
Driving tips
General maintenance
Self-help
Technical data
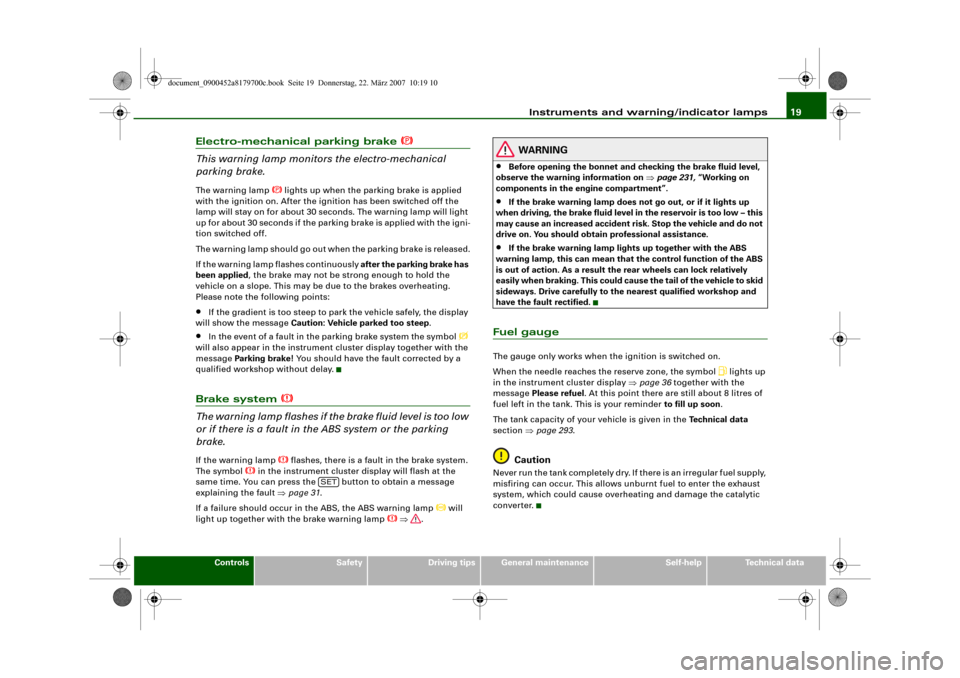
Electro-mechanical parking brake
This warning lamp monitors the electro-mechanical
parking brake.The warning lamp
lights up when the parking brake is applied
with the ignition on. After the ignition has been switched off the
lamp will stay on for about 30 seconds. The warning lamp will light
up for about 30 seconds if the parking brake is applied with the igni-
tion switched off.
The warning lamp should go out when the parking brake is released.
If the warning lamp flashes continuously after the parking brake has
been applied, the brake may not be strong enough to hold the
vehicle on a slope. This may be due to the brakes overheating.
Please note the following points:
•
If the gradient is too steep to park the vehicle safely, the display
will show the message Caution: Vehicle parked too steep.
•
In the event of a fault in the parking brake system the symbol
will also appear in the instrument cluster display together with the
message Parki ng b rake! You should have the fault corrected by a
qualified workshop without delay.
Brake system
The warning lamp flashes if the brake fluid level is too low
or if there is a fault in the ABS system or the parking
brake.If the warning lamp
flashes, there is a fault in the brake system.
The symbol
in the instrument cluster display will flash at the
same time. You can press the button to obtain a message
explaining the fault ⇒page 31.
If a failure should occur in the ABS, the ABS warning lamp
will
light up together with the brake warning lamp
⇒.
WARNING
•
Before opening the bonnet and checking the brake fluid level,
observe the warning information on ⇒page 231, “Working on
components in the engine compartment”.
•
If the brake warning lamp does not go out, or if it lights up
when driving, the brake fluid level in the reservoir is too low – this
may cause an increased accident risk. Stop the vehicle and do not
drive on. You should obtain professional assistance.
•
If the brake warning lamp lights up together with the ABS
warning lamp, this can mean that the control function of the ABS
is out of action. As a result the rear wheels can lock relatively
easily when braking. This could cause the tail of the vehicle to skid
sideways. Drive carefully to the nearest qualified workshop and
have the fault rectified.
Fuel gaugeThe gauge only works when the ignition is switched on.
When the needle reaches the reserve zone, the symbol
lights up
in the instrument cluster display ⇒page 36 together with the
message Please refuel. At this point there are still about 8 litres of
fuel left in the tank. This is your reminder to fill up soon.
The tank capacity of your vehicle is given in the Technical data
section ⇒page 293.
Caution
Never run the tank completely dry. If there is an irregular fuel supply,
misfiring can occur. This allows unburnt fuel to enter the exhaust
system, which could cause overheating and damage the catalytic
converter.
SET
document_0900452a8179700c.book Seite 19 Donnerstag, 22. März 2007 10:19 10
Page 23 of 313
Driver information system21
Controls
Safety
Driving tips
General maintenance
Self-help
Technical data
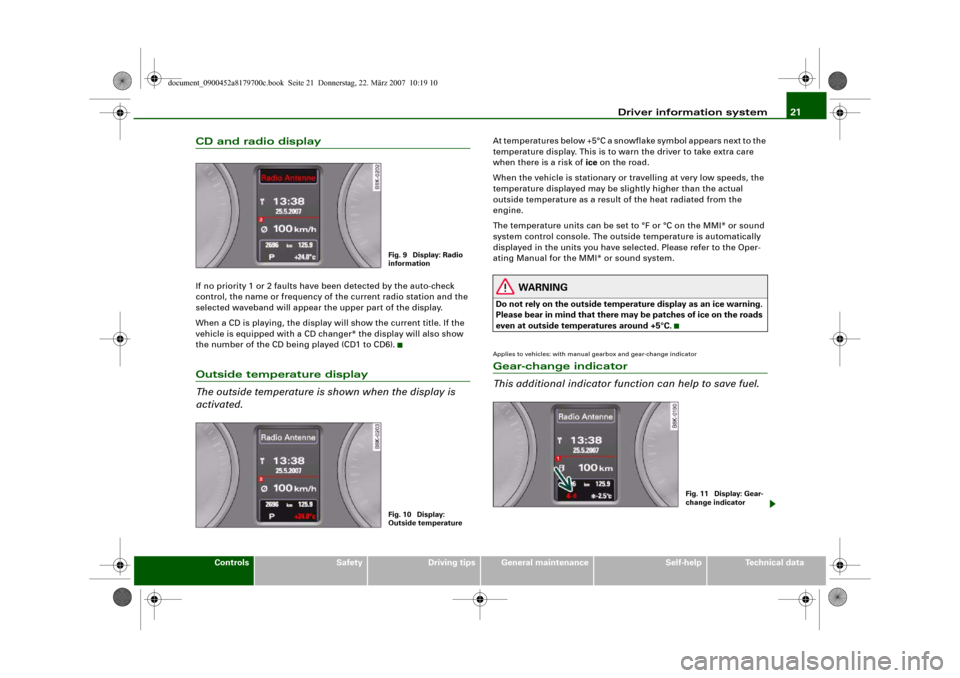
CD and radio displayIf no priority 1 or 2 faults have been detected by the auto-check
control, the name or frequency of the current radio station and the
selected waveband will appear the upper part of the display.
When a CD is playing, the display will show the current title. If the
vehicle is equipped with a CD changer* the display will also show
the number of the CD being played (CD1 to CD6).Outside temperature display
The outside temperature is shown when the display is
activated.
At temperatures below +5°C a snowflake symbol appears next to the
temperature display. This is to warn the driver to take extra care
when there is a risk of ice on the road.
When the vehicle is stationary or travelling at very low speeds, the
temperature displayed may be slightly higher than the actual
outside temperature as a result of the heat radiated from the
engine.
The temperature units can be set to °F or °C on the MMI* or sound
system control console. The outside temperature is automatically
displayed in the units you have selected. Please refer to the Oper-
ating Manual for the MMI* or sound system.
WARNING
Do not rely on the outside temperature display as an ice warning.
Please bear in mind that there may be patches of ice on the roads
even at outside temperatures around +5°C.Applies to vehicles: with manual gearbox and gear-change indicatorGear-change indicator
This additional indicator function can help to save fuel.
Fig. 9 Display: Radio
informationFig. 10 Display:
Outside temperature
Fig. 11 Display: Gear-
change indicator
document_0900452a8179700c.book Seite 21 Donnerstag, 22. März 2007 10:19 10
Page 25 of 313
Driver information system23
Controls
Safety
Driving tips
General maintenance
Self-help
Technical data
Door catches / boot lid warning
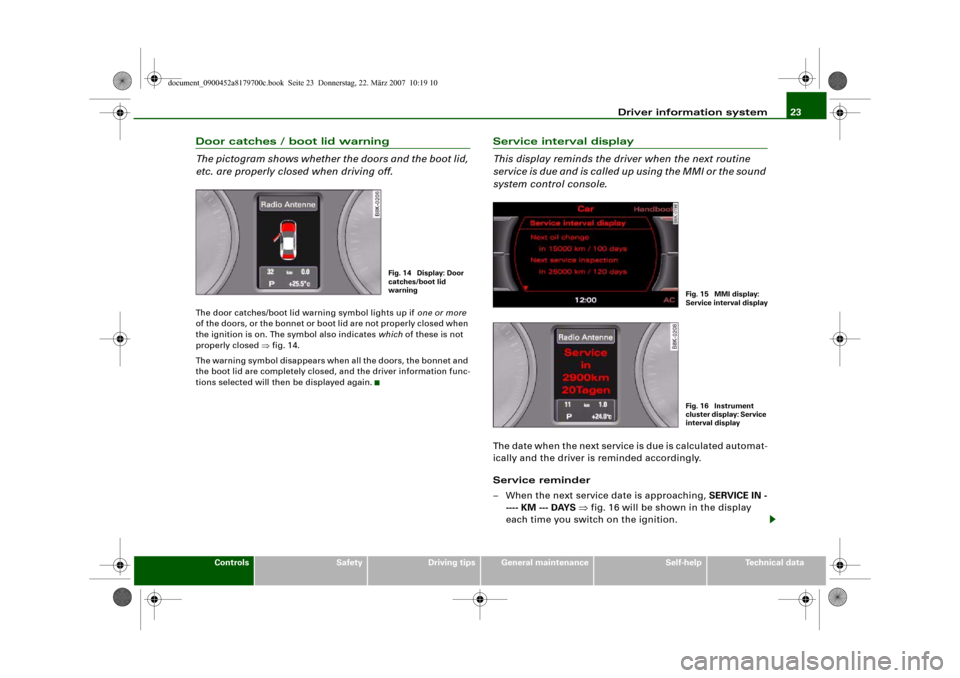
The pictogram shows whether the doors and the boot lid,
etc. are properly closed when driving off.The door catches/boot lid warning symbol lights up if one or more
of the doors, or the bonnet or boot lid are not properly closed when
the ignition is on. The symbol also indicates which of these is not
properly closed ⇒fig. 14.
The warning symbol disappears when all the doors, the bonnet and
the boot lid are completely closed, and the driver information func-
tions selected will then be displayed again.
Service interval display
This display reminds the driver when the next routine
service is due and is called up using the MMI or the sound
system control console.The date when the next service is due is calculated automat-
ically and the driver is reminded accordingly.
Service reminder
– When the next service date is approaching, SERVICE IN -
---- KM --- DAYS ⇒fig. 16 will be shown in the display
each time you switch on the ignition.
Fig. 14 Display: Door
catches/boot lid
warning
Fig. 15 MMI display:
Service interval displa
y
Fig. 16 Instrument
cluster display: Service
interval display
document_0900452a8179700c.book Seite 23 Donnerstag, 22. März 2007 10:19 10
Page 27 of 313
Driver information system25
Controls
Safety
Driving tips
General maintenance
Self-help
Technical data
On-board computerApplies to vehicles: with on-board computerIntroduction
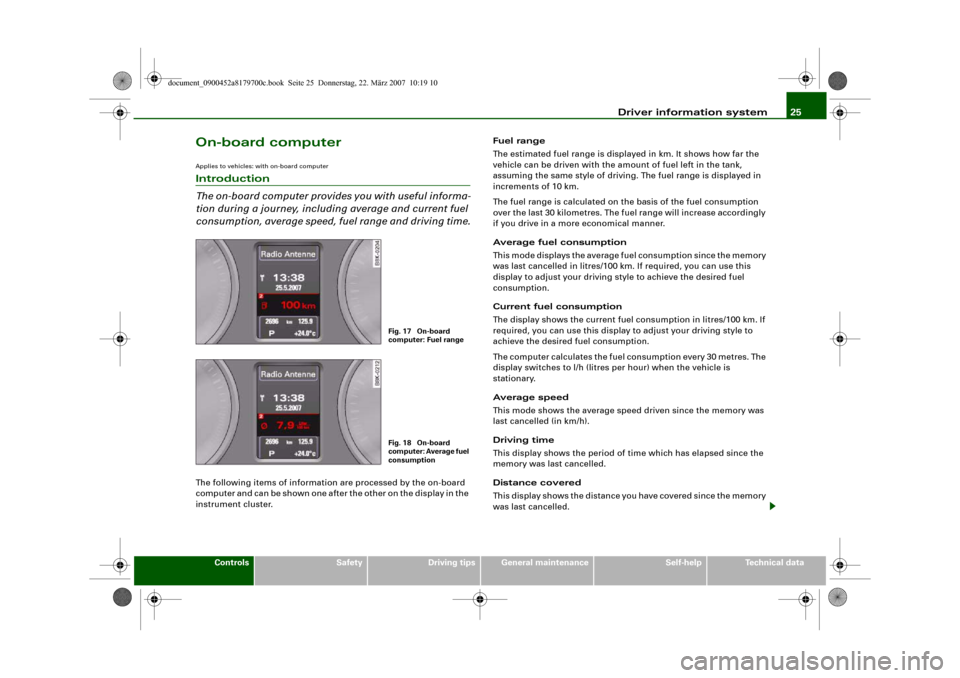
The on-board computer provides you with useful informa-
tion during a journey, including average and current fuel
consumption, average speed, fuel range and driving time.The following items of information are processed by the on-board
computer and can be shown one after the other on the display in the
instrument cluster.Fuel range
The estimated fuel range is displayed in km. It shows how far the
vehicle can be driven with the amount of fuel left in the tank,
assuming the same style of driving. The fuel range is displayed in
increments of 10 km.
The fuel range is calculated on the basis of the fuel consumption
over the last 30 kilometres. The fuel range will increase accordingly
if you drive in a more economical manner.
Average fuel consumption
This mode displays the average fuel consumption since the memory
was last cancelled in litres/100 km. If required, you can use this
display to adjust your driving style to achieve the desired fuel
consumption.
Current fuel consumption
The display shows the current fuel consumption in litres/100 km. If
required, you can use this display to adjust your driving style to
achieve the desired fuel consumption.
The computer calculates the fuel consumption every 30 metres. The
display switches to l/h (litres per hour) when the vehicle is
stationary.
Average speed
This mode shows the average speed driven since the memory was
last cancelled (in km/h).
Driving time
This display shows the period of time which has elapsed since the
memory was last cancelled.
Distance covered
This display shows the distance you have covered since the memory
was last cancelled.
Fig. 17 On-board
computer: Fuel rangeFig. 18 On-board
computer: Average fuel
consumption
document_0900452a8179700c.book Seite 25 Donnerstag, 22. März 2007 10:19 10
Page 29 of 313
Driver information system27
Controls
Safety
Driving tips
General maintenance
Self-help
Technical data eter and navigation system*. Press the Reset button briefly to
switch back and forward between these displays.
Resetting figures to zero
To cancel one of the computer readings individually, select the
required function and press the RESET button for at least one
second. The following values can be reset to zero individually using
the Reset button:
•
Average fuel consumption
•
Average speed
•
Driving time
•
Distance covered
You can also cancel all the values in the single journey memory or
the total journey memory at the same time ⇒page 27.Note
The information in the memory is cancelled if the battery is
disconnected.
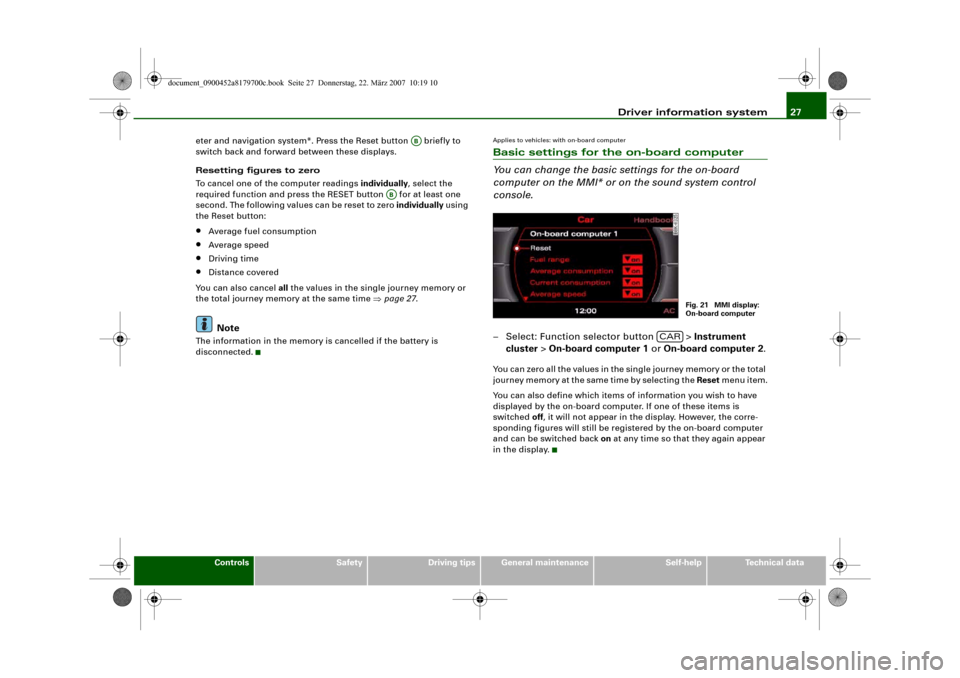
Applies to vehicles: with on-board computerBasic settings for the on-board computer
You can change the basic settings for the on-board
computer on the MMI* or on the sound system control
console.– Select: Function selector button > Instrument
cluster > On-board computer 1 or On-board computer 2.You can zero all the values in the single journey memory or the total
journey memory at the same time by selecting the Reset menu item.
You can also define which items of information you wish to have
displayed by the on-board computer. If one of these items is
switched off, it will not appear in the display. However, the corre-
sponding figures will still be registered by the on-board computer
and can be switched back on at any time so that they again appear
in the display.
AB
AB
Fig. 21 MMI display:
On-board computer
CAR
document_0900452a8179700c.book Seite 27 Donnerstag, 22. März 2007 10:19 10
Page 31 of 313
Driver information system29
Controls
Safety
Driving tips
General maintenance
Self-help
Technical data
Clearing speed limit
– Drive the vehicle at a minimum of 5 km/h.
– Press the button for at least 2 seconds.The speed warning symbol
lights up briefly in the display to
confirm that the selected speed has been stored. The speed limit
that has been set remains stored until another speed is set with a
brief push of the button, or until the memory is cleared with a long
push of the button.
When the speed limit has been cleared, the display will show a
crossed-out warning symbol .
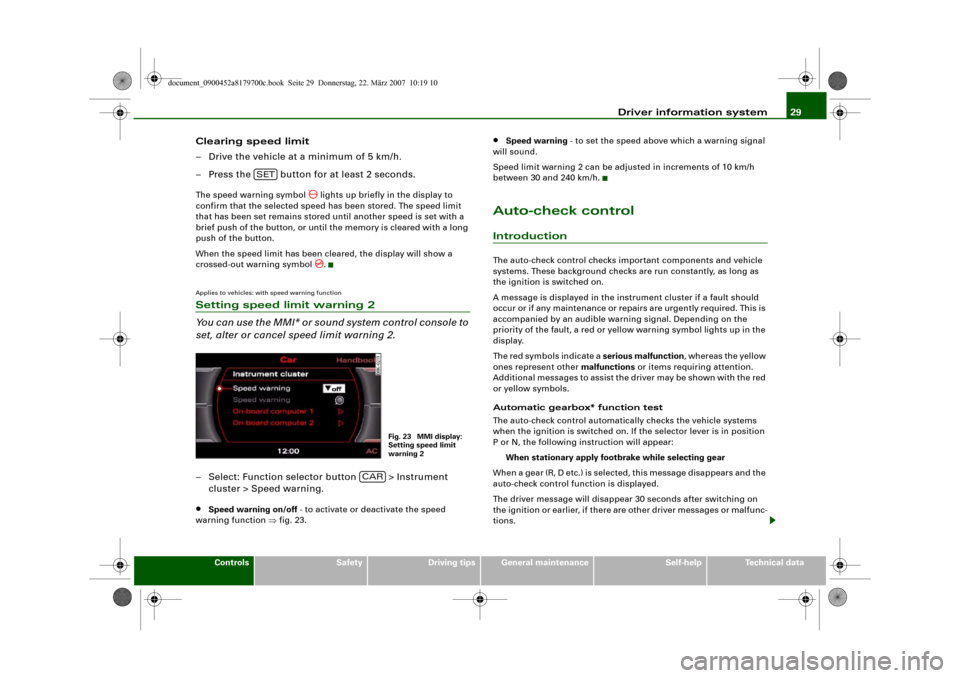
Applies to vehicles: with speed warning functionSetting speed limit warning 2
You can use the MMI* or sound system control console to
set, alter or cancel speed limit warning 2.– Select: Function selector button > Instrument
cluster > Speed warning.•
Speed warning on/off - to activate or deactivate the speed
warning function ⇒fig. 23.
•
Speed warning - to set the speed above which a warning signal
will sound.
Speed limit warning 2 can be adjusted in increments of 10 km/h
between 30 and 240 km/h.
Auto-check controlIntroductionThe auto-check control checks important components and vehicle
systems. These background checks are run constantly, as long as
the ignition is switched on.
A message is displayed in the instrument cluster if a fault should
occur or if any maintenance or repairs are urgently required. This is
accompanied by an audible warning signal. Depending on the
priority of the fault, a red or yellow warning symbol lights up in the
display.
The red symbols indicate a serious malfunction, whereas the yellow
ones represent other malfunctions or items requiring attention.
Additional messages to assist the driver may be shown with the red
or yellow symbols.
Automatic gearbox* function test
The auto-check control automatically checks the vehicle systems
when the ignition is switched on. If the selector lever is in position
P or N, the following instruction will appear:
When stationary apply footbrake while selecting gear
When a gear (R, D etc.) is selected, this message disappears and the
auto-check control function is displayed.
The driver message will disappear 30 seconds after switching on
the ignition or earlier, if there are other driver messages or malfunc-
tions.
SET
Fig. 23 MMI display:
Setting speed limit
warning 2
CAR
document_0900452a8179700c.book Seite 29 Donnerstag, 22. März 2007 10:19 10
Page 33 of 313
Driver information system31
Controls
Safety
Driving tips
General maintenance
Self-help
Technical data
– Switch off the engine.
– Check the function displayed. Obtain professional assist-
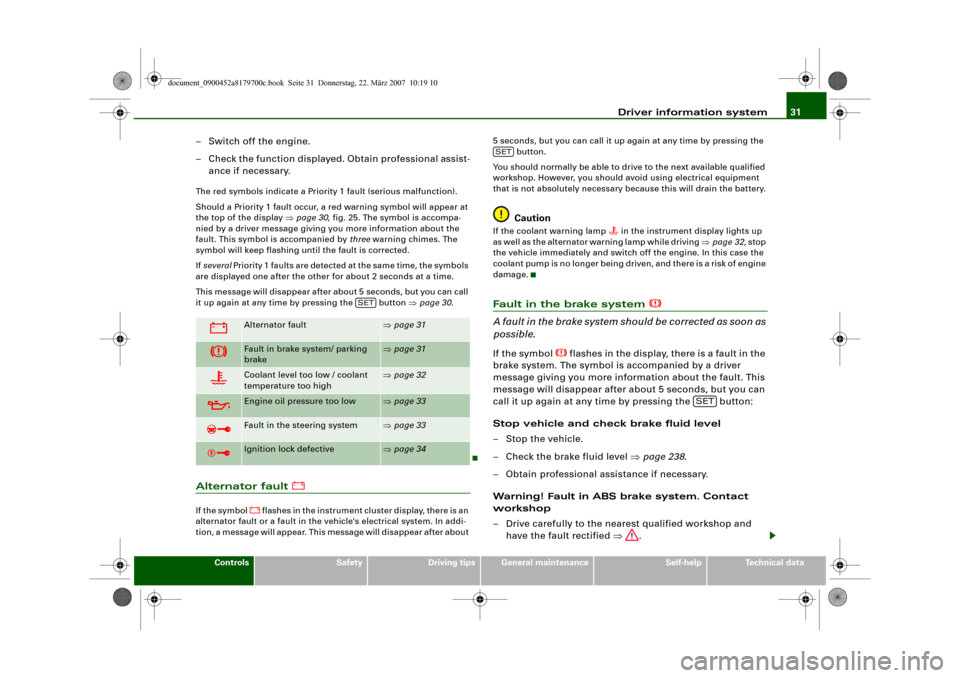
ance if necessary.The red symbols indicate a Priority 1 fault (serious malfunction).
Should a Priority 1 fault occur, a red warning symbol will appear at
the top of the display ⇒page 30, fig. 25. The symbol is accompa-
nied by a driver message giving you more information about the
fault. This symbol is accompanied by three warning chimes. The
symbol will keep flashing until the fault is corrected.
If several Priority 1 faults are detected at the same time, the symbols
are displayed one after the other for about 2 seconds at a time.
This message will disappear after about 5 seconds, but you can call
it up again at any time by pressing the button ⇒page 30.Alternator fault
If the symbol
flashes in the instrument cluster display, there is an
alternator fault or a fault in the vehicle's electrical system. In addi-
tion, a message will appear. This message will disappear after about 5 seconds, but you can call it up again at any time by pressing the
button.
You should normally be able to drive to the next available qualified
workshop. However, you should avoid using electrical equipment
that is not absolutely necessary because this will drain the battery.
Caution
If the coolant warning lamp
in the instrument display lights up
as well as the alternator warning lamp while driving ⇒page 32, stop
the vehicle immediately and switch off the engine. In this case the
coolant pump is no longer being driven, and there is a risk of engine
damage.
Fault in the brake system
A fault in the brake system should be corrected as soon as
possible.If the symbol
flashes in the display, there is a fault in the
brake system. The symbol is accompanied by a driver
message giving you more information about the fault. This
message will disappear after about 5 seconds, but you can
call it up again at any time by pressing the button:
Stop vehicle and check brake fluid level
– Stop the vehicle.
– Check the brake fluid level ⇒page 238.
– Obtain professional assistance if necessary.
Warning! Fault in ABS brake system. Contact
workshop
– Drive carefully to the nearest qualified workshop and
have the fault rectified ⇒.
Alternator fault
⇒page 31
Fault in brake system/ parking
brake
⇒page 31
Coolant level too low / coolant
temperature too high
⇒page 32
Engine oil pressure too low
⇒page 33
Fault in the steering system
⇒page 33
Ignition lock defective
⇒page 34
SET
SET
SET
document_0900452a8179700c.book Seite 31 Donnerstag, 22. März 2007 10:19 10
Page 35 of 313
Driver information system33
Controls
Safety
Driving tips
General maintenance
Self-help
Technical data
WARNING
•
If your vehicle should break down for technical reasons, stop it
at a safe distance away from moving traffic, switch off the engine
and turn on the hazard warning lights ⇒page 58, “Hazard
warning lights ”.
•
Never open the bonnet if you can see or hear steam or coolant
escaping from the engine compartment; there is a risk of being
scalded. Wait until you can no longer see or hear escaping steam
or coolant.
•
The engine compartment of any motor vehicle is a dangerous
place. Before carrying out any work in the engine compartment,
switch off the engine and allow it to cool down. Please observe the
important safety warnings ⇒page 231, “Working on components
in the engine compartment”.Caution
Do not drive on if the symbol
has come on to indicate a fault in
the cooling system, otherwise there is a risk of damaging the
engine.
Engine oil pressure too low
If the engine oil pressure is too low the fault must be recti-
fied immediately.If the
symbol flashes in the display, the oil pressure is
too low. The symbol is accompanied by a driver message
giving you more information about the fault. This message
will disappear after about 5 seconds, but you can call it up
again at any time by pressing the button:
Switch off engine and check oil level
–Stop the vehicle.– Switch off the engine.
– Check the engine oil level ⇒page 234.
– Obtain professional assistance if necessary.
If the engine oil level is too low
If the engine oil level is too low, add more oil ⇒page 234.
If the engine oil level is correct
If the
symbol flashes and the engine oil level is correct, obtain
professional assistance. Do not drive on. Do not continue to run the
engine, not even at idle speed.
Note
The oil pressure warning lamp
is not an indicator for the oil
level. The oil level should therefore be checked regularly.
Fault in the steering system
The steering wheel cannot be unlocked if there is a fault
in the electronic steering lock.If the symbol
flashes in the display, there is a malfunc-
tion in the electronic steering lock. The symbol is accompa-
nied by a driver message giving you more information
about the fault. This message will disappear after about
5 seconds, but you can call it up again at any time by
pressing the button:
Do not drive vehicle. Steering defective
– You should obtain professional assistance.
–Do not have the vehicle towed away.
SET
SET
document_0900452a8179700c.book Seite 33 Donnerstag, 22. März 2007 10:19 10