2007 VOLKSWAGEN GOLF coolant level
[x] Cancel search: coolant levelPage 9 of 444
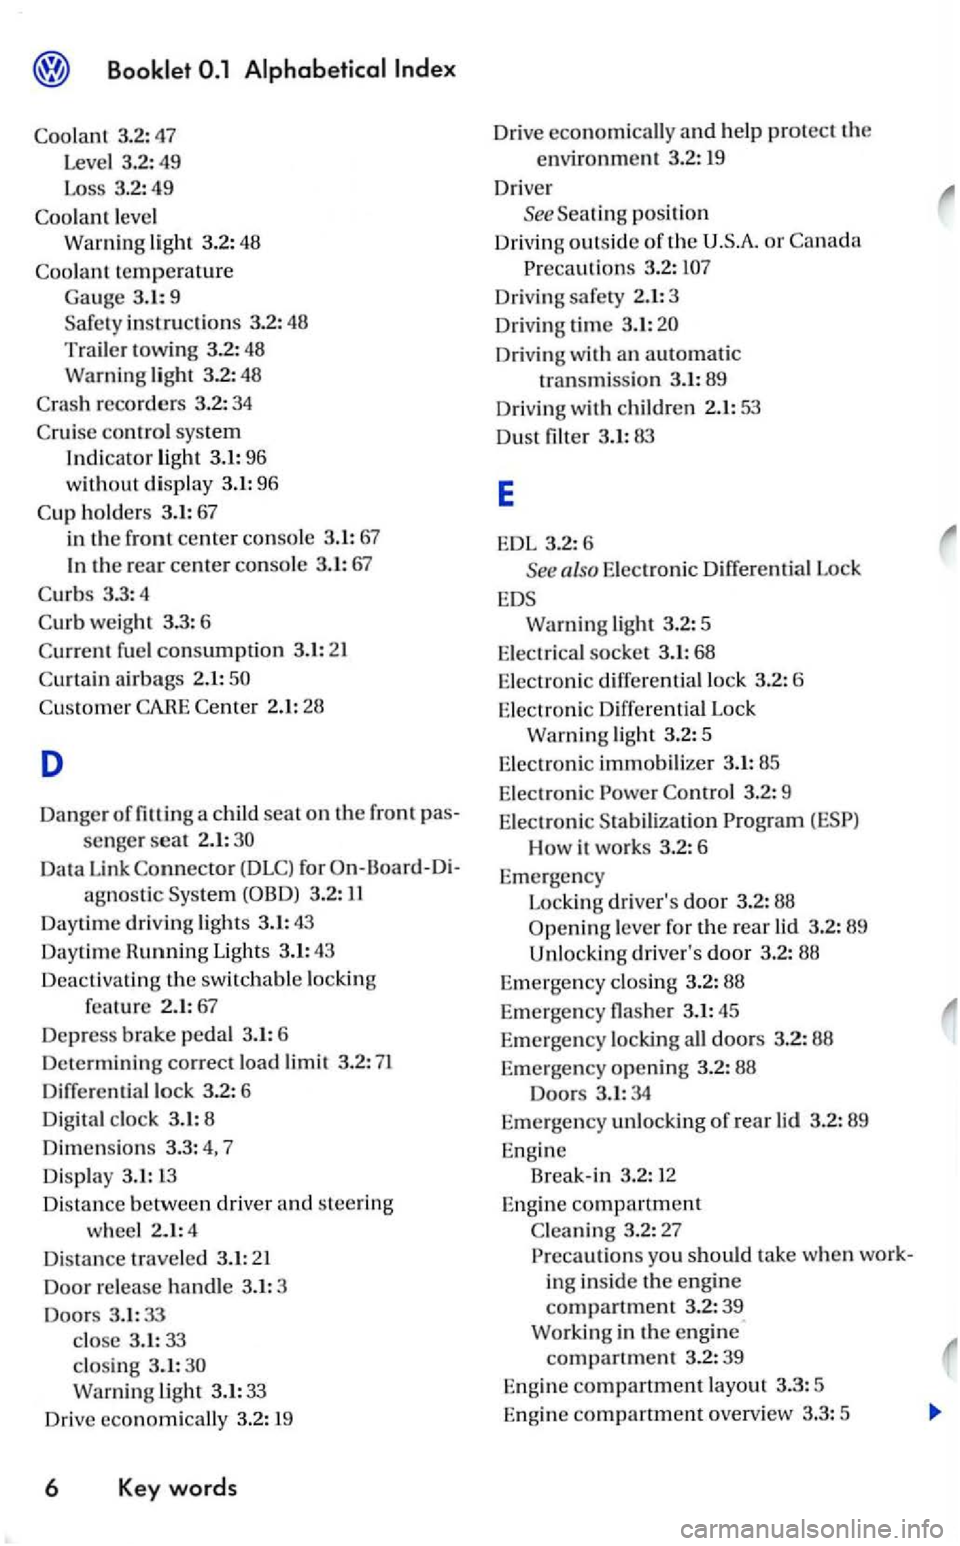
Coolant 3.2: 47
Level 3.2:
49
Loss 3.2:49
Coolant leve l
Warning light 3.2: 48
Coolant temperature
Gauge 3.1:9 Safe ty instru ctions 3.2:48
Trail er towing 3.2: 48
Warning light 3.2 : 4 8
C
ras h recorders 3.2: 34
C rui
se control system
Indicator light 3.1:96
without display 3.1: 96
C up ho ld ers 3.
1: 67
in the front center consol e 3 .1: 67
the rear center console 3.1:67
Curbs 3.3:4
Curb weight 3.3 : 6
C
urrent f u el con sumptio n 3.1:21
C
urtain airbags 2.1:
Custome r Center 2.1: 28
D
Danger of fittin g a child seat on the front pas
senger seat 2.1:
Daytime dri ving lights 3.1:4 3
Daytime Hunning Light s 3.1: 43
D
eactiv ating the switchabl e lockin g
2.1: 67
Depress brake ped al 3.1: 6
Determining correct load l im it 3.2: 71
Diff
erential lock 6
Digit al cl
ock 3.1:8
Dimensio n s 3.3: 4, 7
Disp la y 3.1: 1 3
D is t
ance b etween driver and steerin g
w h
eel 2.1:4
D is ta n
ce travele d 3.1: 21
Door re lease h andle 3.1: 3
Doors 3.1:33
close 3.1: 33 closing 3.1: Warning li gh t 3.1: 33
Drive economically 3.2: 19
6 Key words
Drive economic all y and he lp protect the
environment 3.2: 19
Driv er See Seating position
Drivin g outside of the
Driving safety 2.1: 3
Driving lime 3
.1:
E
EDL 3.2:6
See also Electronic Differ ential Lock
Warning light 3.2:5
Electrical socket 3.1: 68
E
lectronic diff ere nti al lock 3.2: 6
Electroni c Differential Lock
Warning light 3.2: 5
Ele c
tronic immobilizer 3.1:85
E l
ectronic Co ntrol 3.2: 9
E l
ectronic Stabilization
How it works 3.2: 6
Eme rge ncy
L
ockin g driver's door 3.2: 88
Opening l eve r for the rear lid 3.2: 89
Unl ocki ng
driver's door 3.2: 88
Em ergency closing 3.2: 88
E m er
gency nasher 3.1: 45
E m
ergency locki ng all doors 3.2: 88
Emergency ope nin g 3.2: 88 Doors 3.1: 34
Emer gency
unlocking of rear lid 3.2: 89
E ng
ine Break-in 3.2: 12
Eng in e compartment
Cleaning 3.2 :27 you should take when work
i
ng in sid e the e ngin e
compartment 3.2:39 Work ing in the engine
compartment 3.2: 39
E n g in e
compartment la yout 3.3 : 5
E n
gine compartment overview 3.3: 5
Page 10 of 444
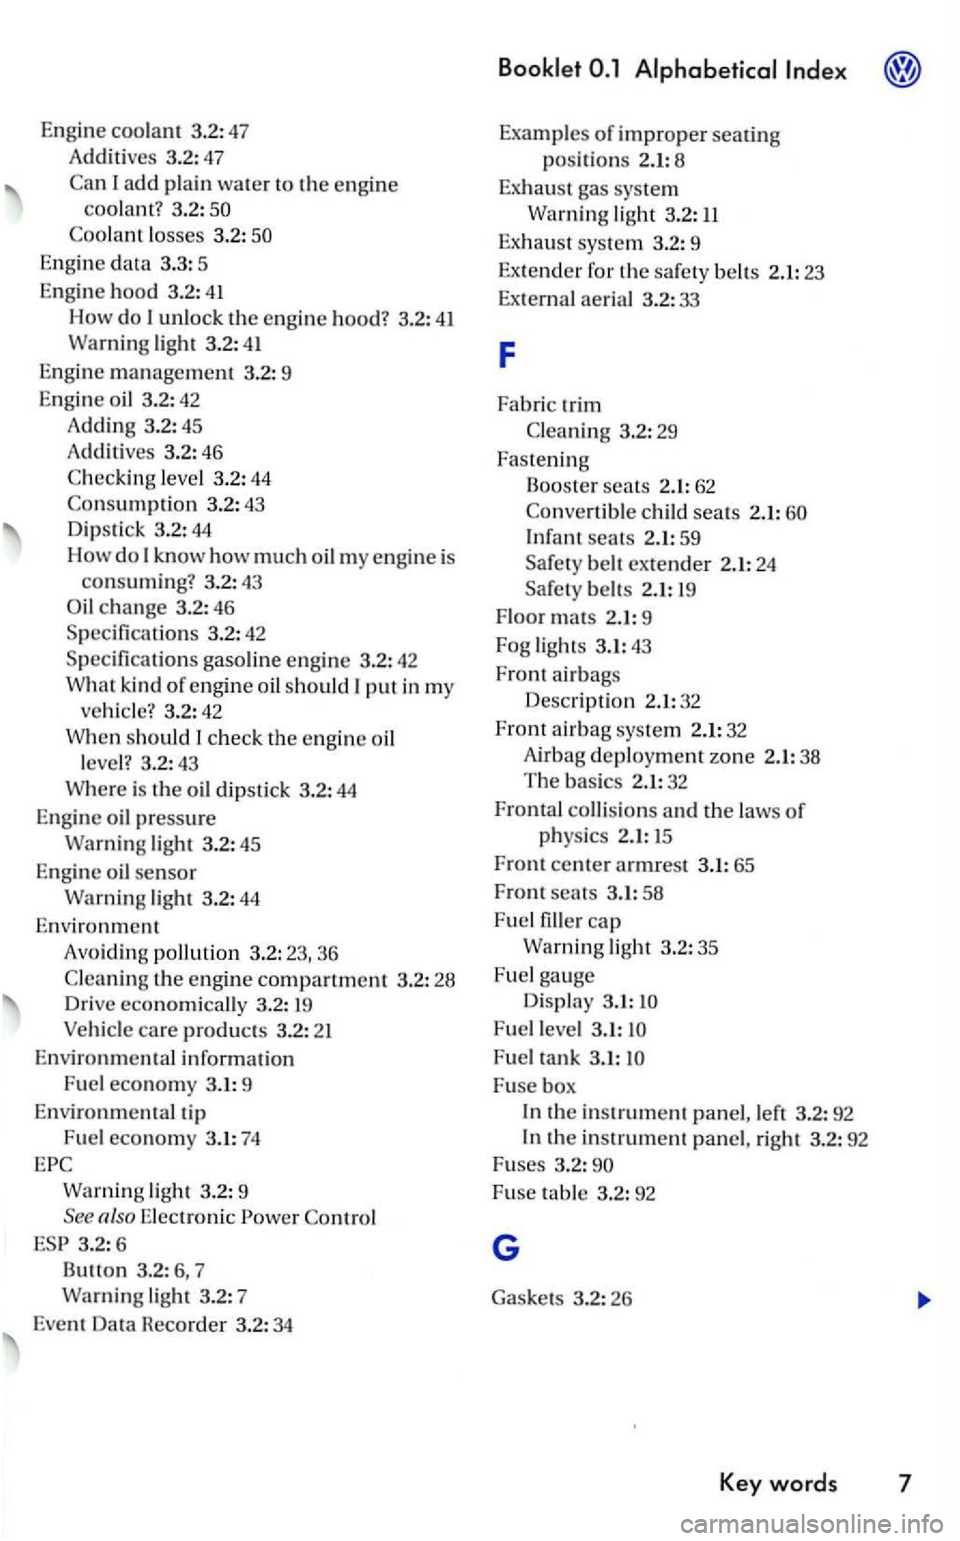
Engine coo lant 3.2:47
Add i
tive s 3.2:47
Ca n I
add plain water to the en gi ne coolant ? 3.2 :
Engine data 3.3: 5
Eng ine
hood 3.2: 41
How do unlock the engin e hood? 3.2: 41 Warn ing light 3.2: 41
Engin e management 3.2: 9
E ngin e oi l 3.2: 42
Adding 3.2: 45
Add itives 3.2: 46
Check ing leve l 3.2: 44
Consumption 3.2: 4 3
Dip s
tick 3.2: 44
How do know how much oil m y e ngine is
consuming ? 3.2: 43 c h an ge 3.2: 46
S p ecifica tion s 3.2: 42
Specificatio ns gaso line engine 3.2: 42
Wha t kind of e ngine oil should put in my ve hicle? 3.2: 42
When should check the e n gi ne oi l
l eve l? 3.2 : 4 3
Where is th e oil dip stick 3.2:
44
E ngin e oil pr essure
Warning light 3.2: 45
Eng ine oil
senso r
Warning light 3.2:
44
Environme nt
Avoidi ng pollution 3.2:23,36
C le
aning th e e ngin e compartment 3.2 : 28 Drive economicall y 3.2:
Warni ng ligh t 3.2: 9 also Elec tronic Co ntrol
3.2:6
B utt on 3.2 : 7
Warning
lig ht 3.2: 7
Even t Data Hecorder 3.2:
34
Examples of improper seating
position s 2.1:
Infant seats 2.1: 59
Sa fe ty belt ex te
nder 2.1: 24
Sa fet y belts 2.1:
F loor mat s 2.1: 9
Fog light s 3.1
:43
F r
ont ai rbags
De
scription 2.1:32
Front air b ag sys tem
2.1: 32
A irb ag deploym ent zone 2.1:38
Th e bas ics 2.1: 32
Fronta l
collisions and the laws of
physics
1 5
Fr
ont center armres t 3.1: 65
Front seats 3.1: 58
F u el
fille r cap
Warni ng light 3.2:35
Fuel ga uge
Displa y 3.1:
F ue l level 3.1:
Fuse box
th e in strume nt panel, left 3.2: 92 the instrument panel, rig ht 3.2: 92
Fu ses 3.2:
Page 38 of 444
Booklet 1.1 Maintenance
oil and oil
for l eaks
for damage and leaks
engine only)
Water separator: Drain (TDI engine only)
Battery: electrolyt e leve l
Door check straps: Lubrica te
S pa rk p lugs: Replace
Air cleaner: Replace filter element
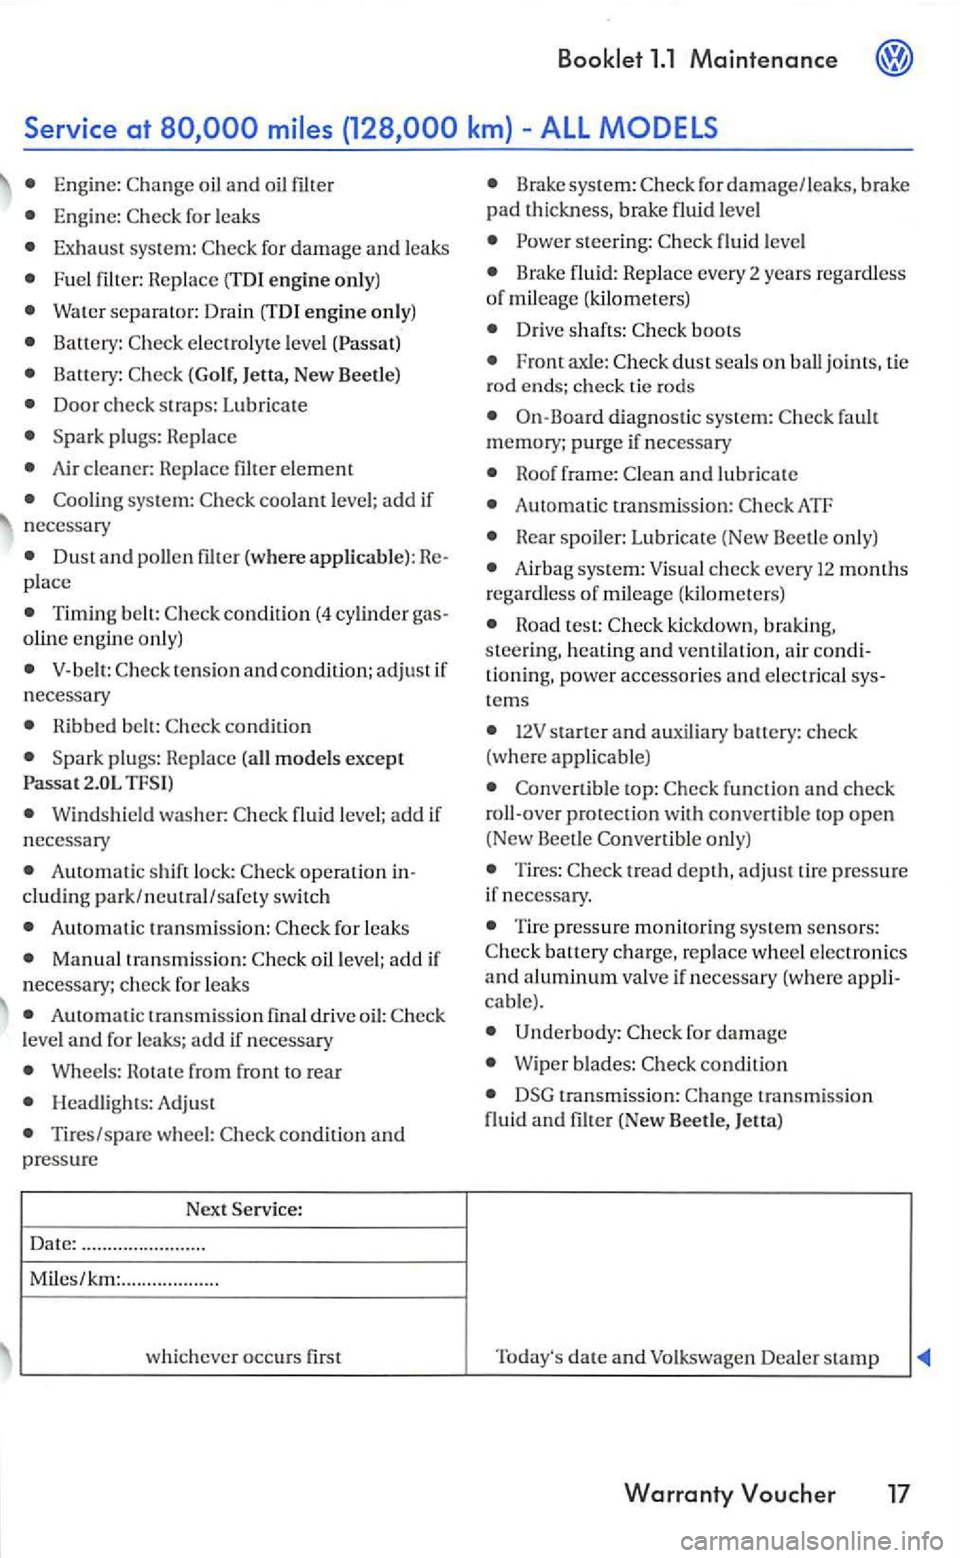
syste m : coolant leve l; add if
necessary
Dust and pollen (where applicable) : Replace
Tim ing belt:
V-be lt: tension and condition; adju st if necessary
Ribbed belt:
Spark plugs: Replace models except
Passat TF SI)
Wind shield washer: fluid level; add if
necessary
Auto matic shift lock:
Automatic transmiss ion: for leak s
oil leve l; add if
n ecessary; check for leak s
Automatic transm ission fmal drive oiJ: leve l and for leaks; add if necessa ry
Wheel s: Hotate from front to rea r
Hea dligh ts: Adjust
Tires/spare wheel: condition and pressure
Next S ervice:
Date: ....................... .
Miles/km: .................. .
whic hever occurs
first
Brake system: for damage/leaks, brake pad thickness, brake fluid leve l
steering: fluid leve l
boots
dust sea ls on ball joints, tie
rod ends; ch eck tie rod s
On-Board diagnostic sys tem: fault
m emory; purge if necessary
and lubricate
Automat ic transmission:
Air bag syste m: Visual check every 12 months
r egard Jess of mileage (kilometers)
Convertible top: function and check
roll-ove r protection convertib le to p open (New Beet le
tread deptJ1, adjust tire pressure
if necessa ry.
Tire press ure monitoring system sensors: battery ch a rge, replace wheel electronics
and aluminum valve if necessary (where applicable).
Underbody: f o r damage
W iper blades: con ditio n
transmission: tra nsmission fluid and filter (New Beetle, }etta)
T oday's
date and Volkswagen DeaJer stamp
Warranty
Page 175 of 444
Booklet 3.1 Controls and Equipment
Warning and lights in the tachom
eter
Symbol Meaning of warning lights
swagen dealer or
on: Electromechanical power steeri ng
a
ssi s t contact yo ur a uthorized
swagen d ealer or
contact your authorized swagen dea ler or workshop
Malfunction
Properly close th e fu el cap
Elec tronic Power (Gaso line engine only)-contact your authorized Volkswage n dealer or qualified workshop
E le ctronic immobilizer
Generator malf unction-contact your au tho-
rized Volkswage n dealer or qualified workshop
Bulb failure
High beams swit ched on
Turn signal left
Turn s ignal right
Warning and indicator light s in the di splay
Symbol Meaning of lights
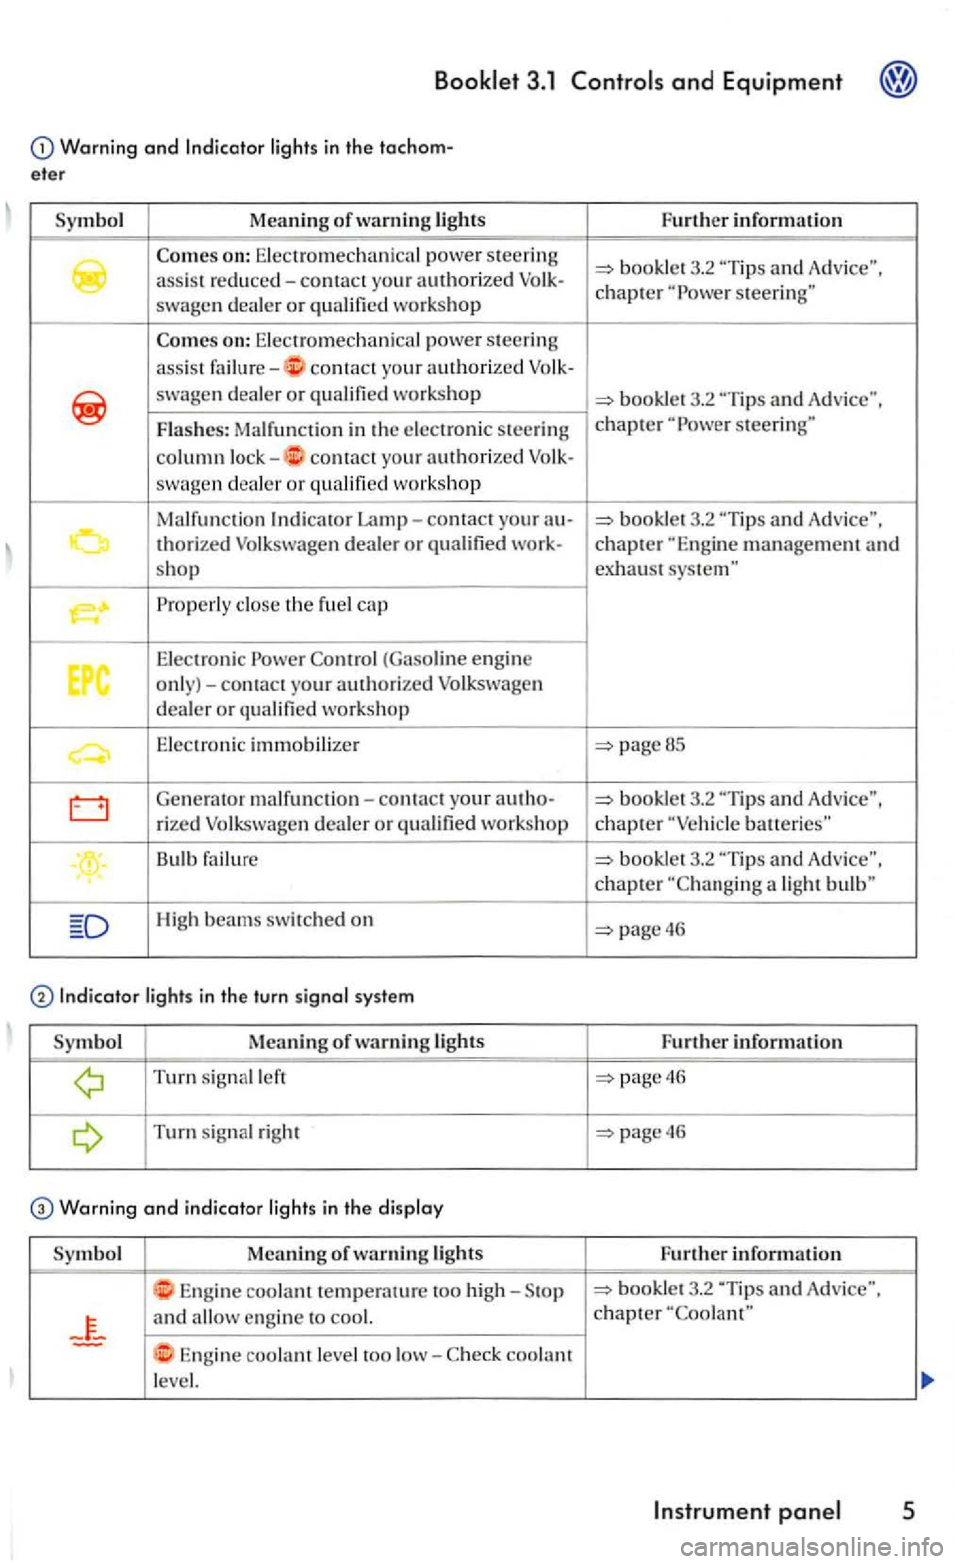
Engine coolant temperature too high-
and
Engine coolant level too low-coolant
le vel. Fu
rther information
3.2
"Tip s and Advice". chapter steering"
steerin g"
pageBS
-
batteries"
booklet 3.2
page46
Further information
page46
page46
Further inform ation
3.2 "Tip s and Adv ice", chapter
Page 179 of 444
fo r ex am ple, the needl e is directly ove r the thi s corres po nd s to an en g in e speed o f
when the en g in e is w arm and after it ha s been
b ro ke n in properly. How ever, it is advis abl e to ups hi ft o r m ove the selector leve r to D (or ta ke
yo ur foo t off th e accelerato r pe da l to slowdown)
b e fo re th e nee d le reach es the re d zo ne.
Note
To avo id damage to the e n gin e neve r
For the sake of environment
Upshifting early saves fuel and min im izes gin e
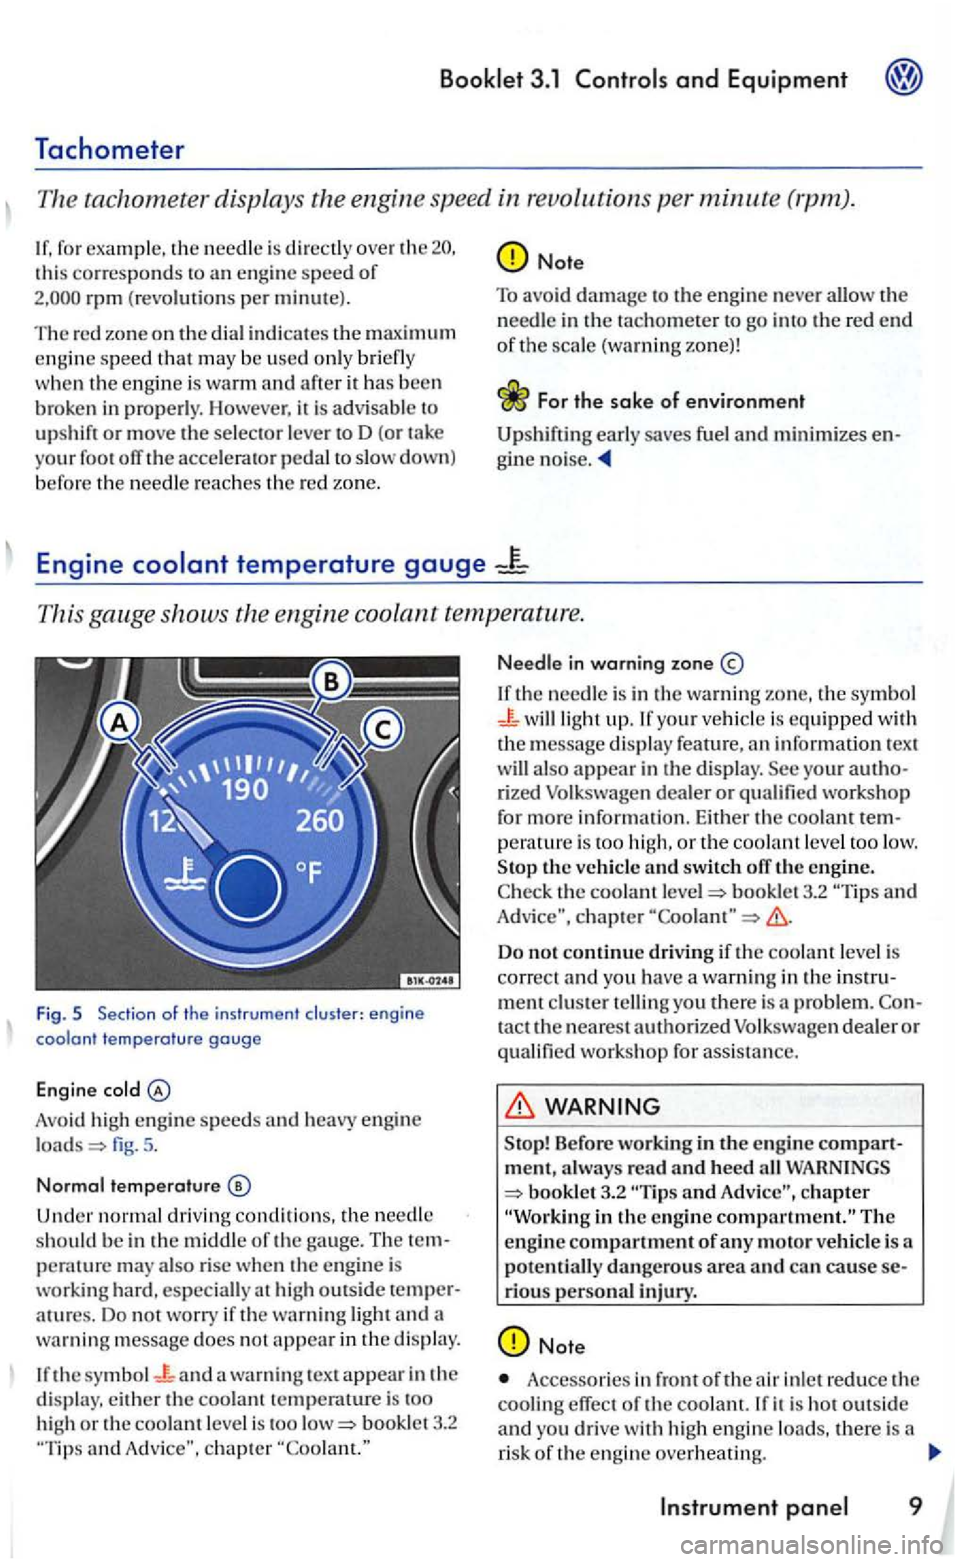
temperature gauge
This ga ug e shows th e e ng ine coolant
Fig. 5 Section of the instr ument en g in e
coo lant tem perat ure gauge
Engin e cold
Avoid high en gin e s peeds and heavy en gin e
load s
Un de r n ormal drivin g conditio ns, the n ee dl e
s h o uld be in the mi dd le o f the gauge . The
atu res. Do not worry if th e warnin g light and wa rning m essa ge docs no t a ppea r i n the di spl ay.
bookle t 3.2 and
Needl e in warning zone
your ve hicle is equippe d with the m ess age dis p la y feature, an in formatio n t ext also a p pear in the d isplay. rized Volks wagen deale r o r qualified work sh op
for m ore info rm ation. Eith er the c ool an t perature is too hi gh, or th e coolant le ve l to o low. the vehicl e and switch off the engine. the coola n t booklet 3.2 and
Do not c ontinue dri ving if the c oola n t level is
correct a nd you have a warning i n the problem. tact the nearest authorized Volk swagen dea le r or qua lified workshop fo r assis ta nce.
WARNING
ment, alway s re a d and heed all bookle t3_2 and chapte r
rio us personal injury.
Note
Accesso ries in front of th e air inlet reduce the coolin g effect o f the coola nt. it is ho t outs ide and you drive with high eng in e loa ds, the re is a
r is k of t he eng in e ove rheating.
Page 324 of 444
Booklet 3.2 Tips and Advice
functional problem s or engine damage could be caused
Warning temperature
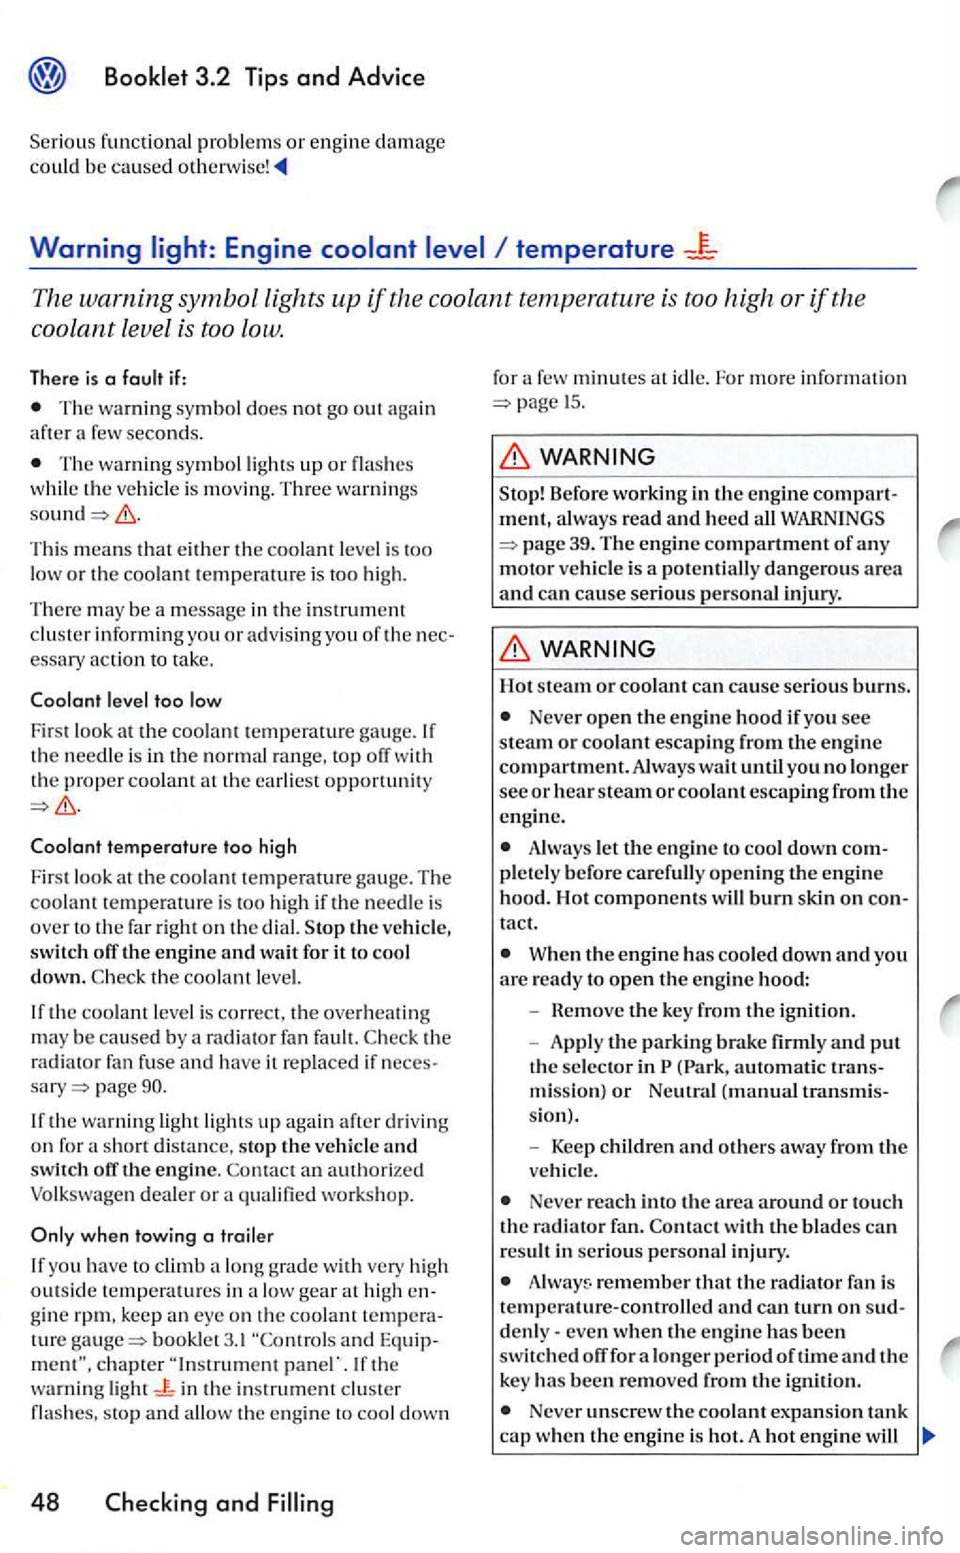
The warning symbol lights up if the coolant temperatur e is too high or if the
coolant level is too
Low.
Ther e is a fault if:
The wa rnin g symbol does not go out aga in afte r a few seconds.
The wa rnin g symbol light s up or flas hes whil e the vehicle is moving. Three warning s
This means th at eith er th e coolant leve l is too low or the coo lant temperature is too high.
Th ere may be a m essage in the i
nstrument
clu ste r inf orming you or advi sing you of th e
Coolant temperature too high
Fir st look at the coolan t tempe rature gau ge. The coolant temperature is too hi gh if th e need le is
o ver to th e fa r right on the dial. the vehicle,
switc h the engine wait for it to cool down. the coo lant level.
I f th e coo lant level is co rrect, th e over heating may be caused by a radia tor fan fault. the ra diator fan fuse and have it replaced if page
If th e wa rnin g light lights up again after driving
o n for short distan ce, stop the vehicle switch otT th e e ngine. an authorized Volkswagen dea le r or a qu alified worksh op.
when towing a trailer
If you have to c limb a lo ng g rad e w ith high temperatures in low gea r at high gin e ture booklet 3. 1 and If th e
w arning light in th e in st rument cluster flas hes, stop and a llo w the e ngine to coo l down
48 Checking and Filling
for minutes at idl e. For more inform ation 15.
alw ays read and heed all
Hot steam or coolant ca n cause seriou s burns.
Neve r open the engine hood if you see steam or coolant escaping from the engine compartment. Always wait until you no longe r see or hear steam or coolant escaping from the
e n gine.
Always let the engine to cool down pl ete ly before carefully opening the engin e hood. Hot components will burn tact.
When the engine has coo led down and you are ready to open the engine hood:
-
move the key f rom the ignitio n.
- Appl y
the parking brake firmly and put the selector in ( Park, automatic mission) or Neutral (manual
Never reach into the area around or tou ch
th e rad iator fan. with the blades ca n
re sult in serio us personal injury.
remembe r th at the radiator fan is temperature-controlled and can turn on
fo r a longer p eriod of tim e and the
key has been r emoved fro m the ig nition.
Never unscrew the coola nt expansion tank cap when the e ngin e is hot. A hot engine will
Page 325 of 444
Always protect face, hands and arms from hot escaping coolant or steam by covering the cap with a large, thick rag.
(contin ued)
Turn th e cap slow ly and very carefully in a
counter-clockwise direction while applying
light
down ward pressure on the top of th e cap.
Never spill antifreeze or coolant on the haust system or hot eng ine parts. Under some conditions, the ethyle n e glyco l in en gin e
coolant can catch fire.
Checking the
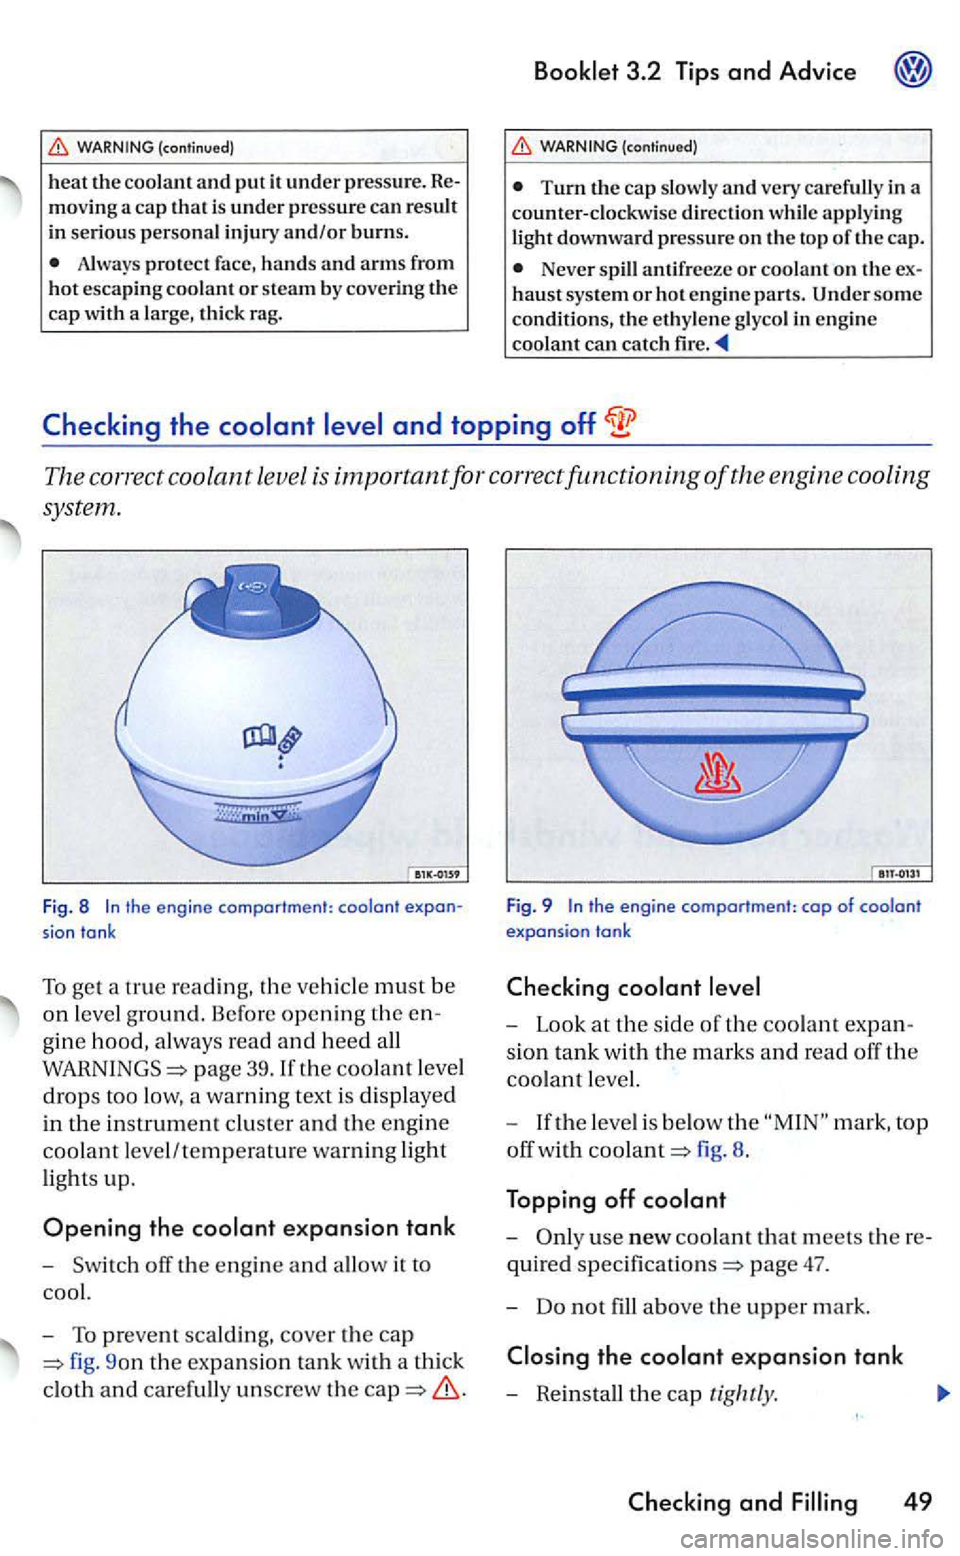
The correct coolant level is important for correct functioning of the engine cooling
system.
Fig. 8 t h e engin e compartment: coolant
sian tank
To get a true reading, the ve hicle must be
on l eve l ground. Before opening the
gine hood, always read and heed all
page 39.1f the coolant level
drops too low, a warning text is displayed
in the in strument cluster and the engine
coolant leve l/temperature warning ligh t
lights up.
Opening the expansion tank
- Switch
9on the expansio n tank with a thick
cloth
and carefully unsc rew the
Fig. 9 the engine compartment: cap of coolant expansion tank
- Look at the side or the coolant
sion tank w ith the marks and read off the
coolant level.
-
If the level is below the mark, top
off wi
th fig. 8.
Topping off
-
the
and
Page 326 of 444
booklet 3.3 ''Te chnical
page 47. Do not use a diffe rent
t y p e of additive if p lu s is not available. t his case use only wate r a nd bring the coolant concen trat ion back up correct level as soon a s poss ible by topping off wit h s pecified page 47 .
Alway s
mark. the
excessi ve coola nt will b e presse d out of cooling syste m when
Stop! Before working in the engine compartment, always read and heed all
W hen mixed w ith other incorrect additives co lo rofG 12 plus w ill ch a nge brown.
w ill res ult in engine damage!
has been engine coo l engine.
L arge coolan t lo sses are sig n of leaks in the cooling sys tem. Have th e cooling sys tem check ed
Do not add any type of leak sealant
t o your ve hicle's engine coolant. Adding radiator re pair fluid may adversely
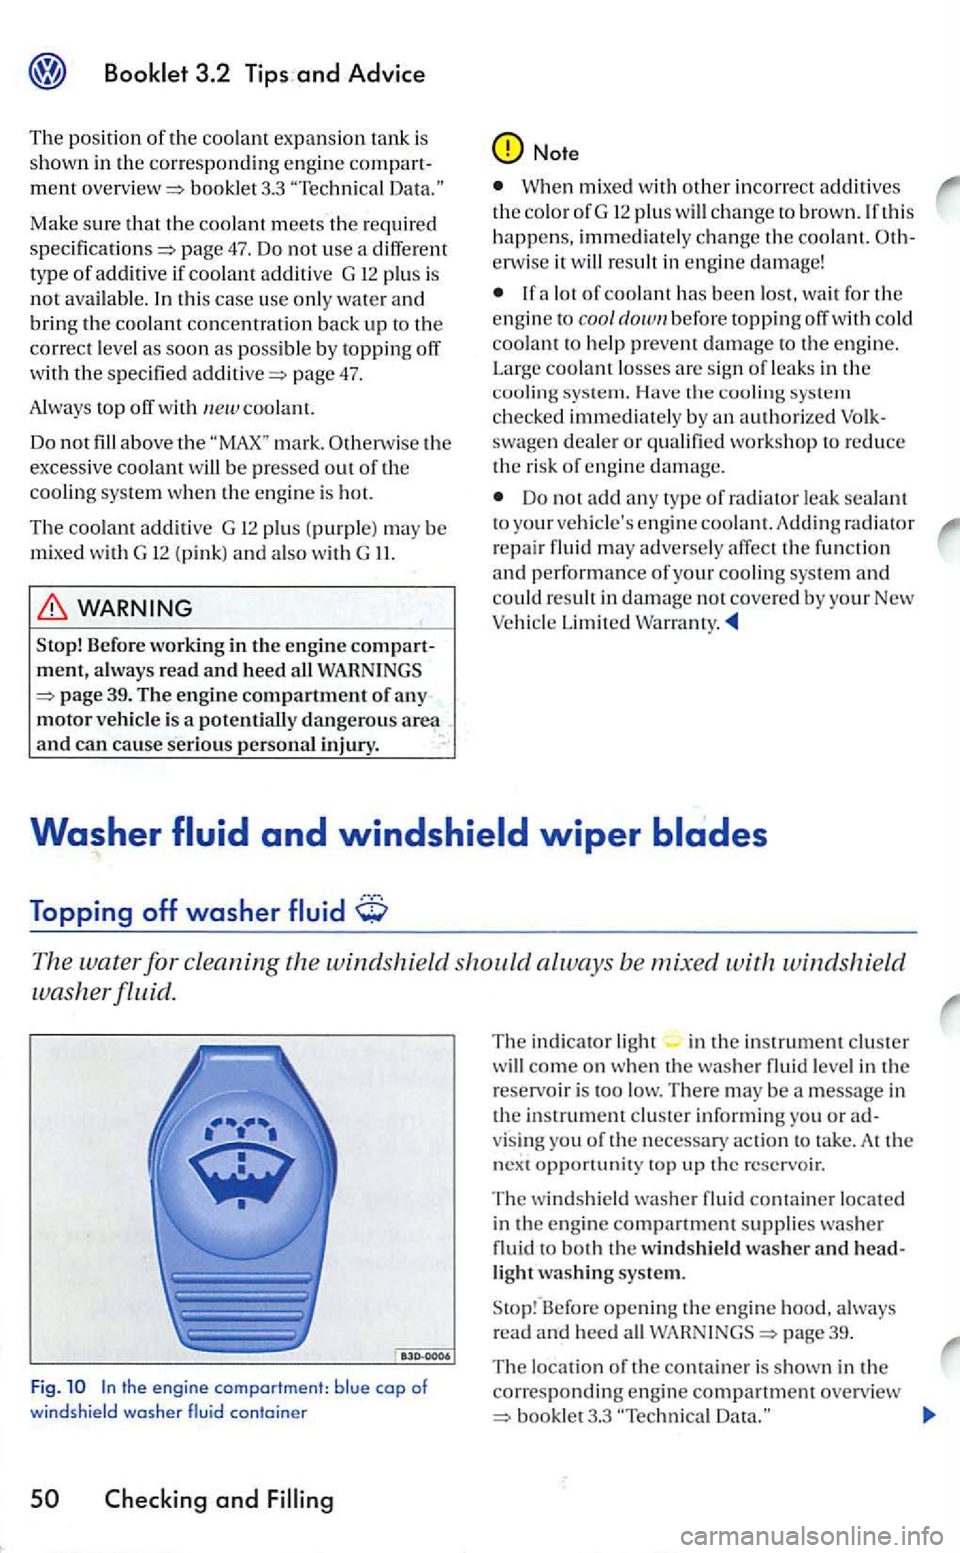
The water for cleaning th e windshield shou ld alway s be mixed with windshield
washer fluid.
Fig. the engine comportment: b lue cop of w indshie ld washer container
The in dicator ligh t in cluster come on w he n the was her fluid leve l in th e
r eservoir is
cluster informing you or a d
v is in g yo u of the next opportunity top up the reservo ir.
The wind shield washe r flu id locat ed
i n engin e compartment suppli es was he r fluid t o both windshield washer and hea d
li ght washing system.
Before opening the engine page 39.
T he loca
tion of th e conta iner is shown in th e
corresponding engine bookle t3.3 "Tec hnica l