Page 116 of 458
11 6
23P012c
To turn on the personal light, push the
switch. To turn it off, push the switch
again.
23p107
To turn on the luggage compartment
light, push the switch upwards. To turn
it off, push the switch downwards.
The light is located on the left side of the
luggage compartment.
Even if you push the switch upwards, the
light turns off automatically when you
close the back door.
23p125
For easy access to the key slot, the key
slot lights come on while the interior
light is on.
Personal lightsLuggage compartment light Key slot lights
Page 127 of 458
127
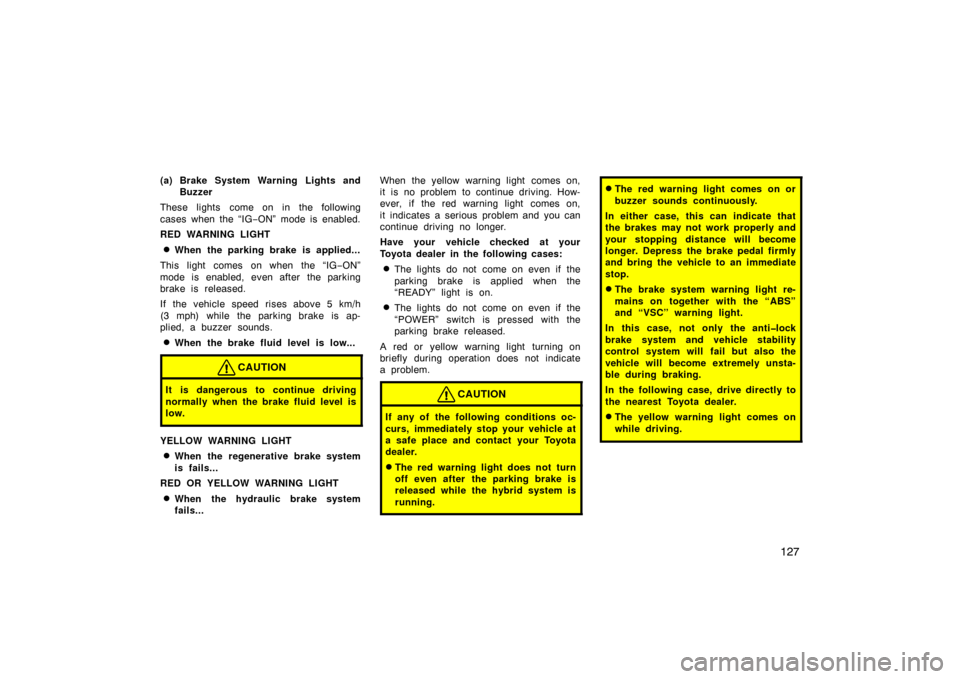
(a) Brake System Warning Lights andBuzzer
These lights come on in the following
cases when the “IG −ON” mode is enabled.
RED WARNING LIGHT
�When the parking brake is applied...
This light comes on when the “IG −ON”
mode is enabled, even after the parking
brake is released.
If the vehicle speed rises above 5 km/h
(3 mph) while the parking brake is ap-
plied, a buzzer sounds.
�When the brake fluid level is low...
CAUTION
It is dangerous to continue driving
normally when the brake fluid level is
low.
YELLOW WARNING LIGHT
�When the regenerative brake system
is fails...
RED OR YELLOW WARNING LIGHT
�When the hydraulic brake system
fails... When the yellow warning light comes on,
it is no problem to continue driving. How-
ever, if the red warning light comes on,
it indicates a serious problem and you can
continue driving no longer.
Have your vehicle checked at your
Toyota dealer in the following cases:
�The lights do not come on even if the
parking brake is applied when the
“READY” light is on.
�The lights do not come on even if the
“POWER” switch is pressed with the
parking brake released.
A red or yellow warning light turning on
briefly during operation does not indicate
a problem.
CAUTION
If any of the following conditions oc-
curs, immediately stop your vehicle at
a safe place and contact your Toyota
dealer.
�The red warning light does not turn
off even after the parking brake is
released while the hybrid system is
running.
�The red warning light comes on or
buzzer sounds continuously.
In either case, this can indicate that
the brakes may not work properly and
your stopping distance will become
longer. Depress the brake pedal firmly
and bring the vehicle to an immediate
stop.
�The brake system warning light re-
mains on together with the “ABS”
and “VSC” warning light.
In this case, not only the anti�lock
brake system and vehicle stability
control system will fail but also the
vehicle will become extremely unsta-
ble during braking.
In the following case, drive directly to
the nearest Toyota dealer.
�The yellow warning light comes on
while driving.
Page 133 of 458

133
CHECKING SERVICE REMINDER INDICA-
TORS (except the low fuel level indica-
tor light)1. Apply the parking brake.
2. Open one of the doors. The open door warning light should
come on.
3. Close the door. The open door warning light should go
off.
4. Press the “POWER” switch twice with- out pressing the brake pedal to select
the “IG −ON” mode. At this time, all the
bulbs are checked in self −diagnosis
mode.
All the service reminder indicators ex-
cept the open door warning light come
on. The yellow brake system, “ABS”
and “VSC” warning lights turn off after
the “READY” light comes on.
There may be the case that the yellow
brake system, “ABS” and “VSC” warning
lights stay on for about 60 seconds after
the hybrid system is started. It is normal
if they go out after a while.
If any service reminder indicator or warn-
ing buzzer does not function as described
above, have it checked by your Toyota
dealer as soon as possible.
24p117
Ty p e 1
24p006e
Ty p e 2
If an error occurs in the system, the
warning message and icon appear.
For details on the warning display and
how to remedy the system, see the de-
scription on the following pages.
—Multi�information display
Page 139 of 458
139
�Do not pull out the key ring when
removing the key out of the key
slot.
Should you find anything unusual,
contact your Toyota dealer as soon as
possible.
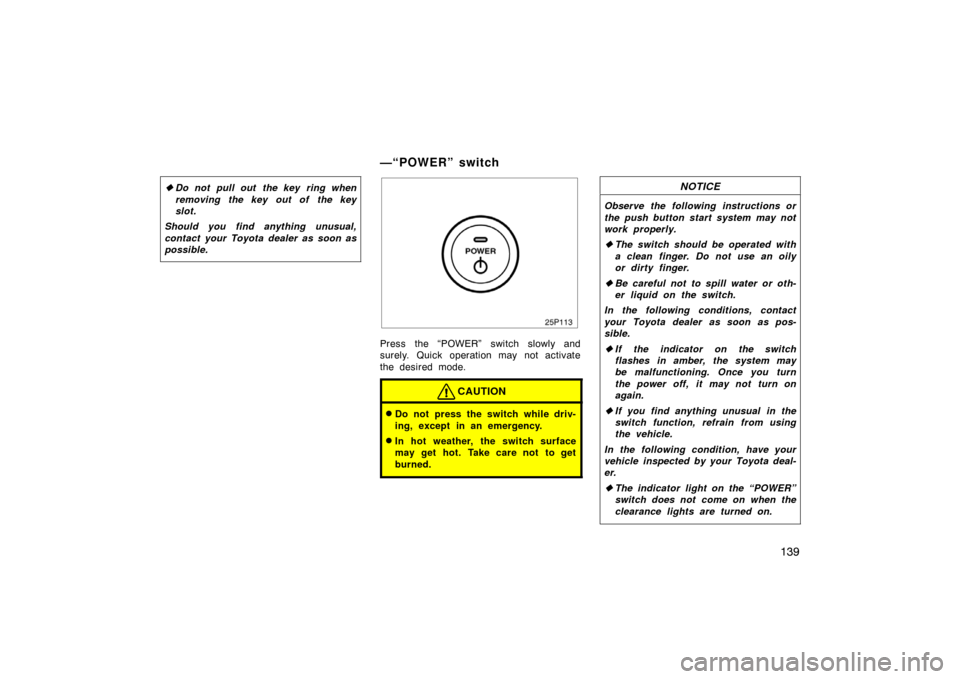
25p113
Press the “POWER” switch slowly and
surely. Quick operation may not activate
the desired mode.
CAUTION
�Do not press the switch while driv-
ing, except in an emergency.
�In hot weather, the switch surface
may get hot. Take care not to get
burned.
NOTICE
Observe the following instructions or
the push button start system may not
work properly.
� The switch should be operated with
a clean finger. Do not use an oily
or dirty finger.
� Be careful not to spill water or oth-
er liquid on the switch.
In the following conditions, contact
your Toyota dealer as soon as pos-
sible.
� If the indicator on the switch
flashes in amber, the system may
be malfunctioning. Once you turn
the power off, it may not turn on
again.
� If you find anything unusual in the
switch function, refrain from using
the vehicle.
In the following condition, have your
vehicle inspected by your Toyota deal-
er.
� The indicator light on the “POWER”
switch does not come on when the
clearance lights are turned on.
—“POWER” switch
Page 304 of 458
304
Clock
28p009d
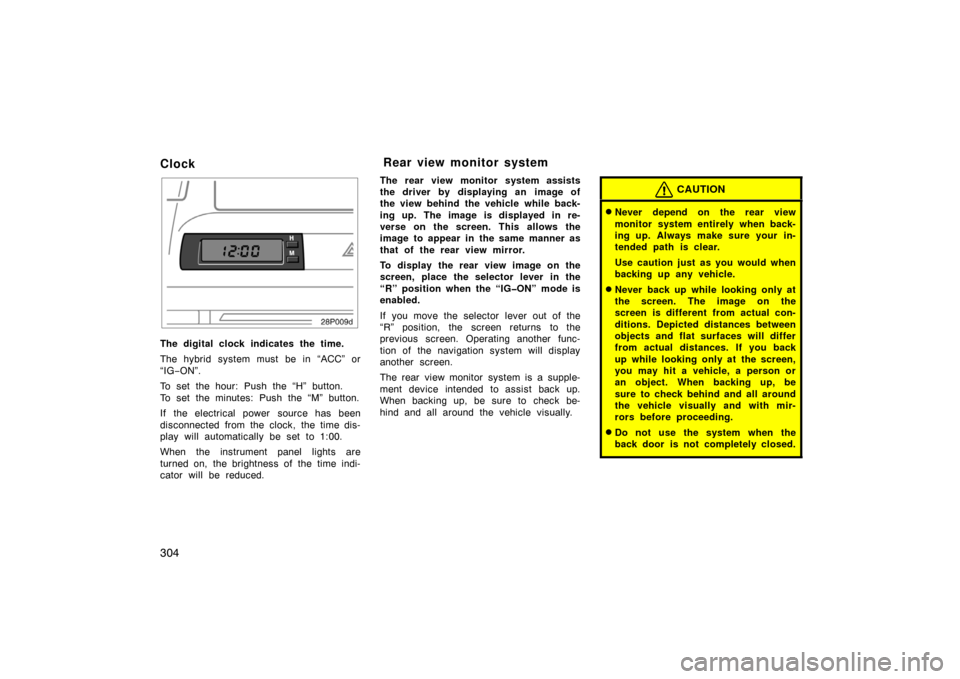
The digital clock indicates the time.
The hybrid system must be in “ACC” or
“IG−ON”.
To set the hour: Push the “H” button.
To set the minutes: Push the “M” button.
If the electrical power source has been
disconnected from the clock, the time dis-
play will automatically be set to 1:00.
When the instrument panel lights are
turned on, the brightness of the time indi-
cator will be reduced. The rear view monitor system assists
the driver by displaying an image of
the view behind the vehicle while back-
ing up. The image is displayed in re-
verse on the screen. This allows the
image to appear in the same manner as
that of the rear view mirror.
To display the rear view image on the
screen, place the selector lever in the
“R” position when the “IG�ON” mode is
enabled.
If you move the selector lever out of the
“R” position, the screen returns to the
previous screen. Operating another func-
tion of the navigation system will display
another screen.
The rear view monitor system is a supple-
ment device intended to assist back up.
When backing up, be sure to check be-
hind and all around the vehicle visually.
CAUTION
�Never depend on the rear view
monitor system entirely when back-
ing up. Always make sure your in-
tended path is clear.
Use caution just as you would when
backing up any vehicle.
�Never back up while looking only at
the screen. The image on the
screen is different from actual con-
ditions. Depicted distances between
objects and flat surfaces will differ
from actual distances. If you back
up while looking only at the screen,
you may hit a vehicle, a person or
an object. When backing up, be
sure to check behind and all around
the vehicle visually and with mir-
rors before proceeding.
�Do not use the system when the
back door is not completely closed.
Rear view monitor system
Page 306 of 458
306
AREA DISPLAYED ON SCREEN
Image is displayed approximately level
on screen.
�The area detected by the camera is
limited. Objects which are close to
either corner of the bumper or under
the bumper cannot be seen on the
screen.
�The area displayed on the screen
may vary according to vehicle orien-
tation or road conditions.
28P135
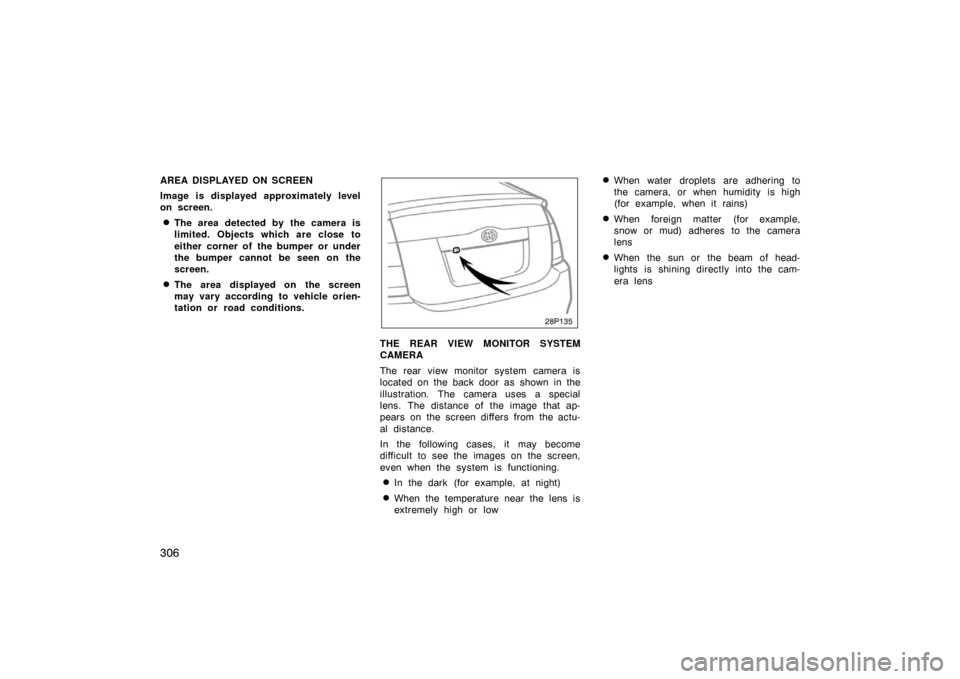
THE REAR VIEW MONITOR SYSTEM
CAMERA
The rear view monitor system camera is
located on the back door as shown in the
illustration. The camera uses a special
lens. The distance of the image that ap-
pears on the screen differs from the actu-
al distance.
In the following cases, it may become
difficult to see the images on the screen,
even when the system is functioning.
�In the dark (for example, at night)
�When the temperature near the lens is
extremely high or low
�When water droplets are adhering to
the camera, or when humidity is high
(for example, when it rains)
�When foreign matter (for example,
snow or mud) adheres to the camera
lens
�When the sun or the beam of head-
lights is shining directly into the cam-
era lens
Page 308 of 458
308
Rear console box
To use the rear console box, open as
shown in the illustration.
CAUTION
When opening the rear console box,
take due care not to catch your fin-
gers.
28p002a
Upper glove box
28p105
Lower glove box
To open the glove boxes, push each
button.
The inside of the upper glove box is sepa-
rated by the partition. When storing a lon-
ger object, remove the partition.
With the instrument panel lights on, the
lower glove box light will come on when
the lower glove box is open.
CAUTION
To reduce the chance of injury in
case of an accident or a sudden stop,
always keep the glove box doors
closed while driving.
Glove boxes
Page 350 of 458
350
1. Check the area around the vehicle be-fore entering it.
2. Adjust seat position, seatback angle, head restraint height and steering
wheel angle.
3. Adjust the inside and outside rear view mirrors.
4. Lock all doors.
5. Fasten seat belts.
When you get in the vehicle, check
whether the “READY” light is on or
not.
CAUTION
Your vehicle does not produce any
noise or vibration when the vehicle is
ready to be driven with the “READY”
light on. Move your foot carefully
from the brake pedal to the accelera-
tion pedal when driving.
1. Apply the parking brake firmly.
2. Turn off unnecessary lights and acces- sories.
3. Depress the brake pedal and hold it to the floor until driving off.
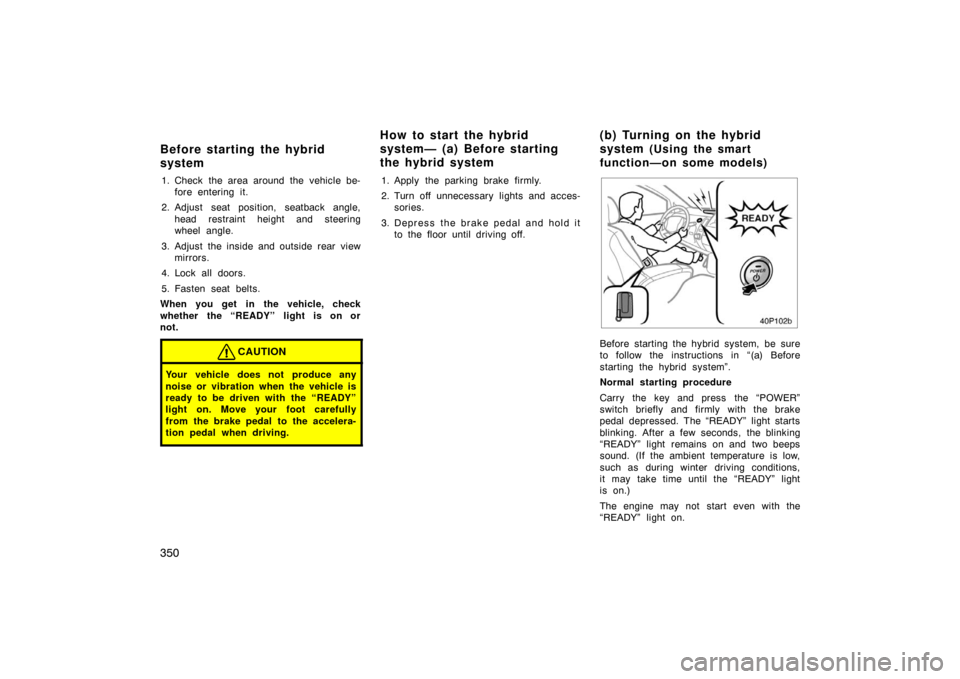
40p102b
Before starting the hybrid system, be sure
to follow the instructions in “(a) Before
starting the hybrid system”.
Normal starting procedure
Carry the key and press the “POWER”
switch briefly and firmly with the brake
pedal depressed. The “READY” light starts
blinking. After a few seconds, the blinking
“READY” light remains on and two beeps
sound. (If the ambient temperature is low,
such as during winter driving conditions,
it may take time until the “READY” light
is on.)
The engine may not start even with the
“READY” light on.
Before starting the hybrid
system How to start the hybrid
system— (a) Before starting
the hybrid system
( b ) Tu rn in g on th e hyb rid
system (Using the smart
function—on some models)