Page 126 of 177
11 6
Depending on the position of the headlight
switch, the screen changes to either day
mode or night mode.
To display the screen in the day mode even
with the headlight switch on, touch the
“DAY
MODE”
switch on the adjustment screen for
brightness and contrast control.
However, if the instrument panel light control
switch is turned fully to the right, mode switch-
ing cannot be done. It remains in the day
mode. In this case,
“DAY MODE” is not
shown on the screen.
If the screen is set in the day mode with the
headlight switch turned on, this condition is
memorized in the system even with the en-
gine turned off.
Clock adjustment
The clock can be adjusted manually or by
using signals from the GPS. “Daylight
Saving Time” setting or your desired time
setting is available.
Push the “” button to display the “Ad-
just Clock” screen.
Page 128 of 177
11 8
�To set daylight saving time
“Daylight Saving Time”: You can set or can-
cel the daylight saving time.
To set the daylight saving time touch the
“ON” switch, to cancel it touch the “OFF”
switch.
Page 133 of 177
123
AM (See page 125)
FM (See page 125)
TAPE (See page 128)
CD (See page 130)
DVD (See page 135)
The switches for radio, cassette tape and
disc player operation are displayed on the
function switch display screen when the
audio control mode is selected. Touch
them lightly and directly on the screen.
The selected switch is highlighted in green or
yellow.
INFORMATION
�If the system does not respond to a
touch of a switch, move your finger
away from the screen and then touch
it again.
�You cannot operate dimmed
switches.
�Wipe off fingerprints on the surface of
the display using a glass cleaning
cloth.
Page 136 of 177
126
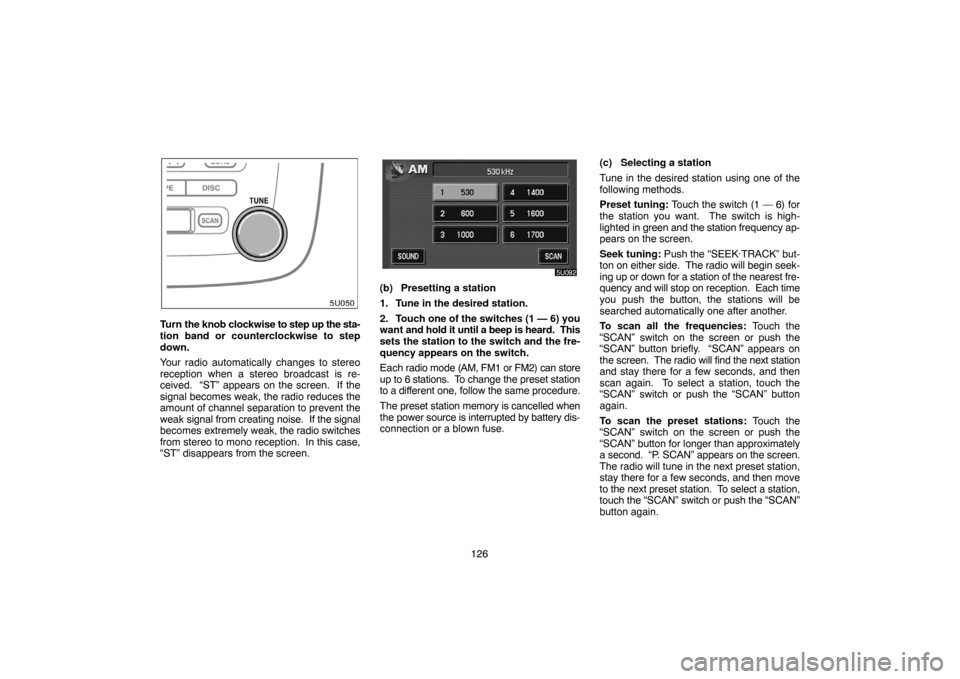
Turn the knob clockwise to step up the sta-
tion band or counterclockwise to step
down.
Your radio automatically changes to stereo
reception when a stereo broadcast is re-
ceived. “ST” appears on the screen. If the
signal becomes weak, the radio reduces the
amount of channel separation to prevent the
weak signal from creating noise. If the signal
becomes extremely weak, the radio switches
from stereo to mono reception. In this case,
“ST” disappears from the screen.
(b) Presetting a station
1. Tune in the desired station.
2. Touch one of the switches (1 — 6) you
want and hold it until a beep is heard. This
sets the station to the switch and the fre-
quency appears on the switch.
Each radio mode (AM, FM1 or FM2) can store
up to 6 stations. To change the preset station
to a different one, follow the same procedure.
The preset station memory is cancelled when
the power source is interrupted by battery dis-
connection or a blown fuse.(c) Selecting a station
Tune in the desired station using one of the
following methods.
Preset tuning: Touch the switch (1 — 6) for
the station you want. The switch is high-
lighted in green and the station frequency ap-
pears on the screen.
Seek tuning: Push the “SEEK·TRACK” but-
ton on either side. The radio will begin seek-
ing up or down for a station of the nearest fre-
quency and will stop on reception. Each time
you push the button, the stations will be
searched automatically one after another.
To scan all the frequencies: Touch the
“SCAN” switch on the screen or push the
“SCAN” button briefly. “SCAN” appears on
the screen. The radio will find the next station
and stay there for a few seconds, and then
scan again. To select a station, touch the
“SCAN” switch or push the “SCAN” button
again.
To scan the preset stations: Touch the
“SCAN” switch on the screen or push the
“SCAN” button for longer than approximately
a second. “P. SCAN” appears on the screen.
The radio will tune in the next preset station,
stay there for a few seconds, and then move
to the next preset station. To select a station,
touch the “SCAN” switch or push the “SCAN”
button again.
Page 138 of 177
128
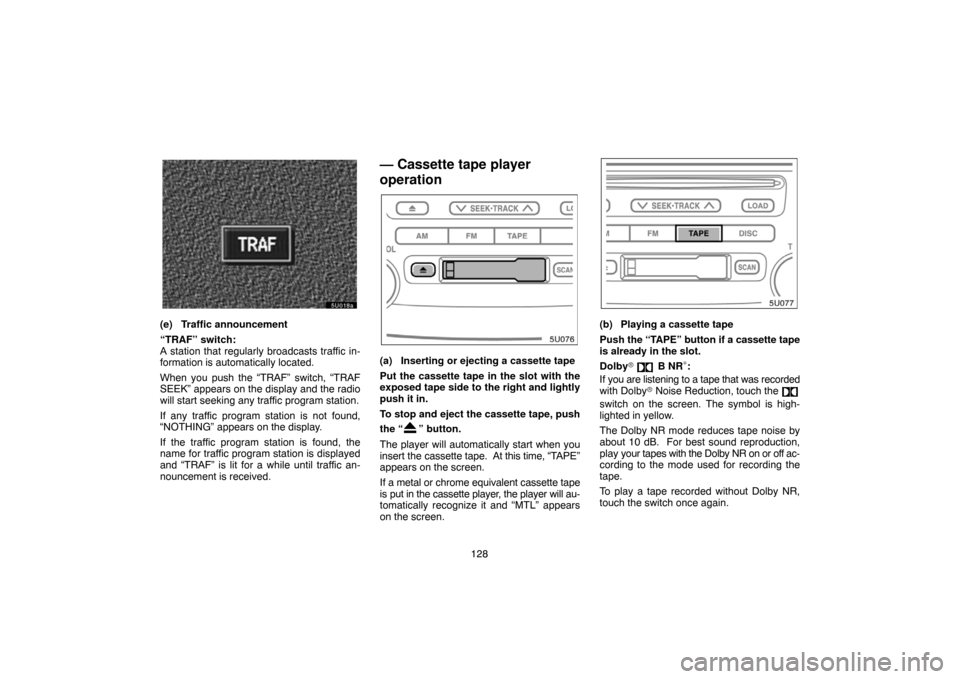
(e) Traffic announcement
“TRAF” switch:
A station that regularly broadcasts traffic in-
formation is automatically located.
When you push the “TRAF” switch, “TRAF
SEEK” appears on the display and the radio
will start seeking any traffic program station.
If any traffic program station is not found,
“NOTHING” appears on the display.
If the traffic program station is found, the
name for traffic program station is displayed
and “TRAF” is lit for a while until traffic an-
nouncement is received.
— Cassette tape player
operation
(a) Inserting or ejecting a cassette tape
Put the cassette tape in the slot with the
exposed tape side to the right and lightly
push it in.
To stop and eject the cassette tape, push
the “
” button.
The player will automatically start when you
insert the cassette tape. At this time, “TAPE”
appears on the screen.
If a metal or chrome equivalent cassette tape
is put in the cassette player, the player will au-
tomatically recognize it and “MTL” appears
on the screen.
(b) Playing a cassette tape
Push the “TAPE” button if a cassette tape
is already in the slot.
Dolby
B NR∗:
If you are listening to a tape that was recorded
with Dolby Noise Reduction, touch the
switch on the screen. The symbol is high-
lighted in yellow.
The Dolby NR mode reduces tape noise by
about 10 dB. For best sound reproduction,
play your tapes with the Dolby NR on or off ac-
cording to the mode used for recording the
tape.
To play a tape recorded without Dolby NR,
touch the switch once again.
Page 141 of 177
131 2. The red indicators of the slot start
blinking. After the red indicators change
to green, insert only one disc. If you need
to insert the next disc, repeat the same
procedure to insert another disc.
After insertion, the set disc is automatically
loaded.
If the label faces down, the disc cannot be
played. In this case, “CD CHECK” appears
on the display.
�Setting all the discs:
1. Push the “LOAD” button until you hear
a beep.
2. The red indicators of the slot start
blinking. After the red indicators change
to green, insert only one disc. After the
disc is loaded, the red indicators of the
slot start blinking again. It changes to
green, you can insert the next disc. Re-
peat this procedure until you insert all the
disc.
If you do not insert the discs within 15 sec-
onds after pushing the “LOAD” button, the op-
eration will be canceled automatically.
NOTICE
Do not insert one disc stacked on top of
another one or feed them in continuous-
ly, to prevent discs from getting stuck in
the player.
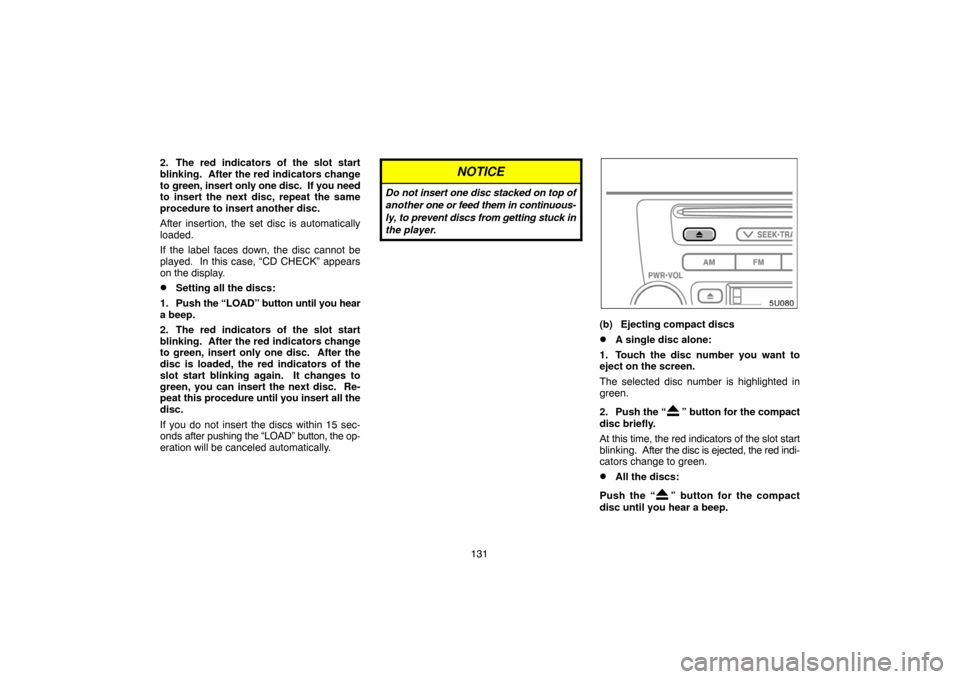
(b) Ejecting compact discs
�A single disc alone:
1. Touch the disc number you want to
eject on the screen.
The selected disc number is highlighted in
green.
2. Push the “
” button for the compact
disc briefly.
At this time, the red indicators of the slot start
blinking. After the disc is ejected, the red indi-
cators change to green.
�All the discs:
Push the “
” button for the compact
disc until you hear a beep.
Page 142 of 177
132
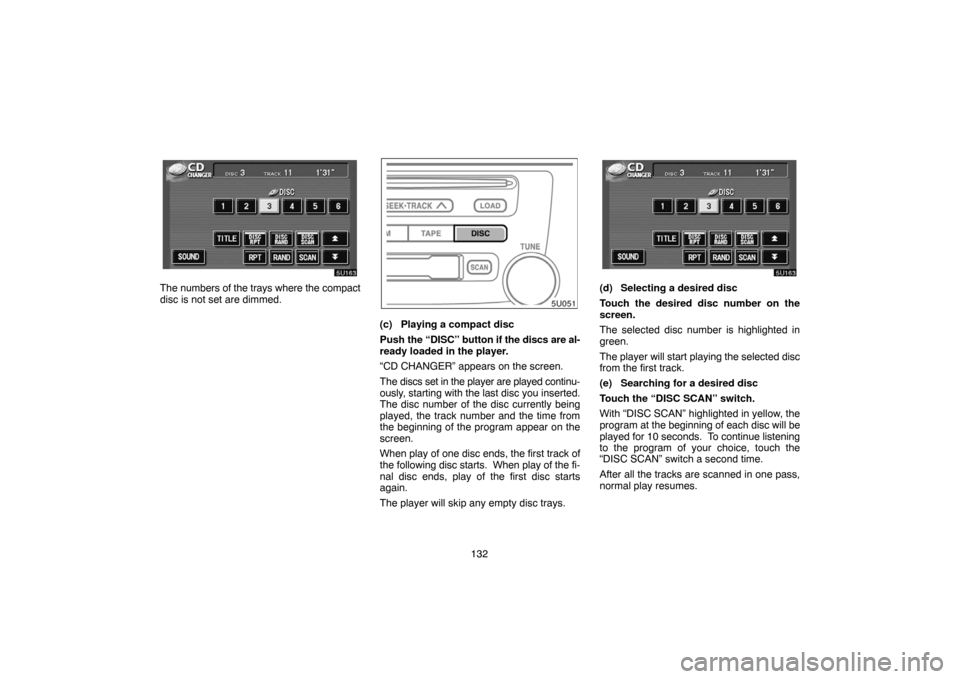
The numbers of the trays where the compact
disc is not set are dimmed.
(c) Playing a compact disc
Push the “DISC” button if the discs are al-
ready loaded in the player.
“CD CHANGER” appears on the screen.
The discs set in the player are played continu-
ously, starting with the last disc you inserted.
The disc number of the disc currently being
played, the track number and the time from
the beginning of the program appear on the
screen.
When play of one disc ends, the first track of
the following disc starts. When play of the fi-
nal disc ends, play of the first disc starts
again.
The player will skip any empty disc trays.
(d) Selecting a desired disc
Touch the desired disc number on the
screen.
The selected disc number is highlighted in
green.
The player will start playing the selected disc
from the first track.
(e) Searching for a desired disc
Touch the “DISC SCAN” switch.
With “DISC SCAN” highlighted in yellow, the
program at the beginning of each disc will be
played for 10 seconds. To continue listening
to the program of your choice, touch the
“DISC SCAN” switch a second time.
After all the tracks are scanned in one pass,
normal play resumes.
Page 143 of 177
133
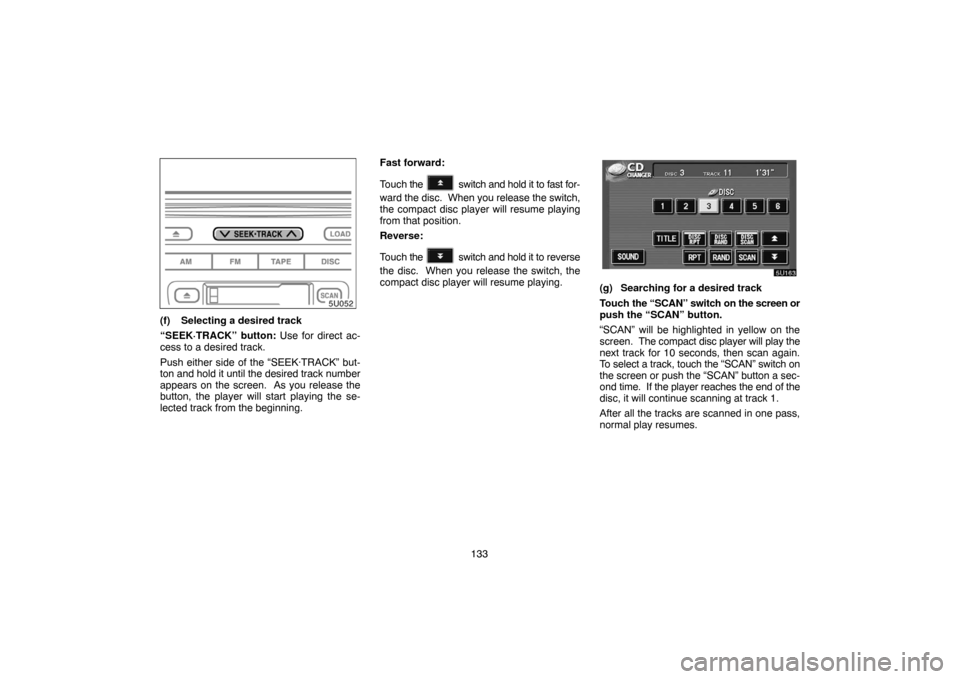
(f) Selecting a desired track
“SEEK·TRACK” button: Use for direct ac-
cess to a desired track.
Push either side of the “SEEK·TRACK” but-
ton and hold it until the desired track number
appears on the screen. As you release the
button, the player will start playing the se-
lected track from the beginning.Fast forward:
Touch the
switch and hold it to fast for-
ward the disc. When you release the switch,
the compact disc player will resume playing
from that position.
Reverse:
Touch the
switch and hold it to reverse
the disc. When you release the switch, the
compact disc player will resume playing.
(g) Searching for a desired track
Touch the “SCAN” switch on the screen or
push the “SCAN” button.
“SCAN” will be highlighted in yellow on the
screen. The compact disc player will play the
next track for 10 seconds, then scan again.
To select a track, touch the “SCAN” switch on
the screen or push the “SCAN” button a sec-
ond time. If the player reaches the end of the
disc, it will continue scanning at track 1.
After all the tracks are scanned in one pass,
normal play resumes.