2007 SUZUKI GRAND VITARA blink
[x] Cancel search: blinkPage 82 of 211
Downloaded from www.Manualslib.com manuals search engine 4-20 INSTRUMENT PANEL
66J21-03E
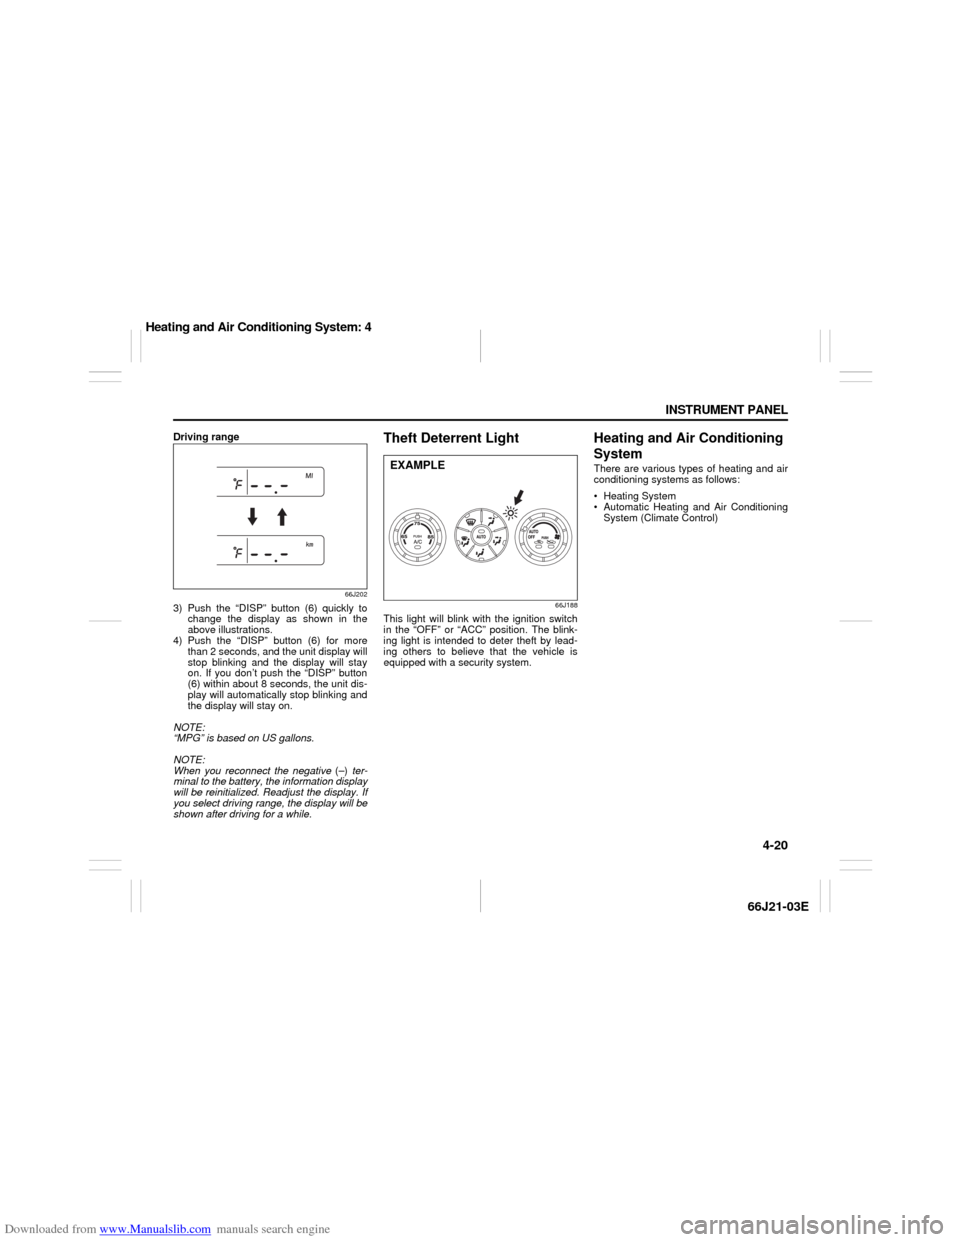
Driving range
66J202
3) Push the “DISP” button (6) quickly to
change the display as shown in the
above illustrations.
4) Push the “DISP” button (6) for more
than 2 seconds, and the unit display will
stop blinking and the display will stay
on. If you don’t push the “DISP” button
(6) within about 8 seconds, the unit dis-
play will automatically stop blinking and
the display will stay on.
NOTE:
“MPG” is based on US gallons.
NOTE:
When you reconnect the negative (–) ter-
minal to the battery, the information display
will be reinitialized. Readjust the display. If
you select driving range, the display will be
shown after driving for a while.
Theft Deterrent Light
66J188
This light will blink with the ignition switch
in the “OFF” or “ACC” position. The blink-
ing light is intended to deter theft by lead-
ing others to believe that the vehicle is
equipped with a security system.
Heating and Air Conditioning
SystemThere are various types of heating and air
conditioning systems as follows:
Heating System
Automatic Heating and Air Conditioning
System (Climate Control)
EXAMPLE
Heating and Air Conditioning System: 4
Page 84 of 211

Downloaded from www.Manualslib.com manuals search engine 4-22 INSTRUMENT PANEL
66J21-03E
Side outlet
63J045
When “Open”, air comes out from the side
outlets regardless of the air flow selector
position.
Heating SystemDescription of Controls
64J067
Temperature selector (1)
This is used to select the temperature by
turning the selector.
Blower speed selector/Air intake selec-
tor (2)
This is used to turn on the blower and to
select blower speed by turning the selec-
tor.
Also, this is used to select the following
modes by pushing the selector.
64J134
RECIRCULATED AIR
When this mode is selected, the indicator
light (a) will come on, outside air is shut out
and inside air is recirculated. This mode is
suitable when driving through dusty or pol-
luted air such as in a tunnel, or when
attempting to quickly cool down the inte-
rior.
FRESH AIR
When this mode is selected, the indicator
light (b) will come on and outside air is
used.
“FRESH AIR” and “RECIRCULATED AIR”
are switched alternately each time the air
intake selector is pushed.
NOTE:
If the recirculation indicator light (a) blinks,
there is a problem in the heating system.
You should have the system inspected by
an authorized SUZUKI dealer.
NOTE:
If you select “RECIRCULATED AIR” for an
extended period of time, the air in the vehi-
cle can become contaminated. Therefore,
(2)
(1)
(3)
(a) (b)
Heating and Air Conditioning System: 4
Page 88 of 211
Downloaded from www.Manualslib.com manuals search engine 4-26 INSTRUMENT PANEL
66J21-03E
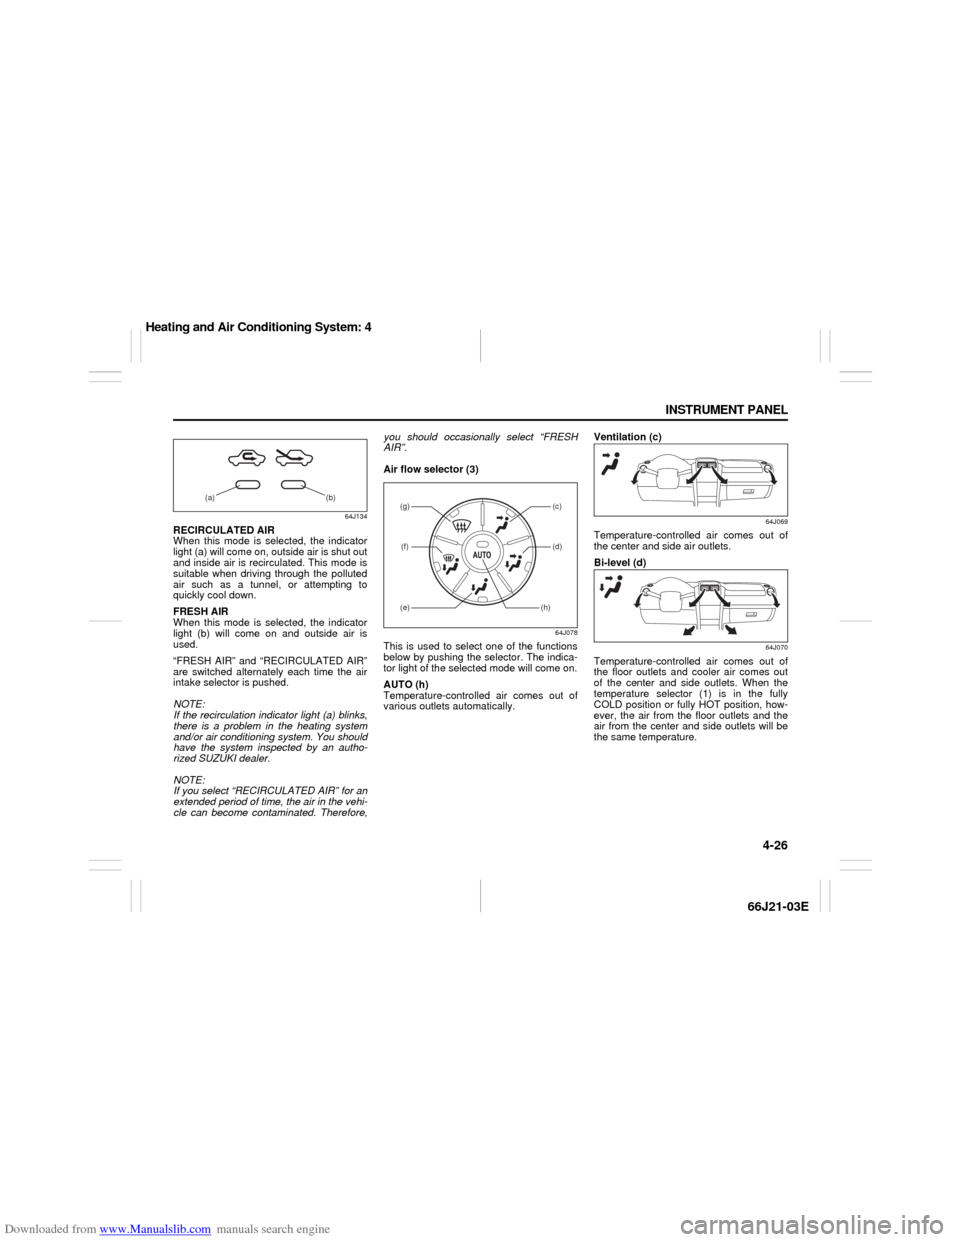
64J134
RECIRCULATED AIR
When this mode is selected, the indicator
light (a) will come on, outside air is shut out
and inside air is recirculated. This mode is
suitable when driving through the polluted
air such as a tunnel, or attempting to
quickly cool down.
FRESH AIR
When this mode is selected, the indicator
light (b) will come on and outside air is
used.
“FRESH AIR” and “RECIRCULATED AIR”
are switched alternately each time the air
intake selector is pushed.
NOTE:
If the recirculation indicator light (a) blinks,
there is a problem in the heating system
and/or air conditioning system. You should
have the system inspected by an autho-
rized SUZUKI dealer.
NOTE:
If you select “RECIRCULATED AIR” for an
extended period of time, the air in the vehi-
cle can become contaminated. Therefore,you should occasionally select “FRESH
AIR”.
Air flow selector (3)
64J078
This is used to select one of the functions
below by pushing the selector. The indica-
tor light of the selected mode will come on.
AUTO (h)
Temperature-controlled air comes out of
various outlets automatically.Ventilation (c)
64J069
Temperature-controlled air comes out of
the center and side air outlets.
Bi-level (d)
64J070
Temperature-controlled air comes out of
the floor outlets and cooler air comes out
of the center and side outlets. When the
temperature selector (1) is in the fully
COLD position or fully HOT position, how-
ever, the air from the floor outlets and the
air from the center and side outlets will be
the same temperature.
(a) (b)
(g)(f)
(c)(d)
(e)
(h)
Heating and Air Conditioning System: 4
Page 102 of 211
Downloaded from www.Manualslib.com manuals search engine 4-40 INSTRUMENT PANEL
66J21-03E
NOTE:
About Single CDs (8 cm CDs)
Since the unit is not compatible with a
single CD, do not load it into the unit.
Keep in mind the fact that a single CD
cannot be played even using a single
CD adaptor for the unit.
When a single CD is loaded into the unit
accidentally, it will be ejected immedi-
ately. Please be sure to remove it.
If you forcefully try to push it into the unit
without removing it, the CD cannot be
ejected. This will result in a damage to
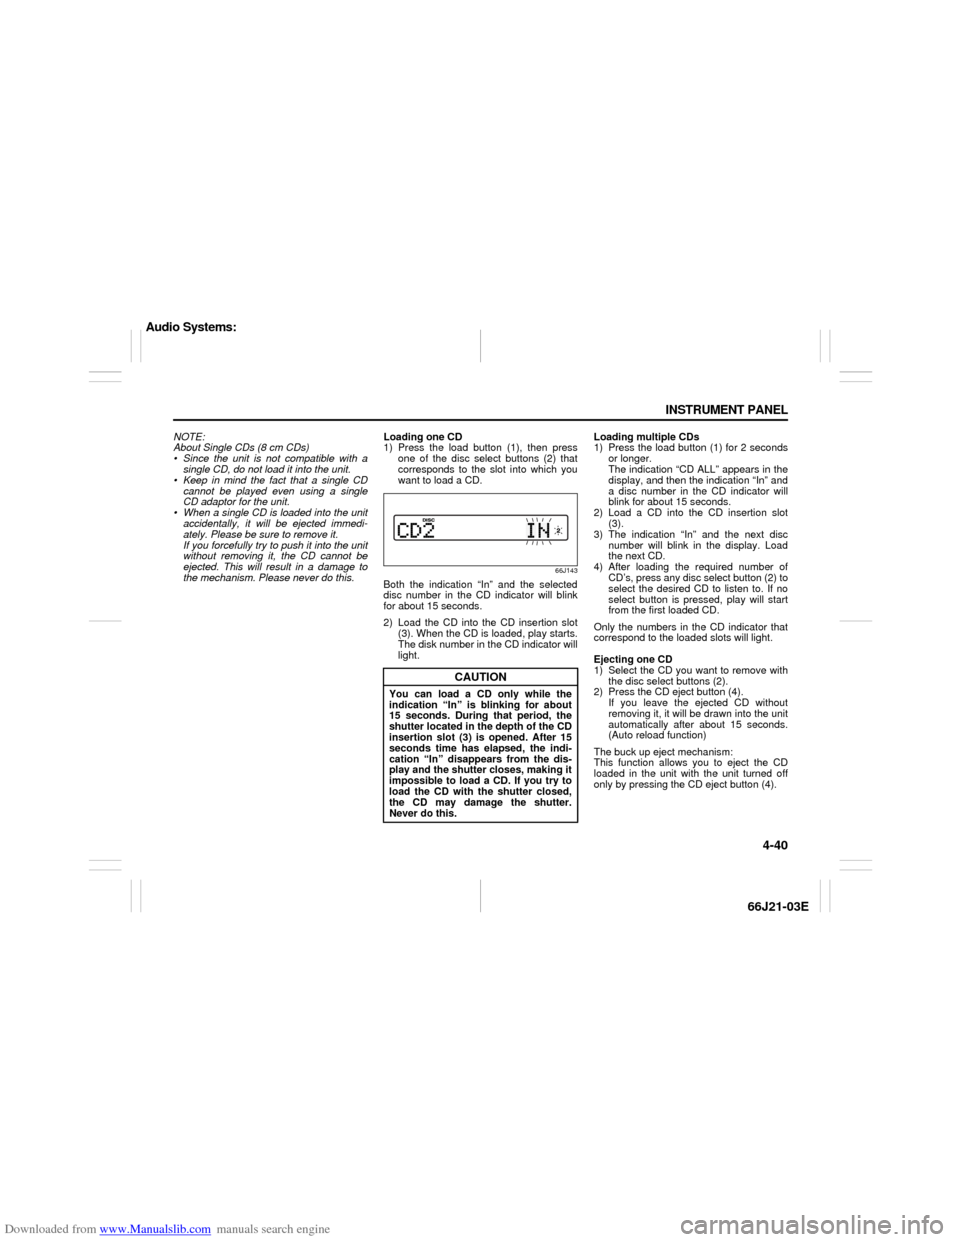
the mechanism. Please never do this.Loading one CD
1) Press the load button (1), then press
one of the disc select buttons (2) that
corresponds to the slot into which you
want to load a CD.
66J143
Both the indication “In” and the selected
disc number in the CD indicator will blink
for about 15 seconds.
2) Load the CD into the CD insertion slot
(3). When the CD is loaded, play starts.
The disk number in the CD indicator will
light.Loading multiple CDs
1) Press the load button (1) for 2 seconds
or longer.
The indication “CD ALL” appears in the
display, and then the indication “In” and
a disc number in the CD indicator will
blink for about 15 seconds.
2) Load a CD into the CD insertion slot
(3).
3) The indication “In” and the next disc
number will blink in the display. Load
the next CD.
4) After loading the required number of
CD’s, press any disc select button (2) to
select the desired CD to listen to. If no
select button is pressed, play will start
from the first loaded CD.
Only the numbers in the CD indicator that
correspond to the loaded slots will light.
Ejecting one CD
1) Select the CD you want to remove with
the disc select buttons (2).
2) Press the CD eject button (4).
If you leave the ejected CD without
removing it, it will be drawn into the unit
automatically after about 15 seconds.
(Auto reload function)
The buck up eject mechanism:
This function allows you to eject the CD
loaded in the unit with the unit turned off
only by pressing the CD eject button (4).
CAUTION
You can load a CD only while the
indication “In” is blinking for about
15 seconds. During that period, the
shutter located in the depth of the CD
insertion slot (3) is opened. After 15
seconds time has elapsed, the indi-
cation “In” disappears from the dis-
play and the shutter closes, making it
impossible to load a CD. If you try to
load the CD with the shutter closed,
the CD may damage the shutter.
Never do this.
Audio Systems:
Page 114 of 211
Downloaded from www.Manualslib.com manuals search engine 4-52 INSTRUMENT PANEL
66J21-03E
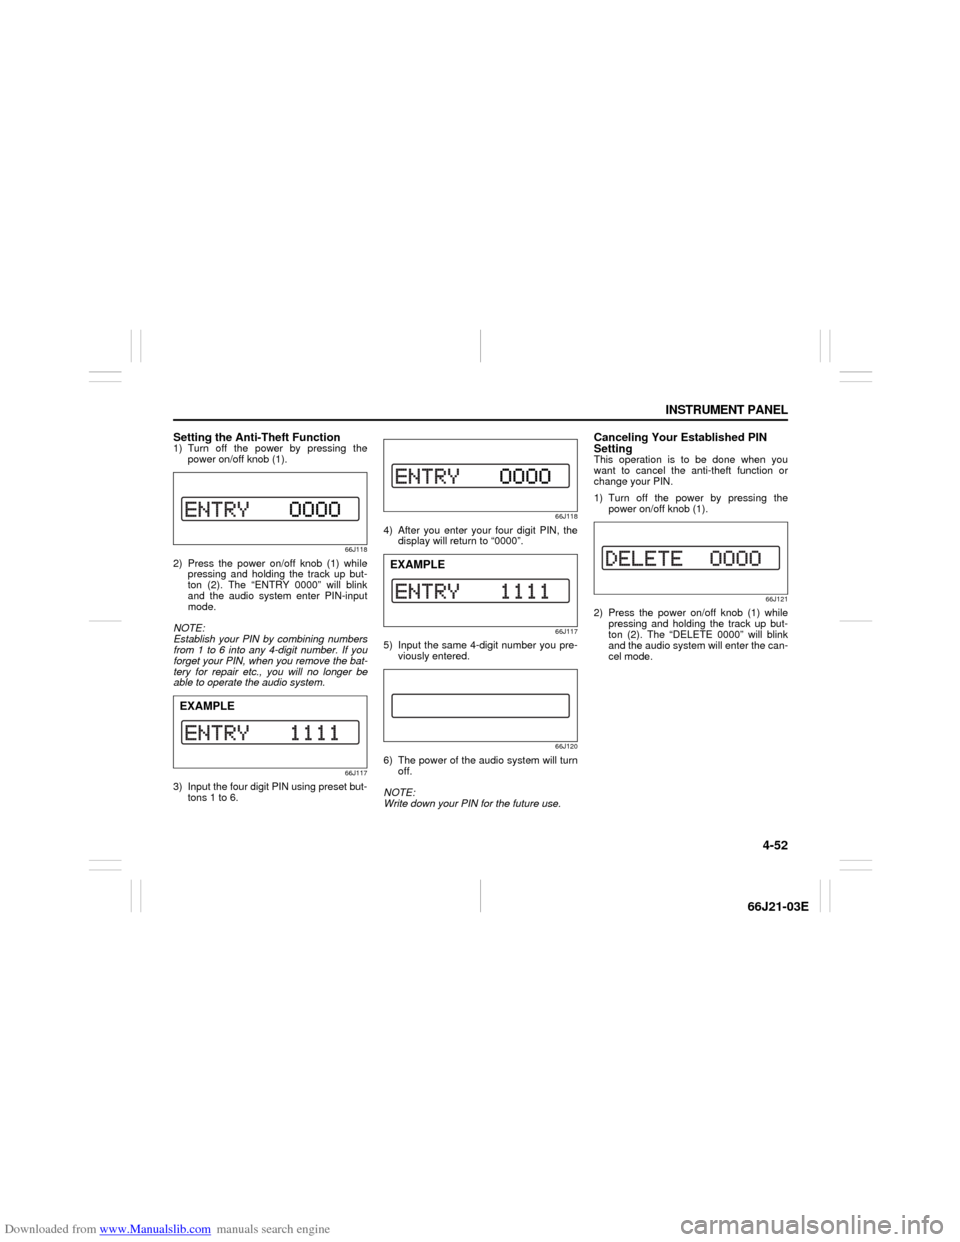
Setting the Anti-Theft Function1) Turn off the power by pressing the
power on/off knob (1).
66J118
2) Press the power on/off knob (1) while
pressing and holding the track up but-
ton (2). The “ENTRY 0000” will blink
and the audio system enter PIN-input
mode.
NOTE:
Establish your PIN by combining numbers
from 1 to 6 into any 4-digit number. If you
forget your PIN, when you remove the bat-
tery for repair etc., you will no longer be
able to operate the audio system.
66J117
3) Input the four digit PIN using preset but-
tons 1 to 6.
66J118
4) After you enter your four digit PIN, the
display will return to “0000”.
66J117
5) Input the same 4-digit number you pre-
viously entered.
66J120
6) The power of the audio system will turn
off.
NOTE:
Write down your PIN for the future use.
Canceling Your Established PIN
SettingThis operation is to be done when you
want to cancel the anti-theft function or
change your PIN.
1) Turn off the power by pressing the
power on/off knob (1).
66J121
2) Press the power on/off knob (1) while
pressing and holding the track up but-
ton (2). The “DELETE 0000” will blink
and the audio system will enter the can-
cel mode.
EXAMPLE
EXAMPLE
Page 134 of 211
Downloaded from www.Manualslib.com manuals search engine 8-8 VEHICLE LOADING AND TOWING
66J21-03E
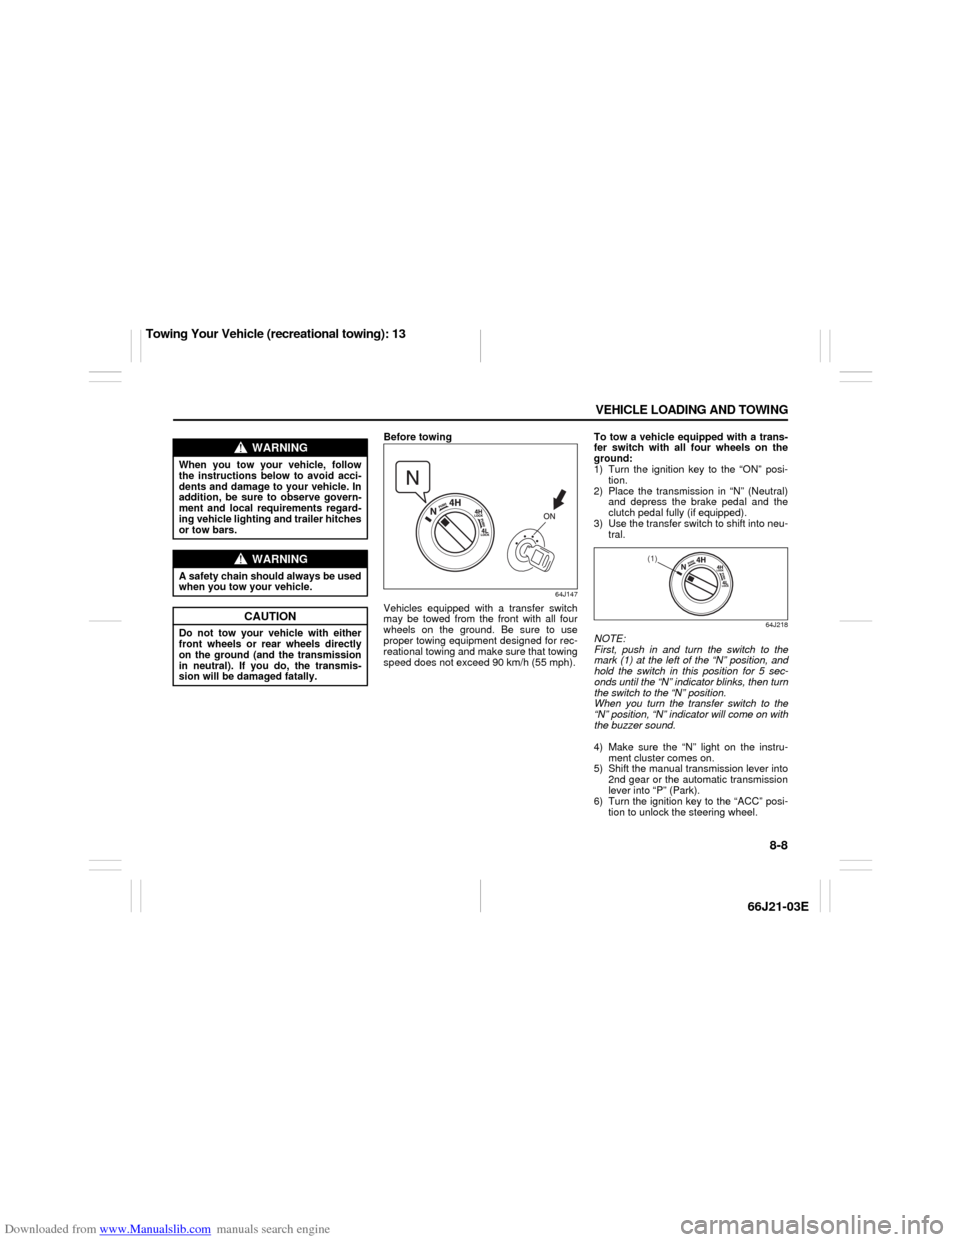
Before towing
64J147
Vehicles equipped with a transfer switch
may be towed from the front with all four
wheels on the ground. Be sure to use
proper towing equipment designed for rec-
reational towing and make sure that towing
speed does not exceed 90 km/h (55 mph).To tow a vehicle equipped with a trans-
fer switch with all four wheels on the
ground:
1) Turn the ignition key to the “ON” posi-
tion.
2) Place the transmission in “N” (Neutral)
and depress the brake pedal and the
clutch pedal fully (if equipped).
3) Use the transfer switch to shift into neu-
tral.
64J218
NOTE:
First, push in and turn the switch to the
mark (1) at the left of the “N” position, and
hold the switch in this position for 5 sec-
onds until the “N” indicator blinks, then turn
the switch to the “N” position.
When you turn the transfer switch to the
“N” position, “N” indicator will come on with
the buzzer sound.
4) Make sure the “N” light on the instru-
ment cluster comes on.
5) Shift the manual transmission lever into
2nd gear or the automatic transmission
lever into “P” (Park).
6) Turn the ignition key to the “ACC” posi-
tion to unlock the steering wheel.
WARNING
When you tow your vehicle, follow
the instructions below to avoid acci-
dents and damage to your vehicle. In
addition, be sure to observe govern-
ment and local requirements regard-
ing vehicle lighting and trailer hitches
or tow bars.
WARNING
A safety chain should always be used
when you tow your vehicle.
CAUTION
Do not tow your vehicle with either
front wheels or rear wheels directly
on the ground (and the transmission
in neutral). If you do, the transmis-
sion will be damaged fatally.
(1)
Towing Your Vehicle (recreational towing): 13