2007 SUZUKI FORENZA wiper
[x] Cancel search: wiperPage 81 of 225
3-5 INSTRUMENT PANEL
85Z03-03E
As you signal a turn or a lane change, if
the arrows flash rapidly, a signal bulb may
be burned out and other drivers won’t see
your turn signal.
If a bulb is burned out, replace it to help
avoid an accident. If the arrows don’t go on
at all when you signal a turn, check for
burned-out bulbs and then check the fuse.
See “Fuses and Circuit Breakers” in sec-
tion 5.
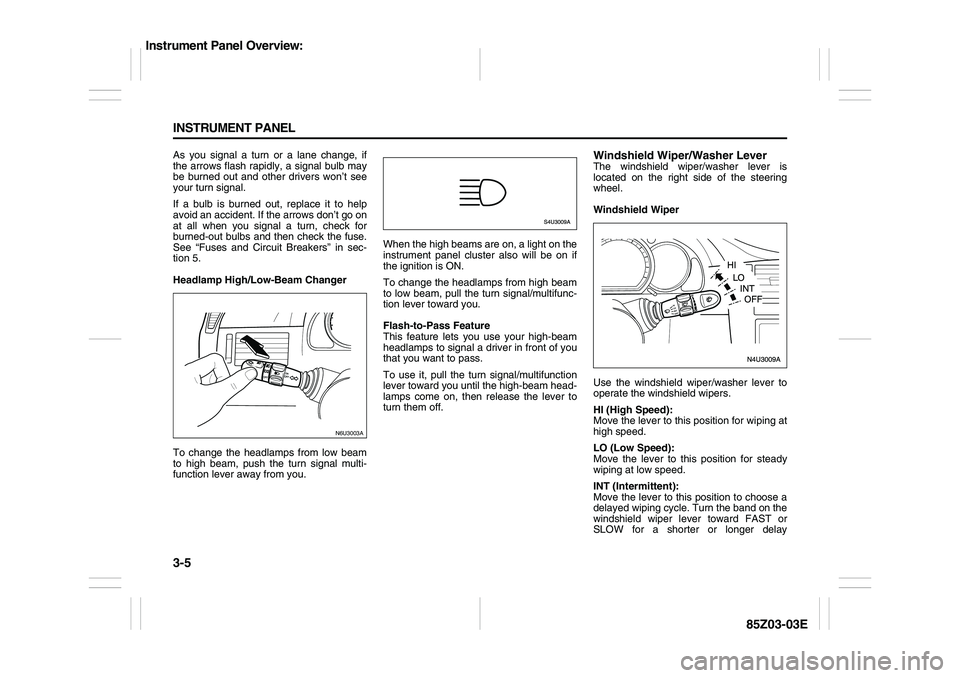
Headlamp High/Low-Beam Changer
To change the headlamps from low beam
to high beam, push the turn signal multi-
function lever away from you.When the high beams are on, a light on the
instrument panel cluster also will be on if
the ignition is ON.
To change the headlamps from high beam
to low beam, pull the turn signal/multifunc-
tion lever toward you.
Flash-to-Pass Feature
This feature lets you use your high-beam
headlamps to signal a driver in front of you
that you want to pass.
To use it, pull the turn signal/multifunction
lever toward you until the high-beam head-
lamps come on, then release the lever to
turn them off.
Windshield Wiper/Washer LeverThe windshield wiper/washer lever is
located on the right side of the steering
wheel.
Windshield Wiper
Use the windshield wiper/washer lever to
operate the windshield wipers.
HI (High Speed):
Move the lever to this position for wiping at
high speed.
LO (Low Speed):
Move the lever to this position for steady
wiping at low speed.
INT (Intermittent):
Move the lever to this position to choose a
delayed wiping cycle. Turn the band on the
windshield wiper lever toward FAST or
SLOW for a shorter or longer delay
N6U3003A
Instrument Panel Overview:
Page 82 of 225
3-6 INSTRUMENT PANEL
85Z03-03E
between wipes. The wiper speed can only
be adjusted when the lever is in the INT
position.
OFF (Off):
Move the lever to this position to turn off
the windshield wipers.
Misting Function
Move the lever toward, but not completely
in, the INT position for a single wiping
cycle. Hold it there until the windshield wip-
ers start; then let go. The windshield wip-
ers will stop after one cycle. If you want
more wipes, hold the lever toward the INT
position longer.
Remember that damaged wiper blades
may prevent you from seeing well enough
to drive safely. To avoid damage, be sure to
clear ice and snow from the wiper blades
before using them.
If they’re frozen to the windshield, carefully
loosen or thaw them. If your blades do
become damaged, get new blades or
blade inserts.
Heavy snow or ice can overload the wiper
motor. A circuit breaker will stop the motor
until it cools. Clear away snow or ice to
prevent an overload.Windshield Washer
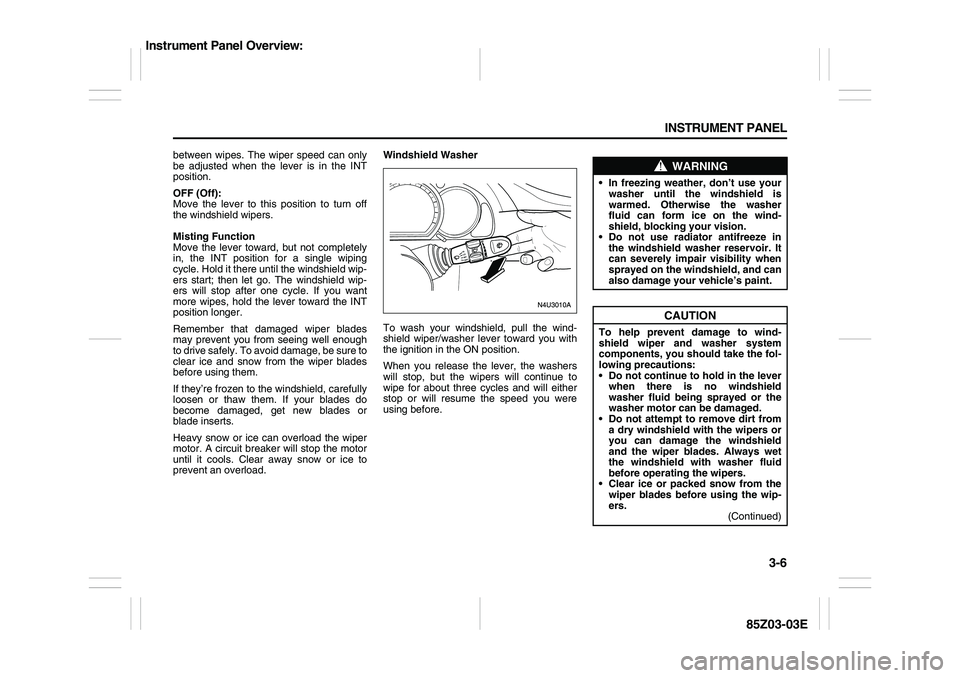
To wash your windshield, pull the wind-
shield wiper/washer lever toward you with
the ignition in the ON position.
When you release the lever, the washers
will stop, but the wipers will continue to
wipe for about three cycles and will either
stop or will resume the speed you were
using before.
WARNING
In freezing weather, don’t use your
washer until the windshield is
warmed. Otherwise the washer
fluid can form ice on the wind-
shield, blocking your vision.
Do not use radiator antifreeze in
the windshield washer reservoir. It
can severely impair visibility when
sprayed on the windshield, and can
also damage your vehicle’s paint.
CAUTION
To help prevent damage to wind-
shield wiper and washer system
components, you should take the fol-
lowing precautions:
Do not continue to hold in the lever
when there is no windshield
washer fluid being sprayed or the
washer motor can be damaged.
Do not attempt to remove dirt from
a dry windshield with the wipers or
you can damage the windshield
and the wiper blades. Always wet
the windshield with washer fluid
before operating the wipers.
Clear ice or packed snow from the
wiper blades before using the wip-
ers.
(Continued)
Instrument Panel Overview:
Page 83 of 225
3-7 INSTRUMENT PANEL
85Z03-03E
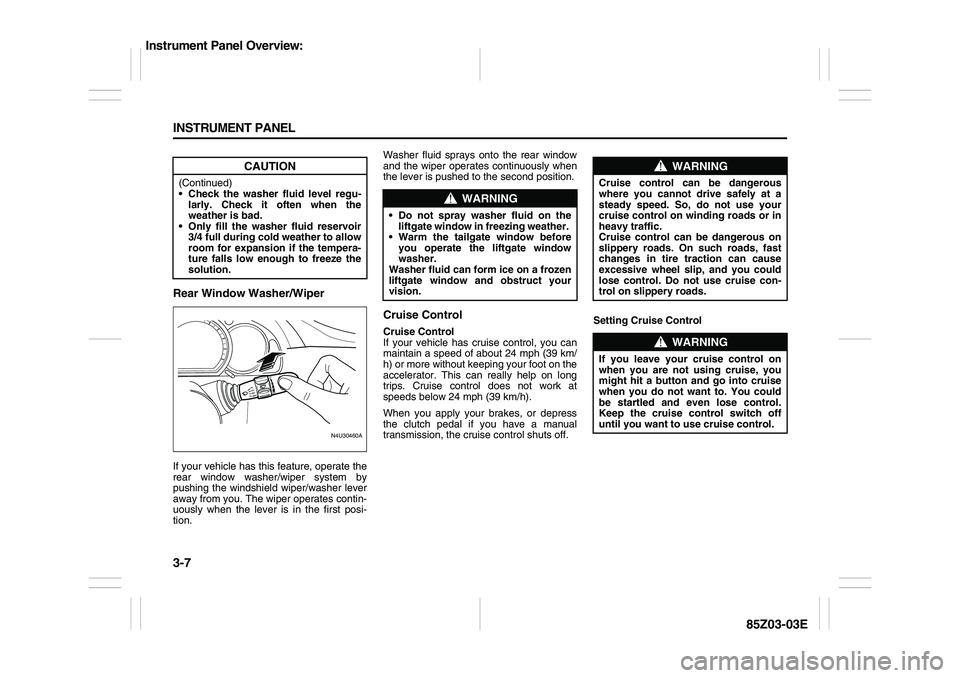
Rear Window Washer/WiperIf your vehicle has this feature, operate the
rear window washer/wiper system by
pushing the windshield wiper/washer lever
away from you. The wiper operates contin-
uously when the lever is in the first posi-
tion.Washer fluid sprays onto the rear window
and the wiper operates continuously when
the lever is pushed to the second position.
Cruise ControlCruise Control
If your vehicle has cruise control, you can
maintain a speed of about 24 mph (39 km/
h) or more without keeping your foot on the
accelerator. This can really help on long
trips. Cruise control does not work at
speeds below 24 mph (39 km/h).
When you apply your brakes, or depress
the clutch pedal if you have a manual
transmission, the cruise control shuts off.Setting Cruise Control
CAUTION
(Continued)
Check the washer fluid level regu-
larly. Check it often when the
weather is bad.
Only fill the washer fluid reservoir
3/4 full during cold weather to allow
room for expansion if the tempera-
ture falls low enough to freeze the
solution.
N4U30460A
FASTSLOW
WARNING
Do not spray washer fluid on the
liftgate window in freezing weather.
Warm the tailgate window before
you operate the liftgate window
washer.
Washer fluid can form ice on a frozen
liftgate window and obstruct your
vision.
WARNING
Cruise control can be dangerous
where you cannot drive safely at a
steady speed. So, do not use your
cruise control on winding roads or in
heavy traffic.
Cruise control can be dangerous on
slippery roads. On such roads, fast
changes in tire traction can cause
excessive wheel slip, and you could
lose control. Do not use cruise con-
trol on slippery roads.
WARNING
If you leave your cruise control on
when you are not using cruise, you
might hit a button and go into cruise
when you do not want to. You could
be startled and even lose control.
Keep the cruise control switch off
until you want to use cruise control.
Instrument Panel Overview:
Page 133 of 225
4-9 DRIVING YOUR VEHICLE
85Z03-03E
Remember that your headlamps light up
far less of a roadway when you are in a
turn or curve. Keep your eyes moving; that
way, it’s easier to pick out dimly lighted
objects. Just as your headlamps should be
checked regularly for proper aim, so
should your eyes be examined regularly.
Some drivers suffer from night blindness –
the inability to see in dim light – and aren’t
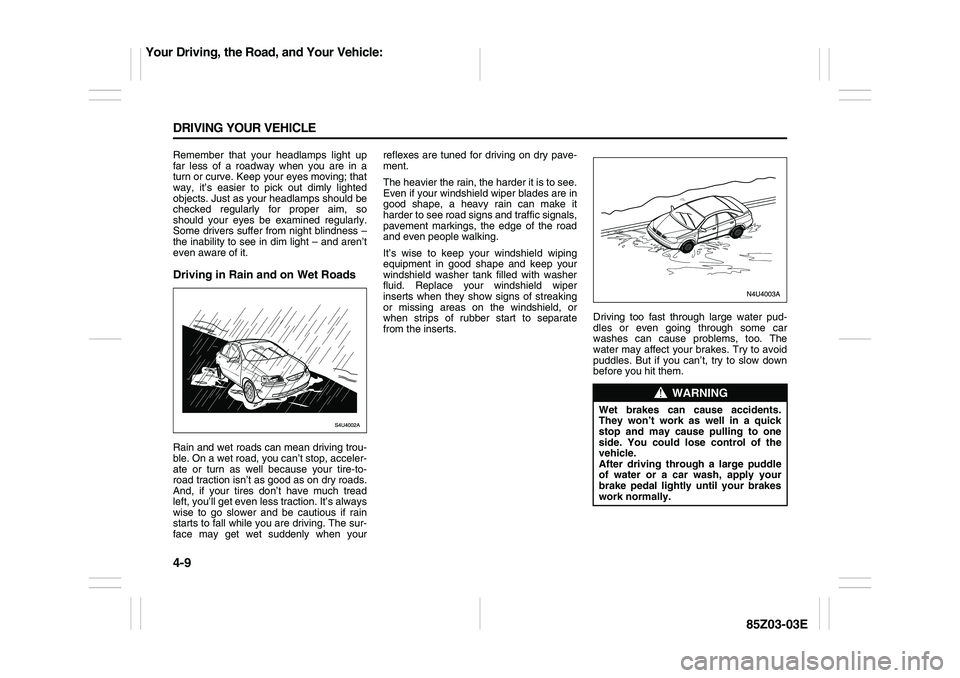
even aware of it.Driving in Rain and on Wet RoadsRain and wet roads can mean driving trou-
ble. On a wet road, you can’t stop, acceler-
ate or turn as well because your tire-to-
road traction isn’t as good as on dry roads.
And, if your tires don’t have much tread
left, you’ll get even less traction. It’s always
wise to go slower and be cautious if rain
starts to fall while you are driving. The sur-
face may get wet suddenly when yourreflexes are tuned for driving on dry pave-
ment.
The heavier the rain, the harder it is to see.
Even if your windshield wiper blades are in
good shape, a heavy rain can make it
harder to see road signs and traffic signals,
pavement markings, the edge of the road
and even people walking.
It’s wise to keep your windshield wiping
equipment in good shape and keep your
windshield washer tank filled with washer
fluid. Replace your windshield wiper
inserts when they show signs of streaking
or missing areas on the windshield, or
when strips of rubber start to separate
from the inserts.Driving too fast through large water pud-
dles or even going through some car
washes can cause problems, too. The
water may affect your brakes. Try to avoid
puddles. But if you can’t, try to slow down
before you hit them.
WARNING
Wet brakes can cause accidents.
They won’t work as well in a quick
stop and may cause pulling to one
side. You could lose control of the
vehicle.
After driving through a large puddle
of water or a car wash, apply your
brake pedal lightly until your brakes
work normally.
Your Driving, the Road, and Your Vehicle:
Page 135 of 225

4-11 DRIVING YOUR VEHICLE
85Z03-03E
time and energy. See the next part,
“Freeway Driving.”
Treat a green light as a warning signal. A
traffic light is there because the corner is
busy enough to need it. When a light
turns green, and just before you start to
move, check both ways for vehicles that
have not cleared the intersection or may
be running the red light.Freeway DrivingMile for mile, freeways (also called thru-
ways, parkways, expressways, turnpikes or
superhighways) are the safest of all roads.
But they have their own special rules.
The most important advice on freeway
driving is: Keep up with traffic and keep to
the right. Drive at the same speed most of
the other drivers are driving. Too-fast or
too-slow driving breaks a smooth trafficflow. Treat the left lane on a freeway as a
passing lane.
At the entrance, there is usually a ramp
that leads to the freeway. If you have a
clear view of the freeway as you drive
along the entrance ramp, you should begin
to check traffic. Try to determine where you
expect to blend with the flow. Try to merge
into the gap at close to the prevailing
speed. Switch on your turn signal, check
your mirrors and glance over your shoulder
as often as necessary. Try to blend
smoothly with the traffic flow.
Once you are on the freeway, adjust your
speed to the posted limit or to the prevail-
ing rate if it’s slower. Stay in the right lane
unless you want to pass.
Before changing lanes, check your mirrors.
Then use your turn signal.
Just before you leave the lane, glance
quickly over your shoulder to make sure
there isn’t another vehicle in your “blind”
spot.
Once you are moving on the freeway,
make certain you allow a reasonable fol-
lowing distance.
Expect to move slightly slower at night.
When you want to leave the freeway, move
to the proper lane well in advance. If you
miss your exit, do not, under any circum-
stances, stop and back up. Drive on to the
next exit.The exit ramp can be curved, sometimes
quite sharply. The exit speed is usually
posted. Reduce your speed according to
your speedometer, not to your sense of
motion. After driving for any distance at
higher speeds, you may tend to think you
are going slower than you actually are.
Before Leaving on a Long TripMake sure you’re ready. Try to be well
rested. If you must start when you’re not
fresh – such as after a day’s work – don’t
plan to make too many miles that first part
of the journey. Wear comfortable clothing
and shoes you can easily drive in.
Is your vehicle ready for a long trip? If you
keep it serviced and maintained, it’s ready
to go. If it needs service, have it done
before starting out. Of course, you’ll find
experienced and able service experts in
SUZUKI dealerships all across North
America. They’ll be ready and willing to
help if you need it.
Here are some things you can check
before a trip:
Windshield Washer Fluid: Is the reser-
voir full? Are all windows clean inside
and outside?
Wiper Blades: Are they in good shape?
Fuel, Engine Oil, Other Fluids: Have you
checked all levels?
Lamps: Are they all working? Are the
lenses clean?
Your Driving, the Road, and Your Vehicle:
Page 144 of 225

SERVICE AND APPEARANCE CARE
5
85Z03-03E
SERVICE AND APPEARANCE CAREService ................................................................................. 5-1
Fuel ....................................................................................... 5-1
Checking Things Under the Hood ..................................... 5-4
Headlamp Aiming ................................................................ 5-23
Bulb Replacement ............................................................... 5-23
Windshield Wiper Blade Replacement .............................. 5-28
Tires ...................................................................................... 5-28
Tire Pressure Monitoring System ...................................... 5-33
Appearance Care ................................................................. 5-45
Vehicle Identification .......................................................... 5-49
Electrical System ................................................................ 5-49
Capacities and Specifications ........................................... 5-54
Page 171 of 225
5-27 SERVICE AND APPEARANCE CARE
85Z03-03E
7) Replace the lamp housing into the vehi-
cle using the two screws removed ear-
lier.
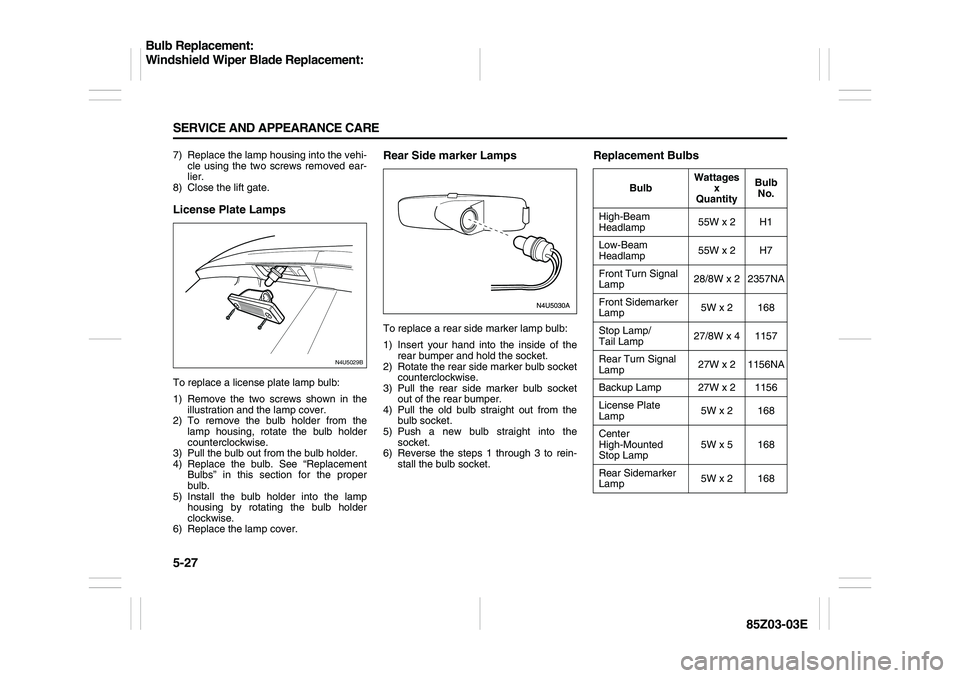
8) Close the lift gate.License Plate LampsTo replace a license plate lamp bulb:
1) Remove the two screws shown in the
illustration and the lamp cover.
2) To remove the bulb holder from the
lamp housing, rotate the bulb holder
counterclockwise.
3) Pull the bulb out from the bulb holder.
4) Replace the bulb. See “Replacement
Bulbs” in this section for the proper
bulb.
5) Install the bulb holder into the lamp
housing by rotating the bulb holder
clockwise.
6) Replace the lamp cover.
Rear Side marker LampsTo replace a rear side marker lamp bulb:
1) Insert your hand into the inside of the
rear bumper and hold the socket.
2) Rotate the rear side marker bulb socket
counterclockwise.
3) Pull the rear side marker bulb socket
out of the rear bumper.
4) Pull the old bulb straight out from the
bulb socket.
5) Push a new bulb straight into the
socket.
6) Reverse the steps 1 through 3 to rein-
stall the bulb socket.
Replacement Bulbs
N4U5029B
BulbWattages
x
QuantityBulb
No.
High-Beam
Headlamp55W x 2 H1
Low-Beam
Headlamp55W x 2 H7
Front Turn Signal
Lamp28/8W x 2 2357NA
Front Sidemarker
Lamp5W x 2 168
Stop Lamp/
Tail Lamp27/8W x 4 1157
Rear Turn Signal
Lamp27W x 2 1156NA
Backup Lamp 27W x 2 1156
License Plate
Lamp5W x 2 168
Center
High-Mounted
Stop Lamp5W x 5 168
Rear Sidemarker
Lamp5W x 2 168
Bulb Replacement:
Windshield Wiper Blade Replacement:
Page 172 of 225
5-28 SERVICE AND APPEARANCE CARE
85Z03-03E
Windshield Wiper Blade
ReplacementWindshield wiper blades should be
inspected at least twice a year for wear or
cracking. If the wiper blades become brittle
or damaged, or make streaks when wiping,
replace the wiper blades for optimum driv-
ing visibility. Replacement blades come in
different types and are removed in different
ways.
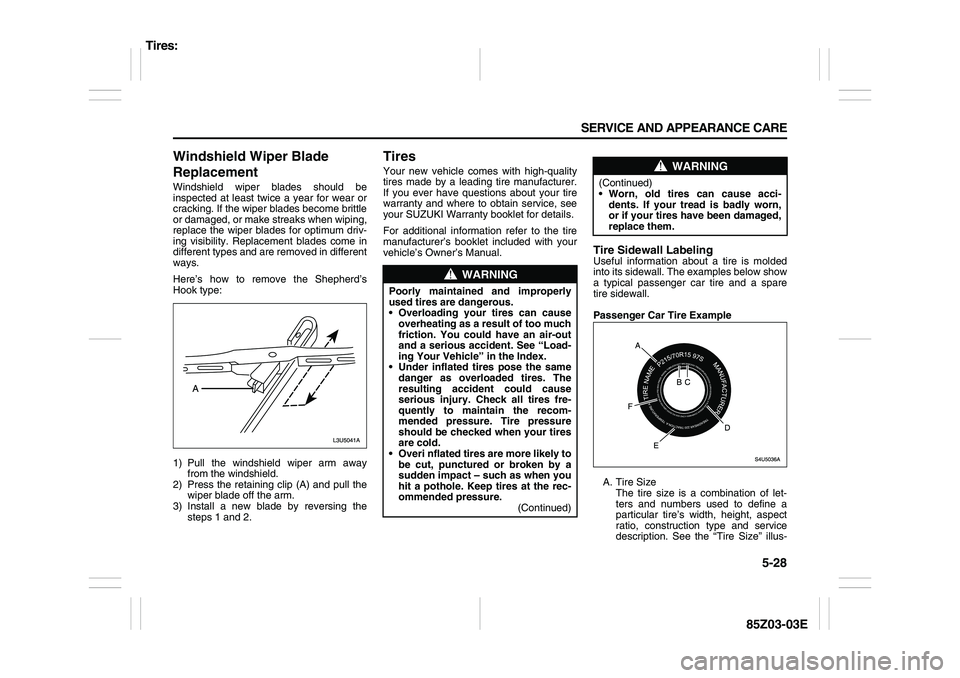
Here’s how to remove the Shepherd’s
Hook type:
1) Pull the windshield wiper arm away
from the windshield.
2) Press the retaining clip (A) and pull the
wiper blade off the arm.
3) Install a new blade by reversing the
steps 1 and 2.
TiresYour new vehicle comes with high-quality
tires made by a leading tire manufacturer.
If you ever have questions about your tire
warranty and where to obtain service, see
your SUZUKI Warranty booklet for details.
For additional information refer to the tire
manufacturer’s booklet included with your
vehicle’s Owner’s Manual.
Tire Sidewall LabelingUseful information about a tire is molded
into its sidewall. The examples below show
a typical passenger car tire and a spare
tire sidewall.
Passenger Car Tire Example
A. Tire Size
The tire size is a combination of let-
ters and numbers used to define a
particular tire’s width, height, aspect
ratio, construction type and service
description. See the “Tire Size” illus-
WARNING
Poorly maintained and improperly
used tires are dangerous.
Overloading your tires can cause
overheating as a result of too much
friction. You could have an air-out
and a serious accident. See “Load-
ing Your Vehicle” in the Index.
Under inflated tires pose the same
danger as overloaded tires. The
resulting accident could cause
serious injury. Check all tires fre-
quently to maintain the recom-
mended pressure. Tire pressure
should be checked when your tires
are cold.
Overi nflated tires are more likely to
be cut, punctured or broken by a
sudden impact – such as when you
hit a pothole. Keep tires at the rec-
ommended pressure.
(Continued)
WARNING
(Continued)
Worn, old tires can cause acci-
dents. If your tread is badly worn,
or if your tires have been damaged,
replace them.
Tires: