2007 SUZUKI AERIO weight
[x] Cancel search: weightPage 43 of 232

Downloaded from www.Manualslib.com manuals search engine 2-30 BEFORE DRIVING
54G27-03E
Seat Belt Extender
65D613
(1) Center of body
(2) Less than 152 mm (6 inches)
(3) Open end of extender buckle
If a seat belt cannot be fastened securely
because it is not long enough, see your
authorized SUZUKI dealer for a seat belt
extender. Seat belt extenders are available
for each seating position except for the
rear center position. After inspecting the
relationship between the seat belt length,
the occupant’s body size, and the seat
adjustment (the driver’s seat should always
be adjusted as far back as possible while
still maintaining control of the vehicle, and
other adjustable seats should be adjusted
as far back as possible), your dealer can
select the appropriate seat belt extender. A seat belt extender should only be used
for the person, vehicle and seating loca-
tion it was provided for.
When using the extender, ensure that
both ends are latched securely. Do not
use the extender if the open end of the
extender’s buckle is within 152 mm (6
inches) of the center of the occupant’s
body (See diagram). Use of the extender
when the buckle is too close to the cen-
ter of the body could increase the risk of
abdominal injury in the event of an acci-
dent, and could cause the shoulder belt
to be positioned incorrectly.
Make sure to use the correct buckle cor-
responding to your seating position.
Seat belt extenders are not intended for
use by pregnant women, and should
only be used upon approval by their
medical advisors.
Remove and stow the extender when it
is not being used.
WARNING
Failure to follow these instructions
may increase the risk of injury in a
crash.
Only use an extender for the per-
son, vehicle and seating position it
was provided for.
Do not use if open end of
extender’s buckle is within 152 mm
(6 inches) of center of occupant’s
body (See diagram).
Remove and stow the extender
when it is not being used.
WARNING
If you are using a seat belt extender
in the front passenger’s seat, it is
important to sit in the seat before
inserting the latch plate of the seat
belt extender into the vehicle seat
belt buckle. If the front passenger
sensing system does not sense your
weight on the front seat when the
latch plate of the seat belt extender is
inserted into the vehicle seat belt
buckle, the front passenger’s air bag
will be turned off and will remain off,
and the “PASS AIRBAG OFF” indica-
tor will be illuminated.
(Continued)
Seat Belts and Child Restraint Systems: 3
Page 46 of 232

Downloaded from www.Manualslib.com manuals search engine 2-33 BEFORE DRIVING
54G27-03E
54G516
10
1
2
3
3
4
4
5
6
7 7
8
9
11
11
12
Your vehicle is equipped with a Supple-
mental Restraint System consisting of the
following components in addition to a lap-
shoulder belt at each front seating position.
1. Driver’s air bag
2. Front passenger’s air bag
3. Side air bags
4. Seat belt pretensioners
5. Air bag controller
6. Driver’s seat position sensor
7. Front passenger’s weight sensors
8. Occupant classification module
9. “PASS AIRBAG OFF” indicator
10.Forward crash sensor
11.Side crash sensor
12.Seat belt buckle sensor
The driver’s air bag is located behind the
center pad of the steering wheel. The
words “SRS AIRBAG” are molded into the
air bag cover to identify the location of the
air bag. The front passenger’s air bag is
located behind the passenger’s side of the
dashboard. The words “SRS AIRBAG” are
molded into the air bag cover to identify the
location of the air bag.
Seat Belts and Child Restraint Systems: 3
Page 49 of 232

Downloaded from www.Manualslib.com manuals search engine 2-36 BEFORE DRIVING
54G27-03E
Your vehicle has “dual stage” front air
bags, which adjust the air bag inflation
force according to crash severity, driver’s
seat fore/aft position and whether or not
the driver’s seat belt is fastened. Also, your
vehicle has a front passenger sensing sys-
tem, which turns off the front passenger’s
front air bag under certain conditions.Driver’s Seat Position SensorThe driver’s seat is equipped with a seat
position sensor to monitor the driver seat
fore/aft position. The seat position sensor
provides information which is used to
judge if the driver’s front air bag should
deploy at reduced power or at full power.
When the seat position sensor has a prob-
lem, the “AIR BAG” light on the instrument
cluster will turn on. If this happens, deploy-
ment of the driver’s front air bag will not
include consideration of seat fore/aft posi-
tion. Have the air bag system inspected by
an authorized SUZUKI dealer as soon as
possible.
Driver’s Seat Belt Buckle SensorThe driver’s seat belt buckle is equipped
with a sensor to monitor whether or not the
driver’s seat belt is fastened. The driver’s
seat belt buckle sensor provides informa-
tion which is used to judge if the driver’s
front air bag should deploy at reduced
power or at full power.
When the buckle sensor has a problem,
the “AIR BAG” light on the instrument clus-
ter will turn on. If this happens, deployment
of the driver’s front air bag will not include
consideration of whether the driver’s seat
belt is fastened or not. Have the air bag
system inspected by an authorized
SUZUKI dealer as soon as possible.Front Passenger Sensing SystemThe front passenger sensing system will
turn off the front passenger’s front air bag
under certain conditions. This system
works using weight sensors that are part of
the front passenger’s seat and a seat belt
sensor. The front passenger sensing sys-
tem is designed to detect whether an occu-
pant is present in the seat and, if an
occupant is present, to determine whether
the front passenger’s front air bag should
be enabled or disabled (turned off).
NOTE:
The front passenger’s side air bag is not
controlled by the front passenger sensing
system.
54G517
When the ignition switch is turned to the
“ON” position, the “PASS AIRBAG OFF”
indicator comes on for several seconds to
let you know the system is working. When
the front passenger sensing system has
turned off the front passenger’s front air
bag, the “PASS AIRBAG OFF” indicator
will come on and stay on to remind you
that the front passenger’s front air bag is
off.
The front passenger sensing system is
designed to turn off the front passenger’s
front air bag when the weight on the front
seat is 30 kg (65 lbs) or less. The front air
bag should be turned off in the following
situations:
There is no occupant in the front pas-
senger seat.
The occupant of the front passenger
seat leaves the seat for a period of time.
CAUTION
Do not put any cargo or metal objects
under the seat. The seat position sen-
sor may not work properly or may be
damaged if it is covered with some-
thing.
Seat Belts and Child Restraint Systems: 3
Supplemental Restraint System (advanced air bags):
3, 9, 12
Page 51 of 232

Downloaded from www.Manualslib.com manuals search engine 2-38 BEFORE DRIVING
54G27-03E
52D258
When seated as shown in the above illus-
tration, the front passenger sensing sys-
tem senses a properly-seated occupant
and enables the air bag.
When using a seat belt extender, follow the
instructions in the “Seat Belt Extender”
section.
WARNING
The front passenger sensing system
may not work properly in the follow-
ing situations:
The occupant is not wearing the
seat belt properly.
The occupant is sitting near the
dashboard or is not sitting in the
proper position.
A rear seat occupant is pushing or
pulling on the seatback or is push-
ing up the seat cushion using their
feet.
Objects placed under the seat are
pushing up on the seat cushion.
Heavy objects are hanging on the
seatback.
WARNING
If the “AIR BAG” light in the instru-
ment cluster ever comes on and
stays on, it means that something
may be wrong with the air bag sys-
tem. If this ever happens, have the
vehicle inspected by an authorized
SUZUKI dealer immediately, because
the air bags may not offer the protec-
tion for which they were designed.
WARNING
If the “PASS AIRBAG OFF” indicator
on the information display turns on
even though there is no occupant or
an adult occupant in the front pas-
senger’s seat, it means that some-
thing may be wrong with the
passenger sensing system. Have the
system inspected by an authorized
SUZUKI dealer as soon as possible.
WARNING
Do not spill any liquids on the seat.
Liquids can damage the sensors
under the front seat.
Have the driver’s seat position sen-
sor and the front passenger’s seat
weight sensors inspected by an
authorized SUZUKI dealer after a
collision.
Do not replace the front seats. If
you replace them, the air bags and
front passenger sensing system
may not work properly.
Do not use a seat cover. If you use
a seat cover, the front passenger
sensing system may not work prop-
erly.
Supplemental Restraint System (advanced air bags):
3, 9, 12
Page 116 of 232

Downloaded from www.Manualslib.com manuals search engine 5-1 OTHER CONTROLS AND EQUIPMENT
54G27-03E
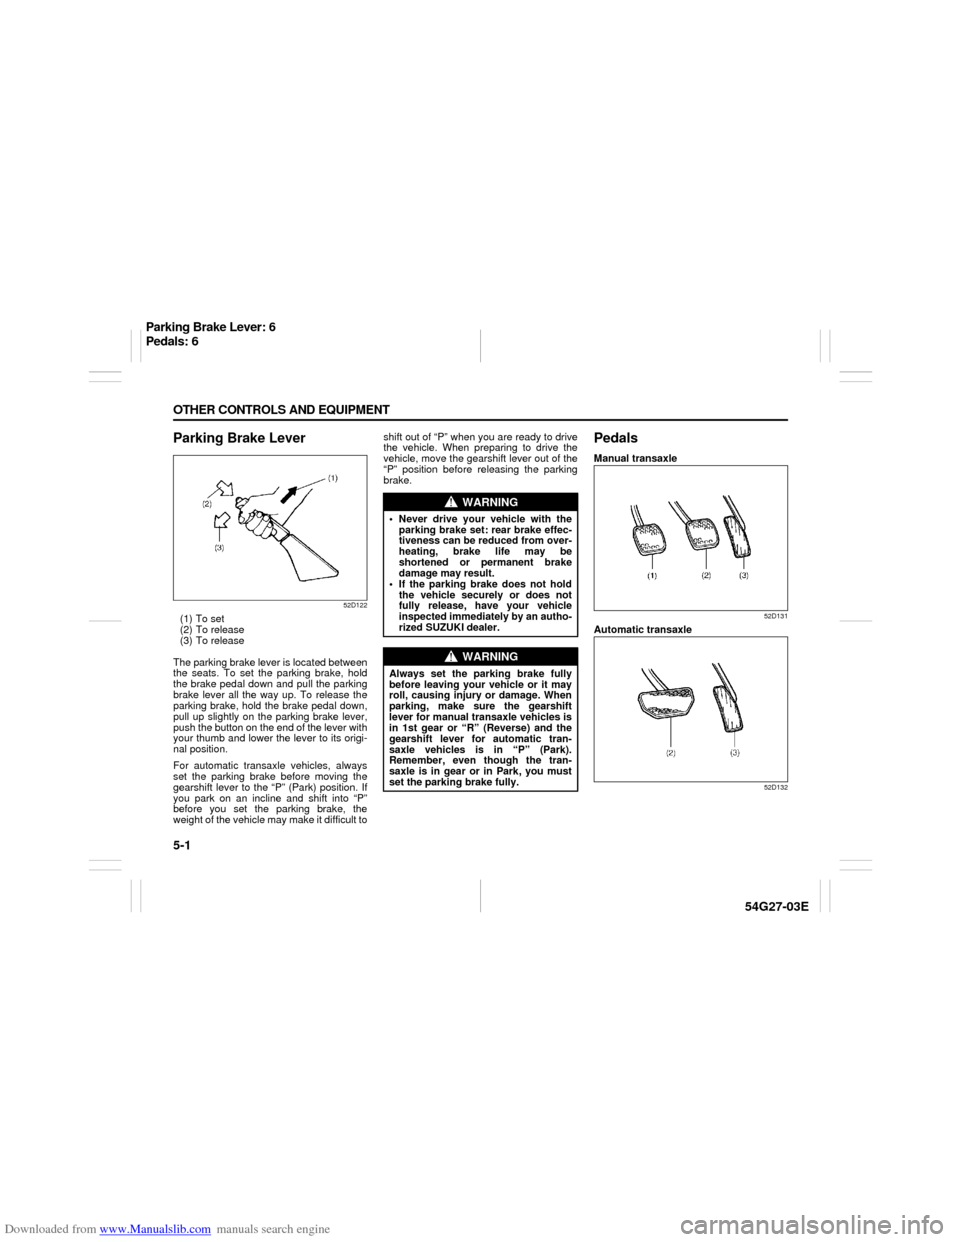
Parking Brake Lever
52D122
(1) To set
(2) To release
(3) To release
The parking brake lever is located between
the seats. To set the parking brake, hold
the brake pedal down and pull the parking
brake lever all the way up. To release the
parking brake, hold the brake pedal down,
pull up slightly on the parking brake lever,
push the button on the end of the lever with
your thumb and lower the lever to its origi-
nal position.
For automatic transaxle vehicles, always
set the parking brake before moving the
gearshift lever to the “P” (Park) position. If
you park on an incline and shift into “P”
before you set the parking brake, the
weight of the vehicle may make it difficult toshift out of “P” when you are ready to drive
the vehicle. When preparing to drive the
vehicle, move the gearshift lever out of the
“P” position before releasing the parking
brake.
PedalsManual transaxle
52D131
Automatic transaxle
52D132
WARNING
Never drive your vehicle with the
parking brake set: rear brake effec-
tiveness can be reduced from over-
heating, brake life may be
shortened or permanent brake
damage may result.
If the parking brake does not hold
the vehicle securely or does not
fully release, have your vehicle
inspected immediately by an autho-
rized SUZUKI dealer.
WARNING
Always set the parking brake fully
before leaving your vehicle or it may
roll, causing injury or damage. When
parking, make sure the gearshift
lever for manual transaxle vehicles is
in 1st gear or “R” (Reverse) and the
gearshift lever for automatic tran-
saxle vehicles is in “P” (Park).
Remember, even though the tran-
saxle is in gear or in Park, you must
set the parking brake fully.
Parking Brake Lever: 6
Pedals: 6
Page 140 of 232

Downloaded from www.Manualslib.com manuals search engine 6-11 OPERATING YOUR VEHICLE
54G27-03E
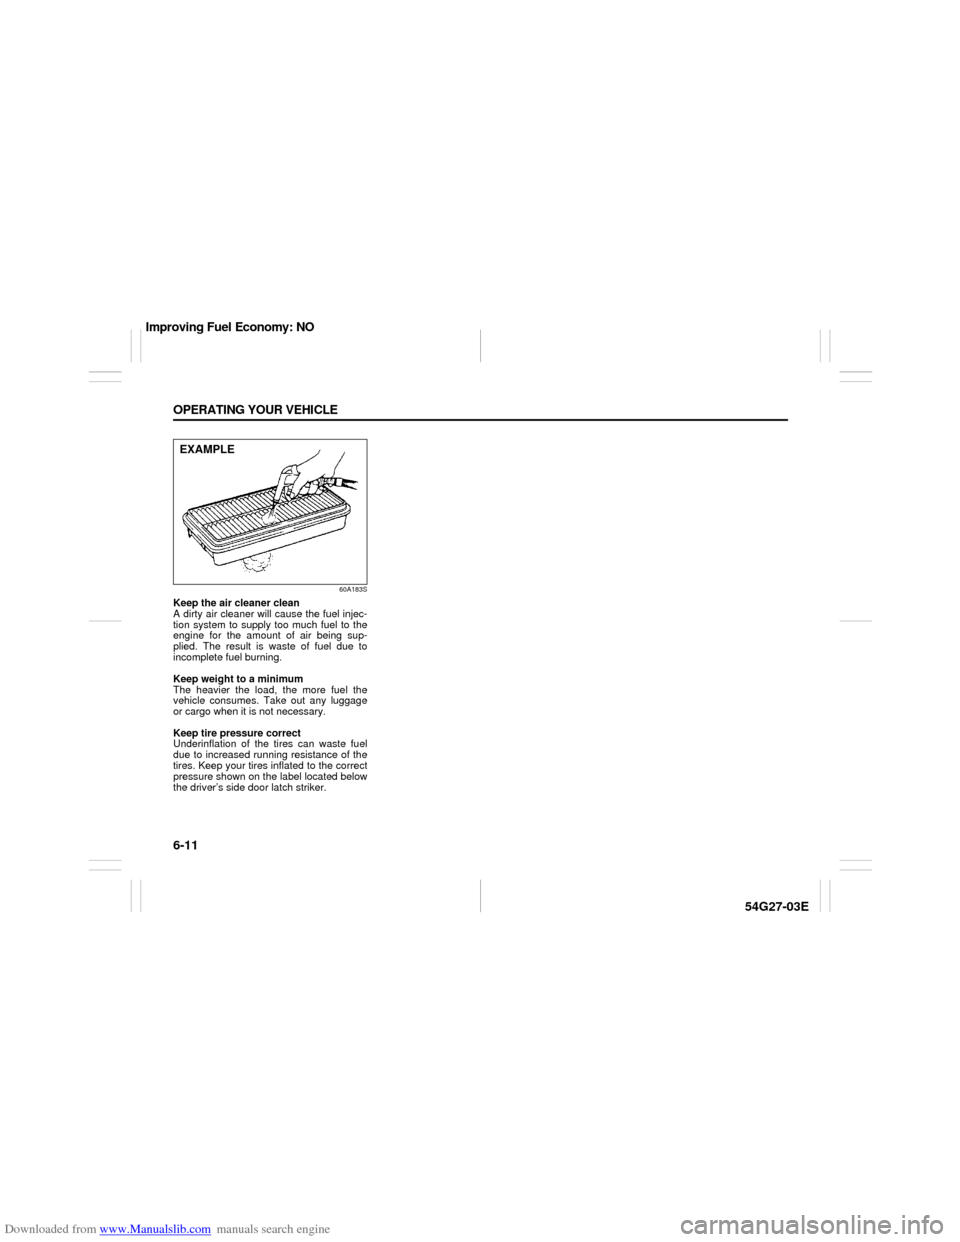
60A183S
Keep the air cleaner clean
A dirty air cleaner will cause the fuel injec-
tion system to supply too much fuel to the
engine for the amount of air being sup-
plied. The result is waste of fuel due to
incomplete fuel burning.
Keep weight to a minimum
The heavier the load, the more fuel the
vehicle consumes. Take out any luggage
or cargo when it is not necessary.
Keep tire pressure correct
Underinflation of the tires can waste fuel
due to increased running resistance of the
tires. Keep your tires inflated to the correct
pressure shown on the label located below
the driver’s side door latch striker.EXAMPLE
Improving Fuel Economy: NO
Page 148 of 232

Downloaded from www.Manualslib.com manuals search engine 8-1 VEHICLE LOADING AND TOWING
54G27-03E
Vehicle Loading
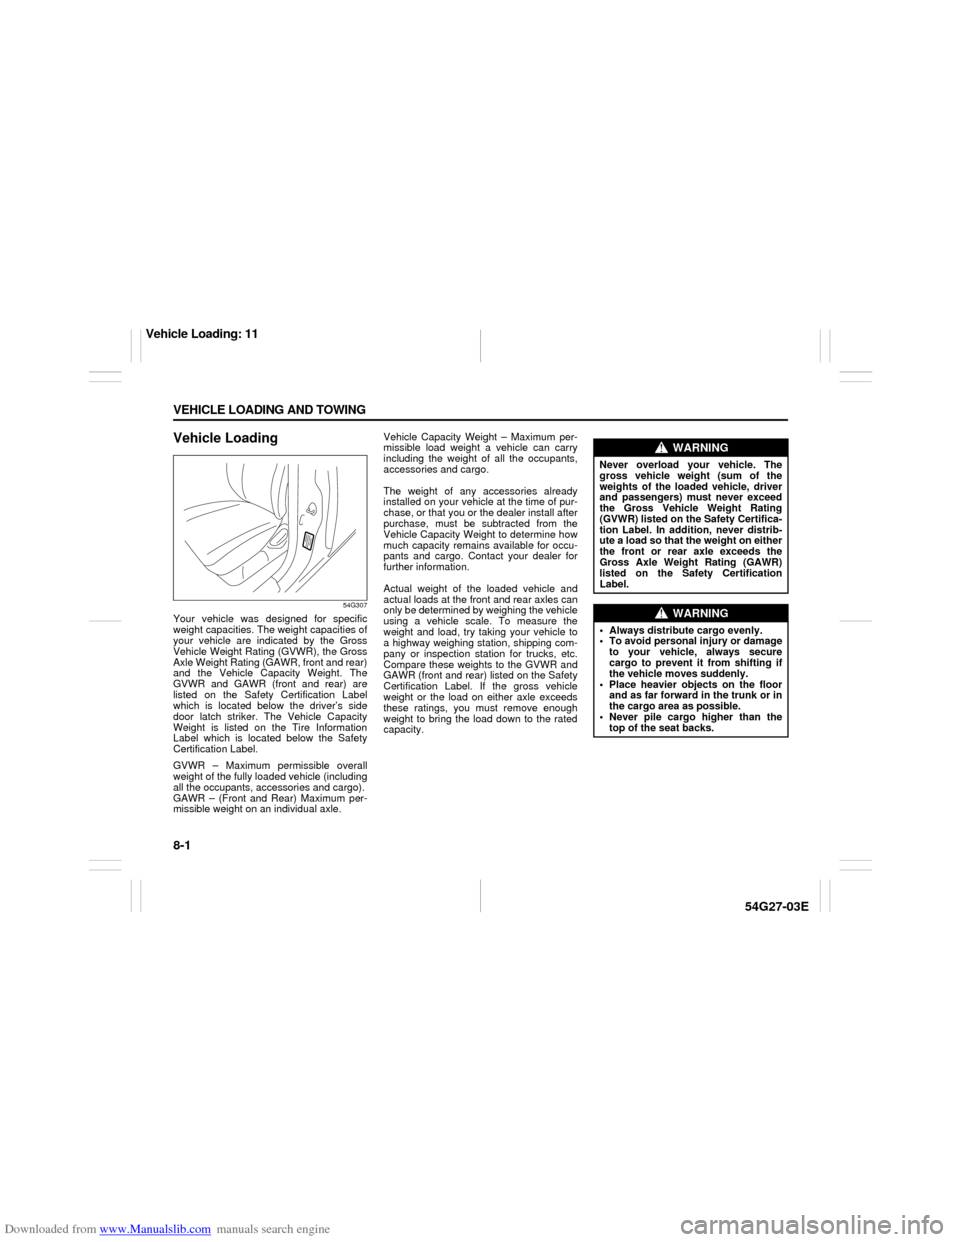
54G307
Your vehicle was designed for specific
weight capacities. The weight capacities of
your vehicle are indicated by the Gross
Vehicle Weight Rating (GVWR), the Gross
Axle Weight Rating (GAWR, front and rear)
and the Vehicle Capacity Weight. The
GVWR and GAWR (front and rear) are
listed on the Safety Certification Label
which is located below the driver’s side
door latch striker. The Vehicle Capacity
Weight is listed on the Tire Information
Label which is located below the Safety
Certification Label.
GVWR – Maximum permissible overall
weight of the fully loaded vehicle (including
all the occupants, accessories and cargo).
GAWR – (Front and Rear) Maximum per-
missible weight on an individual axle.Vehicle Capacity Weight – Maximum per-
missible load weight a vehicle can carry
including the weight of all the occupants,
accessories and cargo.
The weight of any accessories already
installed on your vehicle at the time of pur-
chase, or that you or the dealer install after
purchase, must be subtracted from the
Vehicle Capacity Weight to determine how
much capacity remains available for occu-
pants and cargo. Contact your dealer for
further information.
Actual weight of the loaded vehicle and
actual loads at the front and rear axles can
only be determined by weighing the vehicle
using a vehicle scale. To measure the
weight and load, try taking your vehicle to
a highway weighing station, shipping com-
pany or inspection station for trucks, etc.
Compare these weights to the GVWR and
GAWR (front and rear) listed on the Safety
Certification Label. If the gross vehicle
weight or the load on either axle exceeds
these ratings, you must remove enough
weight to bring the load down to the rated
capacity.
WARNING
Never overload your vehicle. The
gross vehicle weight (sum of the
weights of the loaded vehicle, driver
and passengers) must never exceed
the Gross Vehicle Weight Rating
(GVWR) listed on the Safety Certifica-
tion Label. In addition, never distrib-
ute a load so that the weight on either
the front or rear axle exceeds the
Gross Axle Weight Rating (GAWR)
listed on the Safety Certification
Label.
WARNING
Always distribute cargo evenly.
To avoid personal injury or damage
to your vehicle, always secure
cargo to prevent it from shifting if
the vehicle moves suddenly.
Place heavier objects on the floor
and as far forward in the trunk or in
the cargo area as possible.
Never pile cargo higher than the
top of the seat backs.
Vehicle Loading: 11
Page 178 of 232

Downloaded from www.Manualslib.com manuals search engine 9-25 INSPECTION AND MAINTENANCE
54G27-03E
Clutch Pedal
60B318
Check the clutch pedal for smooth opera-
tion and clutch fluid level from time to time.
If clutch dragging is felt with the pedal fully
depressed, have the clutch inspected by
your SUZUKI dealer. If the clutch fluid level
is near the “MIN” line, fill it up to the “MAX”
line with DOT3 brake fluid.
TiresFor safe operation of your vehicle, it is
important that the tires be the correct type
and size, in good condition, and properly
inflated. Be sure to follow the requirements
and recommendations in this section.Tire Sidewall LabelingUseful information about a tire is molded
into its sidewall. The example below shows
a typical passenger car tire.
Typical Passenger Car Tire Sidewall
67D027
A. Tire Manufacturer
The name of the tire manufacturer is
shown here.
B. Tire Name/Model
The tire name or model is shown
here.C. Tire Size
The tire size code is a combination of
letters and numbers used to define a
particular tire’s width, height, aspect
ratio, construction type, and service
description. See the “Tire Size” expla-
nation later in this section for more
details.
D. U.S. DOT Tire Identification Number
The Department of Transportation
(DOT) marking indicates that the tire
is in compliance with the U.S. Depart-
ment of Transportation Motor Vehicle
Safety Standards. The letters and
numbers following the DOT marking
is the Tire Identification Number
(TIN). The TIN identifies the tire man-
ufacturer and plant, tire size, and date
the tire was manufactured.
E. Uniform Tire Quality Grading (UTQG)
Tire manufacturers are required to
grade tires based on three perfor-
mance factors: treadwear, traction
and temperature resistance. Refer to
the “Uniform Tire Quality Grading”
section for more details.
F. Load Rating
Load rating is the maximum weight a
tire is designed to support in normal
service.
G. Max Inflation Pressure
Max inflation pressure is the maxi-
mum inflation pressure a tire is
designed for.
H. Tire Ply Material
These tire markings describe the type
AH B
G
E
FD
J I
C
Tires: 6