Page 6 of 232
Downloaded from www.Manualslib.com manuals search engine 54G27-03E
LOCATION OF WARNING
MESSAGESRead and follow all of the warnings (labels
etc.) on your vehicle. Make sure you
understand all of them. Keep them on the
vehicle. Do not remove the messages for
any reason. If a label comes off or the
messages become difficult to be read,
have it corrected by your SUZUKI dealer.
1. Air bag warning labels
(on both sun visors)
2. Passenger seat belt warning label
3. Rear center seat belt warning label
4. Jacking warning label
5. Jacking warning label
6. Fuel filler cap message
7. Brake fluid cap message
8. Engine cooling fan warning label
9. Radiator cap warning label
10. Air conditioner warning label
11. Battery label
12. Compact spare tire warning label
13. Rear outboard seat belt warning label
14. Side air bag warning label
54G633
6
7
8
9 1
3
2
10
12
4
5 13
13
13
14
14
14
11
Driver Passenger
EXAMPLE
Page 128 of 232

Downloaded from www.Manualslib.com manuals search engine 5-13 OTHER CONTROLS AND EQUIPMENT
54G27-03E
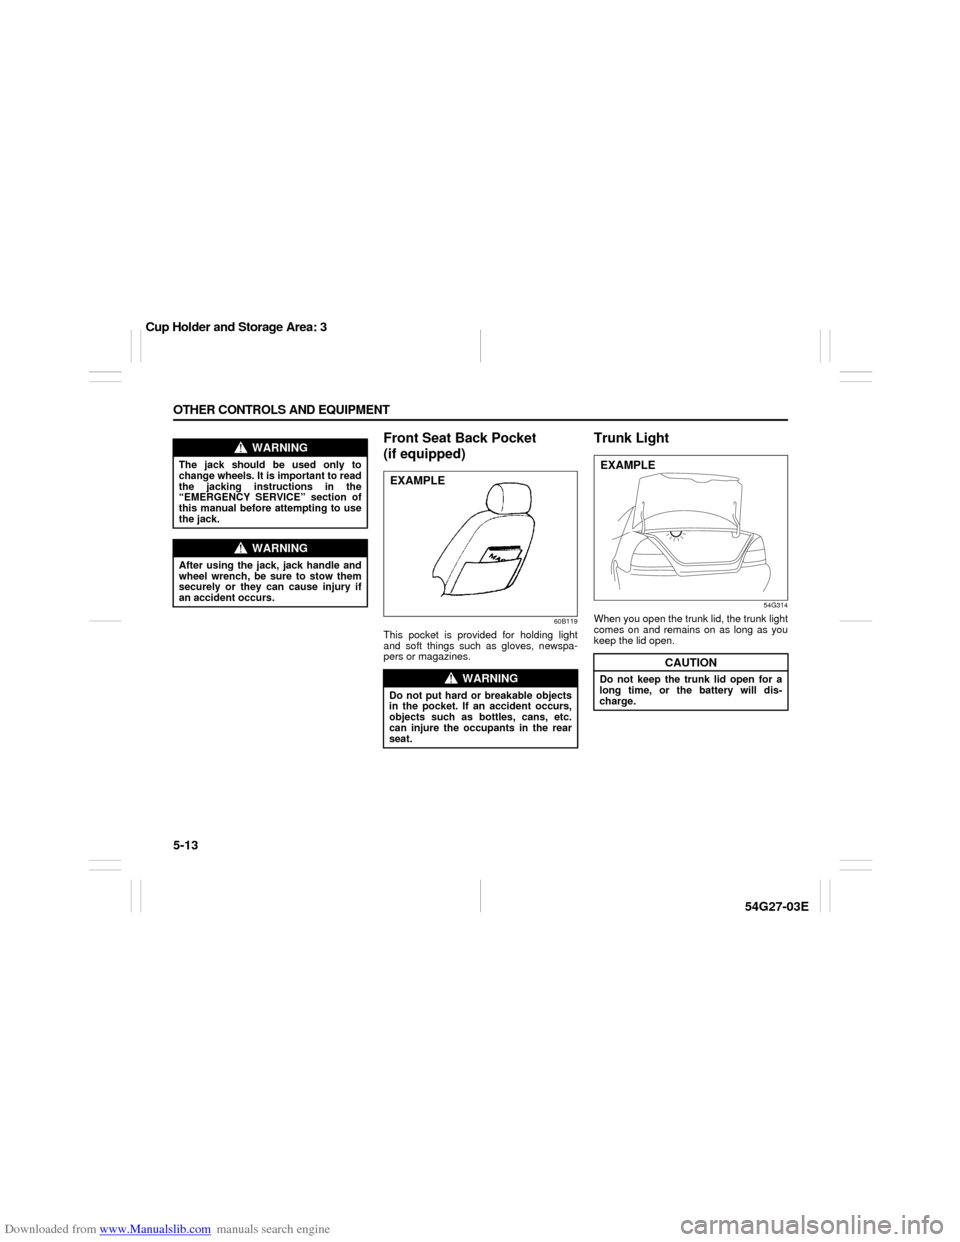
Front Seat Back Pocket
(if equipped)
60B119
This pocket is provided for holding light
and soft things such as gloves, newspa-
pers or magazines.
Trunk Light
54G314
When you open the trunk lid, the trunk light
comes on and remains on as long as you
keep the lid open.
WARNING
The jack should be used only to
change wheels. It is important to read
the jacking instructions in the
“EMERGENCY SERVICE” section of
this manual before attempting to use
the jack.
WARNING
After using the jack, jack handle and
wheel wrench, be sure to stow them
securely or they can cause injury if
an accident occurs.
WARNING
Do not put hard or breakable objects
in the pocket. If an accident occurs,
objects such as bottles, cans, etc.
can injure the occupants in the rear
seat.EXAMPLE
CAUTION
Do not keep the trunk lid open for a
long time, or the battery will dis-
charge.EXAMPLE
Cup Holder and Storage Area: 3
Page 184 of 232

Downloaded from www.Manualslib.com manuals search engine 9-31 INSPECTION AND MAINTENANCE
54G27-03E
Changing Wheels
54G420
To change a wheel, use the following pro-
cedure:
1) Remove the jack, tools and spare
wheel from the vehicle.
2) Loosen, but do not remove the wheel
nuts.
3) Jack up the vehicle (follow the jacking
instructions in the “EMERGENCY SER-
VICE” section in this manual).
4) Remove the wheel nuts and wheel.
5) Install the new wheel and replace the
wheel nuts with their cone shaped end
facing the wheel. Tighten each nut
snugly by hand until the wheel is
securely seated on the hub.
54G116
6) Lower the jack and fully tighten the nuts
(to the specified torque) in a crisscross
fashion with a wrench as shown in the
illustration.Snow TiresYour vehicle is equipped with all-season
tires which are designed for use in summer
and most winter conditions. For improved
traction in severe winter conditions,
SUZUKI recommends mounting radial
snow tires on all four wheels. Snow tires
must be the same size as the standard
tires. Also be sure to use the tires of the
same type and brand on all four wheels of
your vehicle.
CAUTION
For All-wheel drive (AWD) models,
driving with an underinflated com-
pact spare tire or over 80 km/h (50
mph) while using a compact spare
tire can result in damage to the drive
train.
Wheel tightening torque
85 Nm (61.5 lb-ft, 8.5 kg-m)
Loosen
Tighten
Tires: 6
Battery: 9
Page 197 of 232
Downloaded from www.Manualslib.com manuals search engine EMERGENCY SERVICE
10
54G27-03E
60G411
EMERGENCY SERVICEJacking Instructions ........................................................... 10-1
Jump Starting Instructions ................................................ 10-4
Towing a Disabled Vehicle ................................................. 10-5
If the Starter Does Not Operate .......................................... 10-6
If the Engine is Flooded ...................................................... 10-6
If the Engine Overheats ...................................................... 10-6
If You Can Not Shift Automatic Transaxle Gearshift
Lever Out of “P” (PARK) .................................................... 10-8
Page 198 of 232

Downloaded from www.Manualslib.com manuals search engine 10-1 EMERGENCY SERVICE
54G27-03E
Jacking Instructions
54G42075F062
1) Place the vehicle on level, hard ground.
2) Set the parking brake firmly and shift
into “P” (Park) if your vehicle has an
automatic transaxle, or shift into “R”
(Reverse) if your vehicle has a manual
transaxle.
3) Turn on the hazard warning flasher if
your vehicle is near traffic.
4) Block the front and rear of the wheel
diagonally opposite of the wheel being
lifted.
5) Place the spare wheel near the wheel
being lifted as shown in the illustration
in case that the jack slips.
54G253
6) Position the jack vertically and raise the
jack by turning the jack handle clock-
wise until the jack head recess fits
around the flange of the body between
two bosses as shown in the illustration.
NOTE:
For vehicles equipped with lower body
trim, the bosses are located behind the
body trim.
For your easy identification, there are ribs
on the body trim to indicate the position of
the bosses as shown in the illustration. Do
not operate the jack on the body trim.
7) Continue to raise the jack slowly and
smoothly until the tire clears the
ground. Do not raise the vehicle more
than necessary.
Jacking Instructions: 5
Page 199 of 232
Downloaded from www.Manualslib.com manuals search engine 10-2 EMERGENCY SERVICE
54G27-03E
For vehicle not equipped with lower
body trim
Front wheel
54G257
(1) Boss
(2) FlangeRear wheel
54G281
(1) Boss
(2) Flange
WARNING
Use the jack only to change wheels.
Never jack up the vehicle on an
inclined surface.
Never raise the vehicle with the
jack in a location other than
between the frame bosses near the
wheel to be changed.
Make sure that the jack is raised at
least 51 mm (2 inches) before it
contacts the flange. Use of the jack
when it is within 51 mm (2 inches)
of being fully collapsed may result
in failure of the jack.
Never get under the vehicle when it
is supported by the jack.
Never run the engine when the
vehicle is supported by the jack
and never allow passengers to
remain in the vehicle.
(1)
(2)
(1)
(2)
Jacking Instructions: 5
Page 200 of 232
Downloaded from www.Manualslib.com manuals search engine 10-3 EMERGENCY SERVICE
54G27-03E
For vehicle equipped with lower body
trim
Front wheel
54G260
(1) Lower body trim
(2) Boss
(3) RibRear wheel
54G261
(1) Lower body trim
(2) Boss
(3) Rib
54G643
(1) Lower body trim
(2) Flange
(1)
(2)(3)
View AView A
(1)
(2)(3)
View A View A
WARNING
Do not position the jack on the lower
body trim. This part is not strong
enough to withstand the jacking load
and may be broken if used for jack-
ing.
Using the lower body trim as a jack-
ing point may also result in the vehi-
cle rolling off the jack, causing
severe injury.
(2)
(1)
(2)
(1)
Jacking Instructions: 5
Page 201 of 232

Downloaded from www.Manualslib.com manuals search engine 10-4 EMERGENCY SERVICE
54G27-03E
54G644
Jump Starting Instructions
When jump starting your vehicle, use
the following procedure:
60A269
1) Use only a 12 volt battery to jump start
your vehicle. Position the good 12V bat-
tery close to your vehicle so that the
jumper cables will reach both batteries.
When using a battery installed on
another vehicle, DO NOT LET THE
VEHICLES TOUCH. Set the parking
brakes fully on both vehicles.
CAUTION
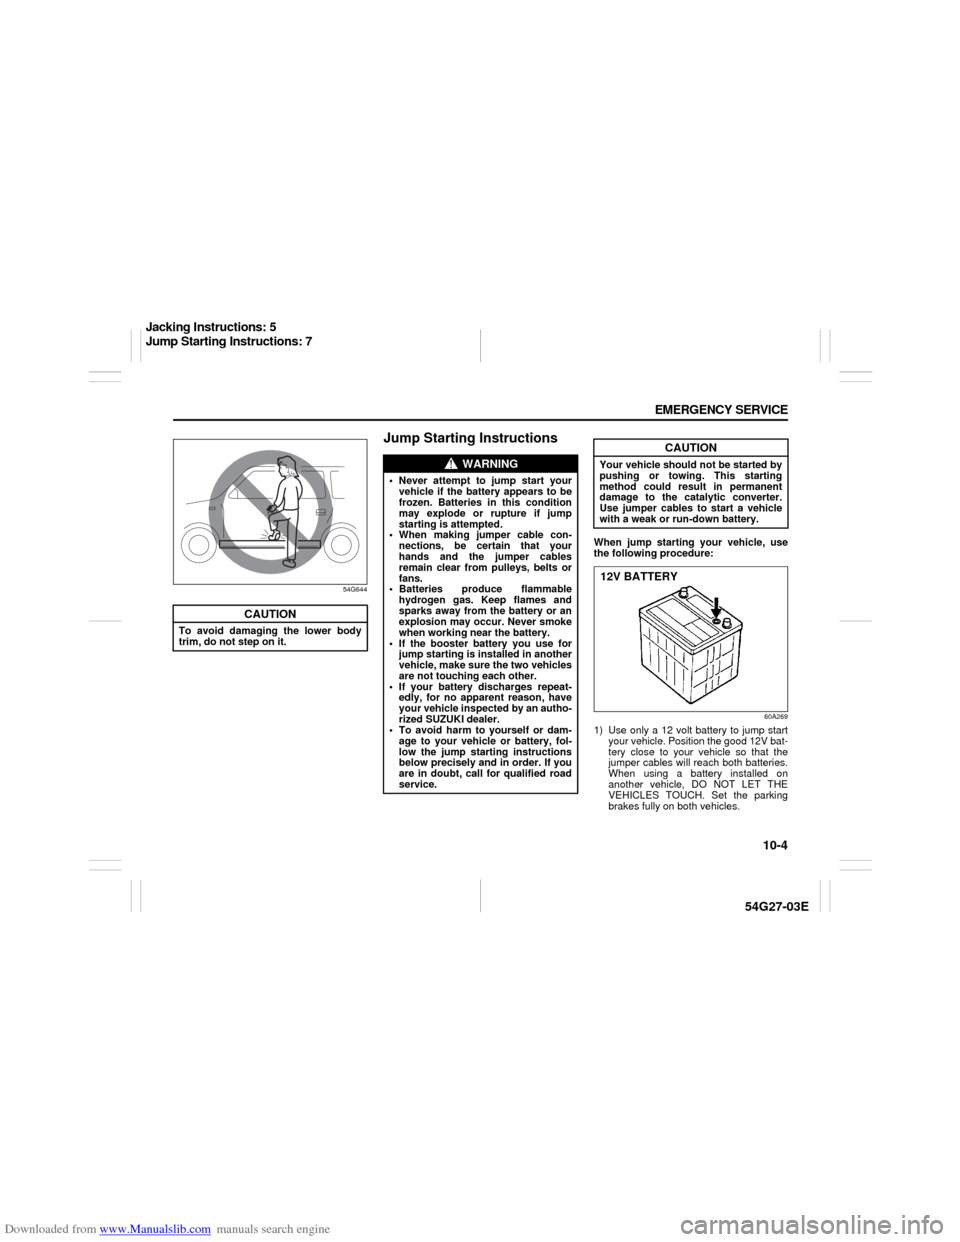
To avoid damaging the lower body
trim, do not step on it.
WARNING
Never attempt to jump start your
vehicle if the battery appears to be
frozen. Batteries in this condition
may explode or rupture if jump
starting is attempted.
When making jumper cable con-
nections, be certain that your
hands and the jumper cables
remain clear from pulleys, belts or
fans.
Batteries produce flammable
hydrogen gas. Keep flames and
sparks away from the battery or an
explosion may occur. Never smoke
when working near the battery.
If the booster battery you use for
jump starting is installed in another
vehicle, make sure the two vehicles
are not touching each other.
If your battery discharges repeat-
edly, for no apparent reason, have
your vehicle inspected by an autho-
rized SUZUKI dealer.
To avoid harm to yourself or dam-
age to your vehicle or battery, fol-
low the jump starting instructions
below precisely and in order. If you
are in doubt, call for qualified road
service.
CAUTION
Your vehicle should not be started by
pushing or towing. This starting
method could result in permanent
damage to the catalytic converter.
Use jumper cables to start a vehicle
with a weak or run-down battery.12V BATTERY
Jacking Instructions: 5
Jump Starting Instructions: 7