2007 SUZUKI AERIO Front brake
[x] Cancel search: Front brakePage 58 of 232

Downloaded from www.Manualslib.com manuals search engine 3-3 STEERING COLUMN CONTROLS
54G27-03E
Lighting/Turn Signal Control
LeverThis control lever is located on the out-
board side of the steering column. Operate
the lever as described below.Lighting Operation
54G030
To turn the lights on or off, twist the knob
on the end of the lever. There are three
positions: in the “OFF” position all lights
are off; in the middle position the front
parking lights, tail-lights, license plate light
and instrument lights are on, but the head-
lights are off; in the third position the head-
lights come on in addition to the other
lights.
54G031
With the headlights on, push the lever for-
ward to switch to the high beams or pull
the lever toward you to switch to the low
beams. When the high beams are on, a
light on the instrument panel will come on.
To momentarily activate the high beams as
a passing signal, pull the lever slightly
toward you and release it when you have
completed the signal.
Daytime Running Light (D.R.L.) Sys-
temThe headlights light, but are dimmer than
the low beam, when the following three
conditions are all met. Also, the D.R.L. indi-
cator light on the instrument panel comes
on.
Conditions for D.R.L. system operation:
1) The engine is running.
2) The parking brake is released.
3) The lighting switch is at either the “OFF”
or the “Middle” position.
NOTE:
Be sure to turn the lighting switch to the
third position at night or at any time of the
day when driving or weather conditions
require the headlights to operate at full
brightness and the taillights to be on.
Lights “On” reminder
A buzzer sounds to remind you to turn off
the lights if they are left on when the igni-
tion key is removed and the driver’s door is
opened.
HIGH
LOW
PASS
Lighting/Turn Signal Control Lever: 8
Page 115 of 232

Downloaded from www.Manualslib.com manuals search engine OTHER CONTROLS AND EQUIPMENT
5
54G27-03E
60G407
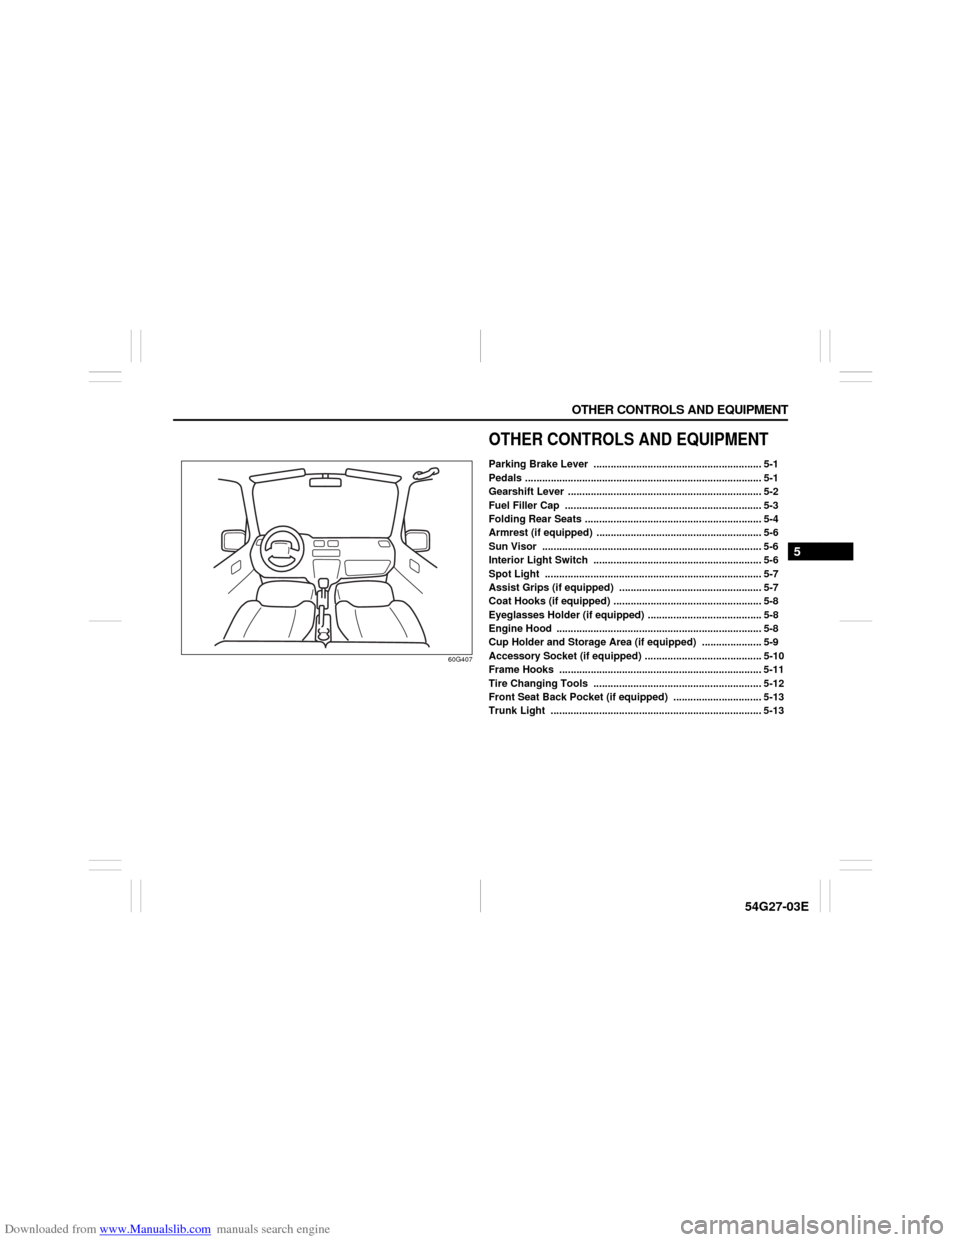
OTHER CONTROLS AND EQUIPMENTParking Brake Lever ........................................................... 5-1
Pedals ................................................................................... 5-1
Gearshift Lever .................................................................... 5-2
Fuel Filler Cap ..................................................................... 5-3
Folding Rear Seats .............................................................. 5-4
Armrest (if equipped) .......................................................... 5-6
Sun Visor ............................................................................. 5-6
Interior Light Switch ........................................................... 5-6
Spot Light ............................................................................ 5-7
Assist Grips (if equipped) .................................................. 5-7
Coat Hooks (if equipped) .................................................... 5-8
Eyeglasses Holder (if equipped) ........................................ 5-8
Engine Hood ........................................................................ 5-8
Cup Holder and Storage Area (if equipped) ..................... 5-9
Accessory Socket (if equipped) ......................................... 5-10
Frame Hooks ....................................................................... 5-11
Tire Changing Tools ........................................................... 5-12
Front Seat Back Pocket (if equipped) ............................... 5-13
Trunk Light .......................................................................... 5-13
Page 117 of 232

Downloaded from www.Manualslib.com manuals search engine 5-2 OTHER CONTROLS AND EQUIPMENT
54G27-03E
Clutch Pedal (1)(For manual transaxle)
The clutch pedal is used to disengage the
drive to the wheels when starting the
engine, stopping or shifting the gearshift
lever. Depressing the pedal disengages
the clutch.Brake Pedal (2)Your SUZUKI vehicle is equipped with front
disc brakes and rear drum brakes.
Depressing the brake pedal applies both
sets of brakes.
You may hear occasional brake squeal
when you apply the brakes. This is a nor-
mal condition caused by environmental
factors such as cold, wet, snow, etc.
Accelerator Pedal (3)This pedal controls the speed of the
engine. Depressing the accelerator pedal
increases power output and speed.
Gearshift LeverManual transaxle
60B095
4-speed automatic transaxle
54G465
CAUTION
Do not drive with your foot resting on
the clutch pedal. It could result in
excessive clutch wear or clutch dam-
age.
WARNING
If brake squeal is excessive and
occurs each time the brakes are
applied, you should have the brakes
checked by your SUZUKI dealer.
WARNING
Do not “ride” the brakes by applying
them continuously or resting your
foot on the pedal. This will result in
overheating of the brakes which
could cause unpredictable braking
action, longer stopping distances or
permanent brake damage.
EXAMPLEEXAMPLE
Pedals: 6
Gearshift Lever: 10
Page 130 of 232

Downloaded from www.Manualslib.com manuals search engine 6-1 OPERATING YOUR VEHICLE
54G27-03E
Exhaust Gas Warning
52D334
Daily Inspection ChecklistBefore Driving1) Make sure that windows, mirrors, lights
and reflectors are clean and unob-
structed.
2) Visually check the tires for the following
points:
– the depth of the tread groove
– abnormal wear, cracks and damage
– loose wheel nuts
– existence of foreign material such as
nails, stones, etc.
Refer to “Tires” in “INSPECTION AND
MAINTENANCE” section for details.
3) Look for fluid, oil leaks.
NOTE:
It is normal for water to drip from the air
conditioning system after use.
4) Make sure the hood is fully closed and
latched.
5) Check the headlights, turn signal lights,
brake lights and horn for proper opera-
tion.
6) Lock all doors.
7) Adjust the seat and adjustable head
restraints (if equipped).
8) Check the brake pedal.
9) Adjust the mirrors.
10)Make sure that you and all passengers
have properly fastened your seat belts.
11)Make sure that all warning lights come
on as the key is turned to the “ON” or
“START” position.
WARNING
Avoid breathing exhaust gases.
Exhaust gases contain carbon mon-
oxide, a potentially lethal gas that is
colorless and odorless. Since carbon
monoxide is difficult to detect by
itself, be sure to take the following
precautions to help prevent carbon
monoxide from entering your vehicle.
Do not leave the engine running in
garages or other confined areas.
(Continued)
WARNING
(Continued)
Do not park with the engine run-
ning for a long period of time, even
in an open area. If it is necessary to
sit for a short time in a parked vehi-
cle with the engine running, make
sure the air intake selector is set to
“FRESH AIR” and the blower is at
high speed.
Avoid operating the vehicle with
the trunk open. If it is necessary to
operate the vehicle with the trunk
open, make sure the sunroof (if
equipped) and all windows are
closed, and the blower is at high
speed with the air intake selector
set to “FRESH AIR”.
To allow proper operation of your
vehicle’s ventilation system, keep
the air inlet grille in front of the
windshield clear of snow, leaves or
other obstructions at all times.
Keep the exhaust tailpipe area clear
of snow and other material to help
reduce the buildup of exhaust
gases under the vehicle. This is
particularly important when parked
in blizzard conditions.
Have the exhaust system inspected
periodically for damage and leaks.
Any damage or leaks should be
repaired immediately.
Exhaust Gas Warning: NO
Daily Inspection Checklist: NO
Page 134 of 232

Downloaded from www.Manualslib.com manuals search engine 6-5 OPERATING YOUR VEHICLE
54G27-03E
For all normal driving, make sure that the
“O/D OFF” indicator light is off, then put the
gearshift lever into “D” (Drive). Use the
other gearshift lever positions as described
below:
P (Park)
Use this position to lock the transaxle
when the vehicle is parked or when start-
ing the engine. Shift into Park only when
the vehicle is completely stopped.
R (Reverse)
Use this position to back the vehicle from
stop. Make sure that the vehicle is com-
pletely stopped before shifting into
Reverse.
N (Neutral)
Use this position for starting the engine if
the engine stalls and you need to restart it
while the vehicle is moving. You may also
shift into Neutral and depress the brake
pedal to hold the vehicle stationary during
idling.D (Drive)
Use this position for all normal driving.
With the selector in “D” range, you can get
an automatic downshift by pressing the
accelerator pedal. The higher the vehicle
speed is, the more you will need to press
the accelerator pedal to get a downshift.
2 (Low 2)
Use this position to provide extra power
when climbing hills, or to provide engine
braking when going down hills.
L (Low 1)
Use this position to provide maximum
power when climbing steep hills or driving
through deep snow or mud, or to provide
maximum engine braking when going
down steep hills.
NOTE:
If you move the gearshift lever to a lower
gear while driving faster than the maximum
allowable speed for the lower gear, the
transaxle will not actually downshift until
your speed drops below the maximum
speed for the lower gear.
WARNING
Always depress the brake pedal
before shifting from “P” (Park) or “N”
(Neutral) to a forward or reverse gear,
to help prevent the vehicle from mov-
ing unexpectedly when you shift.
CAUTION
Be sure to take the following precau-
tions to help avoid damage to the
automatic transaxle:
Make sure that the vehicle is com-
pletely stopped before shifting into
“P” or “R”.
Do not shift from “P” or “N” to “R”,
“D”, “2” or “L” when the engine is
running above idle speed.
Do not rev the engine with the tran-
saxle in a drive position (“R”, “D”,
“2” or “L”) and the front wheels not
moving.
Do not use the accelerator to hold
the vehicle on a hill. Use the vehi-
cle’s brakes.
Using the Transaxle: 10
Page 142 of 232

Downloaded from www.Manualslib.com manuals search engine 7-1 DRIVING TIPS
54G27-03E
52D078S
Highway DrivingWhen driving at highway speeds, pay
attention to the following:
Stopping distance progressively
increases with vehicle speed. Apply the
brakes far enough ahead of the stopping
point to allow for the extra stopping dis-
tance.
On rainy days, “Hydroplaning” can occur.
“Hydroplaning” is the loss of direct con-
tact between the road surface and the
vehicle’s tires due to a water film forming
between them. Steering or braking the
vehicle while “Hydroplaning” can be very
difficult, and loss of control can occur.
Keep speed down when the road surface
is wet.
At high speeds, the vehicle may be
affected by side winds. Therefore,
reduce speed and be prepared for unex-
pected buffeting, which can occur at the
exits of tunnels, when passing by a cut of
a hill, or when being overtaken by large
vehicles, etc.
Driving on Hills
54G073S
When climbing steep hills, the car may
begin to slow down and show a lack of
power. If this happens, you should shift
to a lower gear so that the engine will
again be operating in its normal power
range. Shift rapidly to prevent the car
from losing momentum.
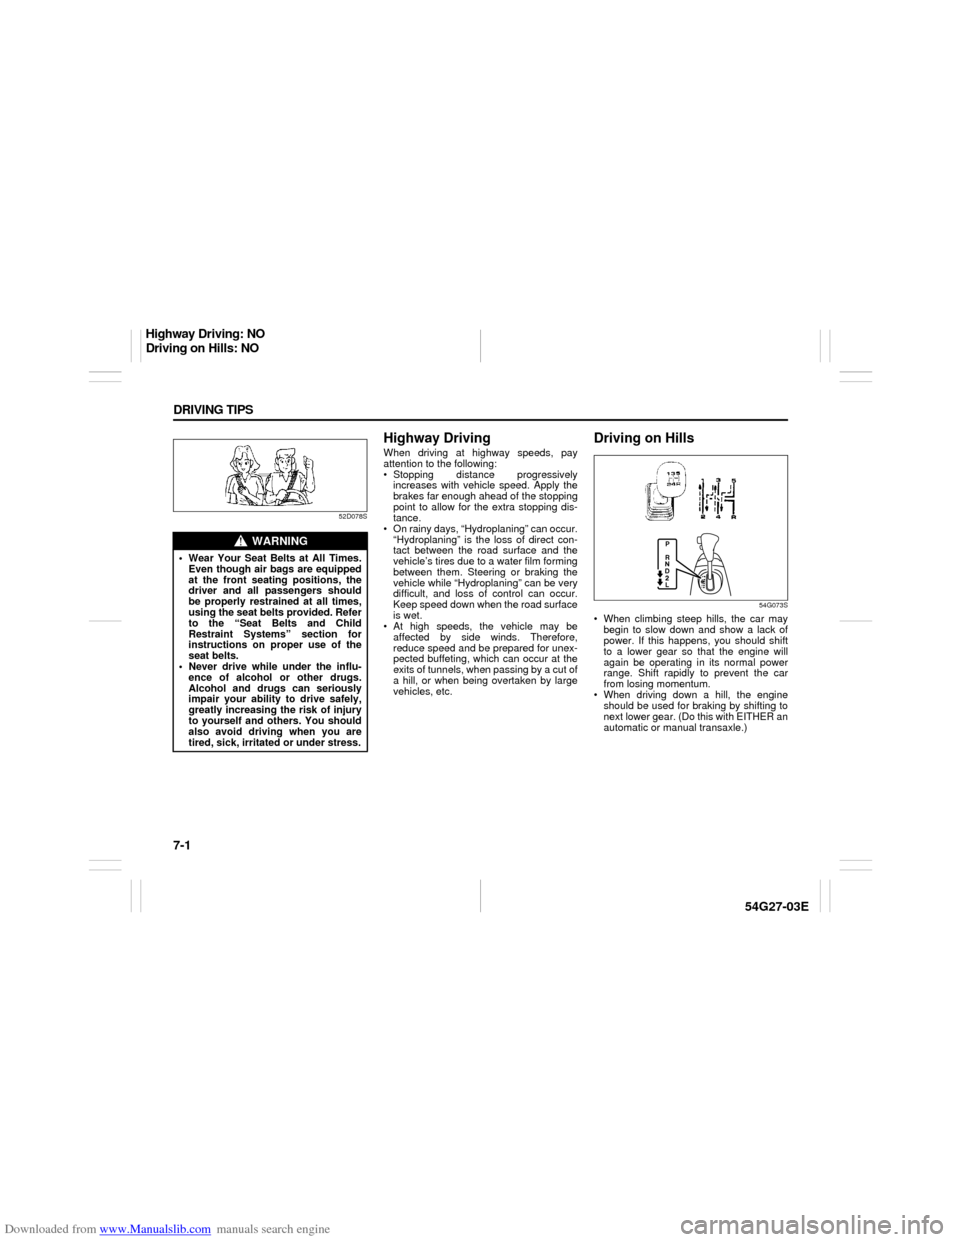
When driving down a hill, the engine
should be used for braking by shifting to
next lower gear. (Do this with EITHER an
automatic or manual transaxle.)
WARNING
Wear Your Seat Belts at All Times.
Even though air bags are equipped
at the front seating positions, the
driver and all passengers should
be properly restrained at all times,
using the seat belts provided. Refer
to the “Seat Belts and Child
Restraint Systems” section for
instructions on proper use of the
seat belts.
Never drive while under the influ-
ence of alcohol or other drugs.
Alcohol and drugs can seriously
impair your ability to drive safely,
greatly increasing the risk of injury
to yourself and others. You should
also avoid driving when you are
tired, sick, irritated or under stress.
Highway Driving: NO
Driving on Hills: NO
Page 144 of 232

Downloaded from www.Manualslib.com manuals search engine 7-3 DRIVING TIPS
54G27-03E
Tire ChainsTire chains should only be used if they are
needed to increase traction or are required
by law. Make sure that the chains you use
are small-link chains or cable-type chains
and are the correct size for your vehicle’s
tires. Also make sure that there is enough
clearance between the fenders and the
chains as installed on the tires.
Install the chains on the front tires tightly,
according to the chain manufacturer’s
instructions. Retighten the chains after
driving about 1.0 km (1/2 mile) if neces-
sary. With the chains installed, drive slowly.Do not drive through deep or rushing
water
Driving in deep or rushing water can be
hazardous. You could lose control of the
vehicle and the occupants could drown.
Also, your vehicle could be seriously dam-
aged. To avoid these risks, observe the fol-
lowing instructions and precautions.
Do not drive through deep or rushing
water. Deep or rushing water, such as
fast-moving streams or floodwaters,
could carry your vehicle away from your
intended path. The water is too deep if it
covers your wheel hubs, axles or
exhaust tailpipe. Know the depth of the
water before you attempt to drive
through it.
If water blocks the tailpipe, the engine
may not start or run. If the water is deep
enough to get drawn into the engine
intake system, the engine will be badly
damaged.
Submerged brakes will have poor brak-
ing performance. Drive slowly and care-
fully. Driving slowly will also help avoid
water splashing onto the ignition system,
which could cause the engine to stall.
Even when driving through shallow or
still waters, drive carefully since the
water may be hiding ground hazards
such as holes, ditches or bumps.
54G638S
CAUTION
Do not continue rocking the vehicle
for more than a few minutes. Pro-
longed rocking can cause engine
overheating, transaxle or transfer
case damage or tire damage.
CAUTION
If you hear the chains hitting against
the vehicle body while driving, stop
and tighten them.
If your vehicle is equipped with full
wheel caps, remove the wheel caps
before installing the chains or the
wheel caps can be damaged by the
chain bands.
WARNING
In addition to following the driving
tips in this section, it is important to
observe the following precautions.
Make sure your tires are in good
condition and always maintain the
specified tire pressure. Refer to
“Tires” in the “INSPECTION AND
MAINTENANCE” section for
details.
Do not use tires other than those
specified by SUZUKI. Never use dif-
ferent sizes or types of tires on the
front and rear wheels. For informa-
tion regarding the specified tires,
refer to the Tire Information Label
located on the driver’s side door
pillar.
(Continued)
Driving on Slippery Roads: NO
Page 150 of 232

Downloaded from www.Manualslib.com manuals search engine 8-3 VEHICLE LOADING AND TOWING
54G27-03E
54G212
TOWING METHOD AFROM THE FRONT:
FRONT WHEELS ON A DOLLY
AND REAR WHEELS ON THE GROUND
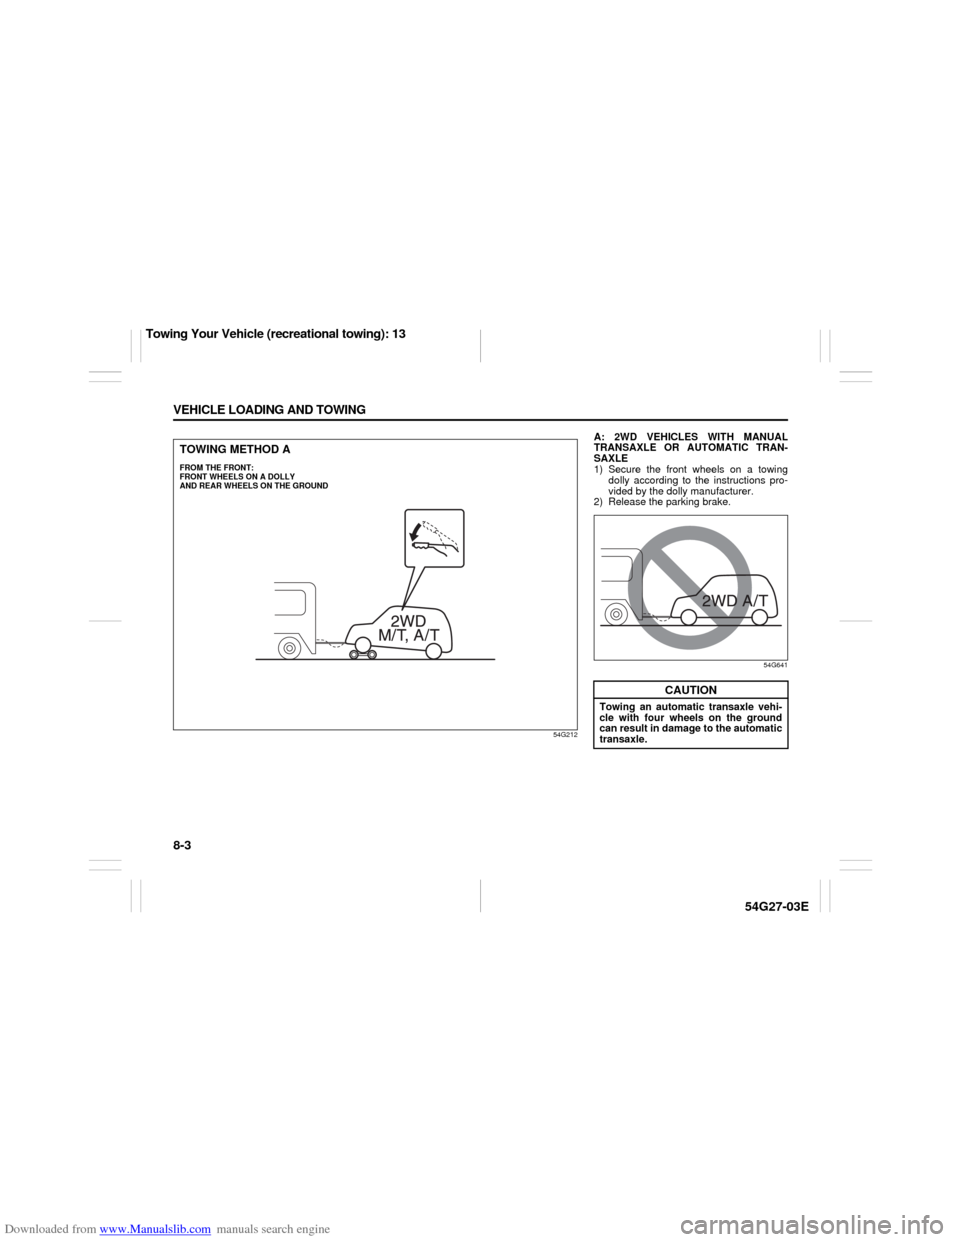
A: 2WD VEHICLES WITH MANUAL
TRANSAXLE OR AUTOMATIC TRAN-
SAXLE
1) Secure the front wheels on a towing
dolly according to the instructions pro-
vided by the dolly manufacturer.
2) Release the parking brake.
54G641
CAUTION
Towing an automatic transaxle vehi-
cle with four wheels on the ground
can result in damage to the automatic
transaxle.
Towing Your Vehicle (recreational towing): 13