Page 129 of 232
Downloaded from www.Manualslib.com manuals search engine OPERATING YOUR VEHICLE
6
54G27-03E
60G408
OPERATING YOUR VEHICLEExhaust Gas Warning ......................................................... 6-1
Daily Inspection Checklist .................................................. 6-1
Starting the Engine ............................................................. 6-2
Engine Block Heater (if equipped) ..................................... 6-3
Using the Transaxle ............................................................ 6-4
Braking ................................................................................. 6-7
Break-In ................................................................................ 6-9
Catalytic Converter ............................................................. 6-9
Improving Fuel Economy ................................................... 6-10
Page 130 of 232
 Make sure that windows, mirrors, lig")
Downloaded from www.Manualslib.com manuals search engine 6-1 OPERATING YOUR VEHICLE
54G27-03E
Exhaust Gas Warning
52D334
Daily Inspection ChecklistBefore Driving1) Make sure that windows, mirrors, lights
and reflectors are clean and unob-
structed.
2) Visually check the tires for the following
points:
– the depth of the tread groove
– abnormal wear, cracks and damage
– loose wheel nuts
– existence of foreign material such as
nails, stones, etc.
Refer to “Tires” in “INSPECTION AND
MAINTENANCE” section for details.
3) Look for fluid, oil leaks.
NOTE:
It is normal for water to drip from the air
conditioning system after use.
4) Make sure the hood is fully closed and
latched.
5) Check the headlights, turn signal lights,
brake lights and horn for proper opera-
tion.
6) Lock all doors.
7) Adjust the seat and adjustable head
restraints (if equipped).
8) Check the brake pedal.
9) Adjust the mirrors.
10)Make sure that you and all passengers
have properly fastened your seat belts.
11)Make sure that all warning lights come
on as the key is turned to the “ON” or
“START” position.
WARNING
Avoid breathing exhaust gases.
Exhaust gases contain carbon mon-
oxide, a potentially lethal gas that is
colorless and odorless. Since carbon
monoxide is difficult to detect by
itself, be sure to take the following
precautions to help prevent carbon
monoxide from entering your vehicle.
Do not leave the engine running in
garages or other confined areas.
(Continued)
WARNING
(Continued)
Do not park with the engine run-
ning for a long period of time, even
in an open area. If it is necessary to
sit for a short time in a parked vehi-
cle with the engine running, make
sure the air intake selector is set to
“FRESH AIR” and the blower is at
high speed.
Avoid operating the vehicle with
the trunk open. If it is necessary to
operate the vehicle with the trunk
open, make sure the sunroof (if
equipped) and all windows are
closed, and the blower is at high
speed with the air intake selector
set to “FRESH AIR”.
To allow proper operation of your
vehicle’s ventilation system, keep
the air inlet grille in front of the
windshield clear of snow, leaves or
other obstructions at all times.
Keep the exhaust tailpipe area clear
of snow and other material to help
reduce the buildup of exhaust
gases under the vehicle. This is
particularly important when parked
in blizzard conditions.
Have the exhaust system inspected
periodically for damage and leaks.
Any damage or leaks should be
repaired immediately.
Exhaust Gas Warning: NO
Daily Inspection Checklist: NO
Page 131 of 232
Check all gauges.
13)Make sure that the BRAKE light turns
off when the parking brake is released.
Once")
Downloaded from www.Manualslib.com manuals search engine 6-2 OPERATING YOUR VEHICLE
54G27-03E
12)Check all gauges.
13)Make sure that the BRAKE light turns
off when the parking brake is released.
Once a week, or each time you fill your fuel
tank, perform the following under-hood
checks:
1) Engine oil level
2) Coolant level
3) Brake fluid level
4) Power steering (if equipped) fluid level
5) Windshield washer fluid level
6) Hood latch operation
Pull the hood release handle inside the
vehicle. Make sure that you cannot
open the hood all the way without
releasing the secondary latch. Be sure
to close the hood securely after check-
ing for proper latch operation. See the
item “All latches, hinges and locks” of
“CHASSIS AND BODY” in the “Periodic
Maintenance Schedule” section in the
“INSPECTION AND MAINTENANCE”
section for lubrication schedule.
Starting the EngineBefore Starting the Engine1) Make sure the parking brake is set fully.
2) Manual Transaxle – Shift into “N” (Neu-
tral) and depress the clutch pedal all
the way to the floor.
Hold it while starting the engine.
Automatic Transaxle – If the gearshift
lever is not in “P” (Park) position, shift
into “P”. (If you need to re-start the
engine while the vehicle is moving, shift
into “N”.)
NOTE:
The engine of manual transaxle vehicle will
not start unless the clutch pedal is
depressed.
NOTE:
Automatic transaxle vehicles have a starter
interlock device which is designed to keep
the starter from operating if the transaxle is
in any of the drive positions.
Starting a Cold EngineWith your foot off the accelerator pedal,
crank the engine by turning the ignition key
to “START”. Release the key when the
engine starts.
If the engine does not start after 15 sec-
onds of cranking, wait about 15 seconds,
then press down the accelerator pedal to
1/3 of its travel and try cranking the engine
again. Release the key and accelerator
pedal when the engine starts.
If the engine still does not start, try holding
the accelerator pedal all the way to the
floor while cranking. This should clear the
engine if it is flooded.
If you are unable to start the engine using
this procedure, consult your SUZUKI
dealer.Starting a Warm EngineUse the same procedure as for “Starting a
Cold Engine”.
WARNING
Make sure the hood is fully closed
and latched before driving. If it is not,
it can fly up unexpectedly during
driving, obstructing your view and
resulting in an accident.
WARNING
Make sure that the parking brake is
set fully and the transaxle is in Neu-
tral (or Park for vehicles with an auto-
matic transaxle) before attempting to
start the engine.
CAUTION
Stop turning the starter immedi-
ately after the engine has started or
the starter system can be dam-
aged.
Do not crank the engine for more
than 15 seconds at a time. If the
engine doesn’t start on the first try,
wait about 15 seconds before try-
ing again.
Daily Inspection Checklist: NO
Starting the Engine: 1
Page 132 of 232

54G209
The engine block heater will help you start
the engine more easi")
Downloaded from www.Manualslib.com manuals search engine 6-3 OPERATING YOUR VEHICLE
54G27-03E
Engine Block Heater
(if equipped)
54G209
The engine block heater will help you start
the engine more easily in very cold
weather (–18°C (0°F) or below). To use the
engine block heater:
1) Turn off the engine.
2) Open the engine hood.
3) Untie the block heater cord and remove
the block heater plug cap. When the
engine block heater is not in use,
ensure the heater cord is secured to
prevent contact with any moving parts.
4) Using a heavy-duty, three-prong
grounded extension cord, plug the
female end into the block heater socket
and the male end into a normal,
grounded 110-volt AC outlet.NOTE:
Activate the heater at least four hours
before you start the engine. However, as
the heating time varies depending on the
ambient temperature and other factors,
adjust the time by observing the engine
cranking condition.
After using the block heater:
1) Unplug the extension cord and reinstall
the plug cap.
2) Tie the block heater cord back to its
original position.3) Close the engine hood securely before
starting the engine.
WARNING
To avoid serious personal injury
caused by electrical shock or fire:
Do not plug the cord into a non-
grounded outlet. Only use a prop-
erly grounded three-prong 110-volt
AC outlet.
Do not use a 2-wire (non-grounded)
extension cord.
Only use a heavy-duty, three-prong
extension cord rated for at least 15
amps.
CAUTION
Secure the block heater cord back to
its original position or to the routed
position. A loose cord could get
caught in the engine accessory drive
belt(s) or other moving parts.
Engine Block Heater: 1
Page 133 of 232
 Overdrive off switch
The transaxle is a 4-speed")
Downloaded from www.Manualslib.com manuals search engine 6-4 OPERATING YOUR VEHICLE
54G27-03E
Using the Transaxle4-Speed Automatic Transaxle
54G606
(1) Overdrive off switch
The transaxle is a 4-speed (3-speed plus
overdrive) automatic transaxle. By operat-
ing the overdrive off switch, the transaxle
can be converted to a 3-speed automatic
transaxle that will not shift to the overdrive
position. To convert the transaxle to the 3-
speed mode, push in the overdrive off
switch and release it with the ignition
switch in the “ON” position. The “O/D OFF”
indicator light in the instrument cluster
comes on.
52D186
To return the transaxle to the 4-speed
mode, push in the overdrive off switch
again. The “O/D OFF” indicator light goes
off.
When the ignition switch is turned to the
“ACC” position, the transaxle in the 3-
speed mode is converted to the 4-speed
mode automatically.
The 3-speed mode is suitable for the fol-
lowing driving conditions:
Driving on hilly, winding roads
– You can drive more smoothly with less
frequent gearshifting
Going down a steep hill
– Some engine braking is provided
54G069
The gearshift lever has a lock mechanism
to help prevent accidental shifting into or
out of “P” (Park), into “R” (Reverse), from
“D” (Drive) to “2” (Low 2), and from “2”
(Low 2) to “L” (Low 1). To release the lock,
push in the lock button on your side of the
gearshift lever before shifting.
The gearshift lever is designed so that it
can not be shifted out of the “P” position
unless the ignition switch is in the “ON”
position and the brake pedal is depressed
at the time that you push in the gearshift
lever lock button.
(1)
EXAMPLE
4-speed 3-speed
Using the Transaxle: 10
Page 134 of 232

Downloaded from www.Manualslib.com manuals search engine 6-5 OPERATING YOUR VEHICLE
54G27-03E
For all normal driving, make sure that the
“O/D OFF” indicator light is off, then put the
gearshift lever into “D” (Drive). Use the
other gearshift lever positions as described
below:
P (Park)
Use this position to lock the transaxle
when the vehicle is parked or when start-
ing the engine. Shift into Park only when
the vehicle is completely stopped.
R (Reverse)
Use this position to back the vehicle from
stop. Make sure that the vehicle is com-
pletely stopped before shifting into
Reverse.
N (Neutral)
Use this position for starting the engine if
the engine stalls and you need to restart it
while the vehicle is moving. You may also
shift into Neutral and depress the brake
pedal to hold the vehicle stationary during
idling.D (Drive)
Use this position for all normal driving.
With the selector in “D” range, you can get
an automatic downshift by pressing the
accelerator pedal. The higher the vehicle
speed is, the more you will need to press
the accelerator pedal to get a downshift.
2 (Low 2)
Use this position to provide extra power
when climbing hills, or to provide engine
braking when going down hills.
L (Low 1)
Use this position to provide maximum
power when climbing steep hills or driving
through deep snow or mud, or to provide
maximum engine braking when going
down steep hills.
NOTE:
If you move the gearshift lever to a lower
gear while driving faster than the maximum
allowable speed for the lower gear, the
transaxle will not actually downshift until
your speed drops below the maximum
speed for the lower gear.
WARNING
Always depress the brake pedal
before shifting from “P” (Park) or “N”
(Neutral) to a forward or reverse gear,
to help prevent the vehicle from mov-
ing unexpectedly when you shift.
CAUTION
Be sure to take the following precau-
tions to help avoid damage to the
automatic transaxle:
Make sure that the vehicle is com-
pletely stopped before shifting into
“P” or “R”.
Do not shift from “P” or “N” to “R”,
“D”, “2” or “L” when the engine is
running above idle speed.
Do not rev the engine with the tran-
saxle in a drive position (“R”, “D”,
“2” or “L”) and the front wheels not
moving.
Do not use the accelerator to hold
the vehicle on a hill. Use the vehi-
cle’s brakes.
Using the Transaxle: 10
Page 135 of 232

If you are unable to shift the transaxle out
of Park in the norma")
Downloaded from www.Manualslib.com manuals search engine 6-6 OPERATING YOUR VEHICLE
54G27-03E
Emergency shifting out of “P” (Park)
If you are unable to shift the transaxle out
of Park in the normal manner, see “If You
Can Not Shift Automatic Transaxle Gear-
shift Lever Out of “P” (PARK)” in the INDEX
for what to do.
Manual Transaxle
60A177
Starting off
To start off, push in the clutch pedal and
shift into 1st gear. After releasing the park-
ing brake, gradually release the clutch.
When you hear a change in the engine’s
sound, slowly press the accelerator while
continuing to gradually release the clutch.
Shifting
All forward gears are synchronized, which
provides for quiet, easy shifting. Always
push in the clutch pedal fully before shifting
gears. Make sure the engine speed does
not rise into the red zone of the tachome-
ter.EXAMPLE
WARNING
Reduce your speed and downshift
to a lower gear before going down
a long or steep hill. Downshifting
will allow the engine to provide
braking. Avoid riding the brakes or
they may overheat, resulting in
brake failure.
When driving on slippery roads, be
sure to slow down before down-
shifting. Large and sudden
changes in engine speed may
cause loss of traction, which could
cause you to lose control.
Make sure that the vehicle is com-
pletely stopped before you shift
into reverse.
CAUTION
To help avoid clutch damage, do
not use the clutch pedal as a foot-
rest while driving or use the clutch
to keep the vehicle stationary on a
hill. Depress the clutch fully when
shifting.
When shifting or starting off, do not
race the engine. Racing the engine
can shorten engine life and prevent
smooth shifting.
Using the Transaxle: 10
Page 136 of 232

Downloaded from www.Manualslib.com manuals search engine 6-7 OPERATING YOUR VEHICLE
54G27-03E
Braking
60G165
The distance needed to bring any vehicle
to a halt increases with the speed of the
vehicle. The braking distance needed, for
example, at 60 km/h (37 mph) will be
approximately 4 times greater than the
braking distance needed at 30 km/h (19
mph). Start to brake the vehicle when there
is plenty of distance between your vehicle
and the stopping point, and slow down
gradually.
Power Assisted BrakesYour vehicle has power assisted brakes. If
power assistance is lost due to a stalled
engine or other failures, the system is still
fully operational on reserve power and you
can bring the vehicle to a complete stop by
pressing the brake pedal once and holding
it down. The reserve power is partly used
up when you depress the brake pedal and
reduces each time the pedal is pressed.
Apply smooth and even pressure to the
pedal. Do not pump the pedal.
Anti-Lock Brake System (ABS)
(if equipped)ABS will help you avoid skidding by elec-
tronically controlling braking pressure. It
will also help you maintain steering control
when braking on slippery surfaces or when
braking hard.
The ABS works automatically, so you do
not need any special braking technique.
Just push the brake pedal down without
pumping. The ABS will operate whenever it
senses that the wheels are locking up.
You may feel the brake pedal pulsate while
the ABS is operating.
NOTE:
The ABS will not work if vehicle speed is
under 5 – 6 km/h (3 – 4 mph).
WARNING
If water gets into the brake drums,
brake performance may become poor
and unpredictable.
After driving through water or wash-
ing the underside of the vehicle, test
the brakes while driving at a slow
speed to see if they have maintained
their normal effectiveness. If the
brakes are less effective than normal,
dry them by repeatedly applying the
brakes while driving slowly until the
brakes have regained their normal
effectiveness.
WARNING
Even without reserve power in the
brake system, you can still stop the
vehicle by pressing the brake pedal
harder than normally required. How-
ever, the stopping distance may be
longer.
Braking: 6
 1
1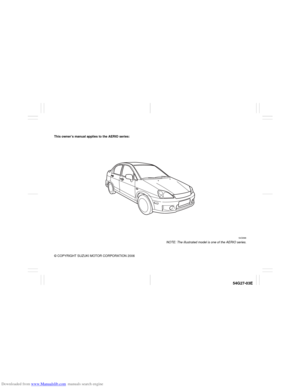 2
2 3
3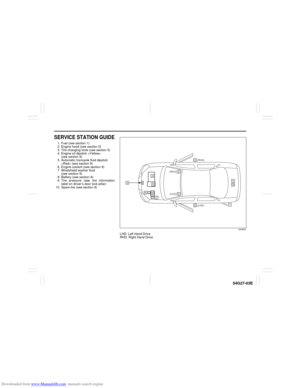 4
4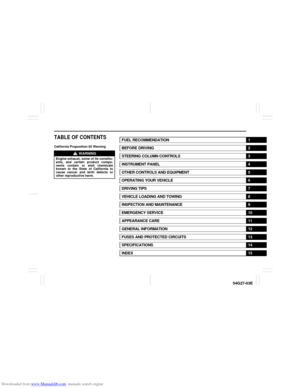 5
5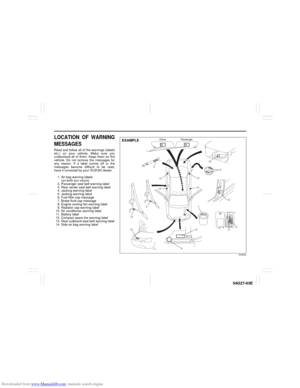 6
6 7
7 8
8 9
9 10
10 11
11 12
12 13
13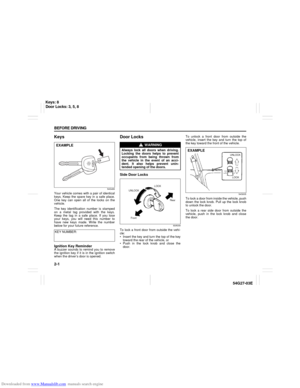 14
14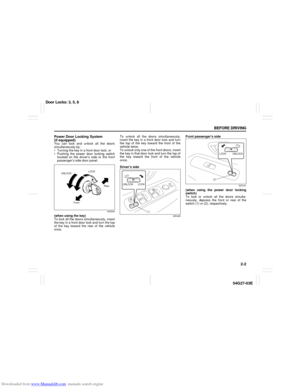 15
15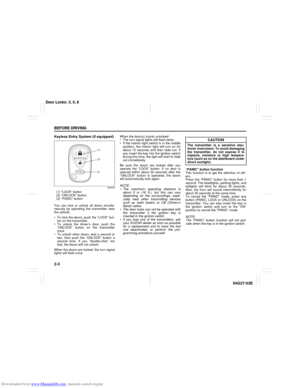 16
16 17
17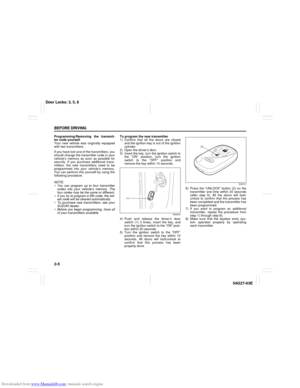 18
18 19
19 20
20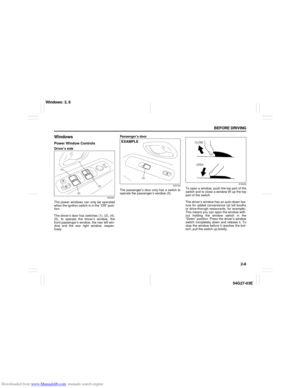 21
21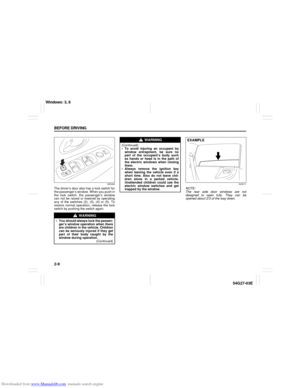 22
22 23
23 24
24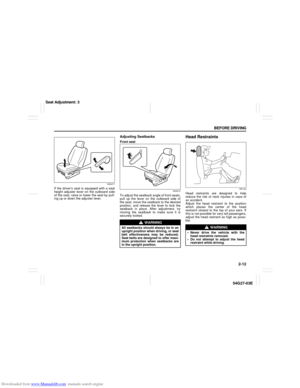 25
25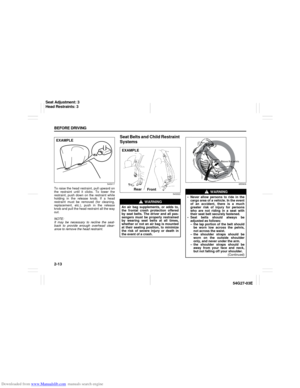 26
26 27
27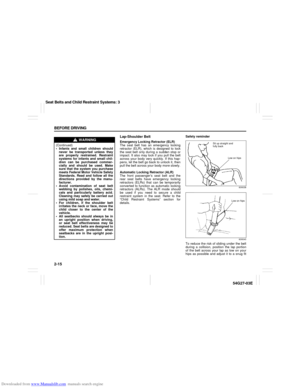 28
28 29
29 30
30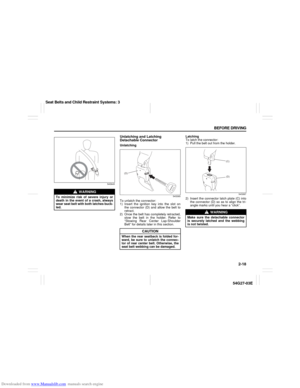 31
31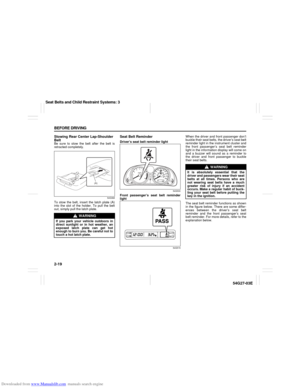 32
32 33
33 34
34 35
35 36
36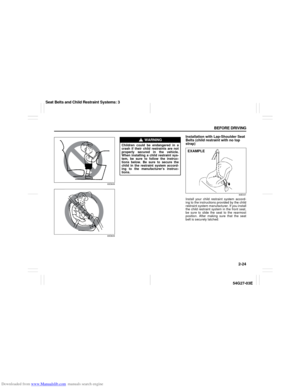 37
37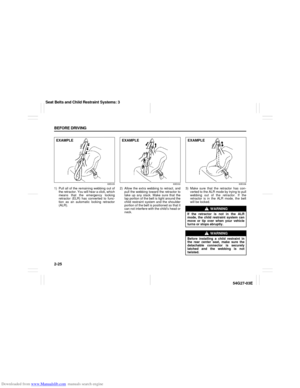 38
38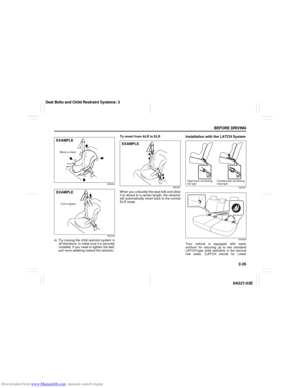 39
39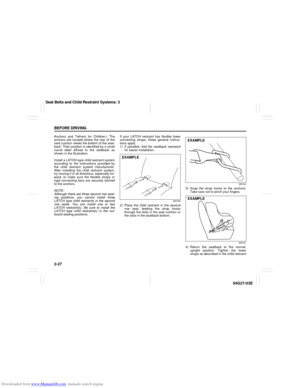 40
40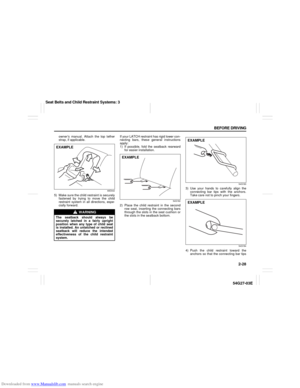 41
41 42
42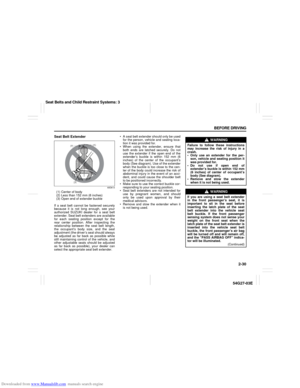 43
43 44
44 45
45 46
46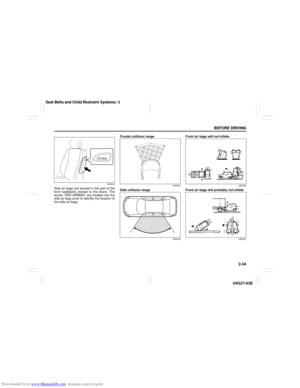 47
47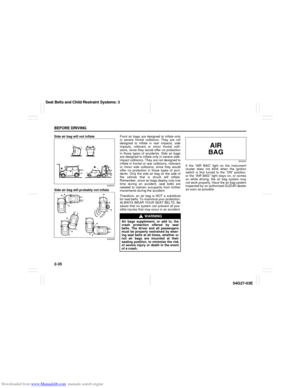 48
48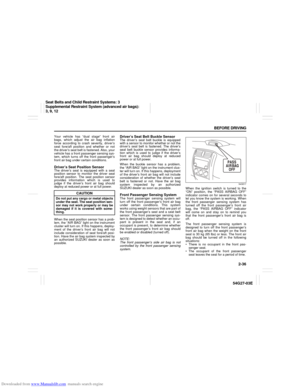 49
49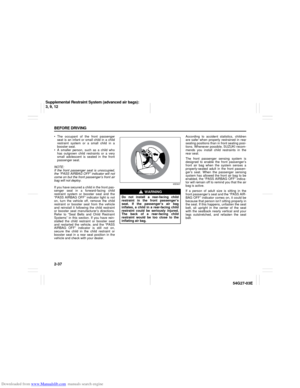 50
50 51
51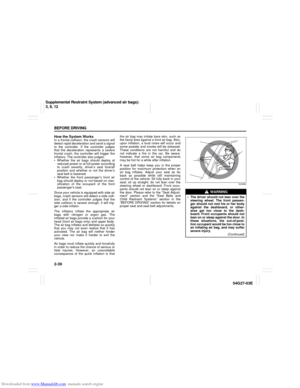 52
52 53
53 54
54 55
55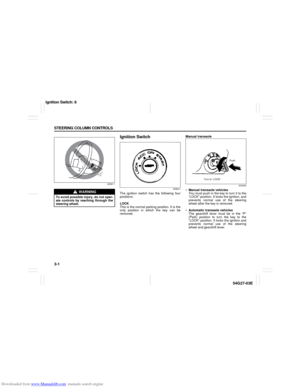 56
56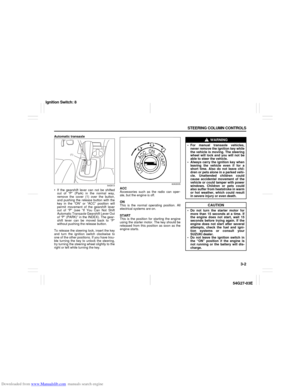 57
57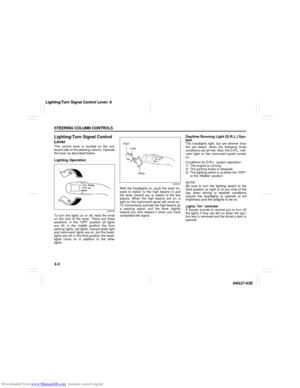 58
58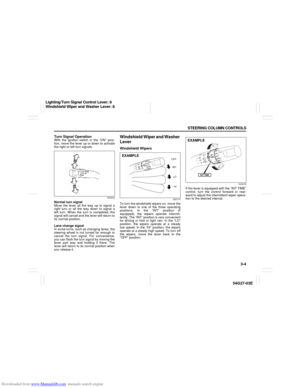 59
59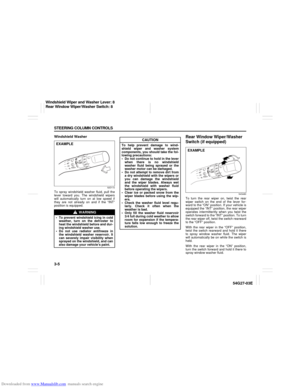 60
60 61
61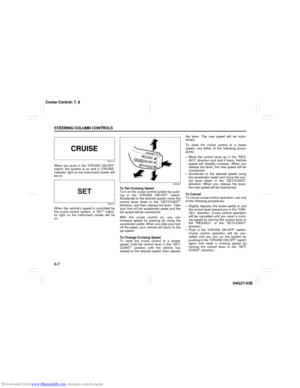 62
62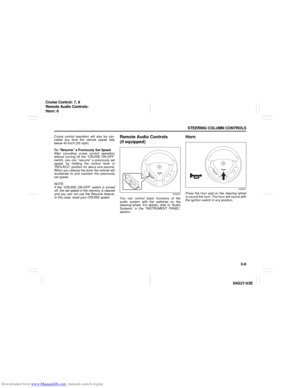 63
63 64
64 65
65 66
66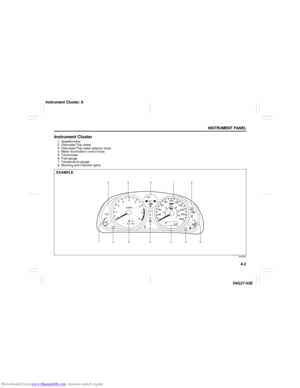 67
67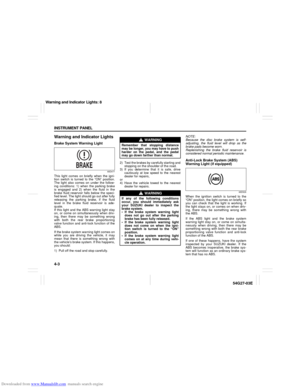 68
68 69
69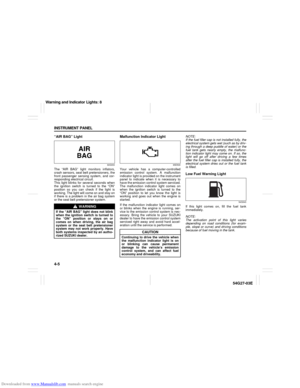 70
70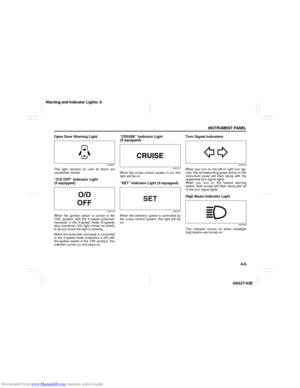 71
71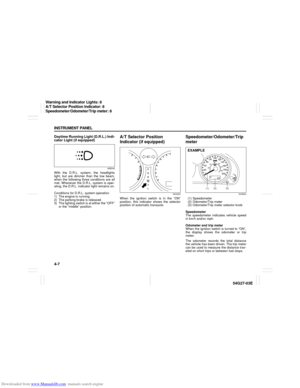 72
72 73
73 74
74 75
75 76
76 77
77 78
78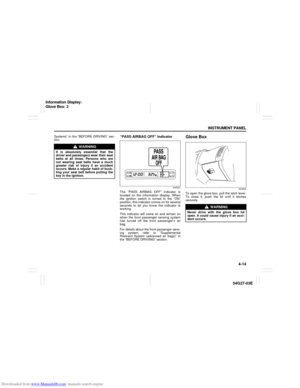 79
79 80
80 81
81 82
82 83
83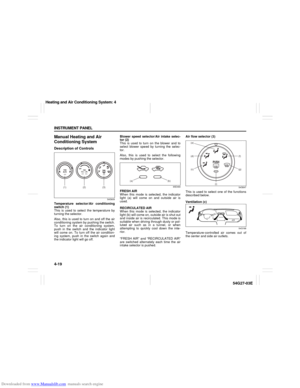 84
84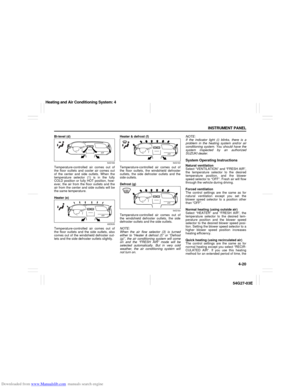 85
85 86
86 87
87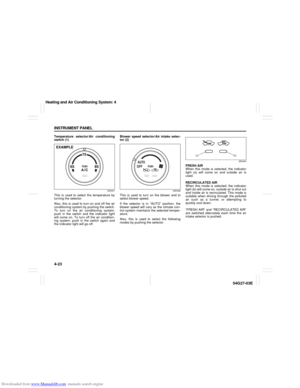 88
88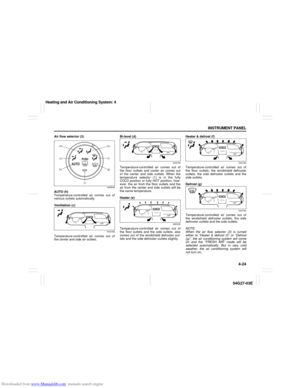 89
89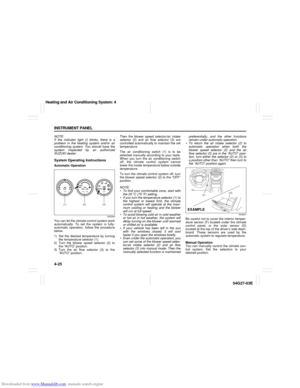 90
90 91
91 92
92 93
93 94
94 95
95 96
96 97
97 98
98 99
99 100
100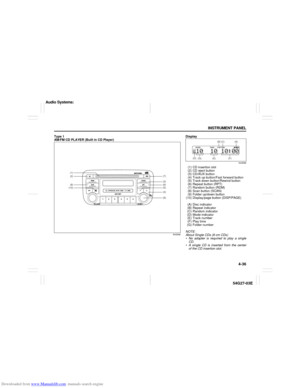 101
101 102
102 103
103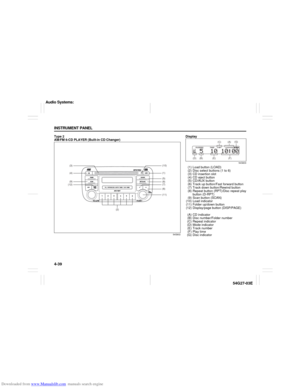 104
104 105
105 106
106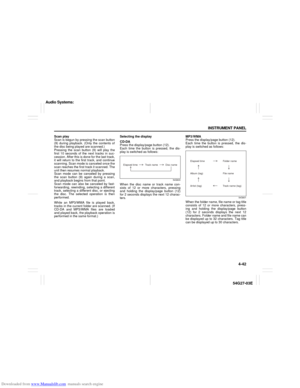 107
107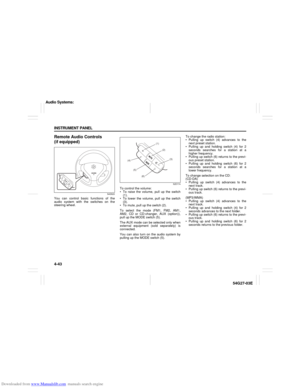 108
108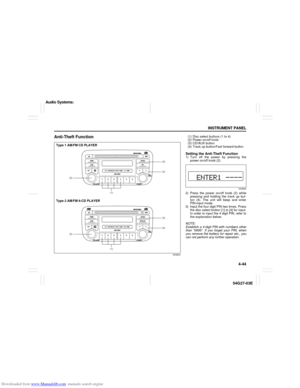 109
109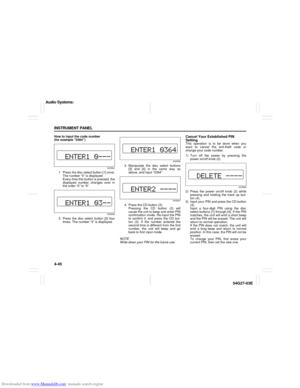 110
110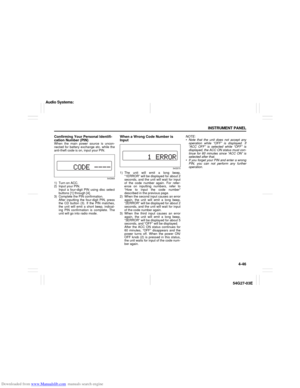 111
111 112
112 113
113 114
114 115
115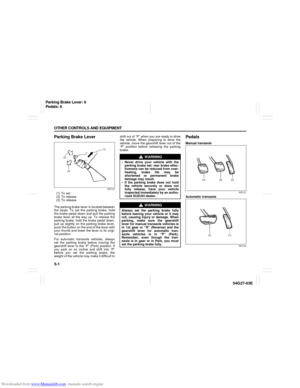 116
116 117
117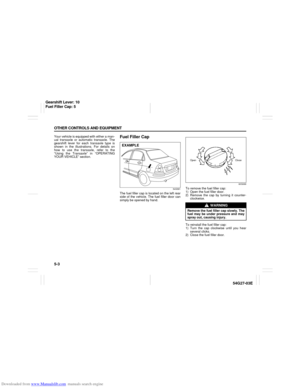 118
118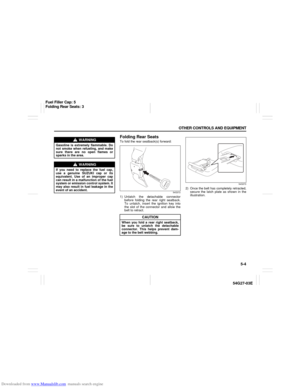 119
119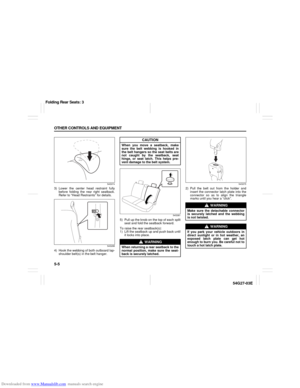 120
120 121
121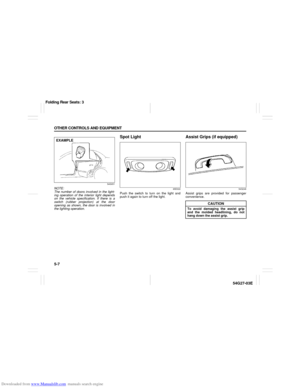 122
122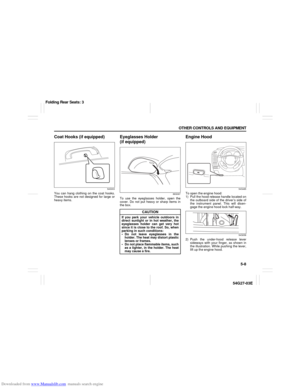 123
123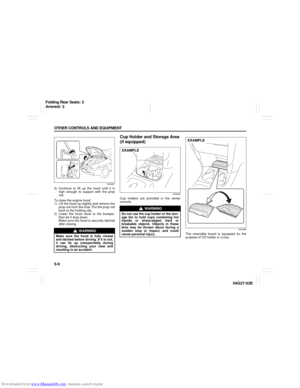 124
124 125
125 126
126 127
127 128
128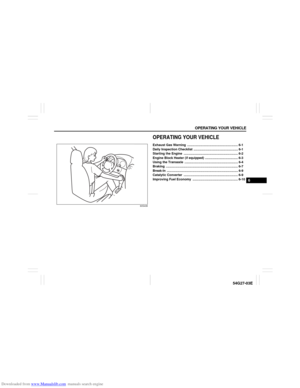 129
129 130
130 131
131 132
132 133
133 134
134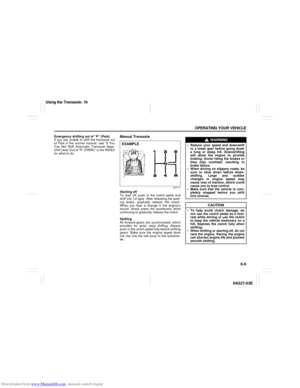 135
135 136
136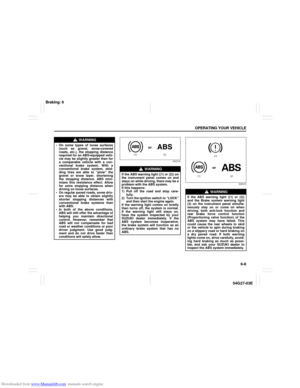 137
137 138
138 139
139 140
140 141
141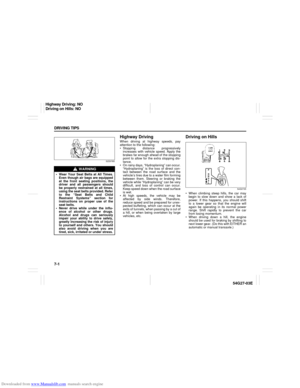 142
142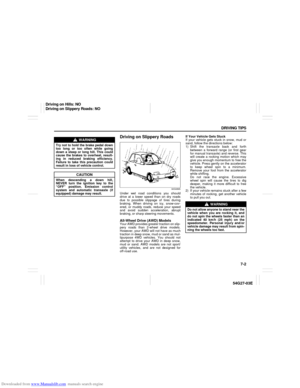 143
143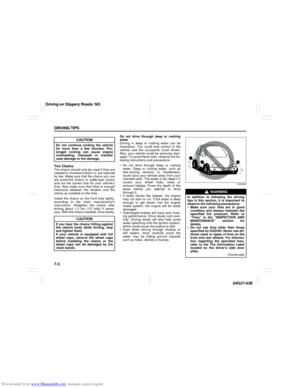 144
144 145
145 146
146 147
147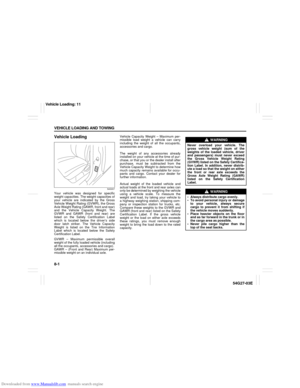 148
148 149
149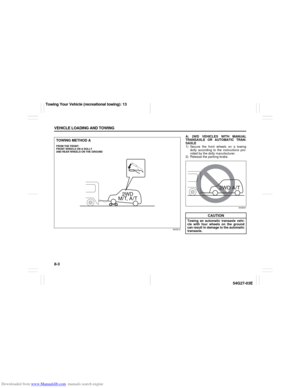 150
150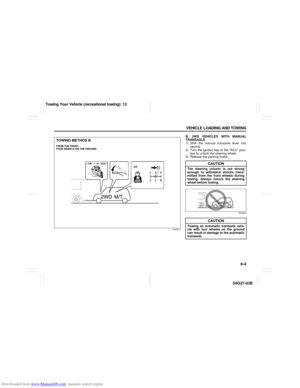 151
151 152
152 153
153 154
154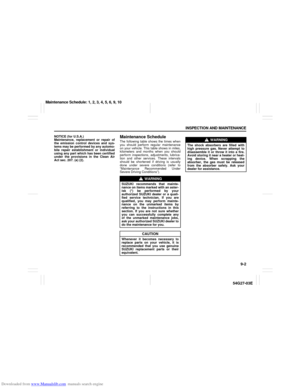 155
155 156
156 157
157 158
158 159
159 160
160 161
161 162
162 163
163 164
164 165
165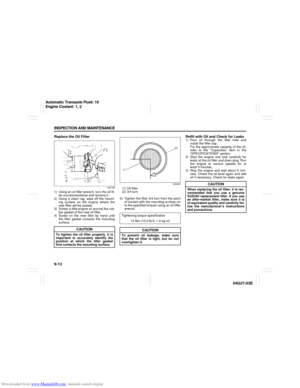 166
166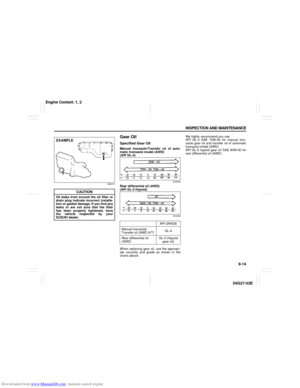 167
167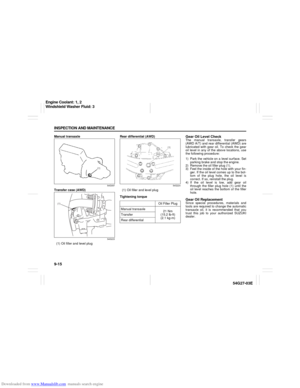 168
168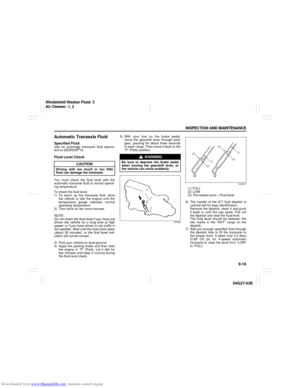 169
169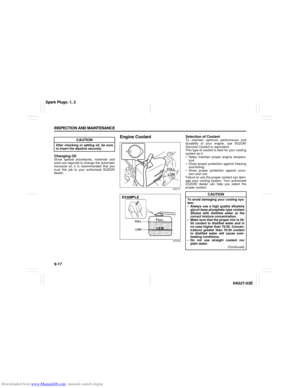 170
170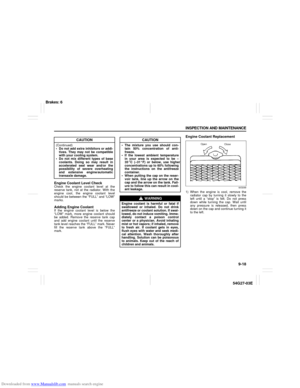 171
171 172
172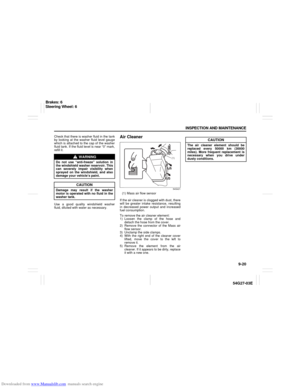 173
173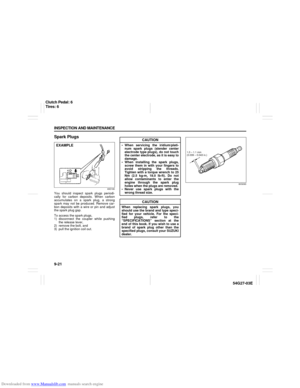 174
174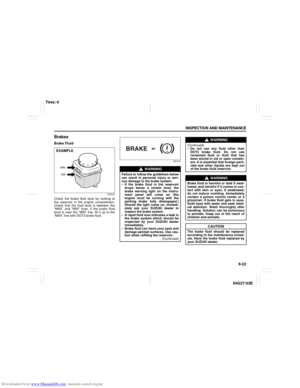 175
175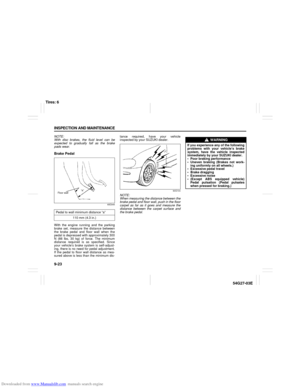 176
176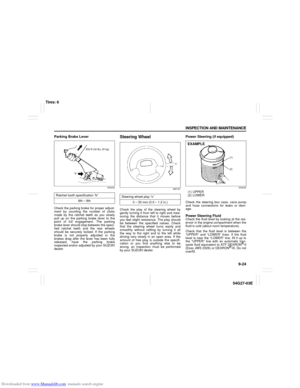 177
177 178
178 179
179 180
180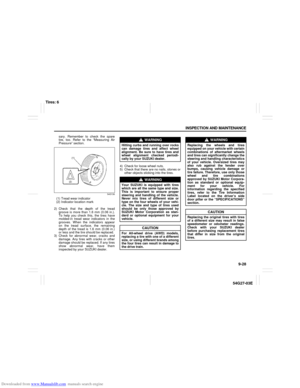 181
181 182
182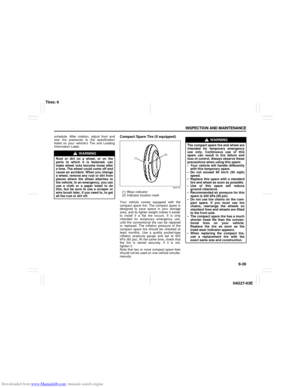 183
183 184
184 185
185 186
186 187
187 188
188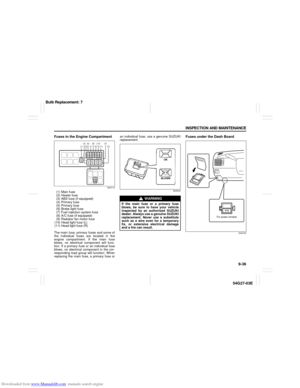 189
189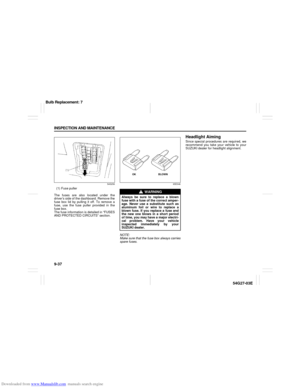 190
190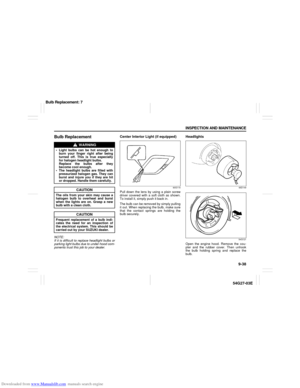 191
191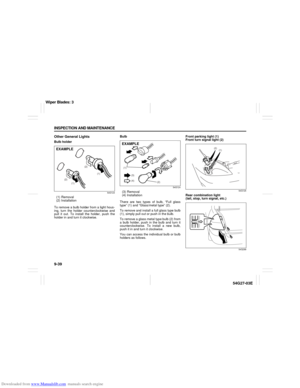 192
192 193
193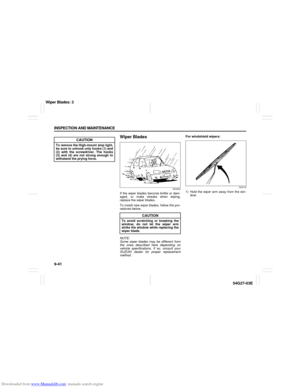 194
194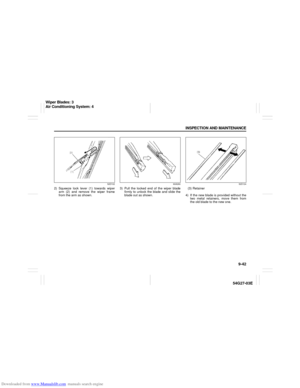 195
195 196
196 197
197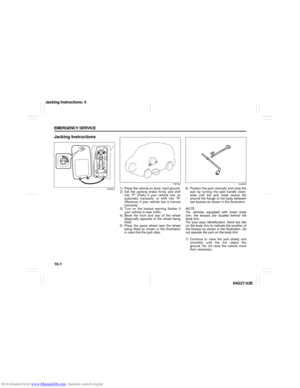 198
198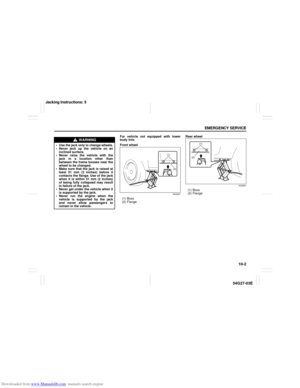 199
199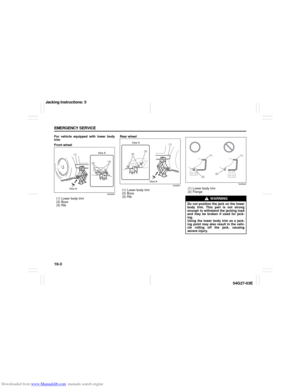 200
200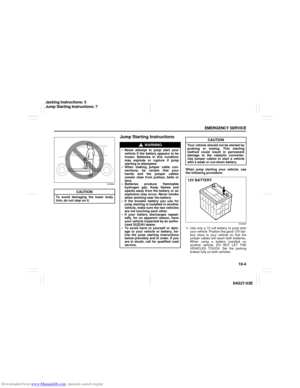 201
201 202
202 203
203 204
204 205
205 206
206 207
207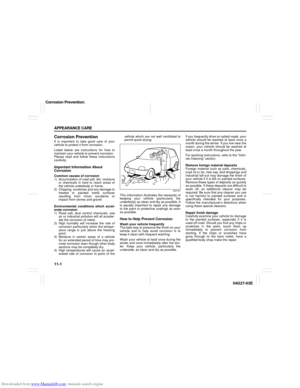 208
208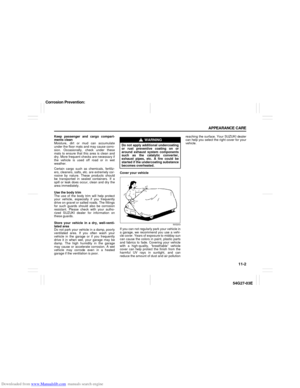 209
209 210
210 211
211 212
212 213
213 214
214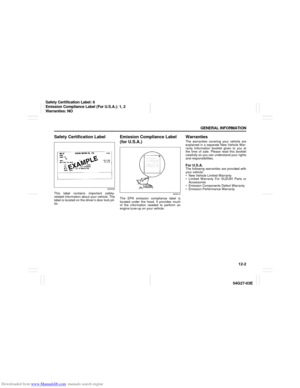 215
215 216
216 217
217 218
218 219
219 220
220 221
221 222
222 223
223 224
224 225
225 226
226 227
227 228
228 229
229 230
230 231
231