Page 217 of 470

DVD Display Buttons
Once a DVD is inserted, a screen display menu
shows several tag options for DVD playing. Press
the pushbuttons located under any desired tag
option during DVD playback. See the tag options
listed below for more information:
r/j(Play/Pause):Press either the play or
pause icon displayed on the radio system,
to toggle between pausing or restarting playback
of a DVD. If the forward arrow is showing on
display, the system is in pause mode. If the pause
icon is showing on display, the system is in
playback mode.
c(Stop):Press this button to stop playing,
rewinding, or fast forwarding a DVD.
r(Enter):Press this button to select the
choices that are highlighted in any menu.
y(Menu):Press this button to access the DVD
menu. The DVD menu is different on every
DVD. Use the pushbuttons located under the
navigation arrows to navigate the cursor through
the DVD menu. After making a selection press the
enter button. This button only operates when
using a DVD.Nav (Navigate):Press this button to display
directional arrows for navigating through
the menus.
q(Return):Press this button to exit the current
active menu and return to the previous menu.
This button operates only when a DVD is playing
and a menu is active.
Playing a Disc
To play a disc, gently insert the disc, with the label
side up, into the loading slot. The player starts
loading the disc into the system and display
“Loading Disc” on the video screen. At the same
time, the radio displays a softkey menu of options.
The rst option tag located on the left-hand side of
the menu options, displays alternately the play or
pause symbols. This indicates the system is loading
the disc or is not yet ready to accept a play button
press. The displayed symbol arrow remains until
the disc is completely loaded or Promos and
Copyright information has ended. The time can vary
depending on the discs media type and format.
Once the DVD is loaded into the system, a pause
icon displays instead of the forward arrow. This
indicates the system is in play mode, and the disc
automatically starts playback.
217
ProCarManuals.com
Page 218 of 470

Loading a disc into the system usually takes
approximately 30 seconds for playback to begin.
If a DVD is already in the radio, press the
play/pause button on the remote control, or press
the pushbutton located under the play symbol
tag displayed on the radio to start playing the disc,
when the DVD system is active.
The DVD player might not accept some paper
labeled media.
The DVD player/video screen can only be turned
on by pressing the power button on the remote
control or by inserting a DVD.
Playing an MP3 CD
The CD player has the ability to recognize up to
255 folders, and up to 255 les per folder to
a maximum of 512 total MP3 selections on a CD.
Mixed media CD’s are not supported.
Stopping and Resuming Playback
To turn the RSE system off, press the power
button twice on the radio.
To turn the RSE system back on again, press the
power button on the radio, then press the DVD/AUX
button. This brings up the softkey menu displayed
on the radio. Press the play/pause icon to begin
playback from where it had previously stopped.
To stop playing a DVD without turning off the
system, press the stop button on the remote
control, or press the pushbutton located under the
stop or the play/pause symbol tags displayed
on the radio.
To resume DVD playback, press the play/pause
button on the remote control, or press the
pushbutton located under the play/pause symbol
tag displayed on the radio. The DVD should resume
play from where it last stopped if the disc has not
been ejected and the stop button has not been
pressed twice on the remote control. If the disc has
been ejected or the stop button has been pressed
twice on the remote control, the disc resumes
playing at the beginning of the disc.
218
ProCarManuals.com
Page 219 of 470

Ejecting a Disc
Press the eject button on the radio to eject the disc.
If a disc is ejected from the radio, but not removed,
the radio reloads the disc after a short period of
time. The disc is stored in the radio. The radio does
not resume play of the disc automatically.
Remote Control
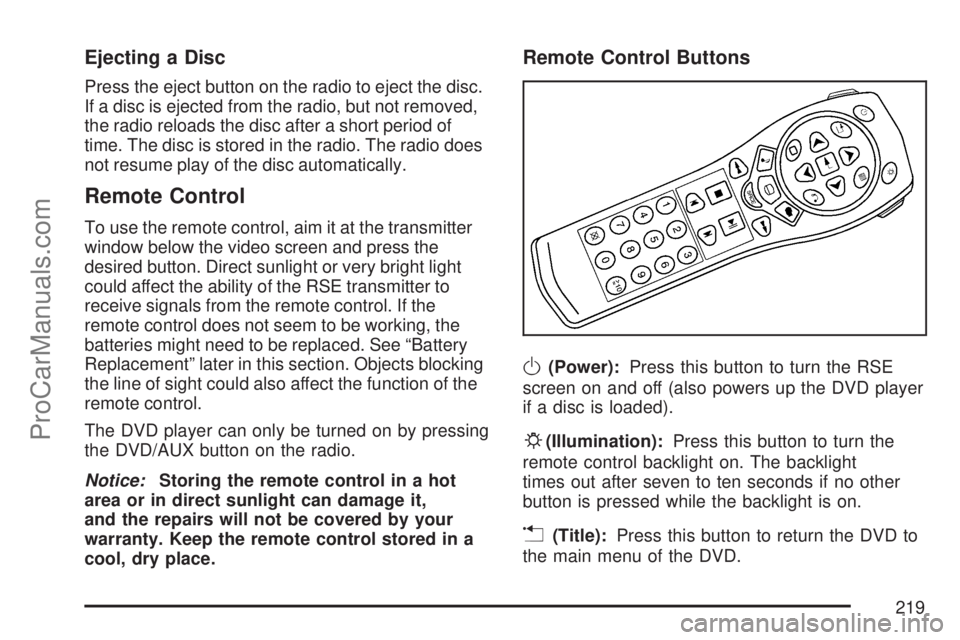
To use the remote control, aim it at the transmitter
window below the video screen and press the
desired button. Direct sunlight or very bright light
could affect the ability of the RSE transmitter to
receive signals from the remote control. If the
remote control does not seem to be working, the
batteries might need to be replaced. See “Battery
Replacement” later in this section. Objects blocking
the line of sight could also affect the function of the
remote control.
The DVD player can only be turned on by pressing
the DVD/AUX button on the radio.
Notice:Storing the remote control in a hot
area or in direct sunlight can damage it,
and the repairs will not be covered by your
warranty. Keep the remote control stored in a
cool, dry place.
Remote Control Buttons
O(Power):Press this button to turn the RSE
screen on and off (also powers up the DVD player
if a disc is loaded).
P(Illumination):Press this button to turn the
remote control backlight on. The backlight
times out after seven to ten seconds if no other
button is pressed while the backlight is on.
v(Title):Press this button to return the DVD to
the main menu of the DVD.
219
ProCarManuals.com
Page 220 of 470

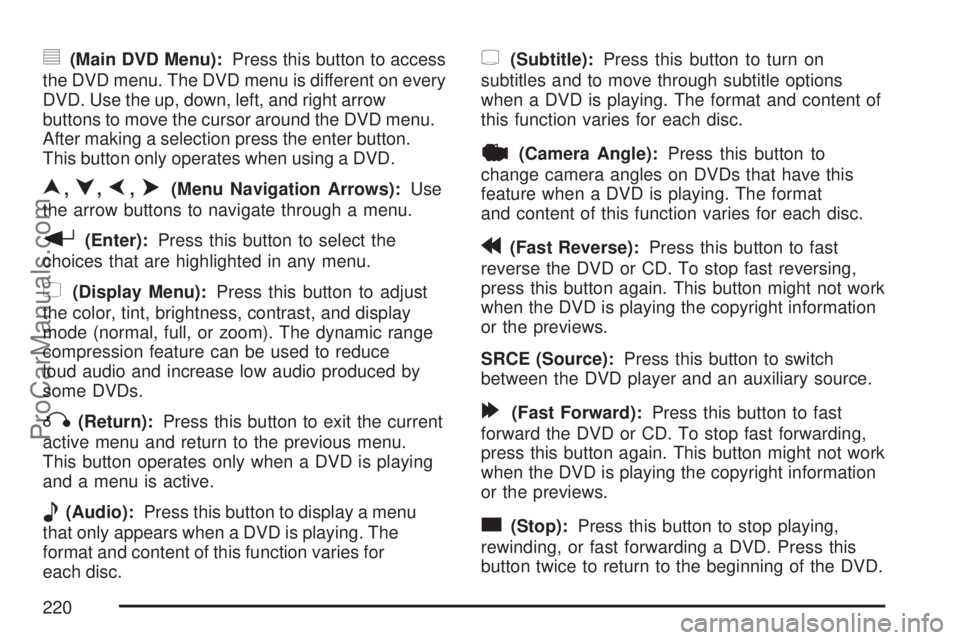
y(Main DVD Menu):Press this button to access
the DVD menu. The DVD menu is different on every
DVD. Use the up, down, left, and right arrow
buttons to move the cursor around the DVD menu.
After making a selection press the enter button.
This button only operates when using a DVD.
n,q,p,o(Menu Navigation Arrows):Use
the arrow buttons to navigate through a menu.
r(Enter):Press this button to select the
choices that are highlighted in any menu.
z(Display Menu):Press this button to adjust
the color, tint, brightness, contrast, and display
mode (normal, full, or zoom). The dynamic range
compression feature can be used to reduce
loud audio and increase low audio produced by
some DVDs.
q(Return):Press this button to exit the current
active menu and return to the previous menu.
This button operates only when a DVD is playing
and a menu is active.
e(Audio):Press this button to display a menu
that only appears when a DVD is playing. The
format and content of this function varies for
each disc.
{(Subtitle):Press this button to turn on
subtitles and to move through subtitle options
when a DVD is playing. The format and content of
this function varies for each disc.
|(Camera Angle):Press this button to
change camera angles on DVDs that have this
feature when a DVD is playing. The format
and content of this function varies for each disc.
r(Fast Reverse):Press this button to fast
reverse the DVD or CD. To stop fast reversing,
press this button again. This button might not work
when the DVD is playing the copyright information
or the previews.
SRCE (Source):Press this button to switch
between the DVD player and an auxiliary source.
[(Fast Forward):Press this button to fast
forward the DVD or CD. To stop fast forwarding,
press this button again. This button might not work
when the DVD is playing the copyright information
or the previews.
c(Stop):Press this button to stop playing,
rewinding, or fast forwarding a DVD. Press this
button twice to return to the beginning of the DVD.
220
ProCarManuals.com
Page 221 of 470

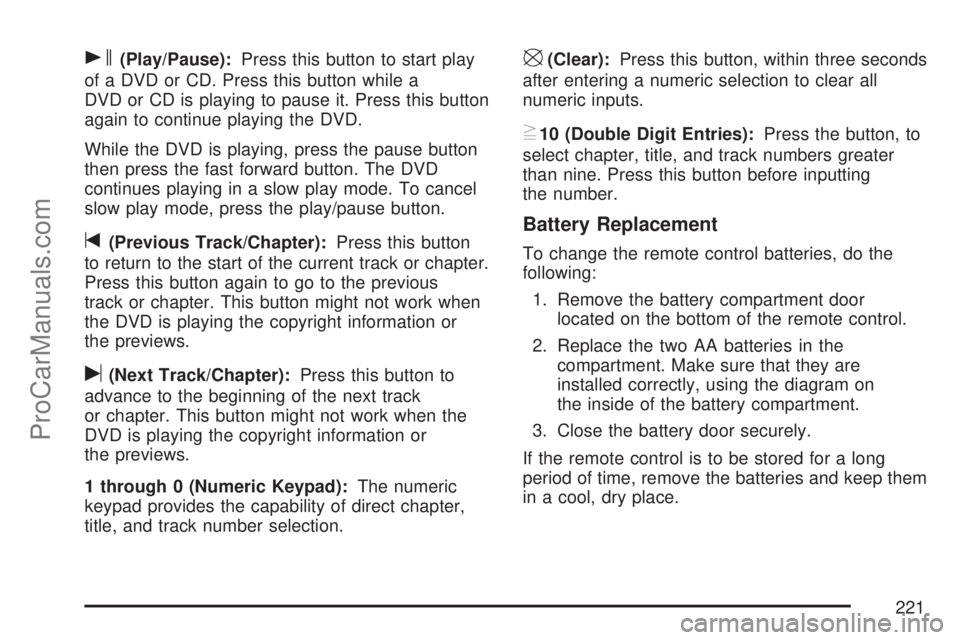
s(Play/Pause):Press this button to start play
of a DVD or CD. Press this button while a
DVD or CD is playing to pause it. Press this button
again to continue playing the DVD.
While the DVD is playing, press the pause button
then press the fast forward button. The DVD
continues playing in a slow play mode. To cancel
slow play mode, press the play/pause button.
t(Previous Track/Chapter):Press this button
to return to the start of the current track or chapter.
Press this button again to go to the previous
track or chapter. This button might not work when
the DVD is playing the copyright information or
the previews.
u(Next Track/Chapter):Press this button to
advance to the beginning of the next track
or chapter. This button might not work when the
DVD is playing the copyright information or
the previews.
1 through 0 (Numeric Keypad):The numeric
keypad provides the capability of direct chapter,
title, and track number selection.
\(Clear):Press this button, within three seconds
after entering a numeric selection to clear all
numeric inputs.
}10 (Double Digit Entries):Press the button, to
select chapter, title, and track numbers greater
than nine. Press this button before inputting
the number.
Battery Replacement
To change the remote control batteries, do the
following:
1. Remove the battery compartment door
located on the bottom of the remote control.
2. Replace the two AA batteries in the
compartment. Make sure that they are
installed correctly, using the diagram on
the inside of the battery compartment.
3. Close the battery door securely.
If the remote control is to be stored for a long
period of time, remove the batteries and keep them
in a cool, dry place.
221
ProCarManuals.com
Page 222 of 470

DVD Player Error Messages
The video screen could display one of
the following:
Disc Load/Eject Error:This message displays
when there are disc load or eject problems.
Disc Format Error:This message displays, if the
disc is inserted with the disc label wrong side
up, or if the disc is damaged.
Disc Region Error:This message displays, if the
disc is not from a correct region.
No Disc Inserted:This message displays, if no
disc is present when the EJECT or DVD/AUX
button is pressed on the radio.
DVD Distortion
Video distortion could occur when operating
cellular phones, scanners, CB radios, Global
Position Systems (GPS)*, two-way radios, mobile
fax, or walkie talkies.
It might be necessary to turn off the DVD player
when operating one of these devices in or near
the vehicle.
*Excludes the OnStar
®System.
Cleaning the DVD Player
When cleaning the outside DVD faceplate and
buttons, use only a clean cloth dampened
with clean water.
Cleaning the Video Screen
When cleaning the video screen, use only a
clean cloth dampened with clean water. Use care
when directly touching or cleaning the screen,
as damage could result.
222
ProCarManuals.com
Page 223 of 470

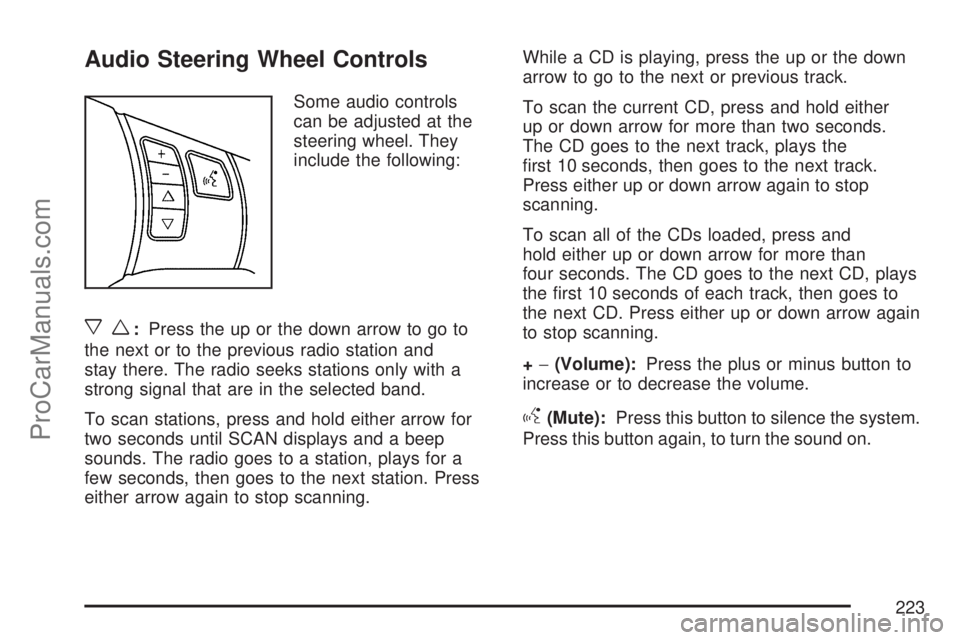
Audio Steering Wheel Controls
Some audio controls
can be adjusted at the
steering wheel. They
include the following:
xw:Press the up or the down arrow to go to
the next or to the previous radio station and
stay there. The radio seeks stations only with a
strong signal that are in the selected band.
To scan stations, press and hold either arrow for
two seconds until SCAN displays and a beep
sounds. The radio goes to a station, plays for a
few seconds, then goes to the next station. Press
either arrow again to stop scanning.While a CD is playing, press the up or the down
arrow to go to the next or previous track.
To scan the current CD, press and hold either
up or down arrow for more than two seconds.
The CD goes to the next track, plays the
rst 10 seconds, then goes to the next track.
Press either up or down arrow again to stop
scanning.
To scan all of the CDs loaded, press and
hold either up or down arrow for more than
four seconds. The CD goes to the next CD, plays
the rst 10 seconds of each track, then goes to
the next CD. Press either up or down arrow again
to stop scanning.
+−(Volume):Press the plus or minus button to
increase or to decrease the volume.
g(Mute):Press this button to silence the system.
Press this button again, to turn the sound on.
223
ProCarManuals.com
Page 224 of 470

Radio Reception
Frequency interference and static during normal
radio reception can occur if items such as
cellphone chargers, vehicle convenience
accessories, and external electronic devices are
plugged into the accessory power outlet. If there is
interference or static, unplug the item from the
accessory power outlet.
AM
The range for most AM stations is greater than for
FM, especially at night. The longer range can cause
station frequencies to interfere with each other. For
better radio reception, most AM radio stations boost
the power levels during the day, and then reduce
these levels during the night. Static can also occur
when things like storms and power lines interfere
with radio reception. When this happens, try
reducing the treble on your radio.
FM Stereo
FM stereo gives the best sound, but FM signals
will reach only about 10 to 40 miles (16 to 65 km).
Tall buildings or hills can interfere with FM
signals, causing the sound to fade in and out.
XM™ Satellite Radio Service
XM™ Satellite Radio Service gives digital radio
reception from coast-to-coast in the 48 contiguous
United States, and in Canada. Just as with FM,
tall buildings or hills can interfere with satellite
radio signals, causing the sound to fade in and out.
In addition, traveling or standing under heavy
foliage, bridges, garages, or tunnels could cause
loss of XM signal for a period of time. The
radio might display NO XM SIGNAL to indicate
interference.
224
ProCarManuals.com