Page 89 of 532

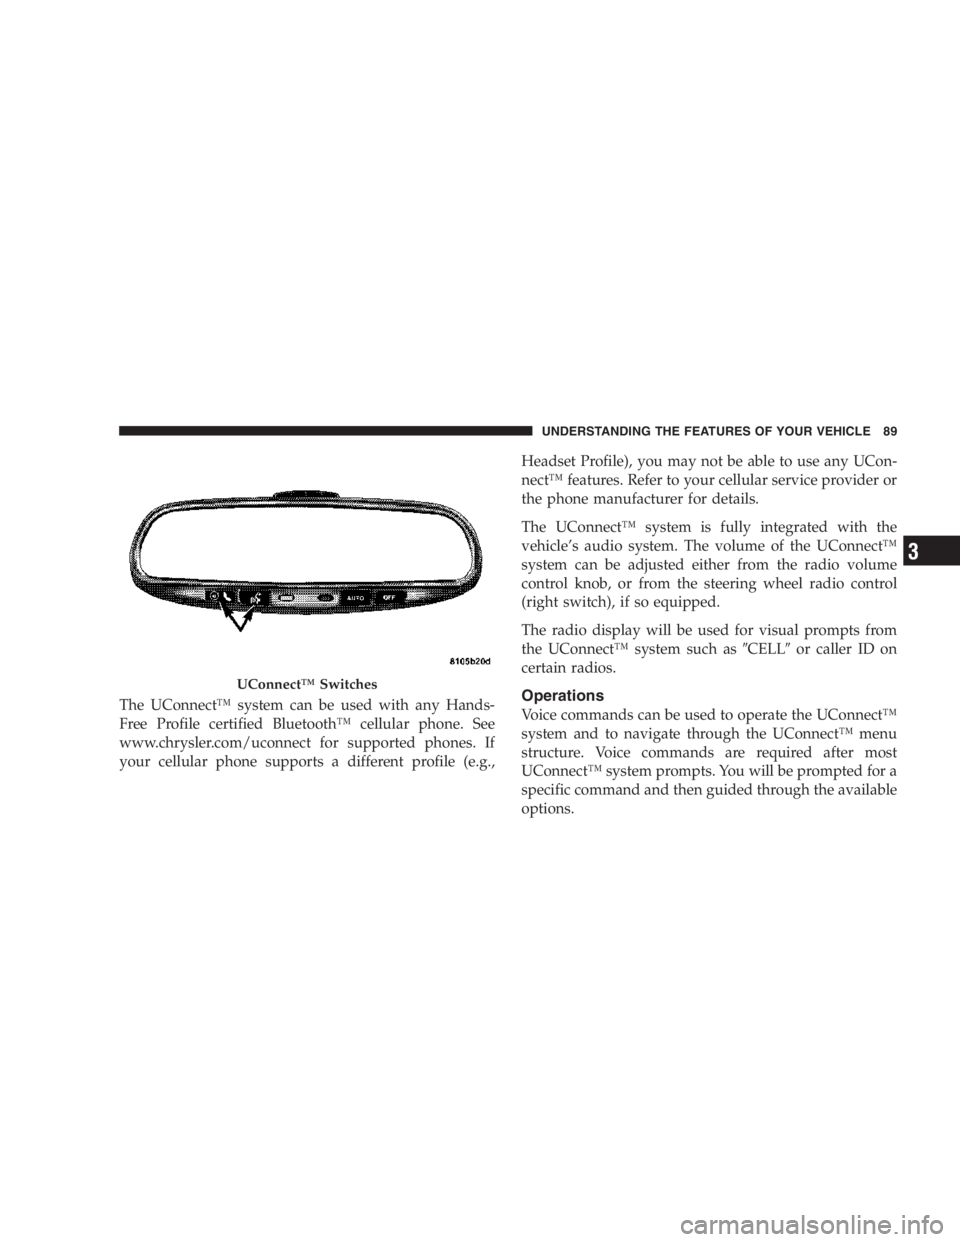
The UConnect™ system can be used with any Hands-
Free Profile certified Bluetooth™ cellular phone. See
www.chrysler.com/uconnect for supported phones. If
your cellular phone supports a different profile (e.g., Headset Profile), you may not be able to use any UCon-
nect™ features. Refer to your cellular service provider or
the phone manufacturer for details.
The UConnect™ system is fully integrated with the
vehicle’s audio system. The volume of the UConnect™
system can be adjusted either from the radio volume
control knob, or from the steering wheel radio control
(right switch), if so equipped.
The radio display will be used for visual prompts from
the UConnect™ system such as � CELL � or caller ID on
certain radios.
Operations
Voice commands can be used to operate the UConnect™
system and to navigate through the UConnect™ menu
structure. Voice commands are required after most
UConnect™ system prompts. You will be prompted for a
specific command and then guided through the available
options.UConnect™ Switches UNDERSTANDING THE FEATURES OF YOUR VEHICLE 89
3
Page 120 of 532
TO OPEN AND CLOSE THE HOOD
To open the hood, two latches must be released. First pull
the hood release lever located below the steering wheel at
the base of the instrument panel. Once the hood is released you must reach into the opening beneath the
center of the grille and push up the latch to release the
safety catch before raising the hood.
To prevent possible damage, do not slam the hood to
close it. Use a firm downward push at the front center of
the hood to ensure that both latches engage.
Hood Release Lever
Secondary Latch120 UNDERSTANDING THE FEATURES OF YOUR VEHICLE
Page 122 of 532

Interior Lights
Courtesy and dome lights are turned on when the front
doors are opened, when the dimmer control (rotating
wheel on the right side of the switch) is rotated to the
upward detent position, or if equipped, when the UN-
LOCK button is pressed on the key fob. When a door is open and the interior lights are on, rotating the dimmer
control all the way down to the OFF detent will cause all
the interior lights to go out. This is also known as the
� Party � mode because it allows the doors to stay open for
extended periods of time without discharging the vehi-
cle’s battery.
The brightness of the instrument panel lighting can be
regulated by rotating the dimmer control up (brighter) or
down (dimmer). When the headlights are ON you can
supplement the brightness of the odometer, trip odom-
eter, radio and overhead console by rotating the control
up until you hear a click. This feature is termed the
“Parade” mode and is useful when headlights are re-
quired during the day.
Club Cab/Quad Cab models may have an optional
switched dome lamp that may be operated by pressing
the lens.Dimmer Control122 UNDERSTANDING THE FEATURES OF YOUR VEHICLE
Page 126 of 532
You can signal a lane change by moving the lever
partially up or down. Turn Signal Auto-Mode
Tap the multi-function control lever once and the turn
signal (left or right) will flash 3 times, and automatically
turn off.
Passing Light
You can signal another vehicle with your headlights by
partially pulling the multifunction lever toward the steer-
ing wheel. This will cause the high beam headlights to
turn on until the lever is released.
Turn Signal Lever126 UNDERSTANDING THE FEATURES OF YOUR VEHICLE
Page 127 of 532
High Beam / Low Beam Select Switch
Pull the multifunction control lever fully toward the
steering wheel to switch the headlights from HIGH or
LOW beam. WINDSHIELD WIPERS AND WASHERS
Windshield Wipers
The wipers and washers are operated by a switch in the
multifunction control lever. Turn the end of the handle to
select the desired wiper speed.High Beam / Low Beam Windshield Wiper / Washer Switch UNDERSTANDING THE FEATURES OF YOUR VEHICLE 127
3
Page 129 of 532
To prevent freeze-up of your windshield washer system
in cold weather, select a solution or mixture that meets or
exceeds the temperature range of your climate. This
rating information can be found on most washer fluid
containers.
TILT STEERING COLUMN
To tilt the column, pull rearward on the lever below the
turn signal control and move the wheel up or down, as
desired. Push the lever forward to lock the column firmly
in place. Tilt Steering Control LeverUNDERSTANDING THE FEATURES OF YOUR VEHICLE 129
3
Page 130 of 532
WARNING!Tilting the steering column while the vehicle is
moving is dangerous. Without a stable steering col-
umn, you could lose control of the vehicle and have
an accident. Adjust the column only while the ve-
hicle is stopped. Be sure it is locked before driving. DRIVER ADJUSTABLE PEDALS — IF EQUIPPED
The power adjustable accelerator and brake pedals allow
the driver to establish a comfortable position relative to
the steering wheel and pedals. Adjustable Pedals Switch130 UNDERSTANDING THE FEATURES OF YOUR VEHICLE
Page 131 of 532
Adjustment
1. Position the driver seat so that you are at least 10
inches (254 mm) away from the airbag located in the
center of the steering wheel.
2. Fasten and adjust the seatbelts.
3. Move the adjustable pedal switch, located to the left of
the steering column near the parking brake release, in the
direction you desire to move the pedals.
4. The pedals cannot be adjusted when the vehicle is in
R (Reverse) or when the Speed Control is SET. CAUTION!Do not place any article under the adjustable pedals
or impede its ability to move as it may cause damage
to the pedal controls. Pedal travel may become
limited if movement is stopped by an obstruction in
the adjustable pedal’s path. UNDERSTANDING THE FEATURES OF YOUR VEHICLE 131
3