2007 NISSAN TITAN key
[x] Cancel search: keyPage 5 of 14
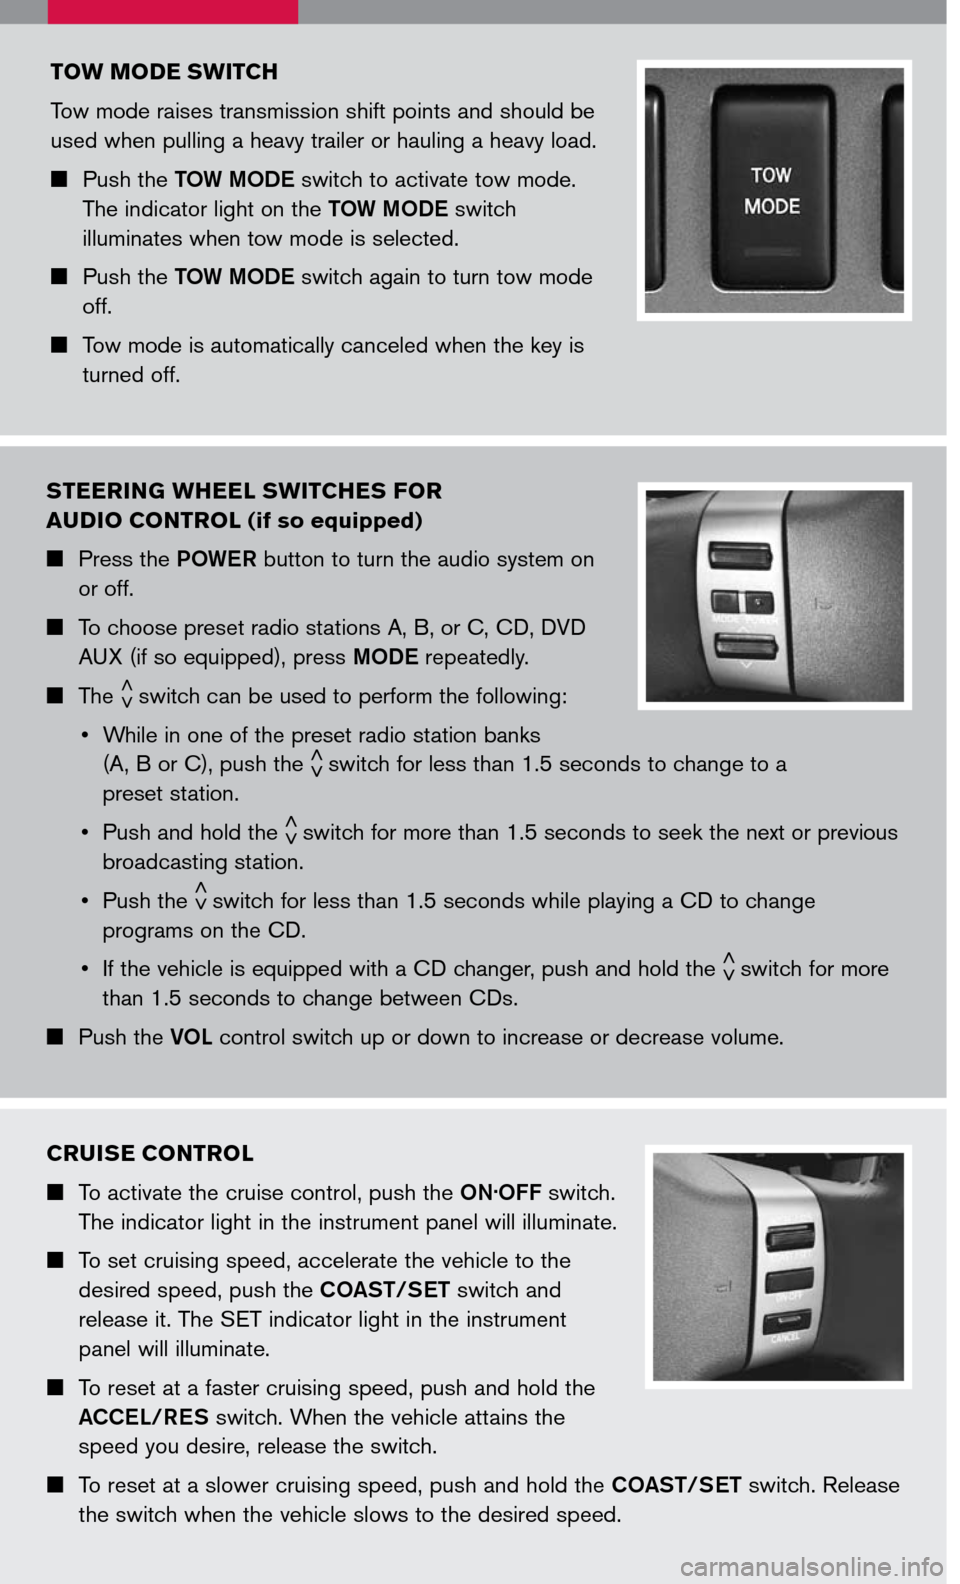
STEERING WHEEL SWITCHES FOR
AUDIO CONTROL (if so equipped)
Press the POWER button to turn the audio system on
or off.
To choose preset radio stations A, B, or C, CD, DVD
AUX (if so equipped), press MODE repeatedly.
The < >switch can be used to perform the following:
• While in one of the preset radio station banks
(A, B or C), push the < >switch for less than 1.5 seconds to change to a
preset station.
• Push and hold the < >switch for more than 1.5 seconds to seek the next or previous
broadcasting station.
• Push the < >switch for less than 1.5 seconds while playing a CD to change
programs on the CD.
• If the vehicle is equipped with a CD changer, push and hold the < >switch for more
than 1.5 seconds to change between CDs.
Push the VOL control switch up or down to increase or decrease volume.
TOW MODE SWITCH
Tow mode raises transmission shift points and should be
used when pulling a heavy trailer or hauling a heavy load.
Push the TOW MODE switch to activate tow mode.
The indicator light on the TOW MODE switch
illuminates when tow mode is selected.
Push the TOW MODE switch again to turn tow mode
off.
Tow mode is automatically canceled when the key is
turned off.
CRUISE CONTROL
To activate the cruise control, push the ON.OFF switch.
The indicator light in the instrument panel will illuminate.
To set cruising speed, accelerate the vehicle to the
desired speed, push the COAST/SET switch and
release it. The SET indicator light in the instrument
panel will illuminate.
To reset at a faster cruising speed, push and hold the
ACCEL/RES switch. When the vehicle attains the
speed you desire, release the switch.
To reset at a slower cruising speed, push and hold the COAST/SET switch. Release
the switch when the vehicle slows to the desired speed.
Page 6 of 14
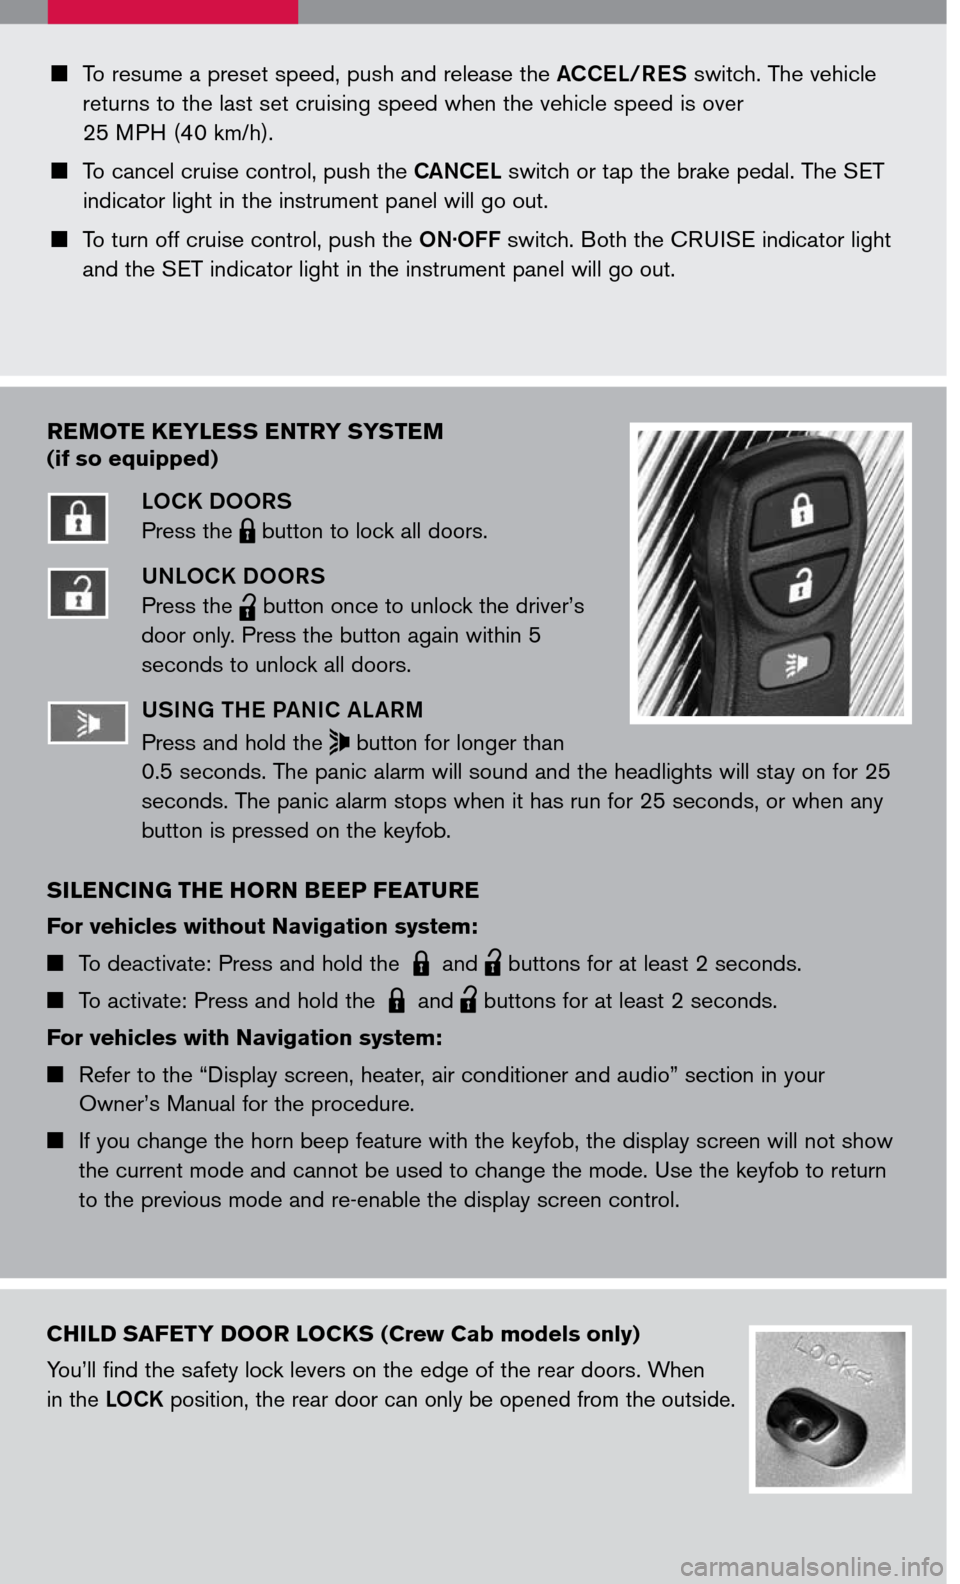
To resume a preset speed, push and release the ACCEL/RES switch. The vehicle
returns to the last set cruising speed when the vehicle speed is over
25 MPH (40 km/h).
To cancel cruise control, push the CANCEL switch or tap the brake pedal. The SET
indicator light in the instrument panel will go out.
To turn off cruise control, push the ON.OFF switch. Both the CRUISE indicator light
and the SET indicator light in the instrument panel will go out.
REMOTE KEYLESS ENTRY SYSTEM
(if so equipped)
LOCK DOORS
Press the LPD0150 button to lock all doors.
UNLOCK DOORS
Press the
lpd0151
button once to unlock the driver’s
door only. Press the button again within 5
seconds to unlock all doors.
U SING THE P ANIC A LARM
Press and hold the button for longer than
0.5 seconds. The panic alarm will sound and the headlights will stay on for 25
seconds. The panic alarm stops when it has run for 25 seconds, or when any
button is pressed on the keyfob.
SILENCING THE HORN BEEP FEATURE
For vehicles without Navigation system:
To deactivate: Press and hold the LPD0150 and
lpd0151
buttons for at least 2 seconds.
To activate: Press and hold the LPD0150 and
lpd0151
buttons for at least 2 seconds.
For vehicles with Navigation system:
Refer to the “Display screen, heater, air conditioner and audio” section in your
Owner’s Manual for the procedure.
If you change the horn beep feature with the keyfob, the display screen will not show
the current mode and cannot be used to change the mode. Use the keyfob to return
to the previous mode and re-enable the display screen control.
CHILD SAFETY DOOR LOCKS (Crew Cab models only)
You’ll find the safety lock levers on the edge of the rear doors. When
in the LOCK position, the rear door can only be opened from the outside.
Page 7 of 14
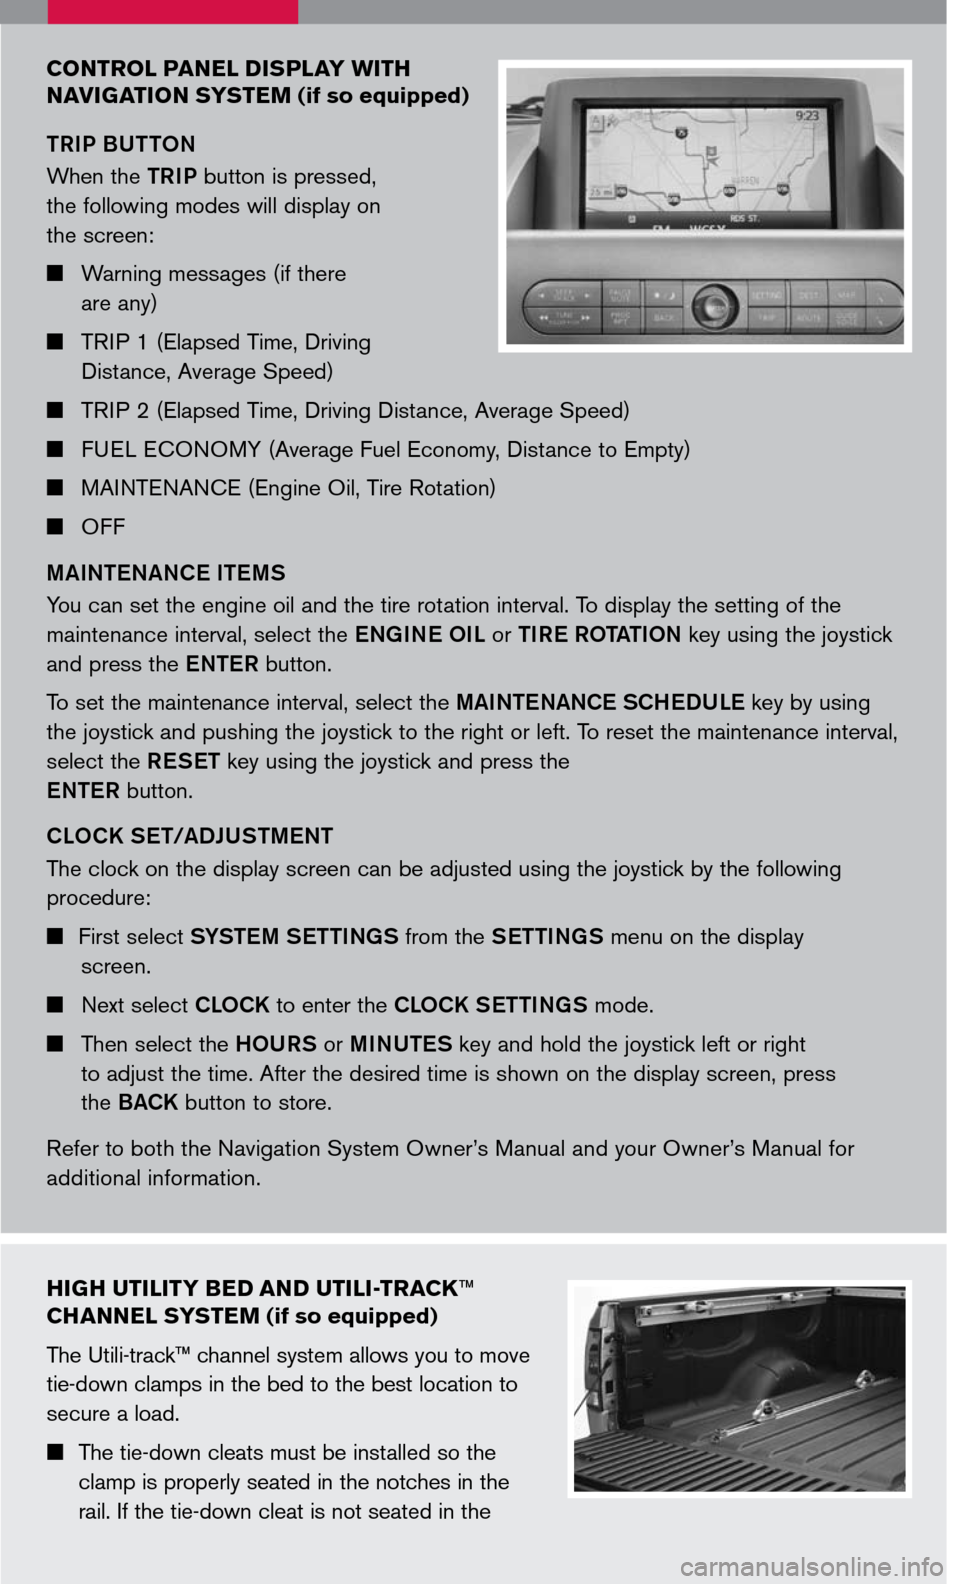
CONTROL PANEL DISPLAY WITH
N AVIGATION SYSTEM
(if so equipped)
TRIP BUTTON
When the TRIP button is pressed,
the following modes will display on
the screen:
Warning messages (if there
are any)
TRIP 1 (Elapsed Time, Driving
Distance, Average Speed)
TRIP 2 (Elapsed Time, Driving Distance, Average Speed)
FUEL ECONOMY (Average Fuel Economy, Distance to Empty)
MAINTENANCE (Engine Oil, Tire Rotation)
OFF
MAINTENANCE ITEMS
You can set the engine oil and the tire rotation interval. To display the setting of the
maintenance interval, select the ENGINE OIL or TIRE ROTATION key using the joystick
and press the ENTER button.
To set the maintenance interval, select the MAINTENANCE SCHEDULE key by using
the joystick and pushing the joystick to the right or left. To reset the maintenance interval,
select the RESET key using the joystick and press the
ENTER button.
CLOCK SET/ADJUSTMENT
The clock on the display screen can be adjusted using the joystick by the following
procedure:
First select SYSTEM SETTINGS from the SETTINGS menu on the display
screen.
Next select CLOCK to enter the CLOCK SETTINGS mode.
Then select the HOURS or MINUTES key and hold the joystick left or right
to adjust the time. After the desired time is shown on the display screen, press
the
BACK button to store.
Refer to both the Navigation System Owner’s Manual and your Owner’s Manual for
additional information.
HIGH UTILITY BED AND UTILI -TRACK™
CHANNEL SYSTEM
(if so equipped)
The Utili-track™ channel system allows you to move
tie-down clamps in the bed to the best location to
secure a load.
The tie-down cleats must be installed so the
clamp is properly seated in the notches in the
rail. If the tie-down cleat is not seated in the
Page 10 of 14
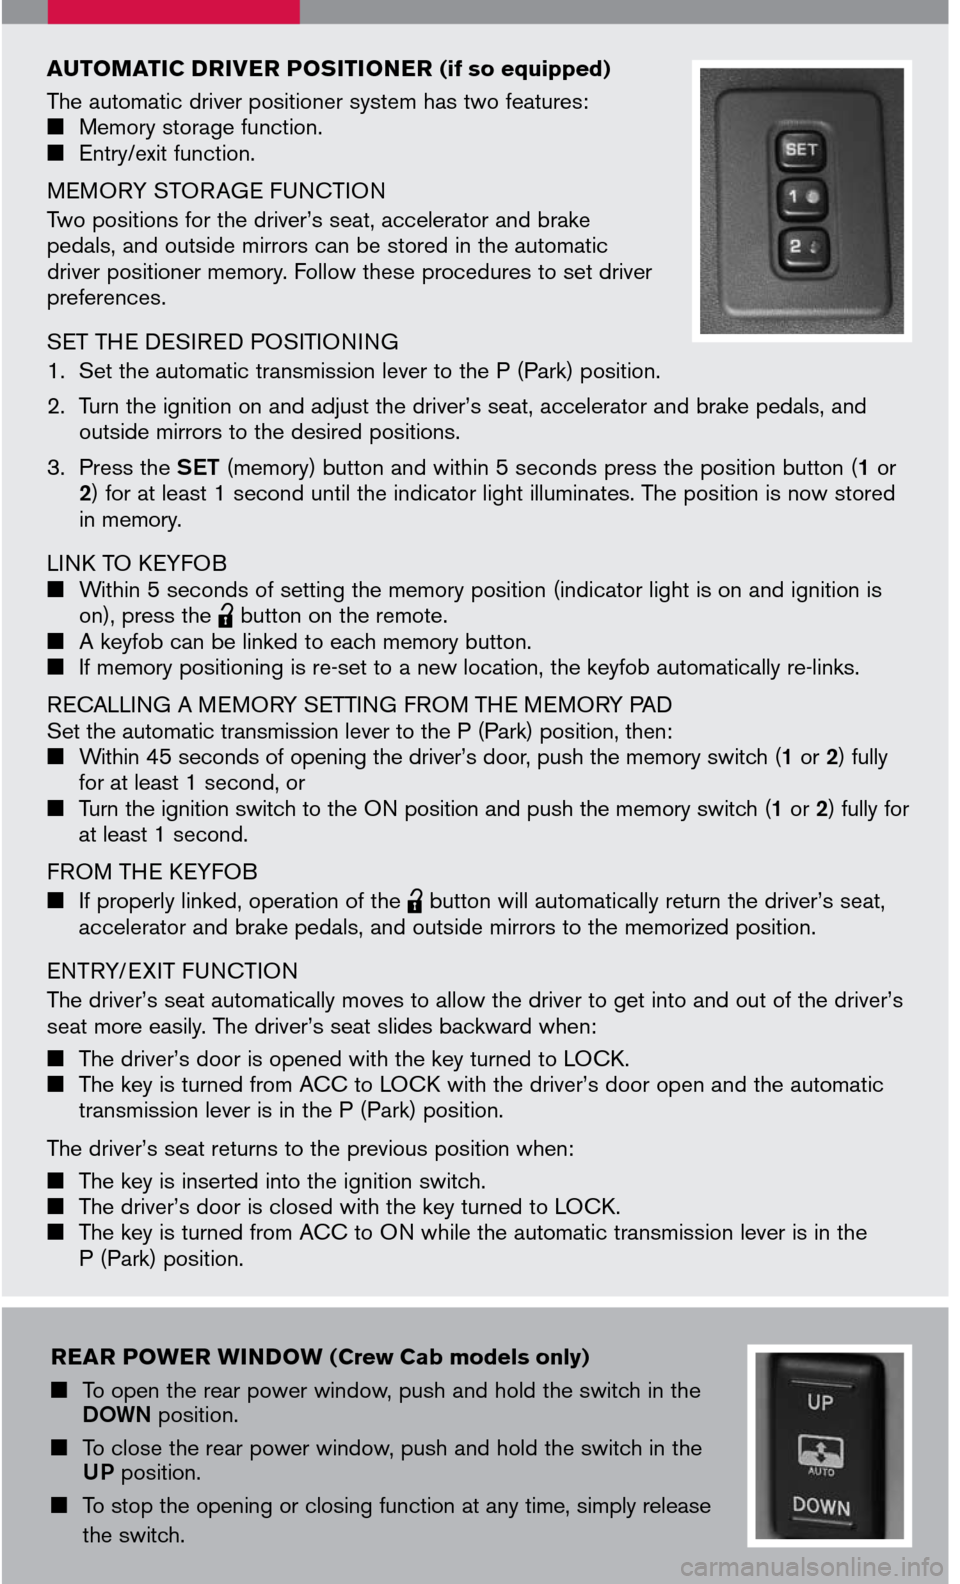
AUTOMATIC DRIVER POSITIONER (if so equipped)
The automatic driver positioner system has two features: Memory storage function. Entry/exit function.
MEMORY STOR AGE FUNCTION
Two positions for the driver’s seat, accelerator and brake pedals, and outside mirrors can be stored in the automatic driver positioner memory. Follow these procedures to set driver preferences.
SET THE DESIRED POSITIONING
1. Set the automatic transmission lever to the P (Park) position.
2. Turn the ignition on and adjust the driver’s seat, accelerator and brake pedals, and
outside mirrors to the desired positions.
3. Press the
SET (memory) button and within 5 seconds press the position button (1 or 2) for at least 1 second until the indicator light illuminates. The position is now stored in memory.
LINK TO KEYFOB Within 5 seconds of setting the memory position (indicator light is on and ignition is on), press the lpd0151
button on the remote. A keyfob can be linked to each memory button. If memory positioning is re-set to a new location, the keyfob automatically re-links.
RECALLING A MEMORY SETTING FROM THE MEMORY PAD Set the automatic transmission lever to the P (Park) position, then: Within 45 seconds of opening the driver’s door, push the memory switch (1 or 2) fully for at least 1 second, or Turn the ignition switch to the ON position and push the memory switch (1 or 2) fully for at least 1 second.
FROM THE KEYFOB
If properly linked, operation of the
lpd0151
button will automatically return the driver’s seat, accelerator and brake pedals, and outside mirrors to the memorized position.
ENTRY/ EXIT FUNCTION
The driver’s seat automatically moves to allow the driver to get into and out of the driver’s seat more easily. The driver’s seat slides backward when:
The driver’s door is opened with the key turned to LOCK. The key is turned from ACC to LOCK with the driver’s door open and the automatic transmission lever is in the P (Park) position.
The driver’s seat returns to the previous position when:
The key is inserted into the ignition switch. The driver’s door is closed with the key turned to LOCK. The key is turned from ACC to ON while the automatic transmission lever is in the P (Park) position.
REAR POWER WINDOW (Crew Cab models only)
To open the rear power window, push and hold the switch in the DOWN position.
To close the rear power window, push and hold the switch in the UP position.
To stop the opening or closing function at any time, simply release
the switch.
Page 12 of 14
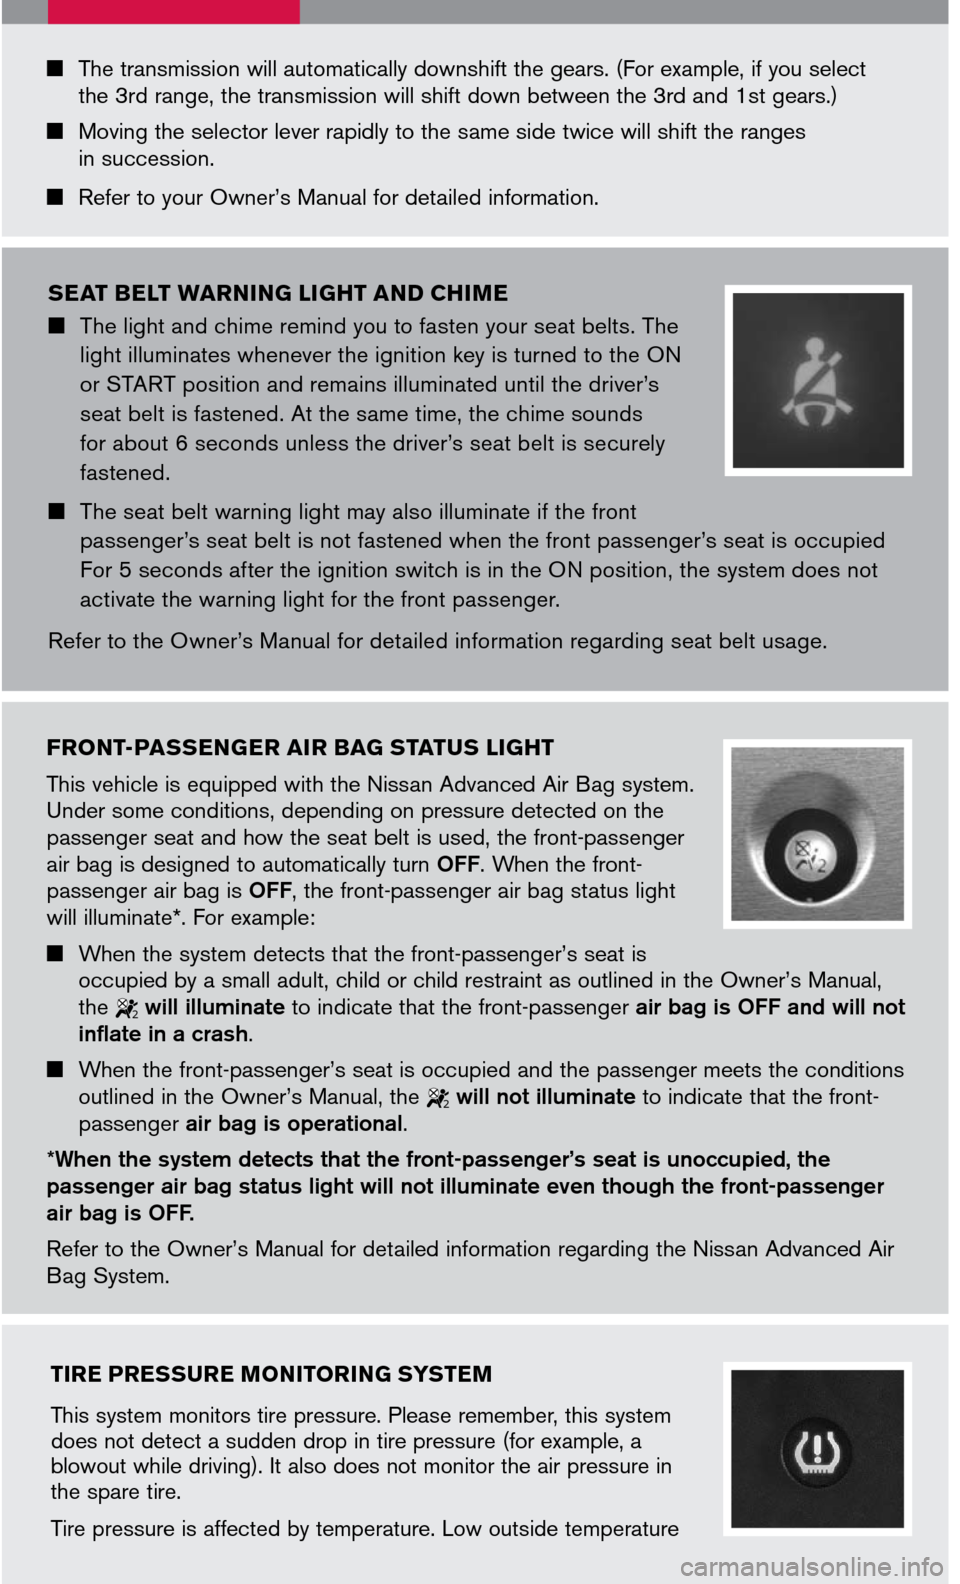
The transmission will automatically downshift the gears. (For example, if you select the 3rd range, the transmission will shift down between the 3rd and 1st gears.)
Moving the selector lever rapidly to the same side twice will shift the ranges in succession.
Refer to your Owner’s Manual for detailed information.
FRONT-PASSENGER AIR BAG STATUS LIGHT
This vehicle is equipped with the Nissan Advanced Air Bag system. Under some conditions, depending on pressure detected on the passenger seat and how the seat belt is used, the front-passenger air bag is designed to automatically turn OFF. When the front-passenger air bag is OFF, the front-passenger air bag status light will illuminate*. For example:
When the system detects that the front-passenger’s seat is occupied by a small adult, child or child restraint as outlined in the Owner’s Manual, the 2 will illuminate to indicate that the front-passenger air bag is OFF and will not inflate in a crash.
When the front-passenger’s seat is occupied and the passenger meets the conditions outlined in the Owner’s Manual, the 2 will not illuminate to indicate that the front-passenger air bag is operational.
*When the system detects that the front-passenger’s seat is unoccupied, the passenger air bag status light will not illuminate even though the front-passenger air bag is OFF.
Refer to the Owner’s Manual for detailed information regarding the Nissan Advanced Air Bag System.
SEAT BELT WARNING LIGHT AND CHIME
The light and chime remind you to fasten your seat belts. The
light illuminates whenever the ignition key is turned to the ON
or START position and remains illuminated until the driver’s
seat belt is fastened. At the same time, the chime sounds
for about 6 seconds unless the driver’s seat belt is securely
fastened.
The seat belt warning light may also illuminate if the front
passenger’s seat belt is not fastened when the front passenger’s seat is occupied
For 5 seconds after the ignition switch is in the ON position, the system does not
activate the warning light for the front passenger.
Refer to the Owner’s Manual for detailed information regarding seat belt usage.
TIRE PRESSURE MONITORING SYSTEM
This system monitors tire pressure. Please remember, this system does not detect a sudden drop in tire pressure (for example, a blowout while driving). It also does not monitor the air pressure in the spare tire.
Tire pressure is affected by temperature. Low outside temperature
Page 13 of 14
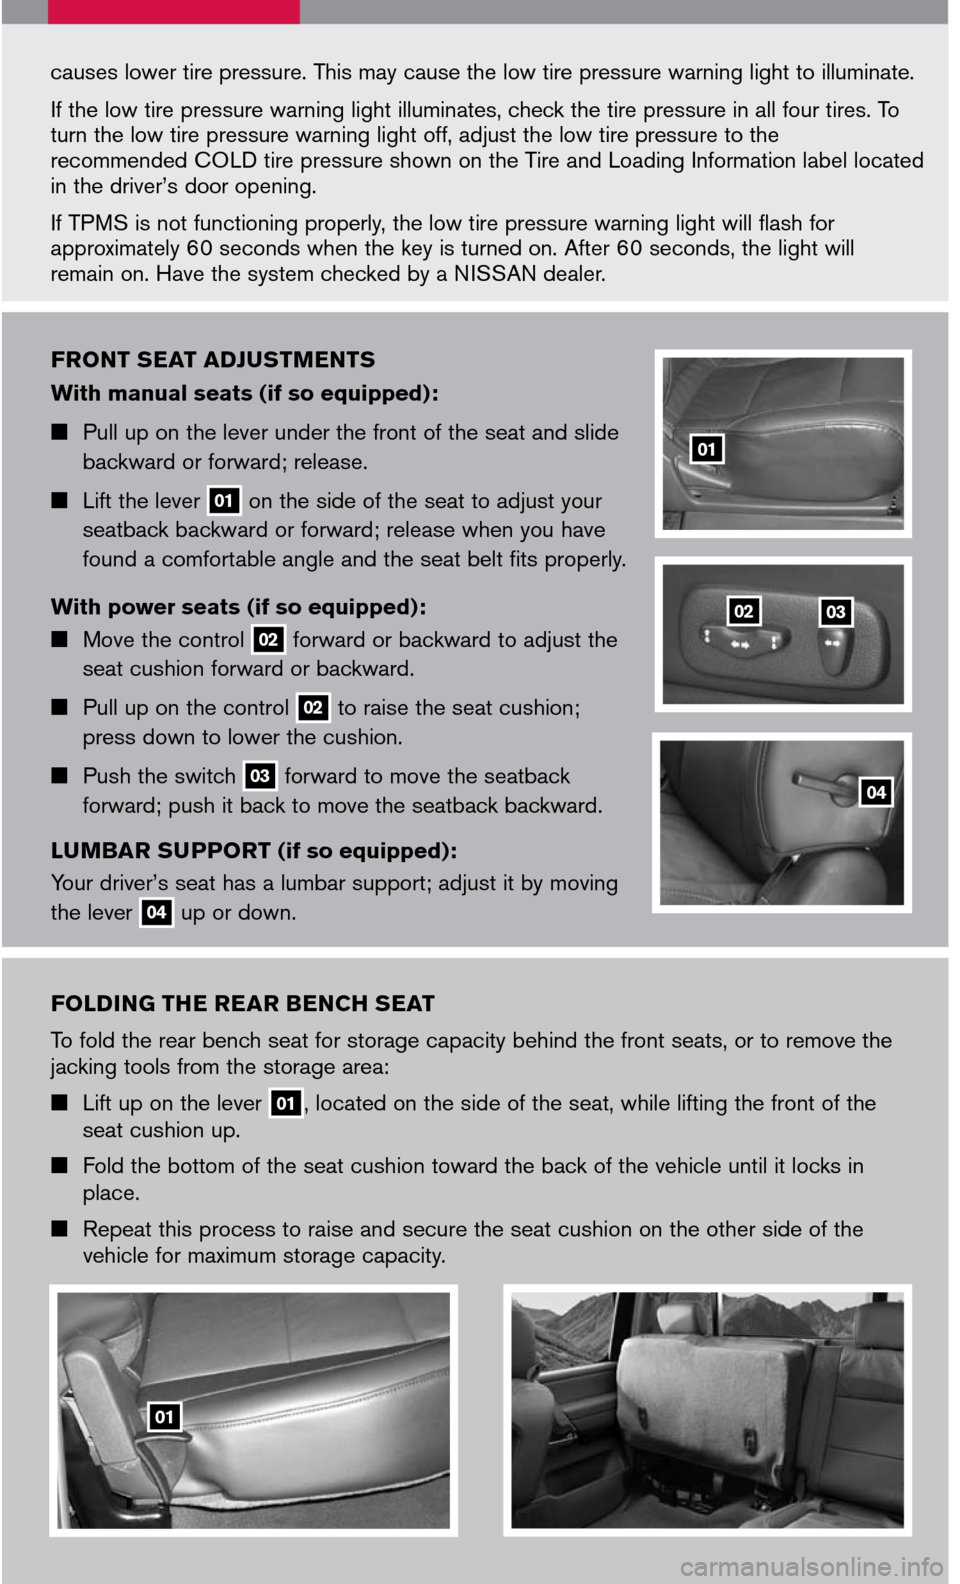
FOLDING THE REAR BENCH SEAT
To fold the rear bench seat for storage capacity behind the front seats, or to remove the jacking tools from the storage area:
Lift up on the lever 01, located on the side of the seat, while lifting the front of the seat cushion up.
Fold the bottom of the seat cushion toward the back of the vehicle until it locks in place.
Repeat this process to raise and secure the seat cushion on the other side of the vehicle for maximum storage capacity.
FRONT SEAT ADJUSTMENTS
With manual seats (if so equipped):
Pull up on the lever under the front of the seat and slide
backward or forward; release.
Lift the lever 01 on the side of the seat to adjust your
seatback backward or forward; release when you have
found a comfortable angle and the seat belt fits properly.
With power seats (if so equipped):
Move the control 02 forward or backward to adjust the
seat cushion forward or backward.
Pull up on the control 02 to raise the seat cushion;
press down to lower the cushion.
Push the switch 03 forward to move the seatback
forward; push it back to move the seatback backward.
LUMBAR SUPPORT (if so equipped):
Your driver’s seat has a lumbar support; adjust it by moving
the lever 04 up or down.
0302
01
04
causes lower tire pressure. This may cause the low tire pressure warning light to illuminate.
If the low tire pressure warning light illuminates, check the tire pressure in all four tires. To turn the low tire pressure warning light off, adjust the low tire pressure to the recommended COLD tire pressure shown on the Tire and Loading Information label located in the driver’s door opening.
If TPMS is not functioning properly, the low tire pressure warning light will flash for approximately 60 seconds when the key is turned on. After 60 seconds, the light will remain on. Have the system checked by a NISSAN dealer.
01