2007 NISSAN TITAN air condition
[x] Cancel search: air conditionPage 85 of 368
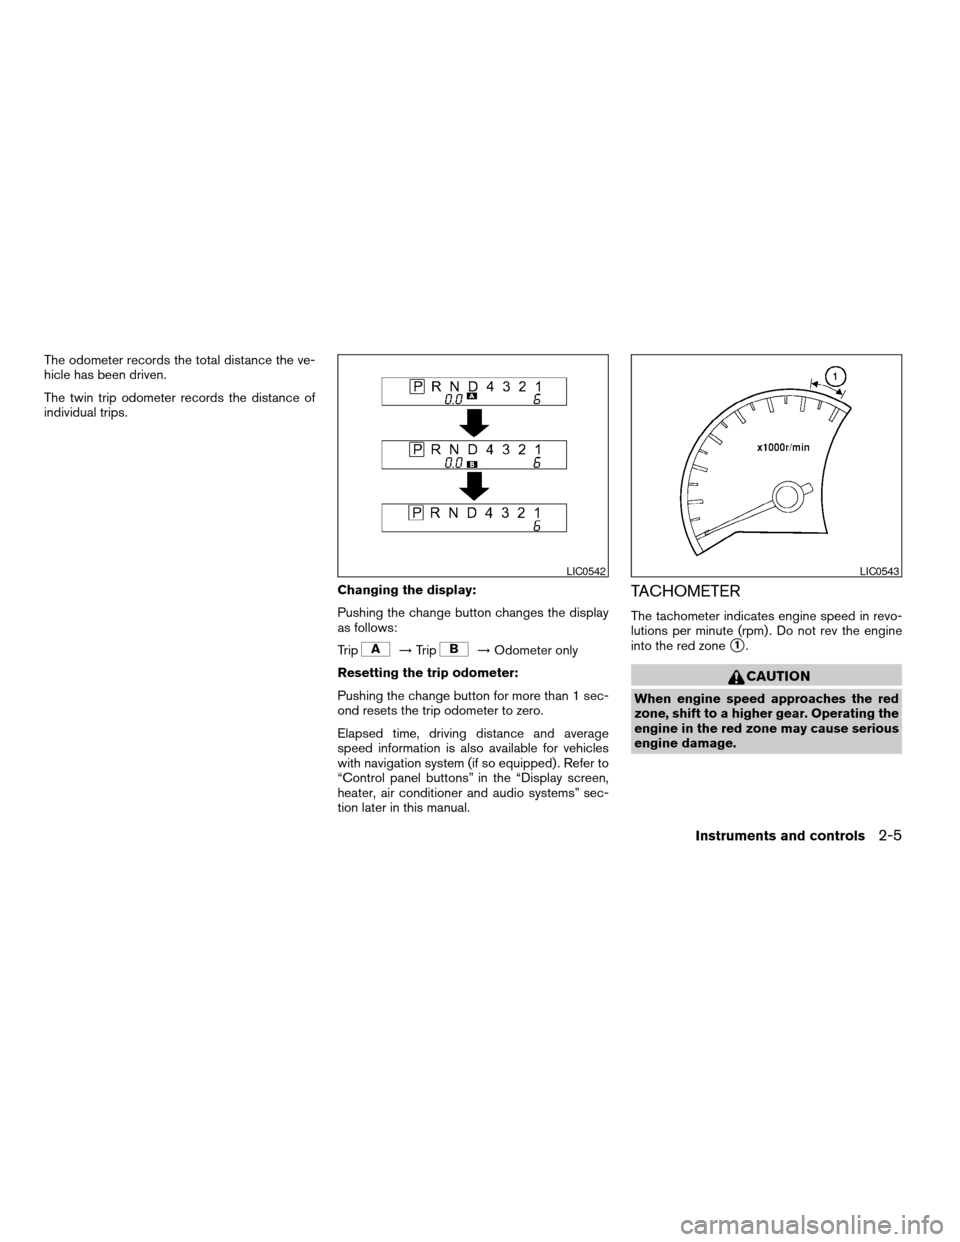
The odometer records the total distance the ve-
hicle has been driven.
The twin trip odometer records the distance of
individual trips.
Changing the display:
Pushing the change button changes the display
as follows:
Trip
!Trip!Odometer only
Resetting the trip odometer:
Pushing the change button for more than 1 sec-
ond resets the trip odometer to zero.
Elapsed time, driving distance and average
speed information is also available for vehicles
with navigation system (if so equipped) . Refer to
“Control panel buttons” in the “Display screen,
heater, air conditioner and audio systems” sec-
tion later in this manual.
TACHOMETER
The tachometer indicates engine speed in revo-
lutions per minute (rpm) . Do not rev the engine
into the red zone
s1.
CAUTION
When engine speed approaches the red
zone, shift to a higher gear. Operating the
engine in the red zone may cause serious
engine damage.
LIC0542LIC0543
Instruments and controls2-5
ZREVIEW COPYÐ2007 Titan(tzw)
Owners ManualÐUSA_English(nna)
07/09/06Ðtbrooks
X
Page 86 of 368
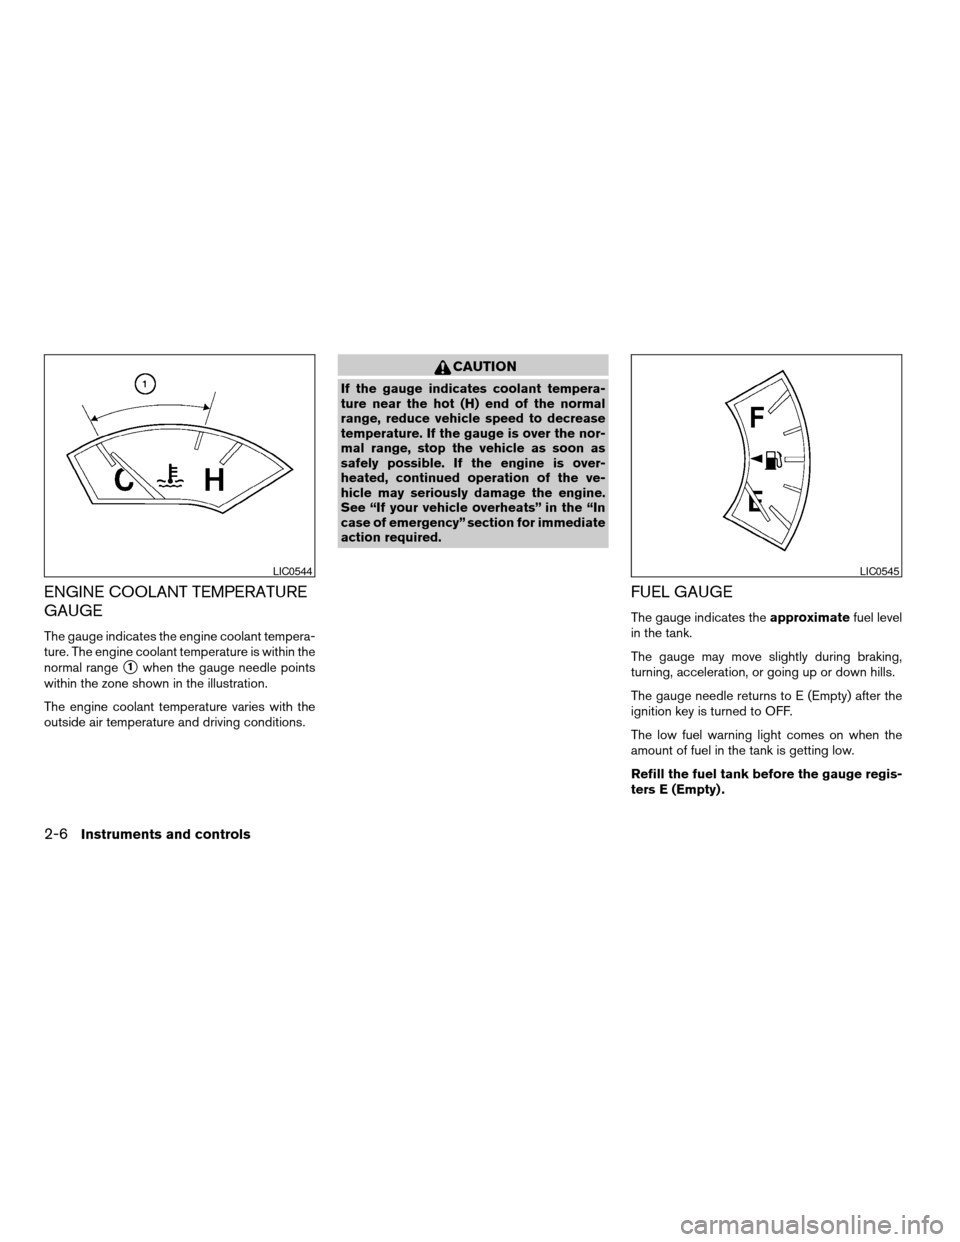
ENGINE COOLANT TEMPERATURE
GAUGE
The gauge indicates the engine coolant tempera-
ture. The engine coolant temperature is within the
normal range
s1when the gauge needle points
within the zone shown in the illustration.
The engine coolant temperature varies with the
outside air temperature and driving conditions.
CAUTION
If the gauge indicates coolant tempera-
ture near the hot (H) end of the normal
range, reduce vehicle speed to decrease
temperature. If the gauge is over the nor-
mal range, stop the vehicle as soon as
safely possible. If the engine is over-
heated, continued operation of the ve-
hicle may seriously damage the engine.
See “If your vehicle overheats” in the “In
case of emergency” section for immediate
action required.
FUEL GAUGE
The gauge indicates theapproximatefuel level
in the tank.
The gauge may move slightly during braking,
turning, acceleration, or going up or down hills.
The gauge needle returns to E (Empty) after the
ignition key is turned to OFF.
The low fuel warning light comes on when the
amount of fuel in the tank is getting low.
Refill the fuel tank before the gauge regis-
ters E (Empty) .
LIC0544LIC0545
2-6Instruments and controls
ZREVIEW COPYÐ2007 Titan(tzw)
Owners ManualÐUSA_English(nna)
07/09/06Ðtbrooks
X
Page 89 of 368

This unit has the following functions:
cMeasures terrestrial magnetism and indi-
cates heading direction of vehicle
cIndicates outside air temperature
cIndicates possible frozen road conditions
With the ignition switch in the ON position, press
the mode button as described in the chart below
to activate various features of the compass and
outside temperature display.
Push and hold
the mode button
for about:Feature:
(Push button again for about 1 sec-
ond to change settings)
1 secondCompass display toggles: °F!°C
!OFF!°F
5 secondsCompass zone can be changed to
correct false compass readings
10 seconds Compass enters calibration mode
OUTSIDE TEMPERATURE DISPLAY
Push the mode buttons1when the ignition key is
in the ON position to change the display as
follows: °F!°C!OFF!°F.
cIf the outside temperature drops below 37°F
(3°C) , the display indicates ICE. The display
will continue to indicate ICE until the tem-
perature reaches 41°F (5°C) .
cWhen the outside temperature is between
130°F (55°C) and 158°F (70°C) , the display
shows 130°F (55°C) .cWhen the outside temperature is between
-22°F (-30°C) and -40°F (-40°C) , the dis-
play shows -22°F (-30°C) .
cWhen the outside temperature is lower than
-40°F (-40°C) or higher than 158°F (70°C) ,
the display shows only———though it is
operating. This is not a malfunction.
cThe outside temperature sensor is located in
front of the radiator. The sensor may be
affected by road or engine heat, wind direc-
tion and other driving conditions. The display
may differ from the actual outside tempera-
ture or the temperature displayed on various
signs or billboards.
Type A
LIC0659
Type B
LIC0660
COMPASS AND OUTSIDE
TEMPERATURE DISPLAY (if so
equipped)
Instruments and controls2-9
ZREVIEW COPYÐ2007 Titan(tzw)
Owners ManualÐUSA_English(nna)
07/09/06Ðtbrooks
X
Page 97 of 368
The seat belt warning light may also illuminate if
the front passenger’s seat belt is not fastened
when the front passenger’s seat is occupied . For
7 seconds after the ignition switch is in the ON
position, the system does not activate the warn-
ing light for the front passenger.
Refer to “Seat belts” in the “Safety—Seats, seat
belts and supplemental restraint system” section
for precautions on seat belt usage.
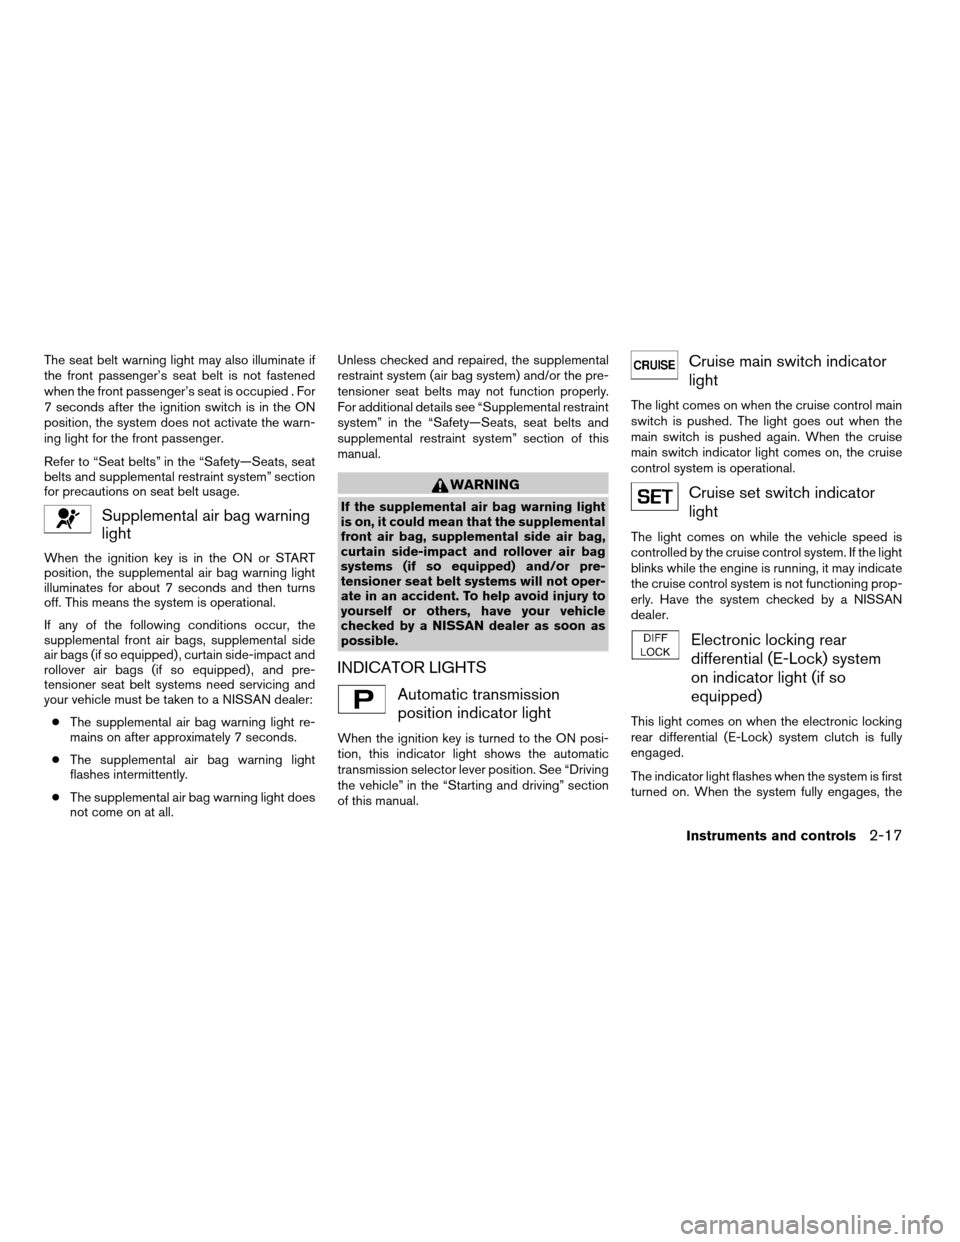
Supplemental air bag warning
light
When the ignition key is in the ON or START
position, the supplemental air bag warning light
illuminates for about 7 seconds and then turns
off. This means the system is operational.
If any of the following conditions occur, the
supplemental front air bags, supplemental side
air bags (if so equipped) , curtain side-impact and
rollover air bags (if so equipped) , and pre-
tensioner seat belt systems need servicing and
your vehicle must be taken to a NISSAN dealer:
cThe supplemental air bag warning light re-
mains on after approximately 7 seconds.
cThe supplemental air bag warning light
flashes intermittently.
cThe supplemental air bag warning light does
not come on at all.Unless checked and repaired, the supplemental
restraint system (air bag system) and/or the pre-
tensioner seat belts may not function properly.
For additional details see “Supplemental restraint
system” in the “Safety—Seats, seat belts and
supplemental restraint system” section of this
manual.
WARNING
If the supplemental air bag warning light
is on, it could mean that the supplemental
front air bag, supplemental side air bag,
curtain side-impact and rollover air bag
systems (if so equipped) and/or pre-
tensioner seat belt systems will not oper-
ate in an accident. To help avoid injury to
yourself or others, have your vehicle
checked by a NISSAN dealer as soon as
possible.
INDICATOR LIGHTS
Automatic transmission
position indicator light
When the ignition key is turned to the ON posi-
tion, this indicator light shows the automatic
transmission selector lever position. See “Driving
the vehicle” in the “Starting and driving” section
of this manual.
Cruise main switch indicator
light
The light comes on when the cruise control main
switch is pushed. The light goes out when the
main switch is pushed again. When the cruise
main switch indicator light comes on, the cruise
control system is operational.
Cruise set switch indicator
light
The light comes on while the vehicle speed is
controlled by the cruise control system. If the light
blinks while the engine is running, it may indicate
the cruise control system is not functioning prop-
erly. Have the system checked by a NISSAN
dealer.
Electronic locking rear
differential (E-Lock) system
on indicator light (if so
equipped)
This light comes on when the electronic locking
rear differential (E-Lock) system clutch is fully
engaged.
The indicator light flashes when the system is first
turned on. When the system fully engages, the
Instruments and controls2-17
ZREVIEW COPYÐ2007 Titan(tzw)
Owners ManualÐUSA_English(nna)
07/09/06Ðtbrooks
X
Page 99 of 368
– avoid steep uphill grades.
– if possible, reduce the amount of cargo
being hauled or towed.
The malfunction indicator light may stop blinking
and come on steady. Have the vehicle inspected
by a NISSAN dealer. You do not need to have
your vehicle towed to the dealer.
CAUTION
Continued vehicle operation without hav-
ing the emission control system checked
and repaired as necessary could lead to
poor driveability, reduced fuel economy,
and possible damage to the emission con-
trol system.
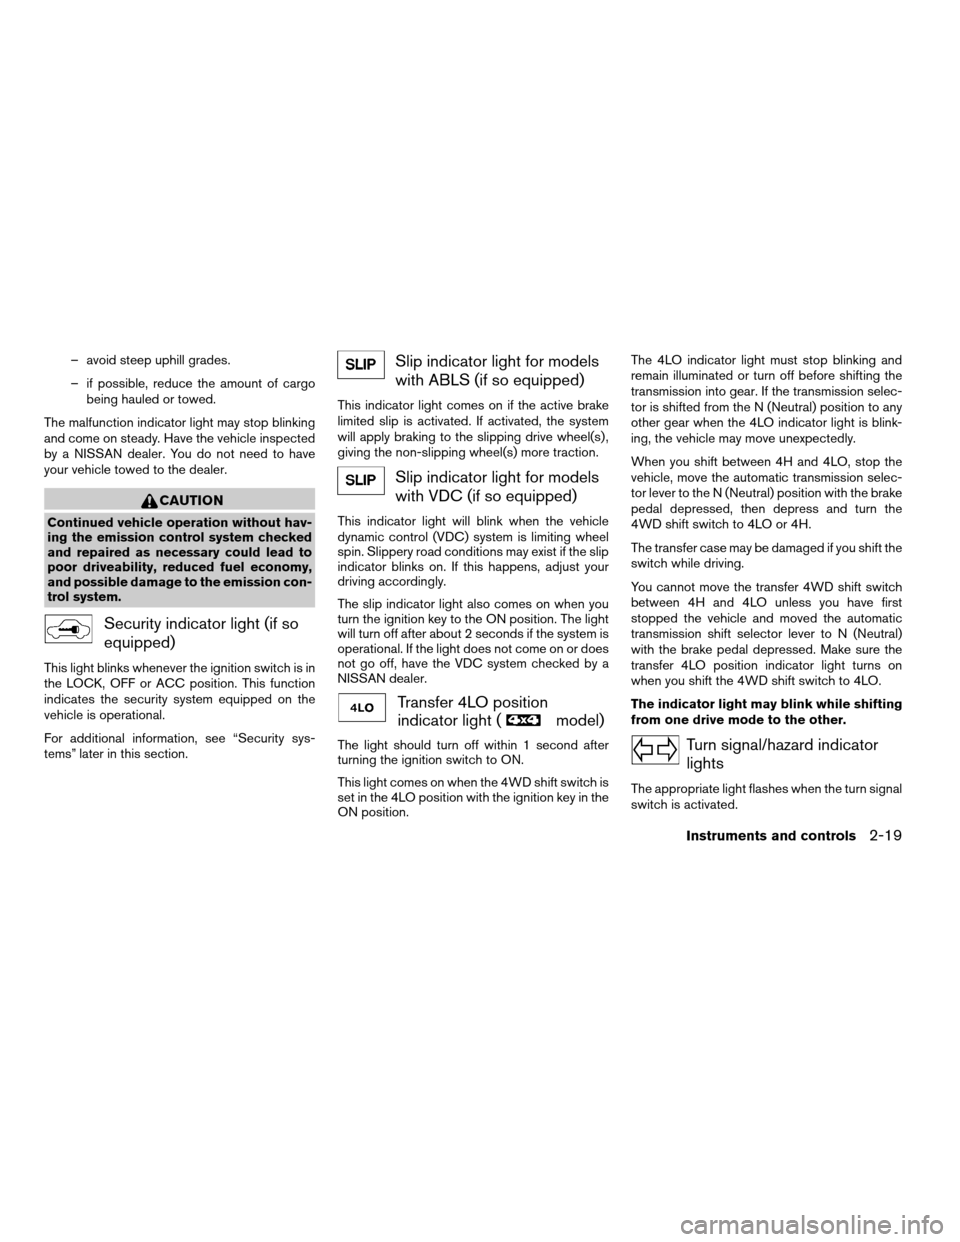
Security indicator light (if so
equipped)
This light blinks whenever the ignition switch is in
the LOCK, OFF or ACC position. This function
indicates the security system equipped on the
vehicle is operational.
For additional information, see “Security sys-
tems” later in this section.
Slip indicator light for models
with ABLS (if so equipped)
This indicator light comes on if the active brake
limited slip is activated. If activated, the system
will apply braking to the slipping drive wheel(s) ,
giving the non-slipping wheel(s) more traction.
Slip indicator light for models
with VDC (if so equipped)
This indicator light will blink when the vehicle
dynamic control (VDC) system is limiting wheel
spin. Slippery road conditions may exist if the slip
indicator blinks on. If this happens, adjust your
driving accordingly.
The slip indicator light also comes on when you
turn the ignition key to the ON position. The light
will turn off after about 2 seconds if the system is
operational. If the light does not come on or does
not go off, have the VDC system checked by a
NISSAN dealer.
Transfer 4LO position
indicator light (
model)
The light should turn off within 1 second after
turning the ignition switch to ON.
This light comes on when the 4WD shift switch is
set in the 4LO position with the ignition key in the
ON position.The 4LO indicator light must stop blinking and
remain illuminated or turn off before shifting the
transmission into gear. If the transmission selec-
tor is shifted from the N (Neutral) position to any
other gear when the 4LO indicator light is blink-
ing, the vehicle may move unexpectedly.
When you shift between 4H and 4LO, stop the
vehicle, move the automatic transmission selec-
tor lever to the N (Neutral) position with the brake
pedal depressed, then depress and turn the
4WD shift switch to 4LO or 4H.
The transfer case may be damaged if you shift the
switch while driving.
You cannot move the transfer 4WD shift switch
between 4H and 4LO unless you have first
stopped the vehicle and moved the automatic
transmission shift selector lever to N (Neutral)
with the brake pedal depressed. Make sure the
transfer 4LO position indicator light turns on
when you shift the 4WD shift switch to 4LO.
The indicator light may blink while shifting
from one drive mode to the other.Turn signal/hazard indicator
lights
The appropriate light flashes when the turn signal
switch is activated.
Instruments and controls2-19
ZREVIEW COPYÐ2007 Titan(tzw)
Owners ManualÐUSA_English(nna)
07/09/06Ðtbrooks
X
Page 101 of 368

exterior vehicle components in all situations. Al-
ways secure your vehicle even if parking for a
brief period. Never leave your keys in the ignition,
and always lock the vehicle when unattended. Be
aware of your surroundings, and park in secure,
well-lit areas whenever possible.
Many devices offering additional protection, such
as component locks, identification markers, and
tracking systems, are available at auto supply
stores and specialty shops. Your NISSAN dealer
may also offer such equipment. Check with your
insurance company to see if you may be eligible
for discounts for various theft protection features.
How to arm the vehicle security
system
1. Close all windows.(The system can be
armed even if the windows are open.)
2. Remove the key from the ignition switch.
3. Close all doors. Lock all doors. The doors
can be locked with the key, power door lock
switch (if the door is opened, locked and
then closed) , or with the keyfob.
Keyfob operation:
cPush the
button on the keyfob.
All doors lock. The hazard lights flash
twice and the horn beeps once to indicate
all doors are locked.cWhen the
button is pushed with
all doors locked, the hazard lights flash
twice and the horn beeps once as a re-
minder that the doors are already locked.
The horn may or may not beep. Refer to
“Silencing the horn beep feature” (vehicles
without navigation system) in the “Pre-
driving checks and adjustments” section or
“Vehicle electronic systems” (vehicles with
navigation system) in the “Display screen,
heater, air conditioner and audio systems”
section.
4. Confirm that the
indicator light comes
on. Thelight stays on for about 30
seconds. The vehicle security system is now
pre-armed. After about 30 seconds the ve-
hicle security system automatically shifts
into the armed phase. The
light begins
to flash once every 3 seconds. If, during the
30-second pre-arm time period, the door is
unlocked by the key or the keyfob, or the
ignition key is turned to ACC or ON, the
system will not arm.
cIf the key is turned slowly when locking
the door, the system may not arm. Fur-
thermore, if the key is turned beyond
the vertical position toward the unlock
position to remove the key, the system
may be disarmed when the key is re-moved. If the indicator light fails to
glow for 30 seconds, unlock the door
once and lock it again.
cEven when the driver and/or passen-
gers are in the vehicle, the system will
arm with all doors closed and locked
with the ignition key in the OFF posi-
tion.
cThe lockable beside storage compart-
ment (if so equipped) is not protected
by the vehicle security system.
Vehicle security system activation
The vehicle security system will give the following
alarm:
cThe headlights blink and the horn sounds
intermittently.
cThe alarm automatically turns off after ap-
proximately 50 seconds. However, the alarm
reactivates if the vehicle is tampered with
again. The alarm can be shut off by unlocking
the driver’s door with the key, or by pressing
the
button on the keyfob.
The alarm is activated by:
copening a door without using the key or
keyfob (even if the door is unlocked by using
the inside lock knob or the power door lock
switch) .
Instruments and controls2-21
ZREVIEW COPYÐ2007 Titan(tzw)
Owners ManualÐUSA_English(nna)
07/09/06Ðtbrooks
X
Page 103 of 368
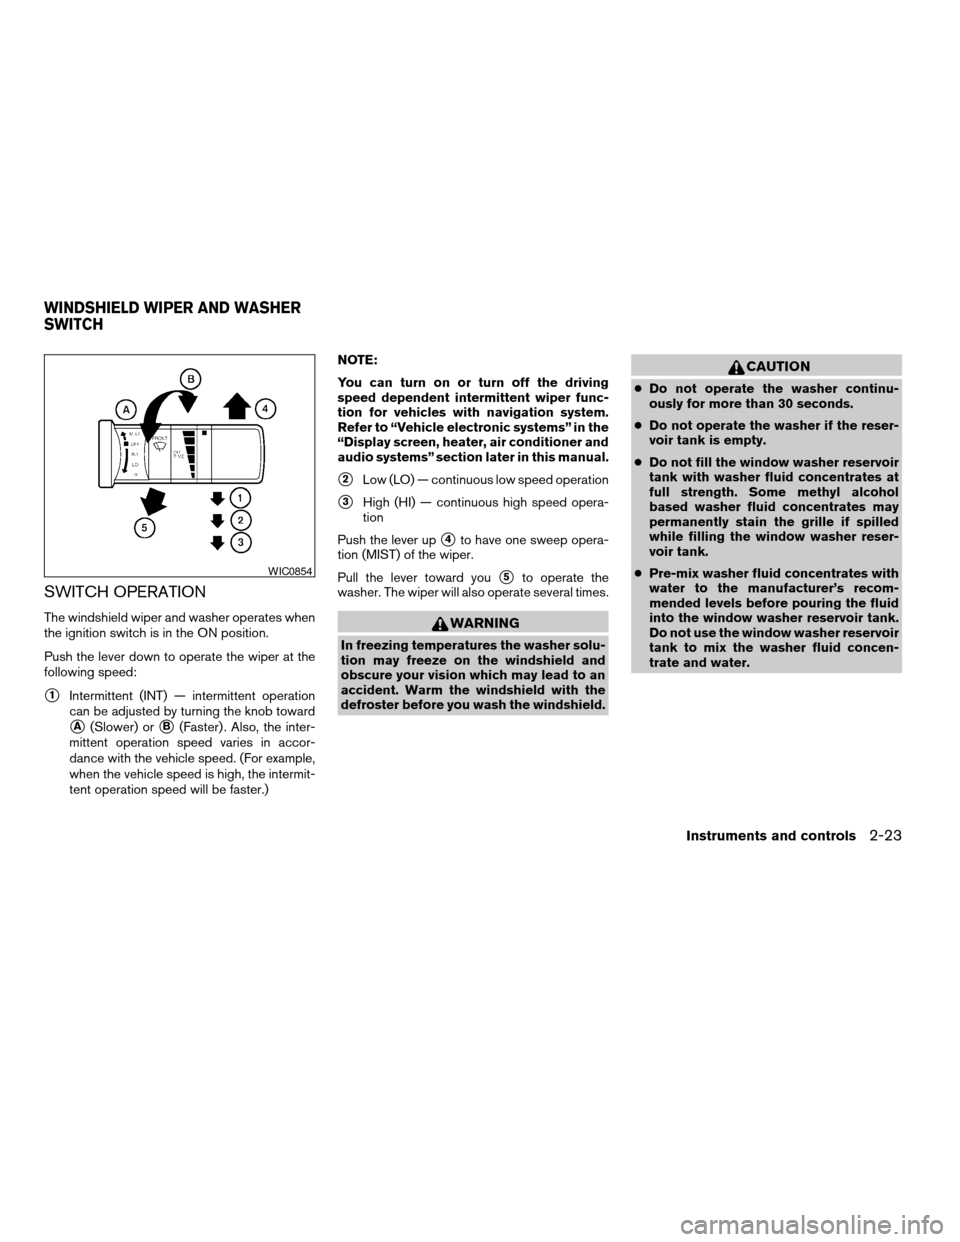
SWITCH OPERATION
The windshield wiper and washer operates when
the ignition switch is in the ON position.
Push the lever down to operate the wiper at the
following speed:
s1Intermittent (INT) — intermittent operation
can be adjusted by turning the knob toward
sA(Slower) orsB(Faster) . Also, the inter-
mittent operation speed varies in accor-
dance with the vehicle speed. (For example,
when the vehicle speed is high, the intermit-
tent operation speed will be faster.)NOTE:
You can turn on or turn off the driving
speed dependent intermittent wiper func-
tion for vehicles with navigation system.
Refer to “Vehicle electronic systems” in the
“Display screen, heater, air conditioner and
audio systems” section later in this manual.
s2Low (LO) — continuous low speed operation
s3High (HI) — continuous high speed opera-
tion
Push the lever up
s4to have one sweep opera-
tion (MIST) of the wiper.
Pull the lever toward you
s5to operate the
washer. The wiper will also operate several times.
WARNING
In freezing temperatures the washer solu-
tion may freeze on the windshield and
obscure your vision which may lead to an
accident. Warm the windshield with the
defroster before you wash the windshield.
CAUTION
cDo not operate the washer continu-
ously for more than 30 seconds.
cDo not operate the washer if the reser-
voir tank is empty.
cDo not fill the window washer reservoir
tank with washer fluid concentrates at
full strength. Some methyl alcohol
based washer fluid concentrates may
permanently stain the grille if spilled
while filling the window washer reser-
voir tank.
cPre-mix washer fluid concentrates with
water to the manufacturer’s recom-
mended levels before pouring the fluid
into the window washer reservoir tank.
Do not use the window washer reservoir
tank to mix the washer fluid concen-
trate and water.
WIC0854
WINDSHIELD WIPER AND WASHER
SWITCH
Instruments and controls2-23
ZREVIEW COPYÐ2007 Titan(tzw)
Owners ManualÐUSA_English(nna)
07/09/06Ðtbrooks
X
Page 106 of 368

Autolight system (if so equipped)
The autolight system allows the headlights to be
set so they turn on and off automatically. The
autolight system can:
cTurn on the headlights, front parking, tail,
license plate and instrument panel lights au-
tomatically when it is dark.
cTurn off all the lights when it is light.
cKeep all the lights on for 45 seconds after
you turn the key to OFF and all doors are
closed.NOTE:
Autolight activation sensitivity and the
time delay for autolight shutoff is adjust-
able for vehicles with navigation system.
See “Vehicle electronic systems” in the
“Display screen, heater, air conditioner and
audio systems” section later in this manual.
To turn on the autolight system:
1. Turn the headlight switch to the AUTO posi-
tion
s1.
2. Turn the ignition key to ON.
3. The autolight system automatically turns the
headlights on and off.
Initially, if the ignition switch is turned OFF and a
door is opened and left open, the headlights
remain ON for 5 minutes. If another door is
opened during the 5 minutes, then the 5 minute
timer is reset.
To turn the autolight system off, turn the switch to
the OFF,
,orposition.Be sure you do not put anything on top of
the autolight sensor
s1located on the top
side of the instrument panel. The autolight
sensor controls the autolight; if it is cov-
ered, the autolight sensor reacts as if it is
dark out and the headlights will illuminate.
If this occurs while parked with the engine
off and the key in the ON position, your
vehicle’s battery could become discharged.
LIC0561LIC0836
2-26Instruments and controls
ZREVIEW COPYÐ2007 Titan(tzw)
Owners ManualÐUSA_English(nna)
07/09/06Ðtbrooks
X