2007 NISSAN QUEST check oil
[x] Cancel search: check oilPage 14 of 384

1. Power steering fluid reservoir (P. 8-11)
2. Engine oil filler cap (P. 8-8)
3. Air cleaner (P. 8-16)
4. Brake fluid reservoir (P. 8-12)
5. Battery (P. 8-13)
6. Fuse/fusible link box (P. 8-20)
7. Transmission dipstick (P. 8-11)
8. Engine oil dipstick (P. 8-8)
9. Radiator cap (P. 8-7)
10. Drive belt location (P. 8-15)
11. Fuse block (P. 8-20)
12. Windshield washer fluid reservoir
(P. 8-12)
13. Engine coolant reservoir (P. 8-7)
See the page number indicated in paren-
theses for operating details.
WDI0515
ENGINE COMPARTMENT CHECK
LOCATIONS
0-8Illustrated table of contents
ZREVIEW COPYÐ2007 Quest(van)
Owners ManualÐUSA_English(nna)
02/24/06Ðdebbie
X
Page 91 of 384

orAnti-lock braking warning lightSeat belt warning light and chimeFront passenger air bag status light
orBrake warning lightSupplemental air bag warning lightSecurity indicator light
Charge warning lightAutomatic transmission position indicator lightSlip indicator light
Door open warning lightCruise main switch indicator lightTraction control system off indicator light (if so
equipped)
Engine oil pressure warning lightCruise set switch indicator lightTurn signal/hazard indicator lights
Low fuel warning lightHigh beam indicator light (Blue)Vehicle dynamic control off indicator light (if so
equipped)
Low tire pressure warning lightMalfunction indicator light (MIL)
Low windshield washer fluid warning lightOverdrive off indicator light
CHECKING BULBS
With all doors closed, apply the parking brake
and turn the ignition key to the ON position
without starting the engine. The following lights
will come on:
,or,,,
The following lights come on briefly and then go
off:
or,,,,,,
If any light fails to come on, it may indicate
a burned-out bulb or an open circuit in the
electrical system. Have the system repaired
promptly.
WARNING/INDICATOR LIGHTS AND
AUDIBLE REMINDERS
Instruments and controls2-7
ZREVIEW COPYÐ2007 Quest(van)
Owners ManualÐUSA_English(nna)
02/27/06Ðdebbie
X
Page 92 of 384

WARNING LIGHTS
orAnti-lock braking
warning light
If the light comes on while the engine is running,
it may indicate the anti-lock braking system is not
functioning properly. Have the system checked
by a NISSAN dealer.
If a malfunction occurs in the system, the anti-
lock function is turned off, but the regular braking
system continues to operate.
If the light comes on while you are driving,
contact a NISSAN dealer for repair.
orBrake warning light
This light functions for both the parking brake and
the foot brake systems.
Parking brake indicator
When the ignition key is in the ON position, the
light comes on when the parking brake is applied.
Low brake fluid warning light
When the ignition key is in the ON position, the
light warns of a low brake fluid level. If the light
comes on while the engine is running with the
parking brake not applied, stop the vehicle and
perform the following:1. Check the brake fluid level. Add brake fluid
as necessary. See “Brake fluid” in the “Main-
tenance and do-it-yourself” section of this
manual.
2. If the brake fluid level is correct, have the
warning system checked by a NISSAN
dealer.
WARNING
cYour brake system may not be working
properly if the warning light is on. Driv-
ing could be dangerous. If you judge it
to be safe, drive carefully to the nearest
service station for repairs. Otherwise,
have your vehicle towed because driv-
ing it could be dangerous.
cPressing the brake pedal with the en-
gine stopped and/or a low brake fluid
level may increase your stopping dis-
tance and braking will require greater
pedal effort as well as pedal travel.
cIf the brake fluid level is below the
MINIMUM or MIN mark on the brake
fluid reservoir, do not drive until the
brake system has been checked at a
NISSAN dealer.
Charge warning light
If this light comes on while the engine is running,
it may indicate the charging system is not func-
tioning properly. Turn the engine off and check
the generator belt. If the belt is loose, broken,
missing, or if the light remains on, see a NISSAN
dealer immediately.
CAUTION
Do not continue driving if the generator
belt is loose, broken or missing.
Door open warning light
This light comes on when any of the doors are not
closed securely while the ignition key is in the ON
position.
Engine oil pressure warning
light
This light warns of low engine oil pressure. If the
light flickers or comes on during normal driving,
pull off the road in a safe area, stop the engine
immediatelyand call a NISSAN dealer or other
authorized repair shop.
2-8Instruments and controls
ZREVIEW COPYÐ2007 Quest(van)
Owners ManualÐUSA_English(nna)
02/27/06Ðdebbie
X
Page 93 of 384

The engine oil pressure warning light is not
designed to indicate a low oil level.Use the
dipstick to check the oil level. See “Engine oil” in
the “Maintenance and do-it-yourself” section of
this manual.
CAUTION
Running the engine with the engine oil
pressure warning light on could cause se-
rious damage to the engine almost imme-
diately. Such damage is not covered by
warranty. Turn off the engine as soon as it
is safe to do so.
Low fuel warning light
This light comes on when the fuel level in the fuel
tank is getting low. The low fuel warning chime
will also sound under certain conditions. See
“Low fuel warning chime” later in this section.
Refuel as soon as it is convenient, preferably
before the fuel gauge reaches E (Empty) .There
will be a small reserve of fuel in the tank
when the fuel gauge needle reaches E
(Empty) .
Low tire pressure warning
light
Your vehicle is equipped with a Tire Pressure
Monitoring System (TPMS) that monitors the tire
pressure of all tires except the spare.
The low tire pressure warning light warns of low
tire pressure or indicates that the TPMS is not
functioning properly.
After the ignition switch is turned ON, this light
illuminates for about 1 second and turns off.
Low tire pressure warning (for models with-
out MichelinTPAXTtires only):
If the vehicle is being driven with low tire pres-
sure, the warning light will illuminate. If you select
the tire pressure information in the display, the
LOW PRESSURE warning message will be dis-
played. The tire pressure for each tire will also be
displayed.
When the low tire pressure warning light illumi-
nates, you should stop and adjust the tire pres-
sure to the recommended COLD tire pressure
shown on the Tire and Loading Information label
to turn the light OFF.
For additional information, see “Tire pressure
monitoring system (TPMS)” in the “Starting and
driving” section and in the “In case of emergency”
section.Low tire pressure warning (for models with
MichelinTPAXTtires only):
If the vehicle is being driven with low tire pressure
the warning light will illuminate. If you select the
tire pressure information in the display, the LOW
PRESSURE warning message will be displayed.
The tire pressure for each tire will also be dis-
played.
When the low tire pressure warning light illumi-
nates, you should stop and adjust the tire pres-
sure to the recommended COLD tire pressure
shown on the Tire and Loading Information label
to turn the light OFF.
Flat tire warning (for models with Mich-
elinTPAXTtires only):
If the vehicle is being driven with one or more flat
tires, the warning light will flash continuously and
a chime will sound for 10 seconds.
The chime will only sound at the first indication of
a flat tire and the warning light will flash continu-
ously. When the flat tire warning is activated,
have the system reset and the tire checked and
replaced if necessary by a NISSAN dealer or
authorized Michelin PAX system dealer. Even if
the tire is inflated to the specified COLD tire
pressure, the warning light will continue to flash
until the system is reset by a NISSAN dealer.
Instruments and controls2-9
ZREVIEW COPYÐ2007 Quest(van)
Owners ManualÐUSA_English(nna)
02/27/06Ðdebbie
X
Page 259 of 384

KEY POSITIONS
LOCK: Normal parking position (0)
OFF: (Not used) (1)
ACC: (Accessories) (2)
This position activates electrical accessories
such as the radio when the engine is not running.
ON: Normal operating position (3)
This position turns on the ignition system and the
electrical accessories.
START: (4)
This position starts the engine. As soon as the
engine has started, release the key. It automati-
cally returns to the ON position.
NISSAN VEHICLE IMMOBILIZER
SYSTEM
The NISSAN Vehicle Immobilizer System will not
allow the engine to start without the use of the
registered key.
If the engine fails to start using a registered key
(for example, when interference is caused by
another registered key, an automated toll road
device or automatic payment device on the key
ring) , restart the engine using the following pro-
cedures:1. Leave the ignition switch in the ON position
for approximately 5 seconds.
2. Turn the ignition switch to the OFF or LOCK
position, and wait approximately 10 sec-
onds.
3. Repeat steps 1 and 2.
4. Restart the engine while holding the device
(which may have caused the interference)
separate from the registered key.
If the no start condition re-occurs, NISSAN rec-
ommends placing the registered key on a sepa-
rate key ring to avoid interference from other
devices.cMake sure the area around the vehicle is
clear.
cCheck fluid levels such as engine oil, cool-
ant, brake fluid, and window washer fluid as
frequently as possible, or at least whenever
you refuel.
cCheck that all windows and lights are clean.
cVisually inspect tires for their appearance
and condition. Also check tires for proper
inflation.
cLock all doors.
cPosition seat and adjust head restraints.
cAdjust inside and outside mirrors.
cFasten seat belts and ask all passengers to
do likewise.
cCheck the operation of warning lights when
the key is turned to the ON (3) position. See
“Warning/indicator lights and audible re-
minders” in the “Instruments and controls”
section of this manual.
BEFORE STARTING THE ENGINE
Starting and driving5-9
ZREVIEW COPYÐ2007 Quest(van)
Owners ManualÐUSA_English(nna)
02/27/06Ðdebbie
X
Page 293 of 384

UNDERBODY
In areas where road salt is used in winter, it is
necessary to clean the underbody regularly in
order to prevent dirt and salt from building up and
causing the acceleration of corrosion on the un-
derbody and suspension. Before the winter pe-
riod and again in the spring, the underseal must
be checked and, if necessary, retreated.
GLASS
Use glass cleaner to remove smoke and dust film
from the glass surfaces. It is normal for glass to
become coated with a film after the vehicle is
parked in the hot sun. Glass cleaner and a soft
cloth will easily remove this film.
CAUTION
When cleaning the inside of the windows,
do not use sharp-edged tools, abrasive
cleaners or chlorine-based disinfectant
cleaners. They could damage the electri-
cal conductors, radio antenna elements or
rear window defroster elements.
ALUMINUM ALLOY WHEELS
Wash the wheels regularly, especially during win-
ter months in areas where road salt is used. If not
removed, road salt can discolor the wheels.
CHROME PARTS
Clean all chrome parts regularly with a non-
abrasive chrome polish to maintain the finish.
TIRE DRESSINGS
NISSAN does not recommend the use of tire
dressings. Tire manufacturers apply a coating to
the tires to help reduce discoloration of the rub-
ber. If a tire dressing is applied to the tires, it may
react with the coating and form a compound. This
compound may come off the tire while driving and
stain the vehicle paint.
If you choose to use a tire dressing, take the
following precautions:
cUse a water-based tire dressing. The coat-
ing on the tire dissolves more easily with an
oil-based tire dressing.
cApply a light coat of tire dressing to help
prevent it from entering the tire
tread/grooves (where it would be difficult to
remove) .cWipe off excess tire dressing using a dry
towel. Make sure the tire dressing is com-
pletely removed from the tire tread/grooves.
cAllow the tire dressing to dry as recom-
mended by tire dressing manufacturer.
Appearance and care7-3
ZREVIEW COPYÐ2007 Quest(van)
Owners ManualÐUSA_English(nna)
02/27/06Ðdebbie
X
Page 294 of 384

Occasionally remove loose dust from the interior
trim, plastic parts and seats using a vacuum
cleaner or soft bristled brush. Wipe the vinyl and
leather surfaces with a clean, soft cloth damp-
ened in mild soap solution, then wipe clean with a
dry, soft cloth.
Regular care and cleaning is required in order to
maintain the appearance of the leather.
Before using any fabric protector, read the manu-
facturer’s recommendations. Some fabric pro-
tectors contain chemicals that may stain or
bleach the seat material.
Use a cloth dampened only with water to clean
the meter and gauge lens.
CAUTION
cNever use benzine, thinner or any simi-
lar material.
cSmall dirt particles can be abrasive and
damaging to leather surfaces and
should be removed promptly. Do not
use saddle soap, car waxes, polishes,
oils, cleaning fluids, solvents, deter-
gents or ammonia-based cleaners as
they may damage the leather’s natural
finish.cNever use fabric protectors unless rec-
ommended by the manufacturer.
cDo not use glass or plastic cleaner on
meter or gauge lens covers. It may dam-
age the lens cover.
FLOOR MATS
The use of genuine NISSAN floor mats can ex-
tend the life of your vehicle carpet and make it
easier to clean the interior.No matter what
mats are used, be sure they are fitted for
your vehicle and are properly positioned in
the footwell to prevent interference with
pedal operation.Mats should be maintained
with regular cleaning and replaced if they be-
come excessively worn.
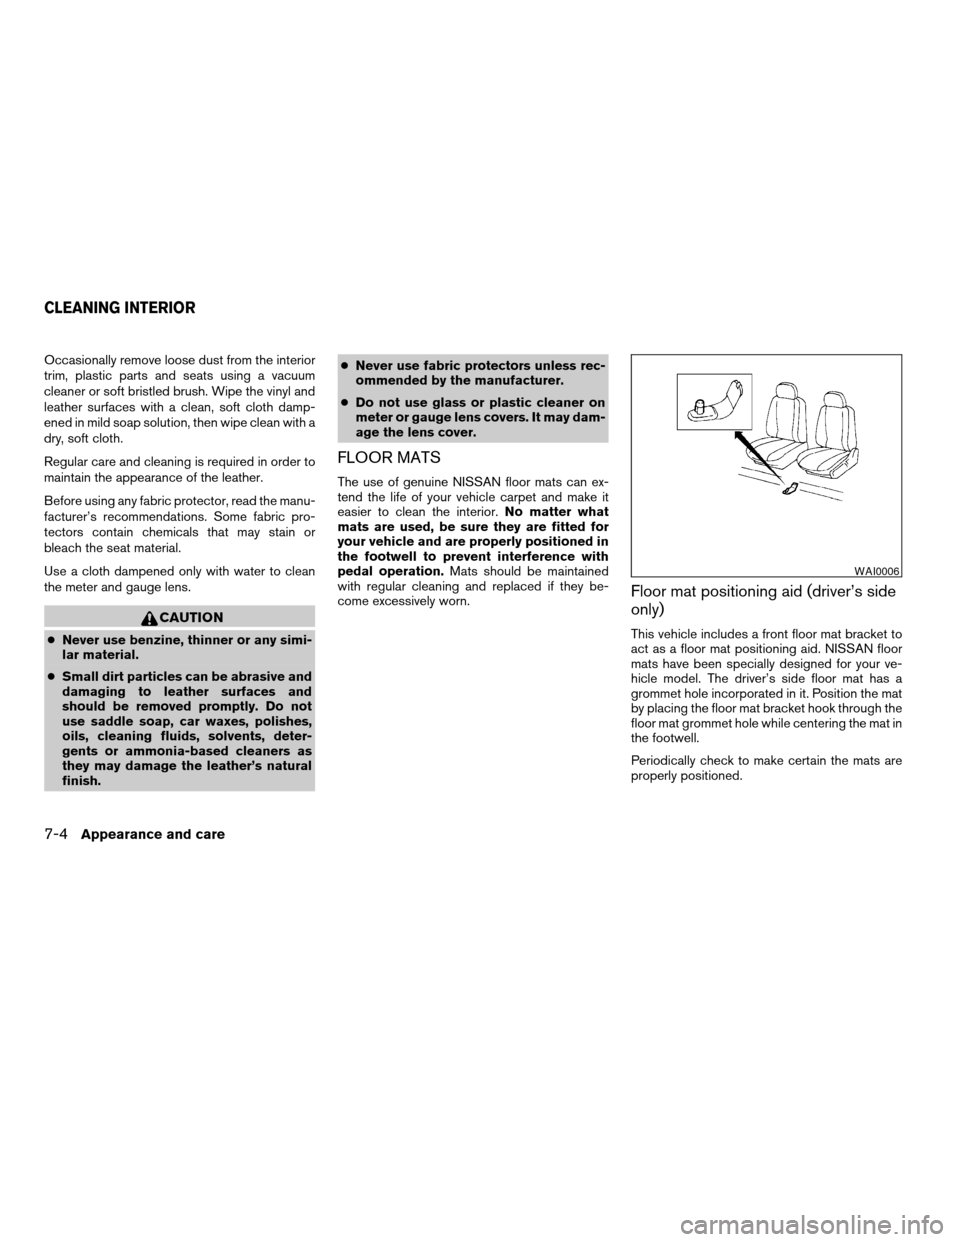
Floor mat positioning aid (driver’s side
only)
This vehicle includes a front floor mat bracket to
act as a floor mat positioning aid. NISSAN floor
mats have been specially designed for your ve-
hicle model. The driver’s side floor mat has a
grommet hole incorporated in it. Position the mat
by placing the floor mat bracket hook through the
floor mat grommet hole while centering the mat in
the footwell.
Periodically check to make certain the mats are
properly positioned.
WAI0006
CLEANING INTERIOR
7-4Appearance and care
ZREVIEW COPYÐ2007 Quest(van)
Owners ManualÐUSA_English(nna)
02/27/06Ðdebbie
X
Page 297 of 384

8 Maintenance and do-it-yourself
Maintenance requirements..........................8-2
General maintenance..............................8-2
Explanation of general maintenance items.........8-2
Maintenance precautions...........................8-5
Engine compartment check locations................8-6
Engine cooling system.............................8-7
Checking engine coolant level...................8-7
Changing engine coolant........................8-8
Engine oil.........................................8-8
Checking engine oil level........................8-8
Changing engine oil............................8-9
Changing engine oil filter.......................8-10
5-speed automatic transmission fluid...............8-11
Power steering fluid...............................8-11
Brake fluid.......................................8-12
Brake fluid....................................8-12
Window washer fluid.............................8-12
Window washer fluid reservoir..................8-12
Battery..........................................8-13
Jump starting.................................8-14
Drive belts.......................................8-15
Spark plugs......................................8-15
Replacing spark plugs.........................8-15Air cleaner.......................................8-16
In-cabin microfilter.............................8-16
Windshield wiper blades..........................8-17
Cleaning.....................................8-17
Replacing....................................8-17
Brake Pedal......................................8-20
Parking brake and brake pedal.....................8-20
Fuses...........................................8-20
Engine compartment...........................8-20
Passenger compartment.......................8-21
Battery replacement..............................8-23
Keyfob.......................................8-23
Lights...........................................8-24
Headlights....................................8-24
Fog lights (if so equipped)......................8-24
Exterior and interior lights.......................8-26
Wheels and tires.................................8-30
Tire pressure..................................8-30
Tire labeling...................................8-34
Types of tires..................................8-37
Tire chains....................................8-39
Changing wheels and tires.....................8-40
ZREVIEW COPYÐ2007 Quest(van)
Owners ManualÐUSA_English(nna)
02/27/06Ðdebbie
X