2007 NISSAN PATHFINDER warning light
[x] Cancel search: warning lightPage 91 of 352
After the ignition switch is turned ON, this light
illuminates for about 1 second and turns off.
Low tire pressure warning:
If the vehicle is being driven with low tire pres-
sure, the warning light will illuminate. If you select
the tire pressure information in the display (if so
equipped) , the LOW PRESSURE warning mes-
sage will be displayed. The tire pressure for each
tire will also be displayed.
When the low tire pressure warning light illumi-
nates, you should stop and adjust the tire pres-
sure to the recommended COLD tire pressure
shown on the Tire and Loading Information label.
The low tire pressure warning light does not
automatically turn off when the tire pressure is
adjusted. After the tire is inflated to the recom-
mended pressure, the vehicle must be driven
over 16 MPH (25 km/h) to activate the TPMS and
turn off the low tire pressure warning light. Use a
tire pressure gauge to adjust tire pressure to the
recommended pressure.
For additional information, see “Tire pressure
monitoring system (TPMS)” in the “Starting and
driving” section and in the “In case of emergency”
section.TPMS malfunction:
If the TPMS is not functioning properly, the low
tire pressure warning light will flash for approxi-
mately 1 minute when the ignition switch is
turned ON. The light will remain on after the 1
minute. Have the system checked by a NISSAN
dealer.
For additional information, see “Tire pressure
monitoring system (TPMS)” in the “Starting and
driving” section.
WARNING
cIf the light does not illuminate with the
ignition switch turned ON, have the ve-
hicle checked by a NISSAN dealer as
soon as possible.
cIf the light illuminates while driving,
avoid sudden steering maneuvers or
abrupt braking, reduce vehicle speed,
pull off the road to a safe location and
stop the vehicle as soon as possible.
Serious vehicle damage could occur
and may lead to an accident and could
result in serious personal injury. Check
the tire pressure for all four tires. Adjust
the tire pressure to the recommended-
COLD tire pressure shown on the Tire
and Loading Information label to turnthe low tire pressure warning light
OFF.If the light still illuminates while
driving after adjusting the tire pressure,
a tire may be flat. If you have a flat tire,
replace it with a spare tire as soon as
possible.
cWhen a spare tire is mounted or a wheel
is replaced, tire pressure will not be
indicated, the TPMS will not function
and the low tire pressure warning light
will flash for approximately 1 minute.
The light will remain on after 1 minute.
Contact your NISSAN dealer as soon as
possible for tire replacement and/or
system resetting.
cReplacing tires with those not originally
specified by NISSAN could affect the
proper operation of the TPMS.
CAUTION
cThe TPMS is not a substitute for the
regular tire pressure check. Be sure to
check the tire pressure regularly.
cIf the vehicle is being driven at speeds
of less than 16 MPH (25 km/h) , the
TPMS may not operate correctly.
cBe sure to install the specified size of
tires to the 4 wheels correctly.
Instruments and controls2-17
ZREVIEW COPYÐ2007 Pathfinder(pat)
Owners ManualÐUSA_English(nna)
10/16/06Ðcathy
X
Page 92 of 352
Low windshield washer fluid
warning light
This light comes on when the windshield washer
fluid is at a low level. Add windshield washer fluid
as necessary. See “Window washer fluid” in the
“Maintenance and do-it-yourself” section of this
manual.
Seat belt warning light and
chime
The light and chime remind you to fasten your
seat belts. The light illuminates whenever the
ignition key is turned to the ON or START position
and remains illuminated until the driver’s seat belt
is fastened. At the same time, the chime sounds
for about 6 seconds unless the driver’s seat belt
is securely fastened.
The seat belt warning light may also illuminate if
the front passenger’s seat belt is not fastened
when the front passenger’s seat is occupied . For
7 seconds after the ignition switch is in the ON
position, the system does not activate the warn-
ing light for the front passenger.
Refer to “Seat belts” in the “Safety—Seats, seat
belts and supplemental restraint system” section
for precautions on seat belt usage.
Supplemental air bag warning
light
When the ignition key is in the ON or START
position, the supplemental air bag warning light
illuminates for about 7 seconds and then turns
off. This means the system is operational.
If any of the following conditions occur, the
supplemental front air bags, supplemental side
air bags (if so equipped) , curtain side-impact and
rollover air bags, and pre-tensioner seat belt sys-
tems need servicing and your vehicle must be
taken to a NISSAN dealer:
cThe supplemental air bag warning light re-
mains on after approximately 7 seconds.
cThe supplemental air bag warning light
flashes intermittently.
cThe supplemental air bag warning light does
not come on at all.
Unless checked and repaired, the supplemental
restraint system (air bag system) and/or the pre-
tensioner seat belts may not function properly.
For additional details see “Supplemental restraint
system” in the “Safety—Seats, seat belts and
supplemental restraint system” section of this
manual.
WARNING
If the supplemental air bag warning light
is on, it could mean that the supplemental
front air bag, supplemental side air bag,
curtain side-impact and rollover air bag
systems (if so equipped) and/or pre-
tensioner seat belt systems will not oper-
ate in an accident. To help avoid injury to
yourself or others, have your vehicle
checked by a NISSAN dealer as soon as
possible.
INDICATOR LIGHTS
Automatic transmission
position indicator light
When the ignition key is turned to the ON posi-
tion, this indicator light shows the automatic
transmission selector lever position. See “Driving
the vehicle” in the “Starting and driving” section
of this manual.
Cruise main switch indicator
light
The light comes on when the cruise control main
switch is pushed. The light goes out when the
main switch is pushed again. When the cruise
main switch indicator light comes on, the cruise
control system is operational.
2-18Instruments and controls
ZREVIEW COPYÐ2007 Pathfinder(pat)
Owners ManualÐUSA_English(nna)
10/16/06Ðcathy
X
Page 96 of 352

system working when starting the vehicle or ac-
celerating, but this is normal.
AUDIBLE REMINDERS
Brake pad wear warning
The disc brake pads have audible wear warnings.
When a disc brake pad requires replacement, it
makes a high pitched scraping sound when the
vehicle is in motion, whether or not the brake
pedal is depressed. Have the brakes checked as
soon as possible if the warning sound is heard.
Key reminder chime
A chime sounds if the driver’s door is opened
while the key is left in the ignition switch. Remove
the key and take it with you when leaving the
vehicle.
Light reminder chime
With the ignition switch in the OFF position, a
chime sounds when the driver’s door is opened if
the headlights or parking lights are on.
Turn the headlight control switch off before leav-
ing the vehicle.Your vehicle has two types of security systems:
cVehicle security system
cNISSAN Vehicle Immobilizer SystemVEHICLE SECURITY SYSTEM
The vehicle security system provides visual and
audible alarm signals if someone opens the doors
when the system is armed. It is not, however, a
motion detection type system that activates when
a vehicle is moved or when a vibration occurs.
The system helps deter vehicle theft but cannot
prevent it, nor can it prevent the theft of interior or
exterior vehicle components in all situations. Al-
ways secure your vehicle even if parking for abrief period. Never leave your keys in the ignition,
and always lock the vehicle when unattended. Be
aware of your surroundings, and park in secure,
well-lit areas whenever possible.
Many devices offering additional protection, such
as component locks, identification markers, and
tracking systems, are available at auto supply
stores and specialty shops. Your NISSAN dealer
may also offer such equipment. Check with your
insurance company to see if you may be eligible
for discounts for various theft protection features.
How to arm the vehicle security
system
1. Close all windows and the glass hatch.(The
system can be armed even if the win-
dows are open. However, the glass
hatch must be closed.)
2. Remove the key from the ignition switch.
3. Close all doors. Lock all doors. The doors
can be locked with the key, power door lock
switch or with the keyfob.
Keyfob operation:
cPush the
button on the keyfob.
All doors lock. The hazard lights flash
twice and the horn beeps once to indicate
all doors are locked.
WIC0841
SECURITY SYSTEMS
2-22Instruments and controls
ZREVIEW COPYÐ2007 Pathfinder(pat)
Owners ManualÐUSA_English(nna)
10/16/06Ðcathy
X
Page 100 of 352
WARNING
In freezing temperatures the washer solu-
tion may freeze on the window and ob-
scure your vision. Warm the rear window
with the defroster before you wash the
rear window.
CAUTION
cDo not operate the washer continu-
ously for more than 30 seconds.
cDo not operate the washer if the reser-
voir tank is empty.
cDo not fill the window washer reservoir
tank with washer fluid concentrates at
full strength. Some methyl alcohol
based washer fluid concentrates may
permanently stain the grille if spilled
while filling the window washer reser-
voir tank.
cPre-mix washer fluid concentrates with
water to the manufacturer’s recom-
mended levels before pouring the fluid
into the window washer reservoir tank.
Do not use the window washer reservoir
tank to mix the washer fluid concen-
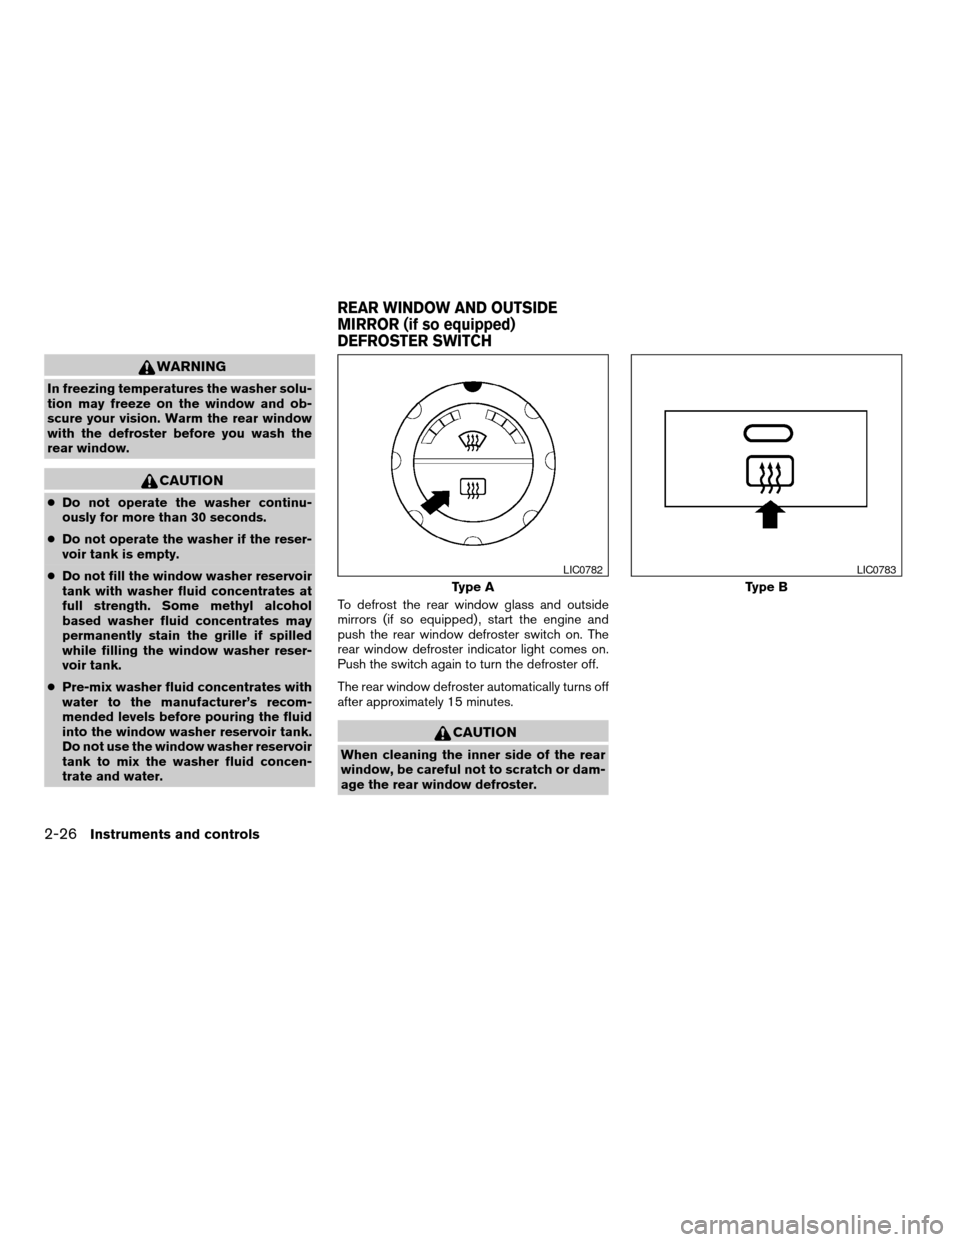
trate and water.To defrost the rear window glass and outside
mirrors (if so equipped) , start the engine and
push the rear window defroster switch on. The
rear window defroster indicator light comes on.
Push the switch again to turn the defroster off.
The rear window defroster automatically turns off
after approximately 15 minutes.
CAUTION
When cleaning the inner side of the rear
window, be careful not to scratch or dam-
age the rear window defroster.
Type A
LIC0782
Type B
LIC0783
REAR WINDOW AND OUTSIDE
MIRROR (if so equipped)
DEFROSTER SWITCH
2-26Instruments and controls
ZREVIEW COPYÐ2007 Pathfinder(pat)
Owners ManualÐUSA_English(nna)
10/16/06Ðcathy
X
Page 103 of 352
Headlight beam select
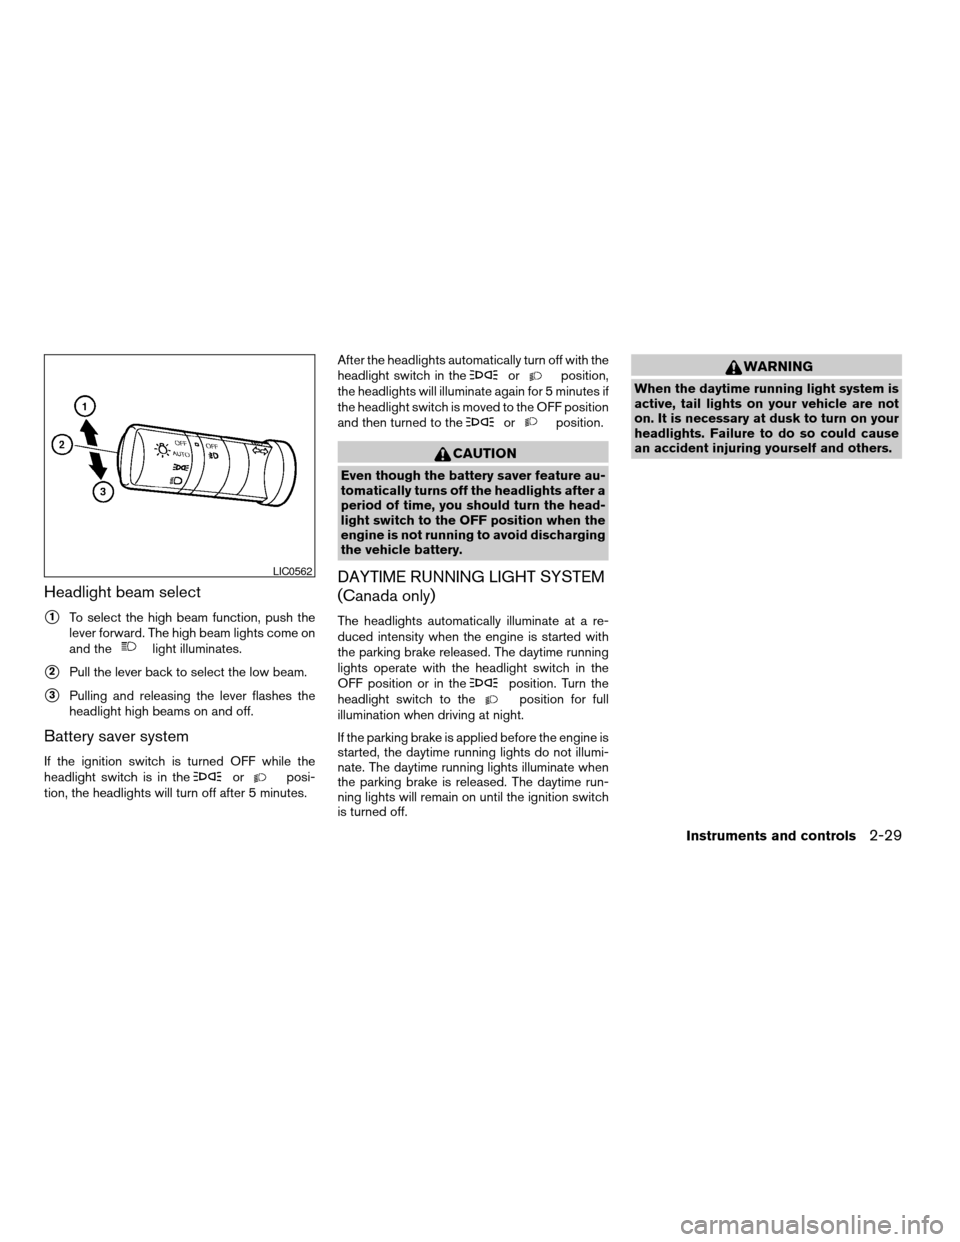
s1To select the high beam function, push the
lever forward. The high beam lights come on
and the
light illuminates.
s2Pull the lever back to select the low beam.
s3Pulling and releasing the lever flashes the
headlight high beams on and off.
Battery saver system
If the ignition switch is turned OFF while the
headlight switch is in theorposi-
tion, the headlights will turn off after 5 minutes.After the headlights automatically turn off with the
headlight switch in the
orposition,
the headlights will illuminate again for 5 minutes if
the headlight switch is moved to the OFF position
and then turned to the
orposition.
CAUTION
Even though the battery saver feature au-
tomatically turns off the headlights after a
period of time, you should turn the head-
light switch to the OFF position when the
engine is not running to avoid discharging
the vehicle battery.
DAYTIME RUNNING LIGHT SYSTEM
(Canada only)
The headlights automatically illuminate at a re-
duced intensity when the engine is started with
the parking brake released. The daytime running
lights operate with the headlight switch in the
OFF position or in the
position. Turn the
headlight switch to theposition for full
illumination when driving at night.
If the parking brake is applied before the engine is
started, the daytime running lights do not illumi-
nate. The daytime running lights illuminate when
the parking brake is released. The daytime run-
ning lights will remain on until the ignition switch
is turned off.
WARNING
When the daytime running light system is
active, tail lights on your vehicle are not
on. It is necessary at dusk to turn on your
headlights. Failure to do so could cause
an accident injuring yourself and others.
LIC0562
Instruments and controls2-29
ZREVIEW COPYÐ2007 Pathfinder(pat)
Owners ManualÐUSA_English(nna)
10/16/06Ðcathy
X
Page 105 of 352
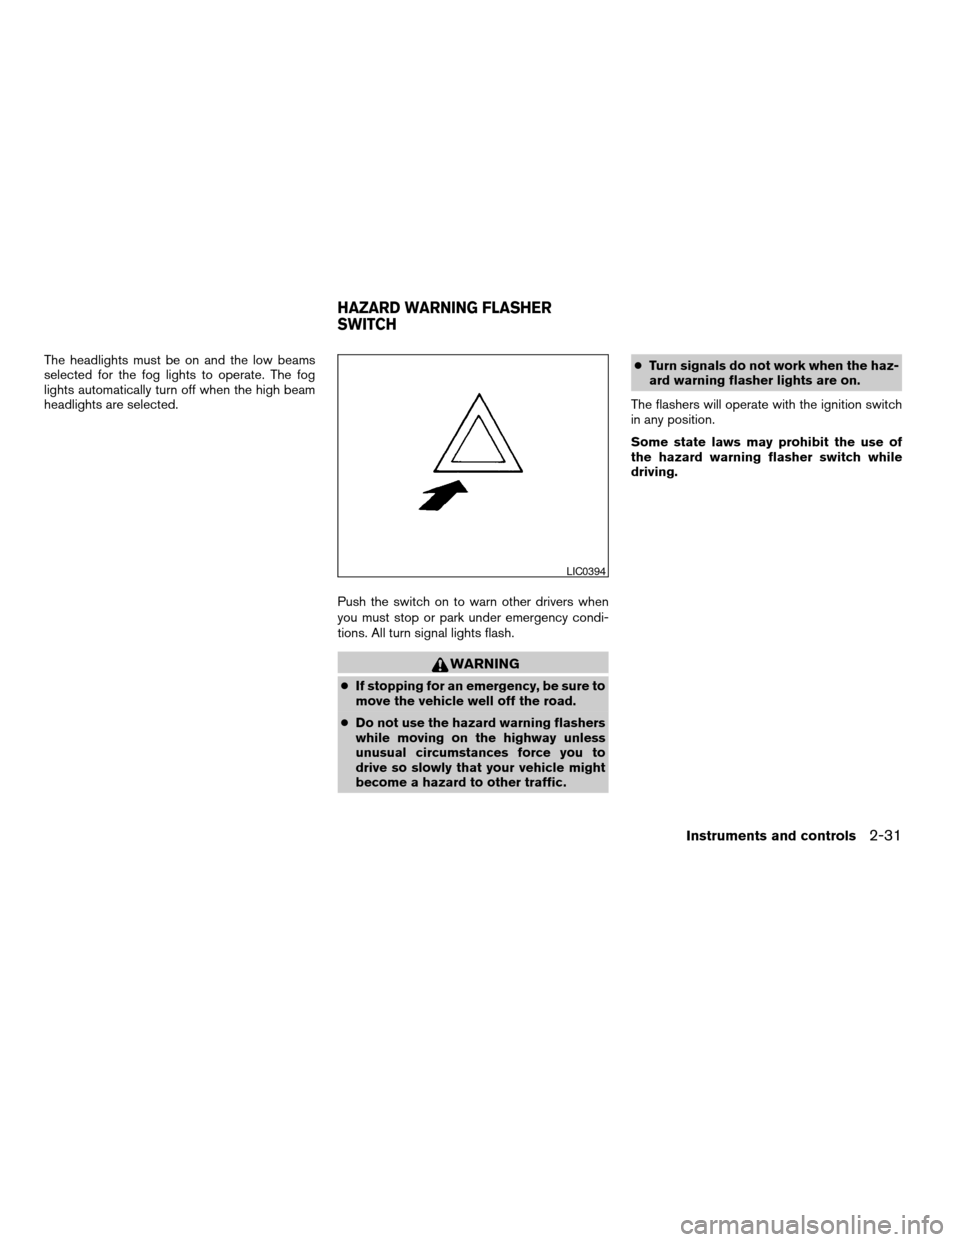
The headlights must be on and the low beams
selected for the fog lights to operate. The fog
lights automatically turn off when the high beam
headlights are selected.
Push the switch on to warn other drivers when
you must stop or park under emergency condi-
tions. All turn signal lights flash.
WARNING
cIf stopping for an emergency, be sure to
move the vehicle well off the road.
cDo not use the hazard warning flashers
while moving on the highway unless
unusual circumstances force you to
drive so slowly that your vehicle might
become a hazard to other traffic.cTurn signals do not work when the haz-
ard warning flasher lights are on.
The flashers will operate with the ignition switch
in any position.
Some state laws may prohibit the use of
the hazard warning flasher switch while
driving.
LIC0394
HAZARD WARNING FLASHER
SWITCH
Instruments and controls2-31
ZREVIEW COPYÐ2007 Pathfinder(pat)
Owners ManualÐUSA_English(nna)
10/16/06Ðcathy
X
Page 106 of 352
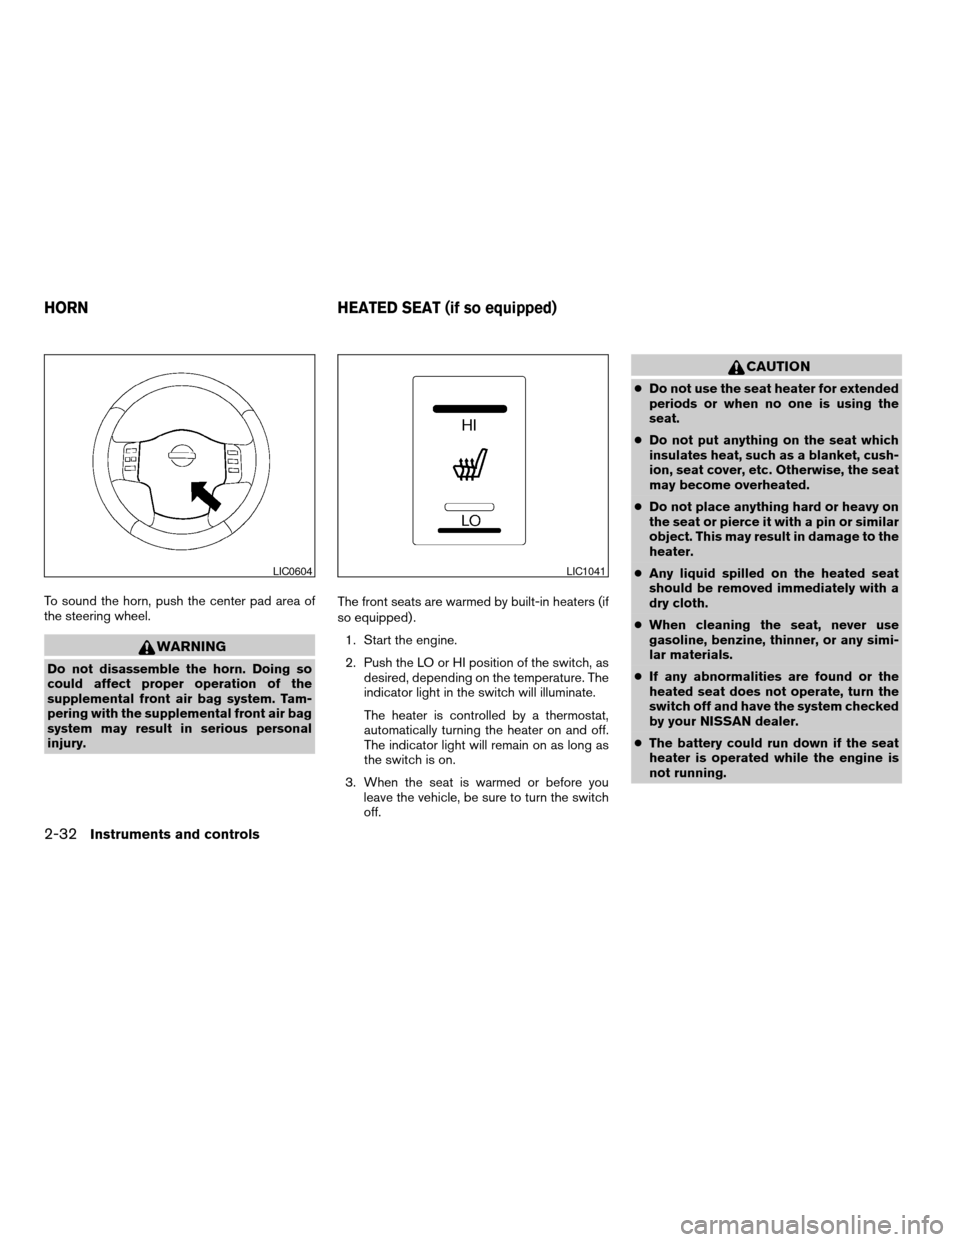
To sound the horn, push the center pad area of
the steering wheel.
WARNING
Do not disassemble the horn. Doing so
could affect proper operation of the
supplemental front air bag system. Tam-
pering with the supplemental front air bag
system may result in serious personal
injury.The front seats are warmed by built-in heaters (if
so equipped) .
1. Start the engine.
2. Push the LO or HI position of the switch, as
desired, depending on the temperature. The
indicator light in the switch will illuminate.
The heater is controlled by a thermostat,
automatically turning the heater on and off.
The indicator light will remain on as long as
the switch is on.
3. When the seat is warmed or before you
leave the vehicle, be sure to turn the switch
off.
CAUTION
cDo not use the seat heater for extended
periods or when no one is using the
seat.
cDo not put anything on the seat which
insulates heat, such as a blanket, cush-
ion, seat cover, etc. Otherwise, the seat
may become overheated.
cDo not place anything hard or heavy on
the seat or pierce it with a pin or similar
object. This may result in damage to the
heater.
cAny liquid spilled on the heated seat
should be removed immediately with a
dry cloth.
cWhen cleaning the seat, never use
gasoline, benzine, thinner, or any simi-
lar materials.
cIf any abnormalities are found or the
heated seat does not operate, turn the
switch off and have the system checked
by your NISSAN dealer.
cThe battery could run down if the seat
heater is operated while the engine is
not running.
LIC0604LIC1041
HORN HEATED SEAT (if so equipped)
2-32Instruments and controls
ZREVIEW COPYÐ2007 Pathfinder(pat)
Owners ManualÐUSA_English(nna)
10/16/06Ðcathy
X
Page 107 of 352
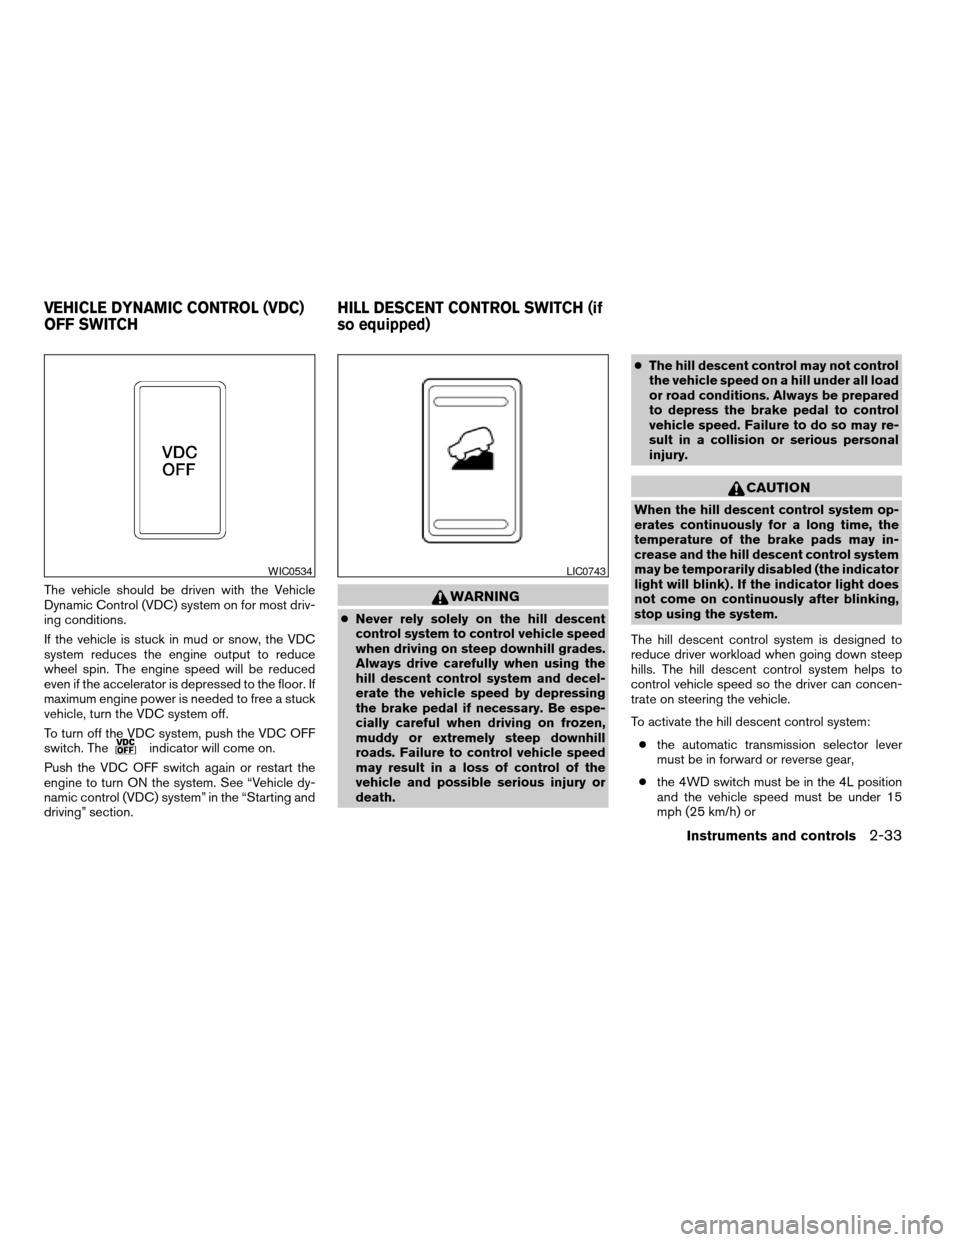
The vehicle should be driven with the Vehicle
Dynamic Control (VDC) system on for most driv-
ing conditions.
If the vehicle is stuck in mud or snow, the VDC
system reduces the engine output to reduce
wheel spin. The engine speed will be reduced
even if the accelerator is depressed to the floor. If
maximum engine power is needed to free a stuck
vehicle, turn the VDC system off.
To turn off the VDC system, push the VDC OFF
switch. The
indicator will come on.
Push the VDC OFF switch again or restart the
engine to turn ON the system. See “Vehicle dy-
namic control (VDC) system” in the “Starting and
driving” section.
WARNING
cNever rely solely on the hill descent
control system to control vehicle speed
when driving on steep downhill grades.
Always drive carefully when using the
hill descent control system and decel-
erate the vehicle speed by depressing
the brake pedal if necessary. Be espe-
cially careful when driving on frozen,
muddy or extremely steep downhill
roads. Failure to control vehicle speed
may result in a loss of control of the
vehicle and possible serious injury or
death.cThe hill descent control may not control
the vehicle speed on a hill under all load
or road conditions. Always be prepared
to depress the brake pedal to control
vehicle speed. Failure to do so may re-
sult in a collision or serious personal
injury.
CAUTION
When the hill descent control system op-
erates continuously for a long time, the
temperature of the brake pads may in-
crease and the hill descent control system
may be temporarily disabled (the indicator
light will blink) . If the indicator light does
not come on continuously after blinking,
stop using the system.
The hill descent control system is designed to
reduce driver workload when going down steep
hills. The hill descent control system helps to
control vehicle speed so the driver can concen-
trate on steering the vehicle.
To activate the hill descent control system:
cthe automatic transmission selector lever
must be in forward or reverse gear,
cthe 4WD switch must be in the 4L position
and the vehicle speed must be under 15
mph (25 km/h) or
WIC0534LIC0743
VEHICLE DYNAMIC CONTROL (VDC)
OFF SWITCHHILL DESCENT CONTROL SWITCH (if
so equipped)
Instruments and controls2-33
ZREVIEW COPYÐ2007 Pathfinder(pat)
Owners ManualÐUSA_English(nna)
01/10/07Ðdebbie
X