Page 2 of 14
WINDSHIELD WIPER/WASHER CONTROLSTIRE PRESSURE MONITORING SYSTEM (TPMS)HEADLIGHT AND TURN SIGNAL CONTROL
010203*See your Owner’s Manual for more information.
INSTRUMENT BRIGHTNESS CONTROL*CRUISE CONTROLSTEERING WHEEL SWITCHES FOR AUDIO CONTROL
040506
TRACTION CONTROL SYSTEM (TCS) OFF SWITCH/VEHICLE DYNAMIC CONTROL (VDC) OFF SWITCH*REAR SONAR SYSTEM OFF SWITCHOUTSIDE MIRROR CONTROL SWITCH
070809
CONTROL PANEL DISPLAYHOOD RELEASE*STEERING WHEEL TILT ADJUSTMENT*
101112
03
04
01
02
05
06
14
08
07
11
12
09
10
13
FRONT-PASSENGER
AIR BAG STATUS LIGHTAUDIO SYSTEM
1314
CLIMATE CONTROLS
15
15
Page 7 of 14

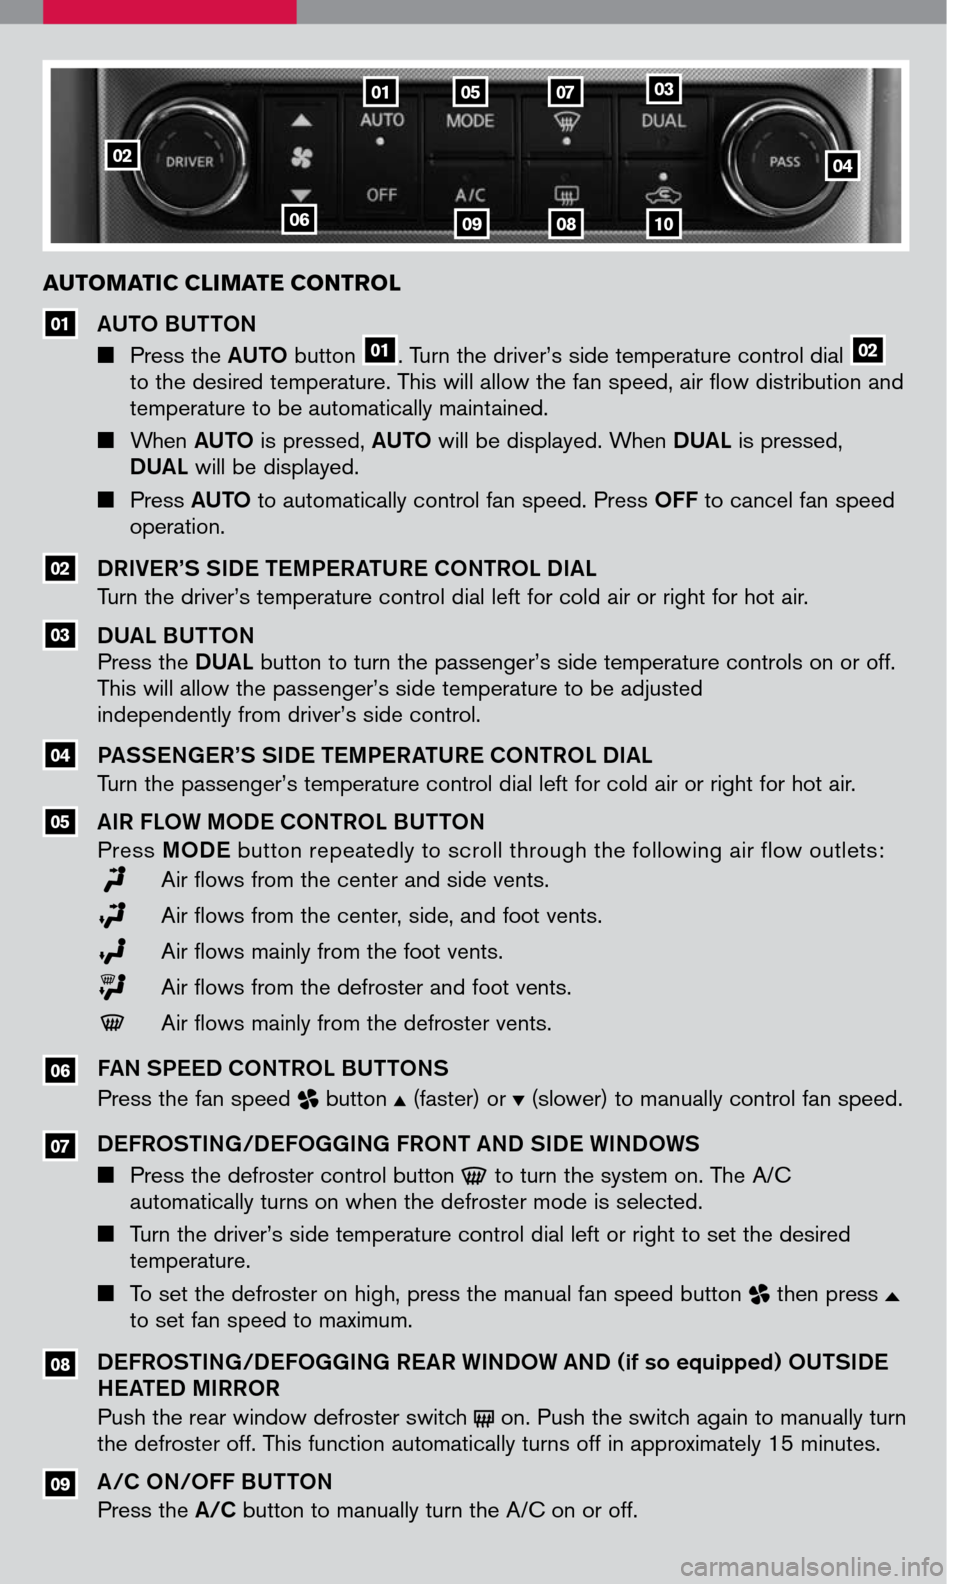
AUTOMATIC CLIMATE CONTROL
AUTO BUTTON
Press the AUTO button 01. Turn the driver’s side temperature control dial 02 to the desired temperature. This will allow the fan speed, air flow distribution and temperature to be automatically maintained.
When AUTO is pressed, AUTO will be displayed. When DUAL is pressed, DUAL will be displayed.
Press AUTO to automatically control fan speed. Press OFF to cancel fan speed operation.
DRIVER’S SIDE TEMPERATURE CONTROL DIAL
Turn the driver’s temperature control dial left for cold air or right for hot air.
DUAL BUTTON Press the DUAL button to turn the passenger’s side temperature controls on or off. This will allow the passenger’s side temperature to be adjusted independently from driver’s side control.
PASSENGER’S SIDE TEMPERATURE CONTROL DIAL
Turn the passenger’s temperature control dial left for cold air or right for hot air.
AIR FLOW MODE CONTROL BUTTON
Press MODE button repeatedly to scroll through the following air flow outlets:
Air flows from the center and side vents.
Air flows from the center, side, and foot vents.
Air flows mainly from the foot vents.
Air flows from the defroster and foot vents.
Air flows mainly from the defroster vents.
FAN SPEED CONTROL BUTTONS
Press the fan speed button (faster) or (slower) to manually control fan speed.
DEFROSTING/DEFOGGING FRONT AND SIDE WINDOWS
Press the defroster control button to turn the system on. The A/C automatically turns on when the defroster mode is selected.
Turn the driver’s side temperature control dial left or right to set the desired temperature.
To set the defroster on high, press the manual fan speed button then press to set fan speed to maximum.
DEFROSTING/DEFOGGING REAR WINDOW AND (if so equipped) OUTSIDE HEATED MIRROR
Push the rear window defroster switch on. Push the switch again to manually turn the defroster off. This function automatically turns off in approximately 15 minutes.
A/C ON/OFF BUTTON
Press the A/C button to manually turn the A/C on or off.
05
04
08
07
06
03
02
01
02
06
01050703
090810
04
09
Page 10 of 14

MAINTENANCE ITEMS
You can set the engine oil and the tire rotation interval. To display the setting of the
maintenance interval, select the ENGINE OIL or TIRE ROTATION key using the
joystick and press the ENTER button. To set the maintenance interval, select the
M AINTENANCE SCHEDULE
key using the joystick and push the joystick to the right or
left. To reset the maintenance interval, select the RESET key using the joystick and press
the ENTER button.
DISPLAY SCREEN SETTINGS
The SETTING screen will appear when the SETTING button is pressed. Select the
DISPLAY key with the joystick and press the ENTER button to choose from various
display screen options. The DISPLAY key will allow you to personalize the information
shown on the display screen, such as climate control or audio system display.
CLOCK SET/ADJUSTMENT
The clock on the display screen can be adjusted using the joystick by the following
procedure:
Press the SETTING button, then select SYSTEM SETTINGS from the menu on the
display screen.
Next select CLOCK to enter the CLOCK SETTINGS mode.
Then select the HOURS or MINUTES key and hold the joystick left or right to adjust
the time. After the desired time is shown on the display screen, press the BACK
button to store.
Refer to your Owner’s Manual and Navigation System Owner’s Manual for additional
information on your navigation system.
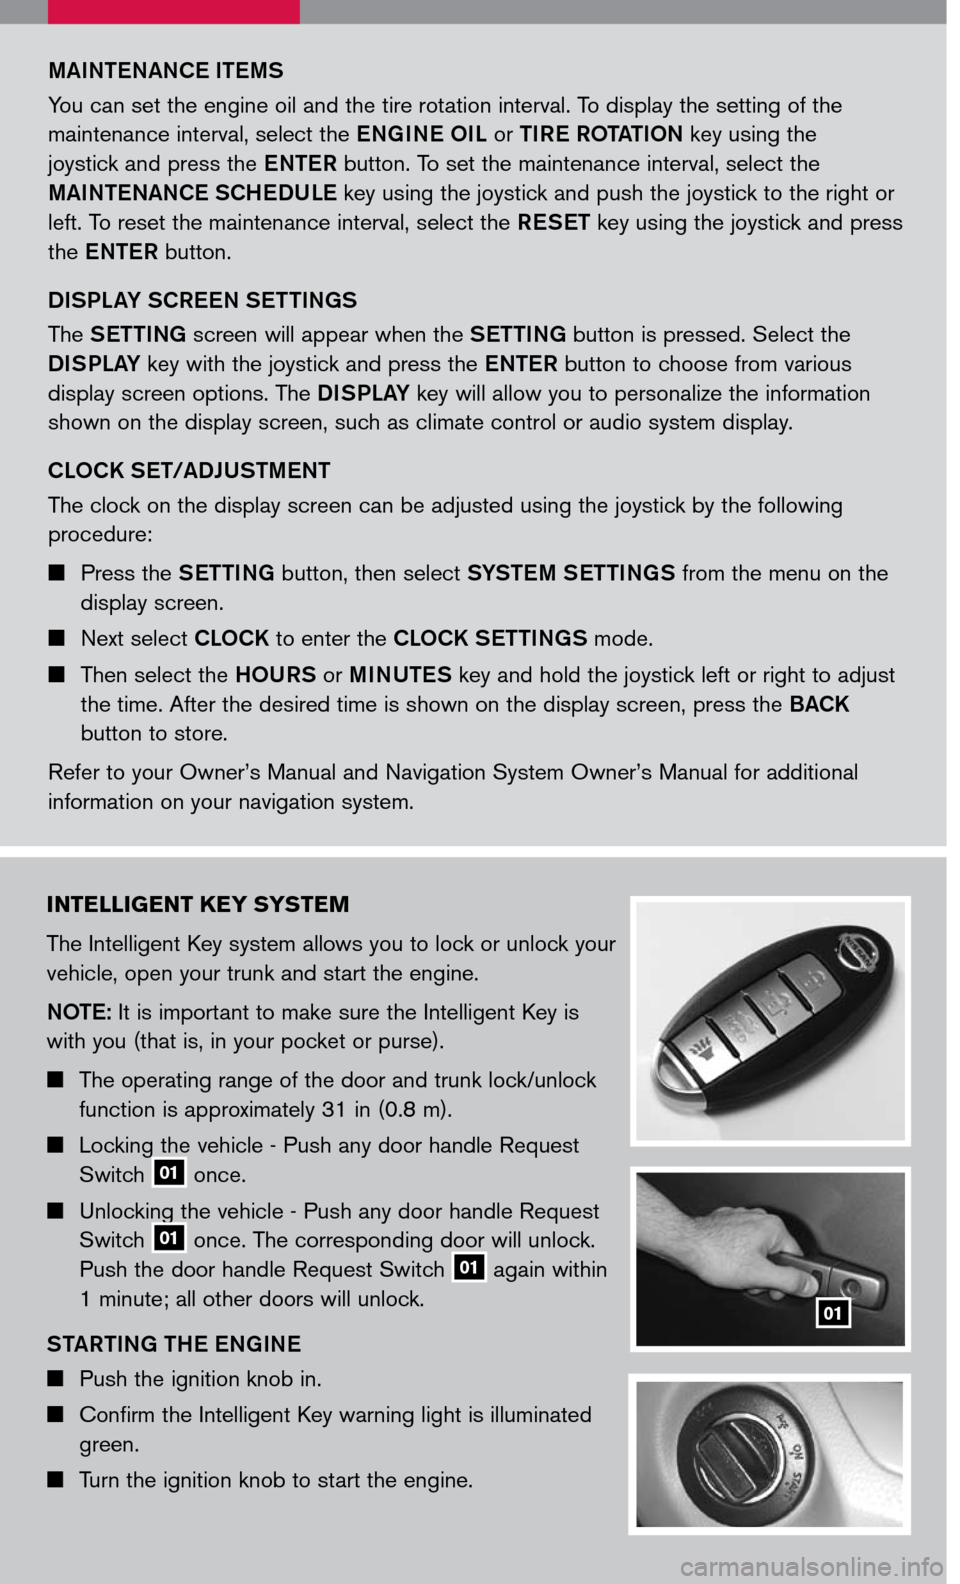
I NTELLIGENT KEY SYSTEM
The Intelligent Key system allows you to lock or unlock your
vehicle, open your trunk and start the engine.
NOTE
: It is important to make sure the Intelligent Key is
with you (that is, in your pocket or purse).
The operating range of the door and trunk lock/unlock
function is approximately 31 in (0.8 m).
Locking the vehicle - Push any door handle Request
Switch 01 once.
Unlocking the vehicle - Push any door handle Request
Switch 01 once. The corresponding door will unlock.
Push the door handle Request Switch 01 again within
1 minute; all other doors will unlock.
STARTING THE ENGINE
Push the ignition knob in.
Confirm the Intelligent Key warning light is illuminated
green.
Turn the ignition knob to start the engine.
01