2007 NISSAN ARMADA manual transmission
[x] Cancel search: manual transmissionPage 97 of 344

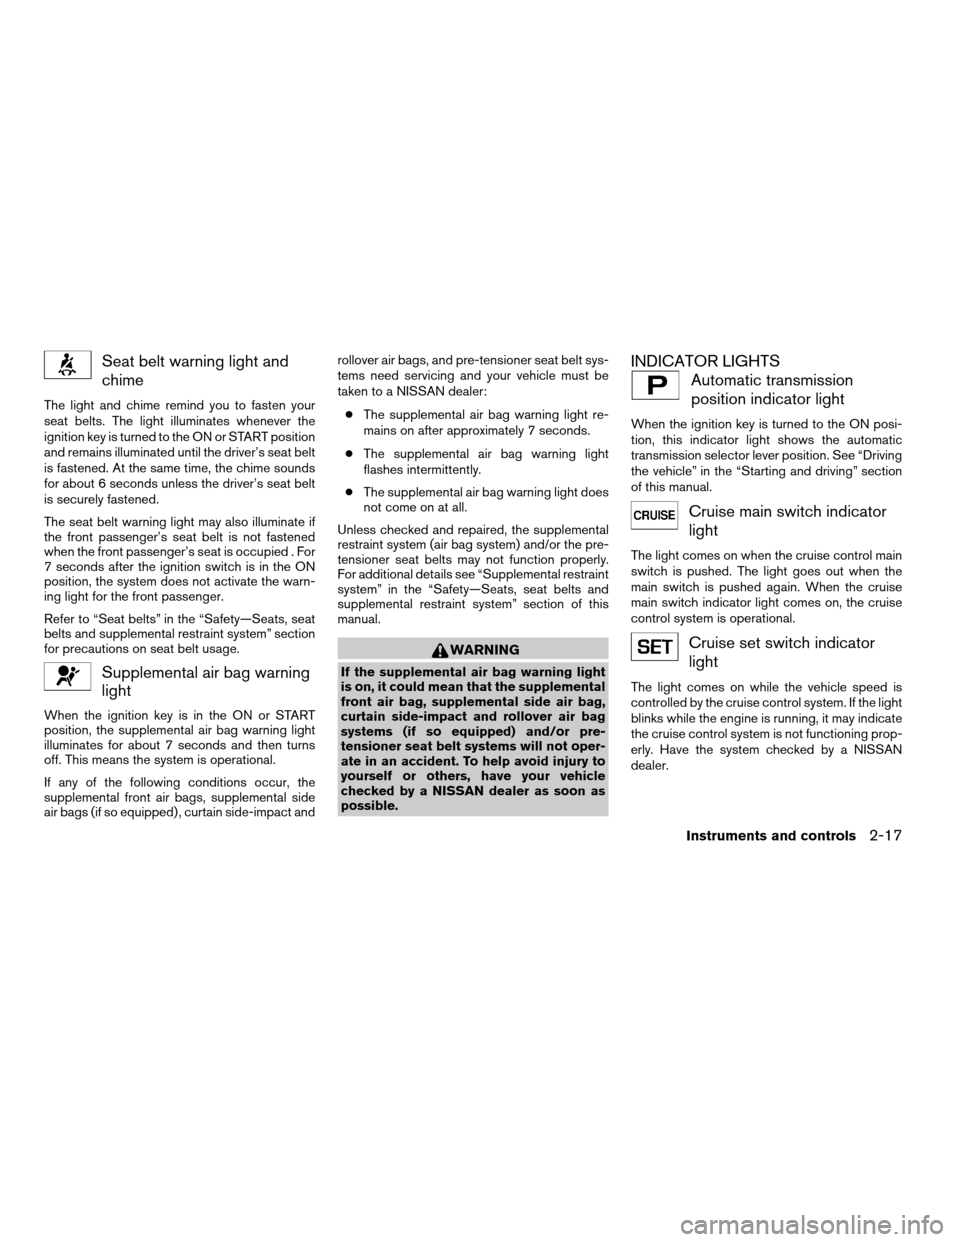
Seat belt warning light and
chime
The light and chime remind you to fasten your
seat belts. The light illuminates whenever the
ignition key is turned to the ON or START position
and remains illuminated until the driver’s seat belt
is fastened. At the same time, the chime sounds
for about 6 seconds unless the driver’s seat belt
is securely fastened.
The seat belt warning light may also illuminate if
the front passenger’s seat belt is not fastened
when the front passenger’s seat is occupied . For
7 seconds after the ignition switch is in the ON
position, the system does not activate the warn-
ing light for the front passenger.
Refer to “Seat belts” in the “Safety—Seats, seat
belts and supplemental restraint system” section
for precautions on seat belt usage.
Supplemental air bag warning
light
When the ignition key is in the ON or START
position, the supplemental air bag warning light
illuminates for about 7 seconds and then turns
off. This means the system is operational.
If any of the following conditions occur, the
supplemental front air bags, supplemental side
air bags (if so equipped) , curtain side-impact androllover air bags, and pre-tensioner seat belt sys-
tems need servicing and your vehicle must be
taken to a NISSAN dealer:
cThe supplemental air bag warning light re-
mains on after approximately 7 seconds.
cThe supplemental air bag warning light
flashes intermittently.
cThe supplemental air bag warning light does
not come on at all.
Unless checked and repaired, the supplemental
restraint system (air bag system) and/or the pre-
tensioner seat belts may not function properly.
For additional details see “Supplemental restraint
system” in the “Safety—Seats, seat belts and
supplemental restraint system” section of this
manual.
WARNING
If the supplemental air bag warning light
is on, it could mean that the supplemental
front air bag, supplemental side air bag,
curtain side-impact and rollover air bag
systems (if so equipped) and/or pre-
tensioner seat belt systems will not oper-
ate in an accident. To help avoid injury to
yourself or others, have your vehicle
checked by a NISSAN dealer as soon as
possible.
INDICATOR LIGHTS
Automatic transmission
position indicator light
When the ignition key is turned to the ON posi-
tion, this indicator light shows the automatic
transmission selector lever position. See “Driving
the vehicle” in the “Starting and driving” section
of this manual.
Cruise main switch indicator
light
The light comes on when the cruise control main
switch is pushed. The light goes out when the
main switch is pushed again. When the cruise
main switch indicator light comes on, the cruise
control system is operational.
Cruise set switch indicator
light
The light comes on while the vehicle speed is
controlled by the cruise control system. If the light
blinks while the engine is running, it may indicate
the cruise control system is not functioning prop-
erly. Have the system checked by a NISSAN
dealer.
Instruments and controls2-17
ZREVIEW COPYÐ2007 Armada(wzw)
Owners ManualÐUSA_English(nna)
07/08/06Ðtbrooks
X
Page 99 of 344

CAUTION
Continued vehicle operation without hav-
ing the emission control system checked
and repaired as necessary could lead to
poor driveability, reduced fuel economy,
and possible damage to the emission con-
trol system.
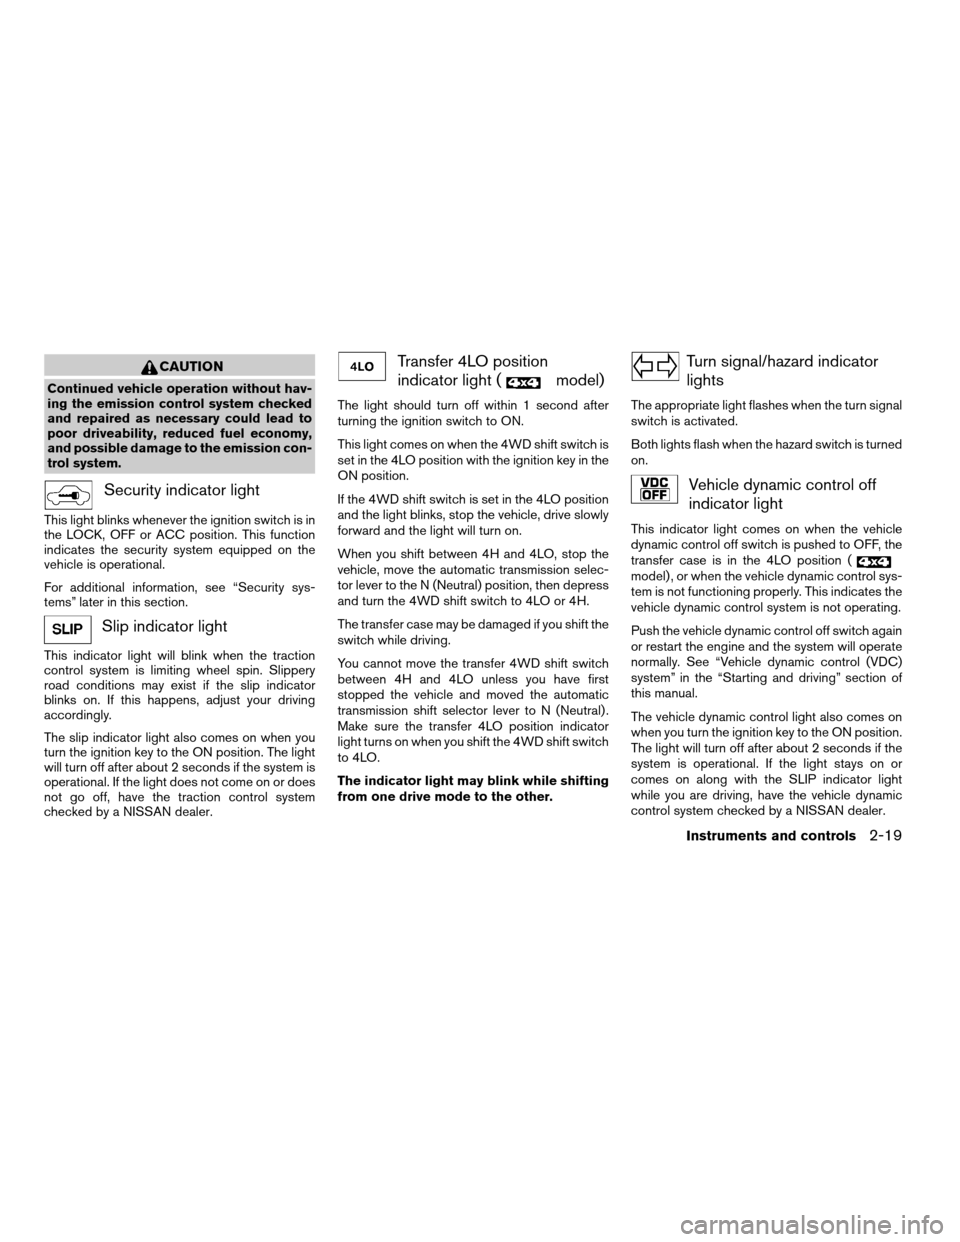
Security indicator light
This light blinks whenever the ignition switch is in
the LOCK, OFF or ACC position. This function
indicates the security system equipped on the
vehicle is operational.
For additional information, see “Security sys-
tems” later in this section.
Slip indicator light
This indicator light will blink when the traction
control system is limiting wheel spin. Slippery
road conditions may exist if the slip indicator
blinks on. If this happens, adjust your driving
accordingly.
The slip indicator light also comes on when you
turn the ignition key to the ON position. The light
will turn off after about 2 seconds if the system is
operational. If the light does not come on or does
not go off, have the traction control system
checked by a NISSAN dealer.
Transfer 4LO position
indicator light (
model)
The light should turn off within 1 second after
turning the ignition switch to ON.
This light comes on when the 4WD shift switch is
set in the 4LO position with the ignition key in the
ON position.
If the 4WD shift switch is set in the 4LO position
and the light blinks, stop the vehicle, drive slowly
forward and the light will turn on.
When you shift between 4H and 4LO, stop the
vehicle, move the automatic transmission selec-
tor lever to the N (Neutral) position, then depress
and turn the 4WD shift switch to 4LO or 4H.
The transfer case may be damaged if you shift the
switch while driving.
You cannot move the transfer 4WD shift switch
between 4H and 4LO unless you have first
stopped the vehicle and moved the automatic
transmission shift selector lever to N (Neutral) .
Make sure the transfer 4LO position indicator
light turns on when you shift the 4WD shift switch
to 4LO.
The indicator light may blink while shifting
from one drive mode to the other.
Turn signal/hazard indicator
lights
The appropriate light flashes when the turn signal
switch is activated.
Both lights flash when the hazard switch is turned
on.
Vehicle dynamic control off
indicator light
This indicator light comes on when the vehicle
dynamic control off switch is pushed to OFF, the
transfer case is in the 4LO position (
model) , or when the vehicle dynamic control sys-
tem is not functioning properly. This indicates the
vehicle dynamic control system is not operating.
Push the vehicle dynamic control off switch again
or restart the engine and the system will operate
normally. See “Vehicle dynamic control (VDC)
system” in the “Starting and driving” section of
this manual.
The vehicle dynamic control light also comes on
when you turn the ignition key to the ON position.
The light will turn off after about 2 seconds if the
system is operational. If the light stays on or
comes on along with the SLIP indicator light
while you are driving, have the vehicle dynamic
control system checked by a NISSAN dealer.
Instruments and controls2-19
ZREVIEW COPYÐ2007 Armada(wzw)
Owners ManualÐUSA_English(nna)
07/08/06Ðtbrooks
X
Page 111 of 344

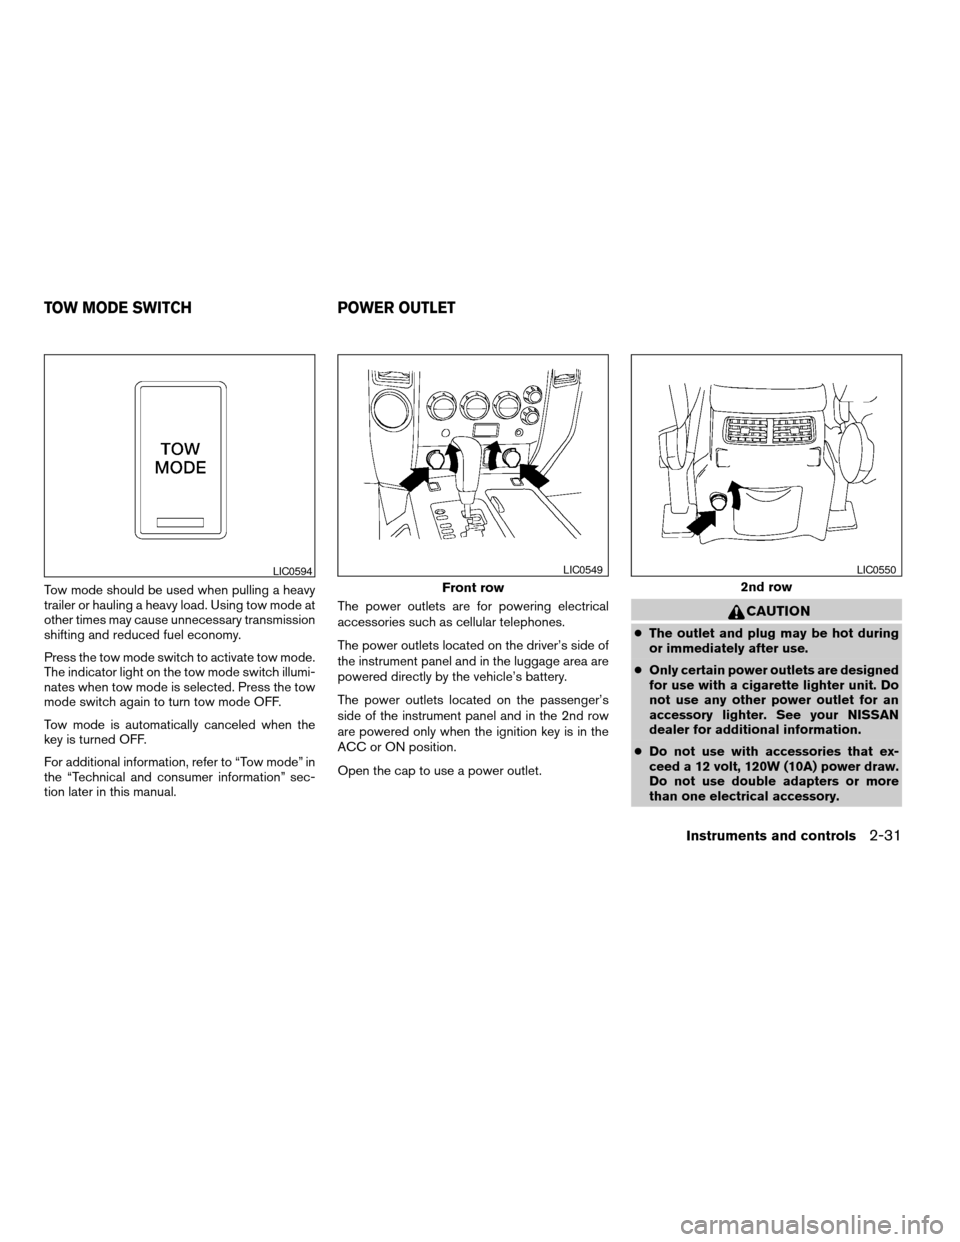
Tow mode should be used when pulling a heavy
trailer or hauling a heavy load. Using tow mode at
other times may cause unnecessary transmission
shifting and reduced fuel economy.
Press the tow mode switch to activate tow mode.
The indicator light on the tow mode switch illumi-
nates when tow mode is selected. Press the tow
mode switch again to turn tow mode OFF.
Tow mode is automatically canceled when the
key is turned OFF.
For additional information, refer to “Tow mode” in
the “Technical and consumer information” sec-
tion later in this manual.The power outlets are for powering electrical
accessories such as cellular telephones.
The power outlets located on the driver’s side of
the instrument panel and in the luggage area are
powered directly by the vehicle’s battery.
The power outlets located on the passenger’s
side of the instrument panel and in the 2nd row
are powered only when the ignition key is in the
ACC or ON position.
Open the cap to use a power outlet.
CAUTION
cThe outlet and plug may be hot during
or immediately after use.
cOnly certain power outlets are designed
for use with a cigarette lighter unit. Do
not use any other power outlet for an
accessory lighter. See your NISSAN
dealer for additional information.
cDo not use with accessories that ex-
ceed a 12 volt, 120W (10A) power draw.
Do not use double adapters or more
than one electrical accessory.
LIC0594
Front row
LIC0549
2nd row
LIC0550
TOW MODE SWITCH POWER OUTLET
Instruments and controls2-31
ZREVIEW COPYÐ2007 Armada(wzw)
Owners ManualÐUSA_English(nna)
07/08/06Ðtbrooks
X
Page 157 of 344

MEMORY STORAGE FUNCTION
Two positions for the driver’s seat, accelerator
and brake pedals, and outside mirrors can be
stored in the automatic drive positioner memory.
Follow these procedures to use the memory sys-
tem.
1. Set the automatic transmission selector le-
ver to the P (Park) position.
2. Turn the ignition ON.3. Adjust the driver’s seat, accelerator and
brake pedals, and outside mirrors to the
desired positions by manually operating
each adjusting switch. For additional infor-
mation, see “Seats” in the “Safety—Seats,
seat belts and supplemental restraint sys-
tem” section and “Pedal position adjust-
ment” and “Outside mirrors” earlier in this
section.
During this step, do not turn the ignition to
any position other than ON.
4. Push the SET switch and, within 5 seconds,
push the memory switch (1 or 2) fully for at
least 1 second.
The indicator light for the pushed memory
switch will come on and stay on for approxi-
mately 5 seconds after pushing the switch.
After the indicator light goes off, the se-
lected positions are stored in the selected
memory (1 or 2) .
If a new memory is stored in the same memory
switch, the previous memory will be deleted.
Linking a keyfob to a stored memory
position
Each keyfob can be linked to a stored memory
position (memory switch 1 or 2) with the follow-
ing procedure.1. Follow the steps for storing a memory posi-
tion.
2. While the indicator light for the memory
switch being set is illuminated for 5 sec-
onds, press the
button on the keyfob.
The indicator light will blink. After the indica-
tor light goes off, the keyfob is linked to that
memory setting.
With the key removed from the ignition switch,
press the
button on the keyfob. The driv-
er’s seat, accelerator and brake pedals, and out-
side mirrors will move to the memorized position.
NOTE:
If a new memory position is saved to the
memory switch, the keyfob automatically
re-links.
Confirming memory storage
cTurn the ignition ON and push the SET
switch. If the main memory has not been
stored, the indicator light will come on for
approximately 0.5 seconds. When the
memory has stored the position, the indica-
tor light will stay on for approximately 5 sec-
onds.
cIf the battery cable is disconnected, or if the
fuse opens, the memory storage function will
be canceled and must be restarted before a
LPD0260
Pre-driving checks and adjustments3-21
ZREVIEW COPYÐ2007 Armada(wzw)
Owners ManualÐUSA_English(nna)
07/08/06Ðtbrooks
X
Page 158 of 344

stored memory position can be set again.
Drive the vehicle over 25 MPH (40 km/h) to
restart the memory storage function. You
can also restart the memory storage function
using the following procedure.
1. Connect the battery cable or replace the
fuse.
2. Open and close the driver’s door more than
two times with the ignition key in the LOCK
position.
Once the memory storage function has been
restarted, you can store a memory position.
See “Memory storage function” earlier in this
section.
Selecting the memorized position
Set the automatic transmission selector lever to
the P (Park) position, then:
cWithin 45 seconds of opening the driver’s
door, push the memory switch (1 or 2) fully
for at least 1 second, or
cTurn the ignition switch to the ON position
and push the memory switch (1 or 2) fully for
at least 1 second.
The driver’s seat, accelerator and brake pedals,
and outside mirrors will move to the memorized
position with the indicator light blinking, and then
the light will stay on for approximately 5 seconds.
ENTRY/EXIT FUNCTION
This system is designed so that the driver’s seat
will automatically move when the automatic
transmission selector lever is in the P (Park)
position. This allows the driver to get into and out
of the driver’s seat more easily.
The driver’s seat will slide backward:
cWhen the key is removed from the ignition
switch and the driver’s door is opened.
cWhen the driver’s door is opened with the
ignition key turned to LOCK.
cWhen the ignition key is turned from ACC to
LOCK with the driver’s door open.
The driver’s seat will return to the previous posi-
tion:
cWhen the key is inserted into the ignition
switch and the driver’s door is closed.
cWhen the driver’s door is closed with the key
turned to LOCK.
cWhen the key is turned from ACC to ON
while the automatic transmission selector
lever is in the P (Park) position.
The entry/exit function can be adjusted or can-
celed. For vehicles with navigation system, see
“Vehicle electronic systems” in the “Display
screen, heater, air conditioner and audio sys-tems” section of this manual. For vehicles without
navigation system, see your NISSAN dealer.Restarting the entry/exit function
If the battery cable is disconnected or if the fuse
opens, the entry/exit function will be disabled.
Drive the vehicle over 25 MPH (40 km/h) to
restart the entry/exit function. You can also restart
the entry/exit function using the following proce-
dure.
1. Connect the battery cable or replace the
fuse.
2. Open and close the driver’s door more than
two times with the ignition key in the LOCK
position.
The entry/exit function should now work properly.
SYSTEM OPERATION
The automatic drive positioner system will not
work or will stop operating under the following
conditions:
cWhen the vehicle speed is above 4 MPH (7
km/h) .
cWhen any of the memory switches are
pushed while the automatic drive positioner
is operating.
3-22Pre-driving checks and adjustments
ZREVIEW COPYÐ2007 Armada(wzw)
Owners ManualÐUSA_English(nna)
07/08/06Ðtbrooks
X
Page 159 of 344

cWhen the adjusting switch for the driver’s
seat is turned on while the automatic drive
positioner is operating.
cWhen the memory switch (1 or 2) is not
pushed and held for at least 1 second.
cWhen the seat has been already moved to
the memorized position.
cWhen no seat position is stored in the
memory switch.
cWhen the automatic transmission selector
lever is moved from P (Park) to any other
position.
cWhen the driver’s door remains open more
than 45 seconds and the ignition switch is
not in the ON position.
The automatic drive positioner system can be
adjusted and canceled. For vehicles with naviga-
tion system, see “Vehicle electronic systems” in
the “Display screen, heater, air conditioner and
audio systems” section of this manual. For ve-
hicles without navigation system, see your
NISSAN dealer.
Pre-driving checks and adjustments3-23
ZREVIEW COPYÐ2007 Armada(wzw)
Owners ManualÐUSA_English(nna)
07/08/06Ðtbrooks
X
Page 211 of 344

5 Starting and driving
Precautions when starting and driving................5-2
Exhaust gas (carbon monoxide)..................5-2
Three-way catalyst..............................5-2
On-pavement and off-road driving
precautions....................................5-3
Tire pressure monitoring system (TPMS)..........5-3
Avoiding collision and rollover....................5-5
Drinking alcohol/drugs and driving................5-5
Driving safety precautions.......................5-6
Ignition switch.....................................5-8
Automatic transmission..........................5-8
Key positions..................................5-9
Nissan vehicle immobilizer system................5-9
Before starting the engine..........................5-9
Starting the engine...............................5-10
Driving the vehicle................................5-10
Engine protection mode........................5-10
Automatic transmission.........................5-11
Parking brake....................................5-15
Cruise control....................................5-15
Precautions on cruise control...................5-15Cruise control operations.......................5-16
Break-in schedule................................5-17
Increasing fuel economy...........................5-17
Using four wheel drive (4WD).............5-18
Transfer case shifting procedures...............5-19
Parking/parking on hills............................5-25
Power steering...................................5-26
Brake system....................................5-26
Brake precautions.............................5-26
Anti-lock braking system (ABS).................5-27
Vehicle dynamic control (VDC) system..............5-28
Rear sonar system (if so equipped).................5-29
Cold weather driving..............................5-30
Freeing a frozen door lock......................5-30
Anti-freeze....................................5-30
Battery.......................................5-30
Draining of coolant water.......................5-31
Tire equipment................................5-31
Special winter equipment.......................5-31
Driving on snow or ice.........................5-31
Engine block heater (if so equipped).............5-32
ZREVIEW COPYÐ2007 Armada(wzw)
Owners ManualÐUSA_English(nna)
07/08/06Ðtbrooks
X
Page 217 of 344

cFor 4WD equipped vehicles, do not at-
tempt to raise two wheels off the
ground and shift the transmission to
any drive or reverse position with the
engine running. Doing so may result in
drivetrain damage or unexpected ve-
hicle movement which could result in
serious vehicle damage or personal
injury.
cDo not attempt to test a 4WD equipped
vehicle on a 2-wheel dynamometer
(such as the dynamometers used by
some states for emissions testing) , or
similar equipment even if the other two
wheels are raised off the ground. Make
sure you inform test facility personnel
that your vehicle is equipped with 4WD
before it is placed on a dynamometer.
Using the wrong test equipment may
result in drivetrain damage or unex-
pected vehicle movement which could
result in serious vehicle damage or per-
sonal injury.
cAccelerating quickly, sharp steering
maneuvers or sudden braking may
cause loss of control.cIf at all possible, avoid sharp turning
maneuvers, particularly at high speeds.
Your NISSAN four-wheel drive vehicle
has a higher center of gravity than a
two-wheel drive vehicle. The vehicle is
not designed for cornering at the same
speeds as conventional two-wheel
drive vehicles. Failure to operate this
vehicle correctly could result in loss of
control and/or a rollover accident.
cAlways use tires of the same type, size,
brand, construction (bias, bias-belted,
or radial) , and tread pattern on all four
wheels. Install tire chains on the rear
wheels when driving on slippery roads
and drive carefully.
cBe sure to check the brakes immedi-
ately after driving in mud or water. See
“Brake system” later in this section for
“Wet brakes”.
cAvoid parking your vehicle on steep
hills. If you get out of the vehicle and it
rolls forward, backward or sideways,
you could be injured.cWhenever you drive off-road through
sand, mud or water as deep as the
wheel hub, more frequent maintenance
may be required. See “Periodic mainte-
nance” in the “NISSAN Service and
Maintenance Guide.”
Starting and driving5-7
ZREVIEW COPYÐ2007 Armada(wzw)
Owners ManualÐUSA_English(nna)
07/08/06Ðtbrooks
X