2007 NISSAN ALTIMA oil dipstick
[x] Cancel search: oil dipstickPage 13 of 344

QR25DE engine
1. Power steering fluid reservoir (P. 8-13)
2. Engine oil filler cap (P. 8-9)
3. Brake fluid reservoir/Clutch fluid reser-
voir (M/T model) (P. 8-13, 8-14)
4. Air cleaner (P. 8-18)
5. Fuse block (P. 8-21)
6. Battery (P. 8-15)
7. Fuse/fusible link box (P. 8-21)
8. Engine oil dipstick (P. 8-9)
9. Radiator cap (P. 8-8)
10. Drive belt location (P.8-16)
11. Engine coolant reservoir (P. 8-8)
12. Windshield washer fluid reservoir
(P. 8-14)
See the page number indicated in paren-
theses for operating details.
LDI0553
ENGINE COMPARTMENT CHECK
LOCATIONS
Illustrated table of contents0-7
ZREVIEW COPYÐ2007 Altima(alt)
Owners ManualÐUSA_English(nna)
10/26/06Ðdebbie
X
Page 14 of 344

VQ35DE engine
1. Power steering fluid reservoir (P. 8-13)
2. Engine oil filler cap (P. 8-9)
3. Brake fluid reservoir/Clutch fluid reser-
voir (M/T model) (P. 8-13, 8-14)
4. Air cleaner (P. 8-18)
5. Fuse block (P. 8-21)
6. Battery (P. 8-15)
7. Fuse/fusible link box (P. 8-21)
8. Engine oil dipstick (P. 8-9)
9. Radiator cap (P. 8-8)
10. Drive belt location (P.8-16)
11. Engine coolant reservoir (P. 8-8)
12. Windshield washer fluid reservoir
(P. 8-14)
See the page number indicated in paren-
theses for operating details.
LDI0552
0-8Illustrated table of contents
ZREVIEW COPYÐ2007 Altima(alt)
Owners ManualÐUSA_English(nna)
10/26/06Ðdebbie
X
Page 79 of 344

dipstick to check the oil level. See “Engine oil” in
the “Maintenance and do-it-yourself” section of
this manual.
CAUTION
Running the engine with the engine oil
pressure warning light on could cause se-
rious damage to the engine almost imme-
diately. Such damage is not covered by
warranty. Turn off the engine as soon as it
is safe to do so.
Intelligent Key system warning
light
The Intelligent Key system warning light warns of
a malfunction with the electrical steering lock
system or the Intelligent Key system.
After the ignition switch is pushed to the ON
position, this light comes on for about 2 seconds
and then turns off.
If the light comes on while the engine is stopped,
it may not be possible to free the steering lock or
to start the engine. If the light comes on while the
engine is running, you can drive the vehicle. How-
ever, in these cases, contact a Nissan dealer for
repair as soon as possible.
See “Intelligent Key system” in the “Pre-driving
checks and adjustments” section.
Low tire pressure warning
light
Your vehicle is equipped with a Tire Pressure
Monitoring System (TPMS) that monitors the tire
pressure of all tires except the spare.
The low tire pressure warning light warns of low
tire pressure or indicates that the TPMS is not
functioning properly.
After the ignition switch is turned ON, this light
illuminates for about 1 second and turns off.
Low tire pressure warning:
If the vehicle is being driven with low tire pres-
sure, the warning light will illuminate.
When the low tire pressure warning light illumi-
nates, you should stop and adjust the tire pres-
sure to the recommended COLD tire pressure
shown on the Tire and Loading Information label.
The low tire pressure warning light does not
automatically turn off when the tire pressure is
adjusted. After the tire is inflated to the recom-
mended pressure, the vehicle must be driven
over 16 MPH (25 km/h) to activate the TPMS and
turn off the low tire pressure warning light. Use a
tire pressure gauge to adjust tire pressure to the
recommended pressure.For additional information, see “Tire Pressure
Monitoring System (TPMS)” in the “Starting and
driving” section and in the “In case of emergency”
section.
TPMS malfunction:
If the TPMS is not functioning properly, the low
tire pressure warning light will flash for approxi-
mately 1 minute when the ignition switch is
turned ON. The light will remain on after the 1
minute. Have the system checked by a NISSAN
dealer.
For additional information, see “Tire Pressure
Monitoring System (TPMS)” in the “Starting and
driving” section.
WARNING
cIf the light does not illuminate with the
ignition switch turned ON, have the ve-
hicle checked by a NISSAN dealer as
soon as possible.
Instruments and controls2-11
ZREVIEW COPYÐ2007 Altima(alt)
Owners ManualÐUSA_English(nna)
10/26/06Ðdebbie
X
Page 266 of 344

QR25DE engine
1. Power steering fluid reservoir
2. Engine oil filler cap
3. Brake fluid reservoir/Clutch fluid reser-
voir (M/T model)
4. Air cleaner
5. Fuse block
6. Battery
7. Fuse/Fusible link box
8. Engine oil dipstick
9. Radiator cap
10. Drive belt location
11. Engine coolant reservoir
12. Windshield washer fluid reservoir
LDI0553
ENGINE COMPARTMENT CHECK
LOCATIONS
8-6Maintenance and do-it-yourself
ZREVIEW COPYÐ2007 Altima(alt)
Owners ManualÐUSA_English(nna)
10/27/06Ðdebbie
X
Page 267 of 344

VQ35DE engine
1. Power steering fluid reservoir
2. Engine oil filler cap
3. Brake fluid reservoir/Clutch fluid reser-
voir (M/T model)
4. Air cleaner
5. Fuse block
6. Battery
7. Fuse/Fusible link box
8. Engine oil dipstick
9. Radiator cap
10. Drive belt location
11. Engine coolant reservoir
12. Windshield washer fluid reservoir
LDI0552
Maintenance and do-it-yourself8-7
ZREVIEW COPYÐ2007 Altima(alt)
Owners ManualÐUSA_English(nna)
10/27/06Ðdebbie
X
Page 269 of 344

CHANGING ENGINE COOLANT
A NISSAN dealer can change the engine coolant.
The service procedure can be found in the
NISSAN Service Manual.
Improper servicing can result in reduced
heater performance and engine overheat-
ing.
WARNING
cTo avoid the danger of being scalded,
never change the coolant when the en-
gine is hot.
cNever remove the radiator cap when the
engine is hot. Serious burns could be
caused by high pressure fluid escaping
from the radiator.
cAvoid direct skin contact with used
coolant. If skin contact is made, wash
thoroughly with soap or hand cleaner
as soon as possible.
cKeep coolant out of the reach of chil-
dren and pets.
Engine coolant must be disposed of properly.
Check your local regulations.
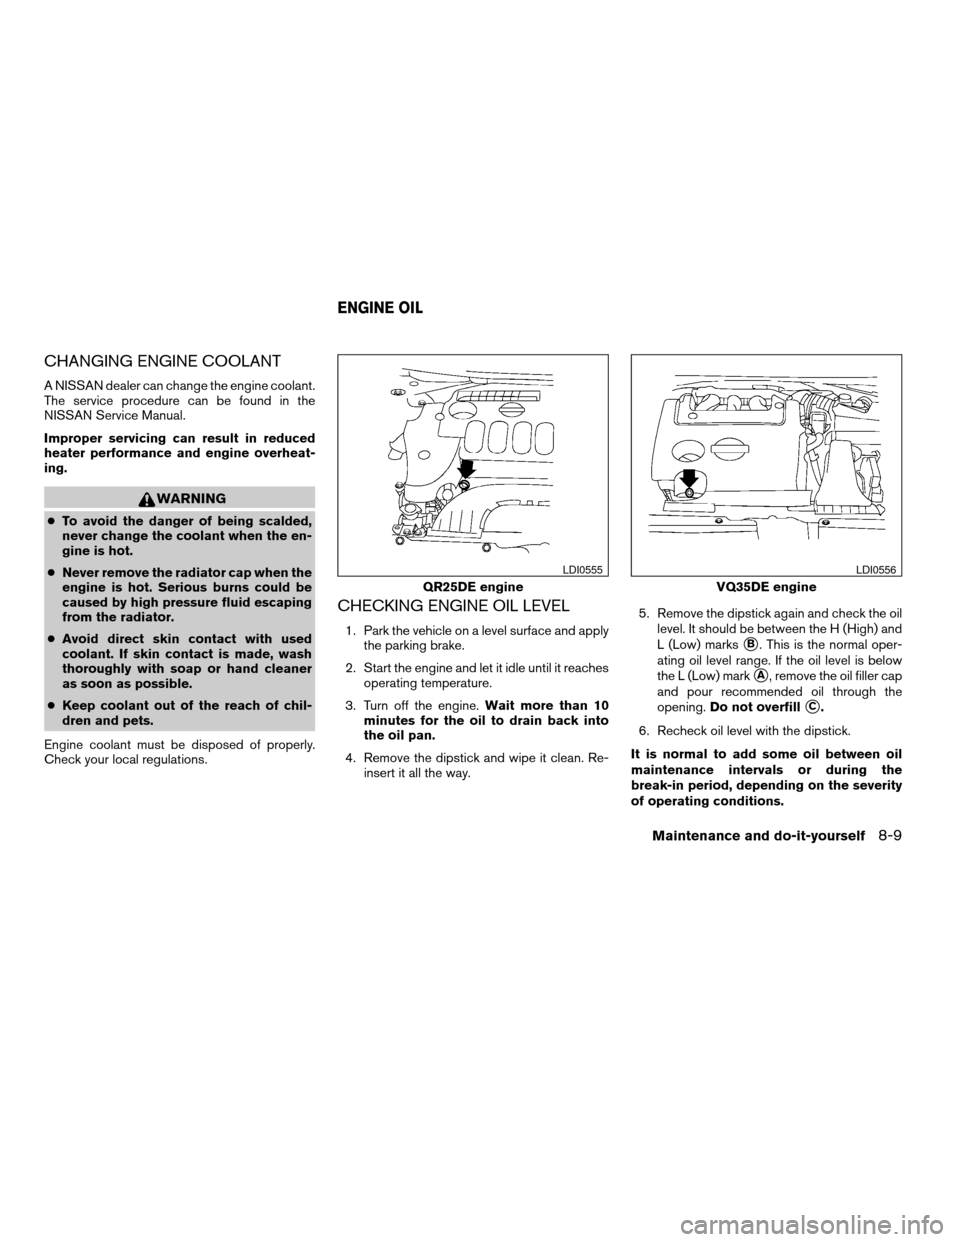
CHECKING ENGINE OIL LEVEL
1. Park the vehicle on a level surface and apply
the parking brake.
2. Start the engine and let it idle until it reaches
operating temperature.
3. Turn off the engine.Wait more than 10
minutes for the oil to drain back into
the oil pan.
4. Remove the dipstick and wipe it clean. Re-
insert it all the way.5. Remove the dipstick again and check the oil
level. It should be between the H (High) and
L (Low) marks
sB. This is the normal oper-
ating oil level range. If the oil level is below
the L (Low) mark
sA, remove the oil filler cap
and pour recommended oil through the
opening.Do not overfill
sC.
6. Recheck oil level with the dipstick.
It is normal to add some oil between oil
maintenance intervals or during the
break-in period, depending on the severity
of operating conditions.
QR25DE engine
LDI0555
VQ35DE engine
LDI0556
ENGINE OIL
Maintenance and do-it-yourself8-9
ZREVIEW COPYÐ2007 Altima(alt)
Owners ManualÐUSA_English(nna)
10/27/06Ðdebbie
X
Page 271 of 344

cTry to avoid direct skin contact with
used oil. If skin contact is made, wash
thoroughly with soap or hand cleaner
as soon as possible.
cKeep used engine oil out of reach of
children.
CAUTION
Be careful not to burn yourself. The engine
oil may be hot.
cWaste oil must be disposed of prop-
erly.
cCheck your local regulations.
6. Clean and reinstall the drain plug and a new
washer. Securely tighten the drain plug with
a wrench. Do not use excessive force.
Drain plug tightening torque:
22 - 29 ft-lb (29 - 39 N·m)
7. Refill engine with recommended oil through
the oil filler opening, then install the oil filler
cap securely.
See “Capacities and recommended
fuel/lubricants” in the “Technical and con-
sumer information” section of this manual for
drain and refill capacity.The drain and refill capacity depends on the
oil temperature and drain time. Use these
specifications for reference only. Always use
the dipstick to determine when the proper
amount of oil is in the engine.
8. Start the engine. Check for leakage around
the drain plug and oil filter. Correct as re-
quired.
9. Turn the engine off and wait more than 10
minutes. Check the oil level with the dipstick.
Add engine oil if necessary.
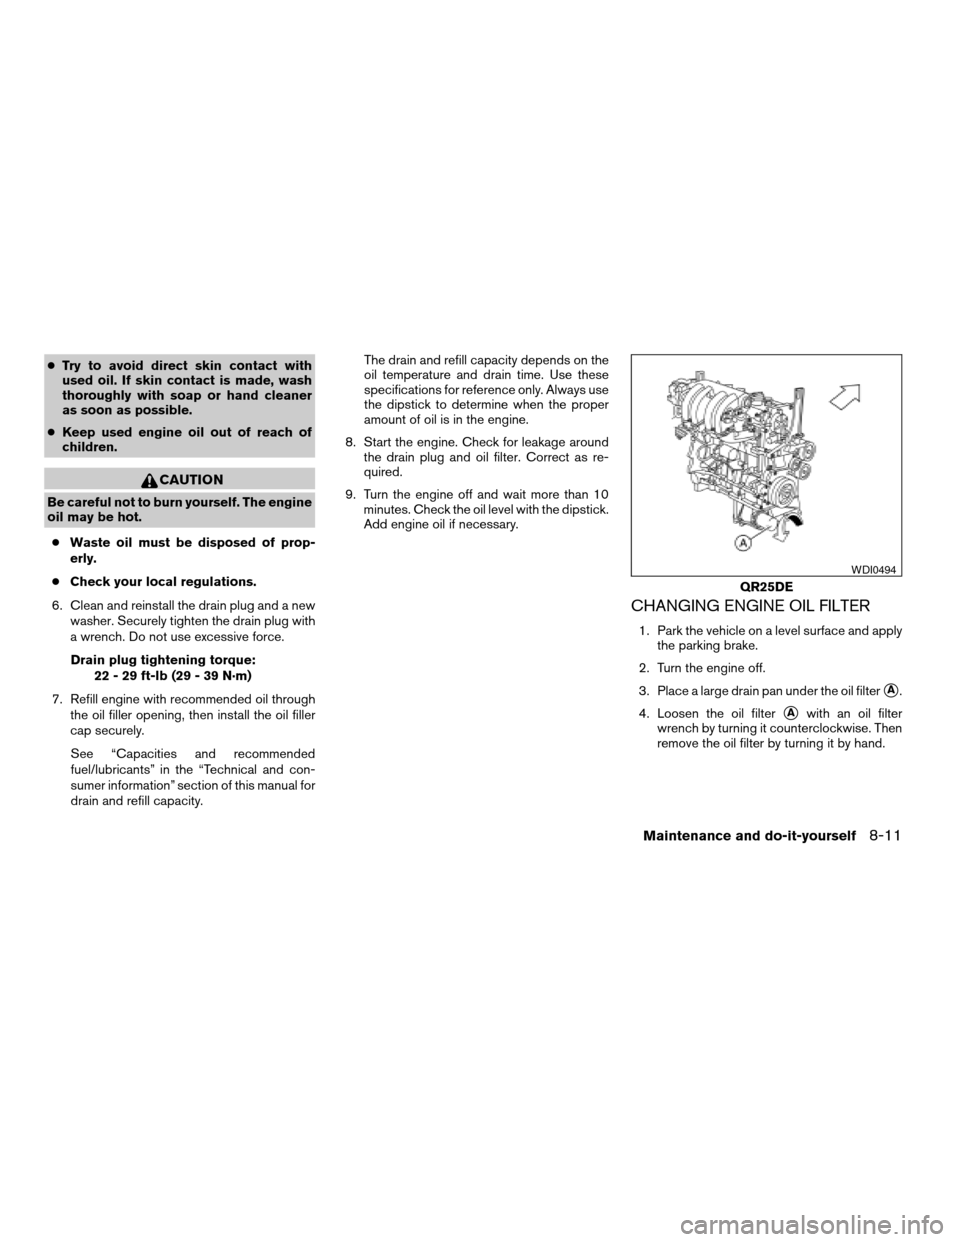
CHANGING ENGINE OIL FILTER
1. Park the vehicle on a level surface and apply
the parking brake.
2. Turn the engine off.
3. Place a large drain pan under the oil filter
sA.
4. Loosen the oil filter
sAwith an oil filter
wrench by turning it counterclockwise. Then
remove the oil filter by turning it by hand.
QR25DE
WDI0494
Maintenance and do-it-yourself8-11
ZREVIEW COPYÐ2007 Altima(alt)
Owners ManualÐUSA_English(nna)
10/27/06Ðdebbie
X