2007 NISSAN ALTIMA HYBRID change key battery
[x] Cancel search: change key batteryPage 85 of 344
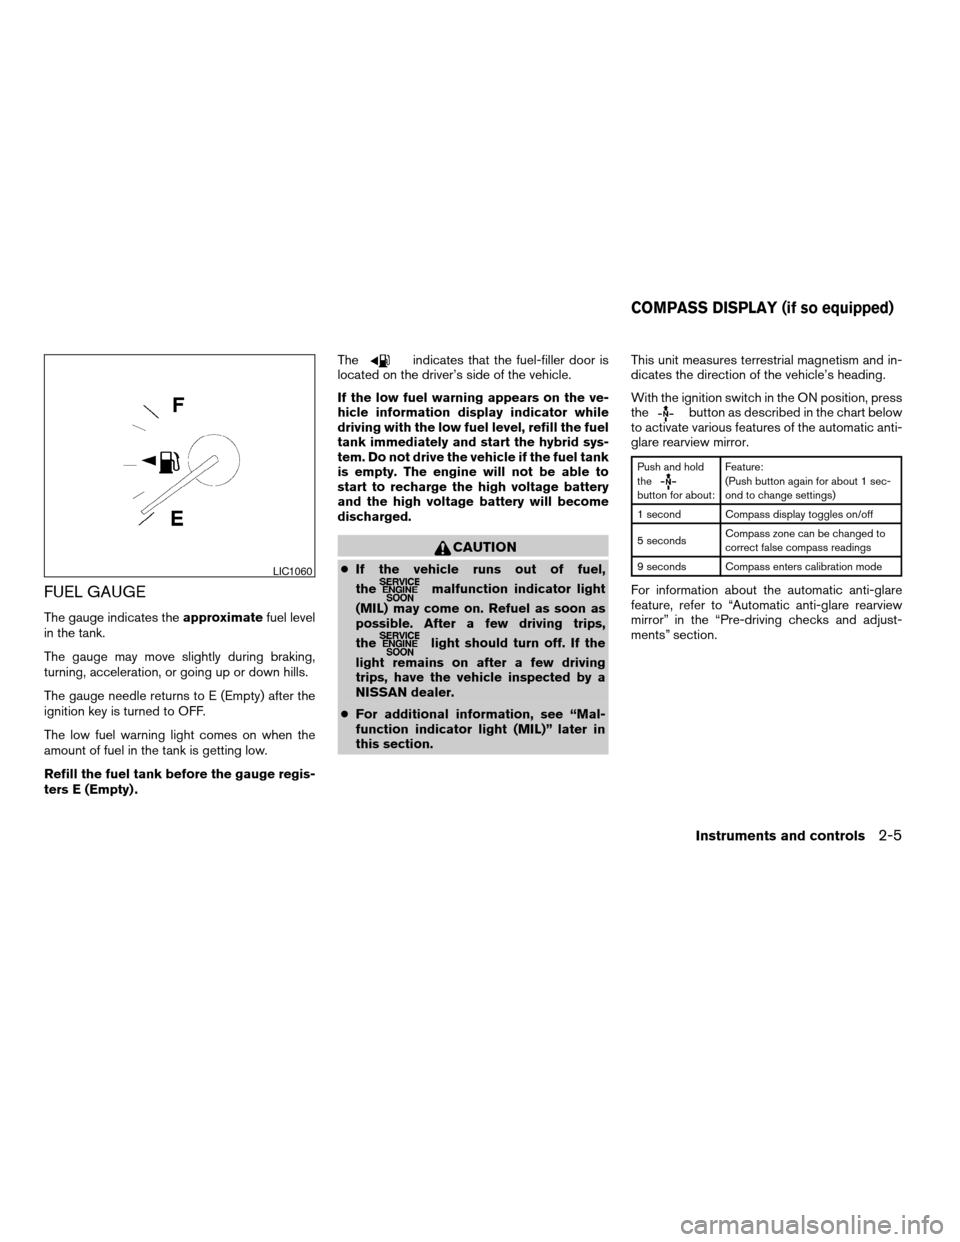
FUEL GAUGE
The gauge indicates theapproximatefuel level
in the tank.
The gauge may move slightly during braking,
turning, acceleration, or going up or down hills.
The gauge needle returns to E (Empty) after the
ignition key is turned to OFF.
The low fuel warning light comes on when the
amount of fuel in the tank is getting low.
Refill the fuel tank before the gauge regis-
ters E (Empty) .The
indicates that the fuel-filler door is
located on the driver’s side of the vehicle.
If the low fuel warning appears on the ve-
hicle information display indicator while
driving with the low fuel level, refill the fuel
tank immediately and start the hybrid sys-
tem. Do not drive the vehicle if the fuel tank
is empty. The engine will not be able to
start to recharge the high voltage battery
and the high voltage battery will become
discharged.
CAUTION
cIf the vehicle runs out of fuel,
the
malfunction indicator light
(MIL) may come on. Refuel as soon as
possible. After a few driving trips,
the
light should turn off. If the
light remains on after a few driving
trips, have the vehicle inspected by a
NISSAN dealer.
cFor additional information, see “Mal-
function indicator light (MIL)” later in
this section.This unit measures terrestrial magnetism and in-
dicates the direction of the vehicle’s heading.
With the ignition switch in the ON position, press
the
button as described in the chart below
to activate various features of the automatic anti-
glare rearview mirror.
Push and hold
the
button for about:Feature:
(Push button again for about 1 sec-
ond to change settings)
1 second Compass display toggles on/off
5 secondsCompass zone can be changed to
correct false compass readings
9 seconds Compass enters calibration mode
For information about the automatic anti-glare
feature, refer to “Automatic anti-glare rearview
mirror” in the “Pre-driving checks and adjust-
ments” section.
LIC1060
COMPASS DISPLAY (if so equipped)
Instruments and controls2-5
ZREVIEW COPYÐ2007 Altima Hybrid Electric
(ahv)
Owners ManualÐUSA_English(nna)
11/27/06Ðdebbie
X
Page 159 of 344

When you use this system, make sure the Hybrid
System is turned ON.
If you use the system with the Hybrid Sys-
tem off (ignition ON or ACC) for a long time,
it will use up all the 12-volt battery power,
and the Hybrid System will not turn ON.
Reference symbols:
SETUP button — This is a button on the control
panel.
“Display” key — This is a select key on the touch-
screen. By touching this key you can proceed to
the next function.
SETTING UP THE START-UP
SCREEN
With the ignition to ACC or ON, the SYSTEM
START-UP warning is displayed on the screen.
Read the warning and touch the “I agree” key
(English) or the “Enter” (Français) key.
If you do not touch the “I agree” key, the Naviga-
tion system will not proceed to the next step
display.
If you do not press a button or touch a screen key
for more than 1 minute on the START-UP screen,
the screen will change to the audio screen auto-
matically.To proceed to the next step, refer to the separate
Navigation System Owner’s Manual.
HOW TO USE THE SETUP BUTTON
When the SETUP button is pressed, the settings
screen will appear on the display. You can select
and/or adjust several functions, features and
modes that are available for your vehicle. Touch
one of the setting item keys to select each item to
be set.
LHA0747
Monitor, climate, audio, phone and voice recognition systems4-3
ZREVIEW COPYÐ2007 Altima Hybrid Electric
(ahv)
Owners ManualÐUSA_English(nna)
11/27/06Ðdebbie
X
Page 188 of 344

Station memory operations:
18 stations can be set for the FM, AM or SAT
(Satellite if so equipped) radio to the A, B and C
preset button in any combination of FM, AM or
SAT stations.
1. Press the A·B·C button or the “Preset” key to
select preset channel A, B or C.
2. Press the RADIO button to select the de-
sired FM, AM or SAT station band.
3. Tune to the desired station using manual
tuning, seek tuning or scan tuning. Press
and hold any of the desired station memory
(1 – 6) buttons until a beep sound is heard
(the station will now appear in one of the 1 –
6 keys on the screen)
4. The channel indicator will then come on and
the sound will resume. Memorizing is now
complete.
5. Other buttons can be set in the same man-
ner.
If the battery cable is disconnected, or if the fuse
blows, the radio memory will be canceled. In that
case, reset the desired stations.
Radio data system (RDS):
RDS stands for Radio Data System, and is a data
information service transmitted by some radiostations on the FM band (not AM band) and/or
SAT radio encoded within a regular SAT broad-
cast. Currently, most RDS stations are in large
cities, but many stations are now considering
broadcasting RDS data.
RDS can display:
cStation call sign, such as “WHFR 98.3”.
cStation name, such as “The Groove”.
cMusic or programming type such as “Clas-
sical”, “Country” or “Rock”.
If the station broadcasts RDS information, the
RDS icon is displayed.
Compact disc (CD) changer operation
With the ignition switch in the ACC or ON posi-
tion, press one of the CD changer (1 – 6) but-
tons. Once the CD slot has open insert the
compact disc into the slot with the label side
facing up. The compact disc will be guided auto-
matically into the slot and start playing.
If the radio is already operating, it will automati-
cally turn off and the compact disc will play.
If the system has been turned off while the com-
pact disc was playing, pressing the
ON·OFF/VOL control knob will start the compact
disc.Loading buttons:
1 Disc Load:
cPress one of the CD changer (1 – 6) select
buttons for less than 1.5 seconds, then in-
sert the CD.
cWhile in CD mode press one of the station
and CD select (1 – 6) buttons on the radio,
then insert the CD.
cWhile in CD mode press one of the CD (1 –
6) keys on the screen, then insert the CD.
All Disc Load:
cPress and hold one of the CD changer (1 –
6) buttons for more than 1.5 seconds.
The slot numbers (1 – 6) will illuminate on the
display when CDs are loaded into the changer.
When one of the CD changer (1 – 6) buttons is
pressed with the compact disc loaded but the
radio playing, the radio will automatically be
turned off and the compact disc will start to play.
CD/AUX button:
When the CD/AUX button is pressed with the
system off and the compact disc loaded, the
system will turn on and the compact disc will start
to play.
4-32Monitor, climate, audio, phone and voice recognition systems
ZREVIEW COPYÐ2007 Altima Hybrid Electric
(ahv)
Owners ManualÐUSA_English(nna)
11/27/06Ðdebbie
X
Page 225 of 344

The ignition switch is equipped with an anti-theft
steering lock device.
The ignition lock is designed so that the ignition
switch position cannot be switched to OFF until
the selector lever is moved to the P (Park) posi-
tion.
When the ignition switch cannot be pushed to-
ward the OFF position, proceed as follows:
1. Move the selector lever into the P (Park)
position.
2. Push the ignition switch. The ignition switch
position will change to the ON position.
3. Push the ignition switch again to the OFF
position.
The selector lever can be moved from the P
(Park) position if the ignition switch is in
the ON position and the brake pedal is
depressed.
In order for the steering wheel to be locked, it
must be turned about 1/8 of a right or left turn
from the straight up position.
To lock the steering wheel, push the igni-
tion switch to the LOCK position. To unlock
the steering wheel, push the ignition switch
while slightly turning the steering wheel
right and left.If the battery of the vehicle is discharged,
the push-button ignition switch cannot be
turned from the LOCK position.
Some indicators and warnings for operation are
displayed on the vehicle information display. See
“Vehicle information display” in the “Instruments
and controls” section.
PUSH-BUTTON IGNITION SWITCH
POSITIONS
LOCK (Normal parking position):
The ignition switch can only be locked in this
position.
The ignition switch will be unlocked when it is
pushed to the ACC position while carrying the
Intelligent Key or with the Intelligent Key inserted
in the port.
The ignition switch will lock when any door is
opened or closed with the ignition switched off.
OFF:
The ignition switch is in the off position when the
Hybrid System is turned off using the ignition
switch. No lights will illuminate on the ignition
switch.ACC (Accessories):
This position activates electrical accessories
such as the radio, when the Hybrid System is off.
ON (Normal operating position):
This position turns on the ignition system and
electrical accessories.
CAUTION
Do not leave the vehicle with the ignition
switch in ACC or ON positions when the
Hybrid System is off for an extended pe-
riod. This can discharge the battery.
INTELLIGENT KEY BATTERY
DISCHARGE
Starting and driving5-7
ZREVIEW COPYÐ2007 Altima Hybrid Electric
(ahv)
Owners ManualÐUSA_English(nna)
11/27/06Ðdebbie
X
Page 287 of 344

INTELLIGENT KEY BATTERY
Replace the battery in the Intelligent Key as fol-
lows:
1. Remove the mechanical key from the Intelli-
gent Key.
2. Insert a small screwdriver
sAinto the slitsB
of the corner and twist it to separate the
upper part from the lower part. Use a cloth to
protect the casing.
3. Replace the battery with a new one.
Recommended battery: CR2032 or equiva-
lent.
cDo not touch the internal circuit and elec-
tric terminals as doing so could cause a
malfunction.
cHold the battery by the edges. Holding
the battery across the contact points will
seriously deplete the storage capacity.
cMake sure that the + side faces the bot-
tom of the case.4. Close the lid securely as illustrated
sCsD.
5. Operate the buttons to check its operation.
See a NISSAN dealer if you need assistance for
replacement.
FCC Notice:
Changes or modifications not expressly ap-
proved by the party responsible for compli-
ance could void the user’s authority to op-
erate the equipment.
This device complies with Part 15 of the
FCC Rules and RSS-210 of Industry
Canada.Operation is subject to the following two
conditions: (1) This device may not cause
harmful interference, and (2) this device
must accept any interference received, in-
cluding interference that may cause undes-
ired operation of the device.
WDI0568
Maintenance and do-it-yourself8-23
ZREVIEW COPYÐ2007 Altima Hybrid Electric
(ahv)
Owners ManualÐUSA_English(nna)
11/27/06Ðdebbie
X