2007 NISSAN 350Z display
[x] Cancel search: displayPage 4 of 14

triP COMP uter
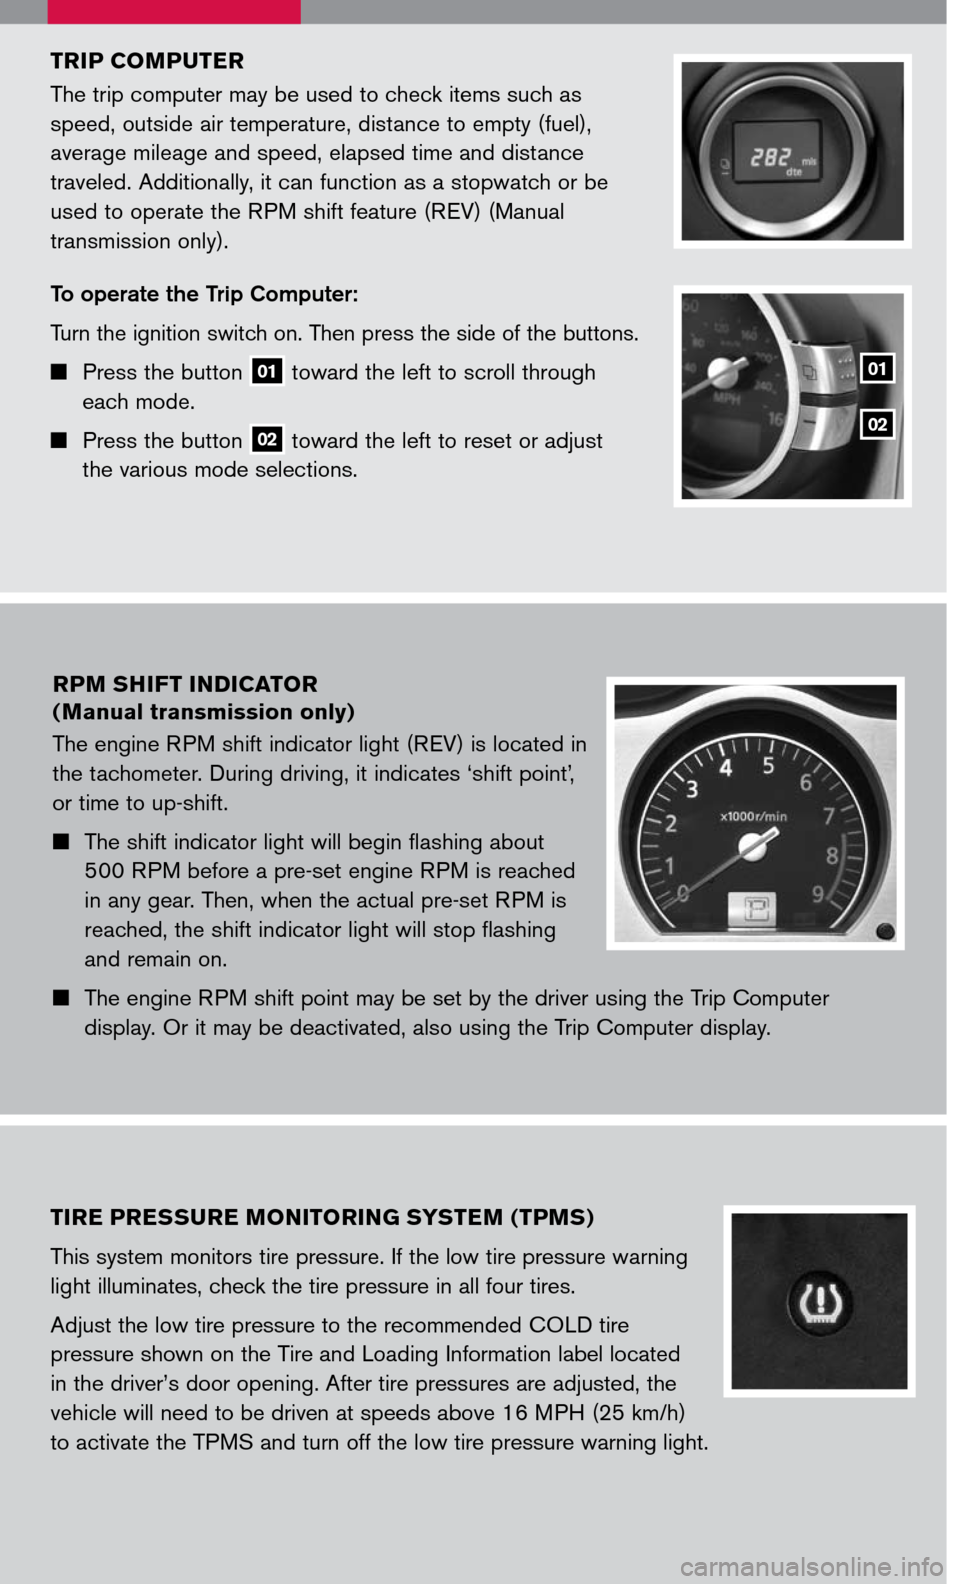
The trip computer may be used to check items such as
speed, outside air temperature, distance to empty (fuel),
average mileage and speed, elapsed time and distance
traveled. Additionally, it can function as a stopwatch or be
used to operate the RPM shift feature (REV) (Manual
transmission only).
To operate the Trip Computer:
Turn the ignition switch on. Then press the side of the buttons.
Press the button 01 toward the left to scroll through
each mode.
Press the button 02 toward the left to reset or adjust
the various mode selections.
01
02
rPM shiFt indi Cat Or
(Manual transmission only)
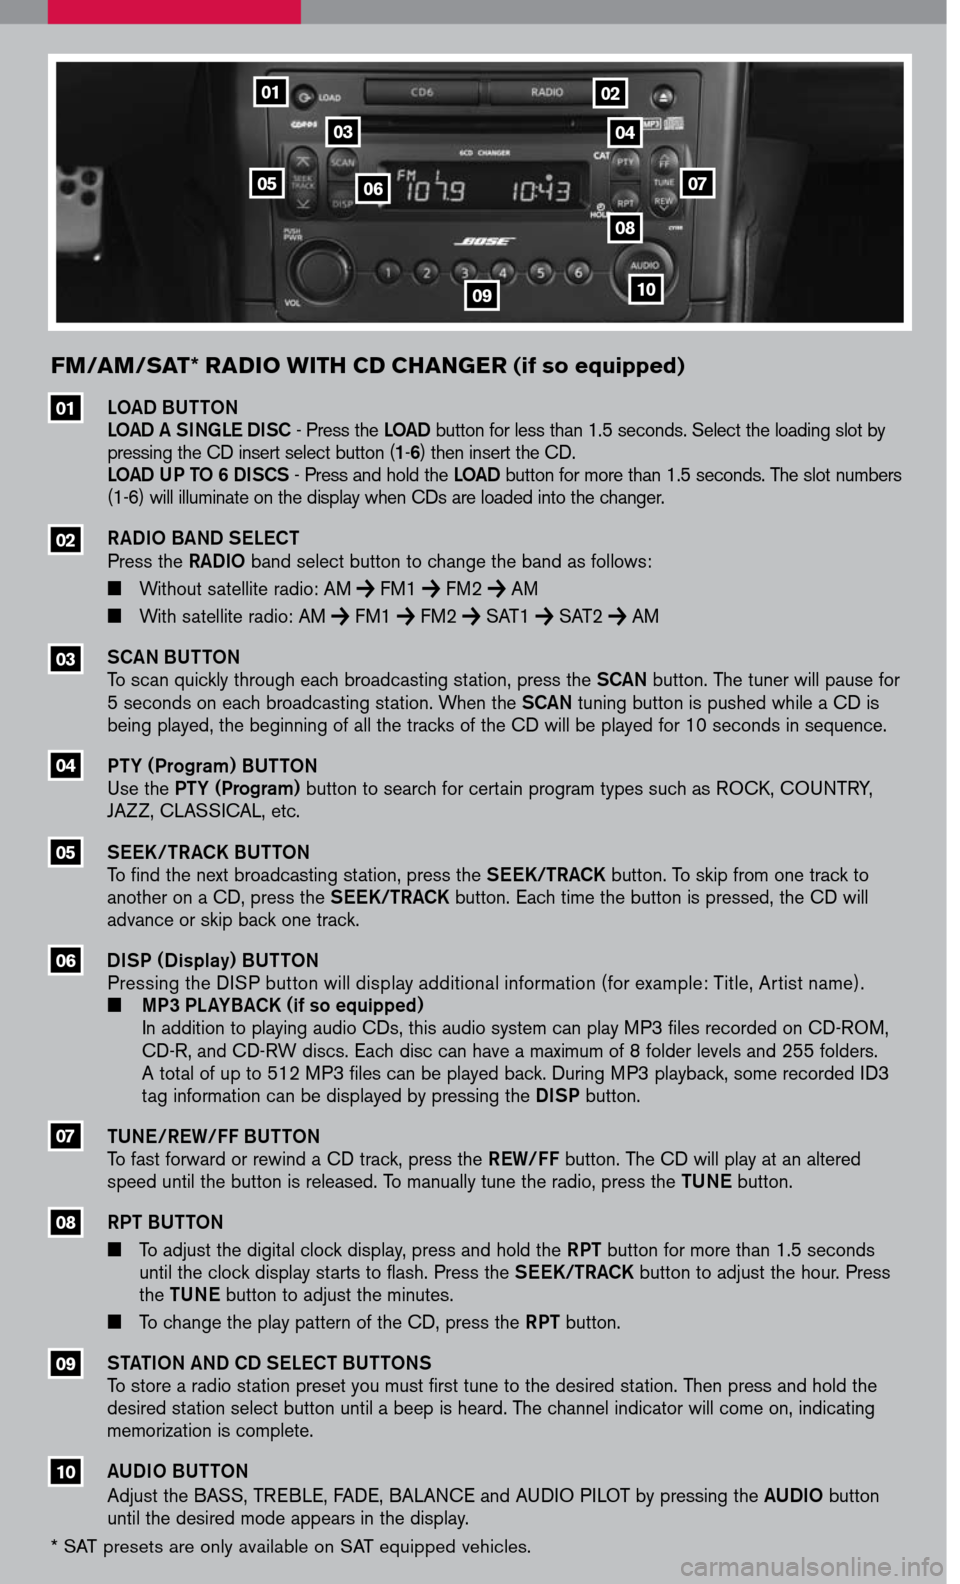
The engine RPM shift indicator light (REV) is located in
the tachometer. During driving, it indicates ‘shift point’,
or time to up-shift.
The shift indicator light will begin flashing about
500 RPM before a pre-set engine RPM is reached
in any gear. Then, when the actual pre-set RPM is
reached, the shift indicator light will stop flashing
and remain on.
The engine RPM shift point may be set by the driver using the Trip Computer
display. Or it may be deactivated, also using the Trip Computer display.
tire P ressure MO nitOring sY ste M (tPM s)
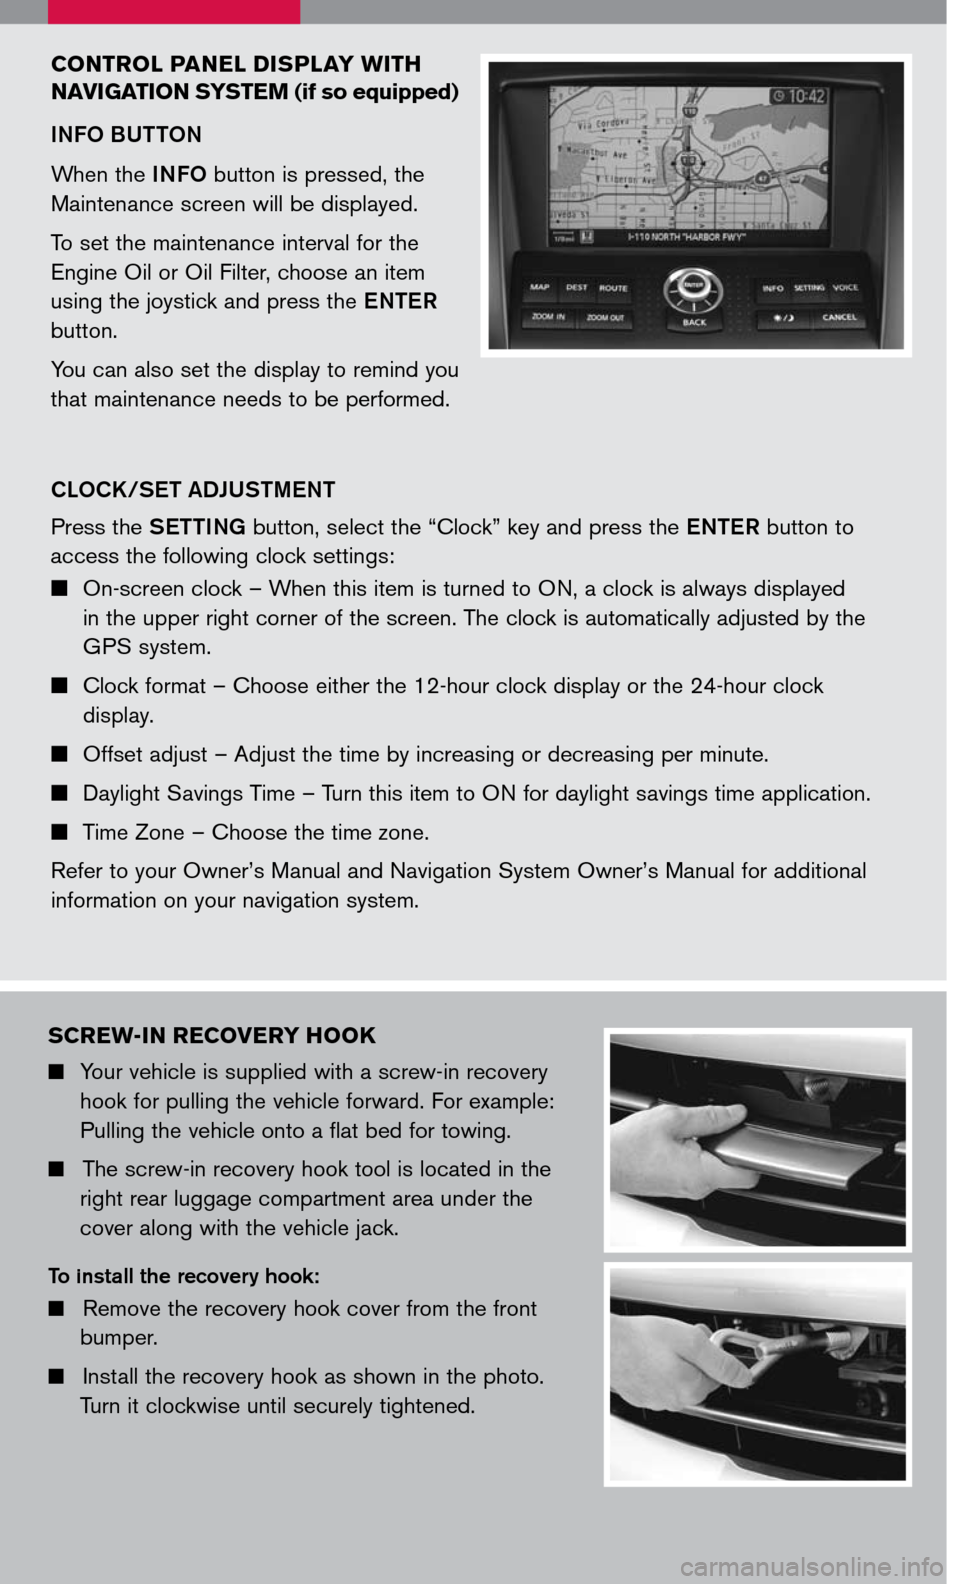
This system monitors tire pressure. If the low tire pressure warning
light illuminates, check the tire pressure in all four tires.
Adjust the low tire pressure to the recommended COLD tire
pressure shown on the Tire and Loading Information label located
in the driver’s door opening. After tire pressures are adjusted, the
vehicle will need to be driven at speeds above 16 MPH (25 km/h)
to activate the TPMS and turn off the low tire pressure warning light.
Page 6 of 14

FM/aM/ sat * radi O With Cd C hanger (if so equipped)
0910
0705
01
08
03
06
04
02
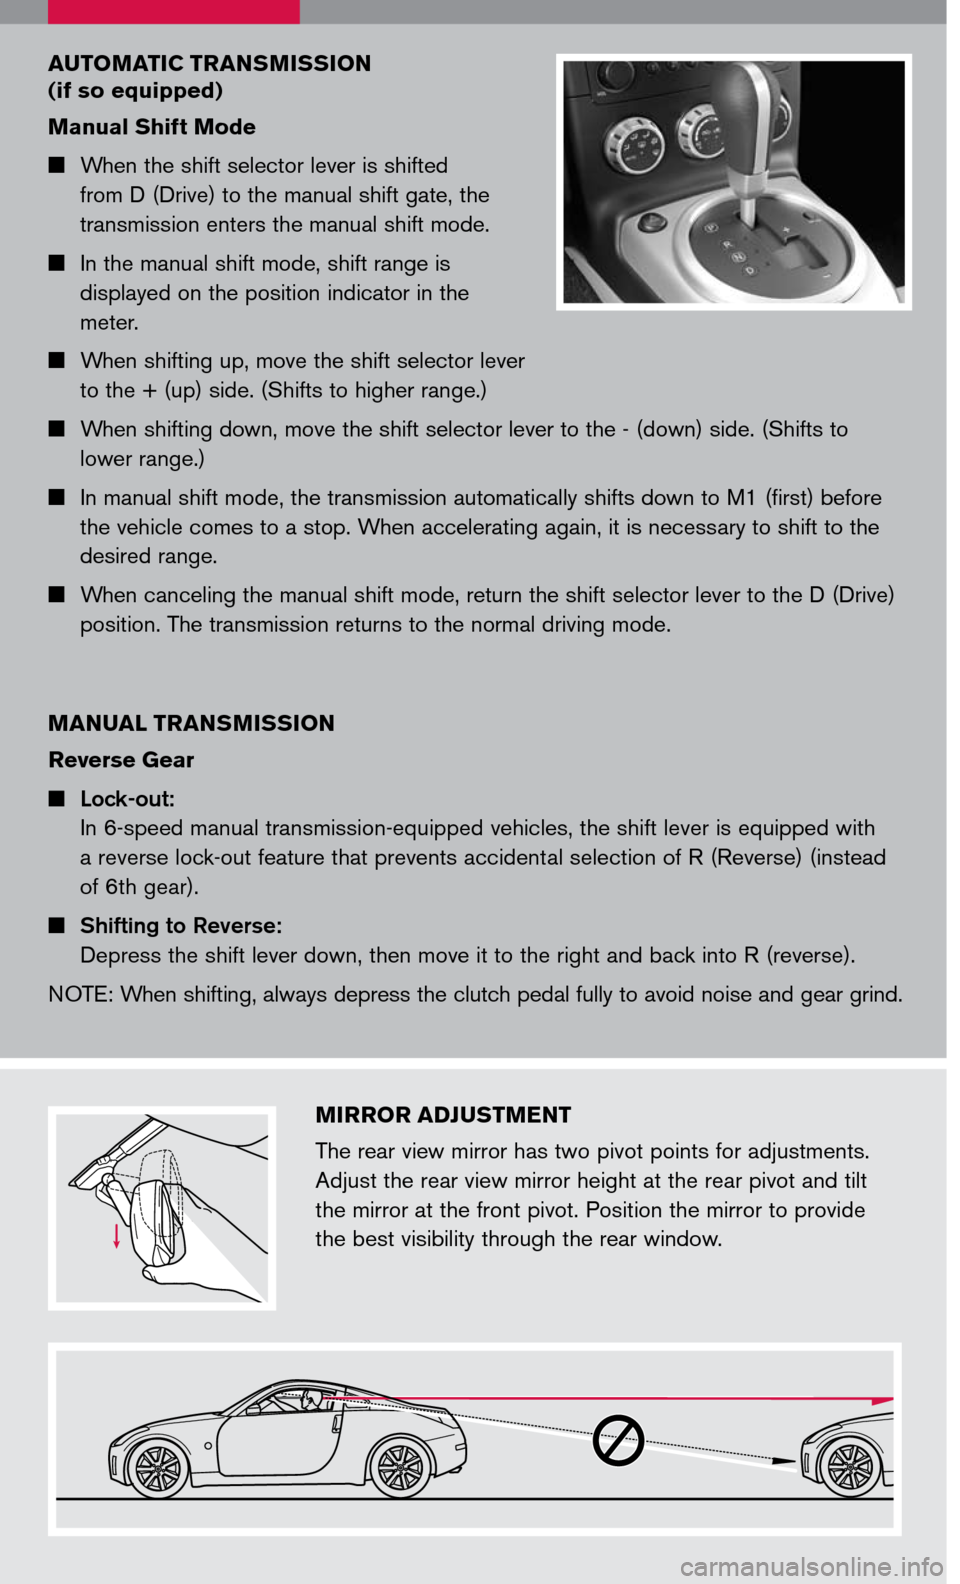
LOAD BUTTON LOAD A SINGLE DISC - Press the LOAD button for less than 1.5 seconds. Select the loading slot by pressing the CD insert select button (1-6) then insert the CD. LOAD UP TO 6 DISCS - Press and hold the LOAD button for more than 1.5 seconds. The slot numbers (1-6) will illuminate on the display when CDs are loaded into the changer.
RADIO BAND SELECT Press the RADIO band select button to change the band as follows:
Without satellite radio: AM FM1 FM2 AM
With satellite radio: AM FM1 FM2 SAT1 SAT2 AM
SCAN BUTTON To scan quickly through each broadcasting station, press the SCAN button. The tuner will pause for 5 seconds on each broadcasting station. When the SCAN tuning button is pushed while a CD is being played, the beginning of all the tracks of the CD will be played for 10 seconds in sequence.
PTY (Program) BUTTON Use the PTY (Program) button to search for certain program types such as ROCK, COUNTRY, JAZZ, CLASSICAL, etc.
SEEK/TRACK BUTTON To find the next broadcasting station, press the SEEK/TRACK button. To skip from one track to another on a CD, press the SEEK/TRACK button. Each time the button is pressed, the CD will advance or skip back one track.
DISP ( Display) BUTTON Pressing the DISP button will display additional information (for example: Title, Artist name). MP3 PLAYBACK (if so equipped)
In addition to playing audio CDs, this audio system can play MP3 files recorded on CD-ROM,
CD-R, and CD-RW discs. Each disc can have a maximum of 8 folder levels and 255 folders.
A total of up to 512 MP3 files can be played back. During MP3 playback, some recorded ID3
tag information can be displayed by pressing the DISP button.
01
02
03
04
05
06
07
08
09
10
* SAT presets are only available on SAT equipped vehicles.
TUNE/REW/FF BUTTON To fast forward or rewind a CD track, press the REW/FF button. The CD will play at an altered speed until the button is released. To manually tune the radio, press the TUNE button.
RPT BUTTON
To adjust the digital clock display, press and hold the RPT button for more than 1.5 seconds until the clock display starts to flash. Press the SEEK/TRACK button to adjust the hour. Press the TUNE button to adjust the minutes.
To change the play pattern of the CD, press the RPT button.
STATION AND CD SELECT BUTTONS To store a radio station preset you must first tune to the desired station. Then press and hold the desired station select button until a beep is heard. The channel indicator will come on, indicating memorization is complete.
AUDIO BUTTON Adjust the BASS, TREBLE, FADE, BALANCE and AUDIO PILOT by pressing the AUDIO button until the desired mode appears in the display.
Page 11 of 14

sC re W-in re COV erY hOOK
Your vehicle is supplied with a screw-in recovery
hook for pulling the vehicle forward. For example:
Pulling the vehicle onto a flat bed for towing.
The screw-in recovery hook tool is located in the
right rear luggage compartment area under the
cover along with the vehicle jack.
To install the recovery hook:
Remove the recovery hook cover from the front
bumper.
Install the recovery hook as shown in the photo.
Turn it clockwise until securely tightened.
CO ntr Ol P anel disPla Y With
n aV igati On sY ste M
(if so equipped)
INFO BUTTON
When the INFO button is pressed, the
Maintenance screen will be displayed.
To set the maintenance interval for the
Engine Oil or Oil Filter, choose an item
using the joystick and press the ENTER
button.
You can also set the display to remind you
that maintenance needs to be performed.
CLOCK/SET ADJUSTMENT
Press the SETTING button, select the “Clock” key and press the ENTER button to
access the following clock settings:
On-screen clock – When this item is turned to ON, a clock is always displayed
in the upper right corner of the screen. The clock is automatically adjusted by the
GPS system.
Clock format – Choose either the 12-hour clock display or the 24-hour clock
display.
Offset adjust – Adjust the time by increasing or decreasing per minute.
Daylight Savings Time – Turn this item to ON for daylight savings time application.
Time Zone – Choose the time zone.
Refer to your Owner’s Manual and Navigation System Owner’s Manual for additional
information on your navigation system.
Page 12 of 14

Mirr Or ad Just Ment
The rear view mirror has two pivot points for adjustments.
Adjust the rear view mirror height at the rear pivot and tilt
the mirror at the front pivot. Position the mirror to provide
the best visibility through the rear window.
aut OMatiC trans Missi On
(if so equipped)
Manual shift Mode
When the shift selector lever is shifted
from D (Drive) to the manual shift gate, the
transmission enters the manual shift mode.
In the manual shift mode, shift range is
displayed on the position indicator in the
meter.
When shifting up, move the shift selector lever
to the + (up) side. (Shifts to higher range.)
When shifting down, move the shift selector lever to the - (down) side. (Shifts to
lower range.)
In manual shift mode, the transmission automatically shifts down to M1 (first) before
the vehicle comes to a stop. When accelerating again, it is necessary to shift to the
desired range.
When canceling the manual shift mode, return the shift selector lever to the D (Drive)
position. The transmission returns to the normal driving mode.
M anual trans Missi On
r everse gear
Lock-out:
In 6-speed manual transmission-equipped vehicles, the shift lever is equipped with
a reverse lock-out feature that prevents accidental selection of R (Reverse) (instead
of 6th gear).
Shifting to Reverse:
Depress the shift lever down, then move it to the right and back into R (reverse).
NOTE: When shifting, always depress the clutch pedal fully to avoid noise and gear grind.