Page 1 of 360
Introduction 4
Instrument Cluster 12
Warning lights and chimes 12
Gauges 17
Entertainment Systems 20
How to get going 20
AM/FM stereo with CD 24
AM/FM stereo with in-dash six CD 30
Auxiliary input jack 37
Satellite radio information 40
Family entertainment system 43
Navigation system 69
Climate Controls 70
Manual heating and air conditioning 70
Automatic temperature control 72
Auxiliary passenger climate control 75
Rear window defroster 75
Lights 77
Driver Controls 88
Windshield wiper/washer control 88
Steering wheel adjustment 89
Power windows 93
Mirrors 95
Speed control 96
Moon roof 101
Message center 106
Locks and Security 126
Keys 126
Locks 126
Anti-theft system 132
Table of Contents
1
2007 Mountaineer(mnt)
Owners Guide (post-2002-fmt)
USA(fus)
Page 90 of 360
ILLUMINATED VISOR MIRROR
Lift the mirror cover to turn on the
visor mirror lamps.
Slide on rod feature
Rotate the visor towards the side
window and extend it rearward for
additional sunlight coverage.
Note:To stow the visor back into
the headliner, visor must be
retracted before moving it back
towards the windshield.
OVERHEAD CONSOLE (IF EQUIPPED)
The appearance of your vehicle’s overhead console will vary according to
your option package.
Storage compartment
Press the latch to open the storage
compartment.
2007 Mountaineer(mnt)
Owners Guide (post-2002-fmt)
USA(fus)
Driver Controls
90
Page 94 of 360

One touch down
Allows the driver’s window to open
fully without holding the control
down. Push the switch completely
down to the second detent and
release quickly. The window will
open fully. Momentarily press the
switch to any position to stop the
window operation.
Window lock
The window lock feature allows only
the driver to operate the power
windows.
To lock out all the window controls
except for the driver’s press the
right side of the control. Press the
left side to restore the window
controls.
Accessory delay
With accessory delay, the window switches, audio system and moon roof
(if equipped) may be used for up to ten minutes after the ignition switch
is turned to the OFF position or until either front door is opened.
AUTOMATIC DIMMING INSIDE REAR VIEW MIRROR (IF EQUIPPED)
Your vehicle may be equipped with
an inside rear view mirror which has
an auto-dimming function. The
electronic day/night mirror will
change from the normal (high
reflective) state to the non-glare
(darkened) state when bright lights (glare) reach the mirror. When the
mirror detects bright light from behind the vehicle, it will automatically
adjust (darken) to minimize glare.
The mirror will automatically return to the normal state whenever the
vehicle is placed in R (Reverse) (when the mirror is on) to ensure a
bright clear view when backing up.
Do not block the sensor on the backside of the mirror since this may
impair proper mirror performance.
2007 Mountaineer(mnt)
Owners Guide (post-2002-fmt)
USA(fus)
Driver Controls
94
Page 95 of 360
EXTERIOR MIRRORS
Power side view mirrors
The ignition must be in the ACC or ON position to adjust the power side
view mirrors.
To adjust your mirrors:
1. Rotate the control clockwise to
adjust the right mirror and rotate
the control counterclockwise to
adjust the left mirror.
2. Move the control in the direction
you wish to tilt the mirror.
3. Return to the center position to
lock mirrors in place.
Fold-away mirrors
Fold the side mirrors in carefully
when driving through a narrow
space, like an automatic car wash.
Heated outside mirrors
(if equipped)
Both mirrors are heated
automatically to remove ice, mist
and fog when the rear window
defrost is activated.
Do not remove ice from the
mirrors with a scraper or
attempt to readjust the mirror
glass if it is frozen in place.
These actions could cause damage to the glass and mirrors.
2007 Mountaineer(mnt)
Owners Guide (post-2002-fmt)
USA(fus)
Driver Controls
95
Page 115 of 360

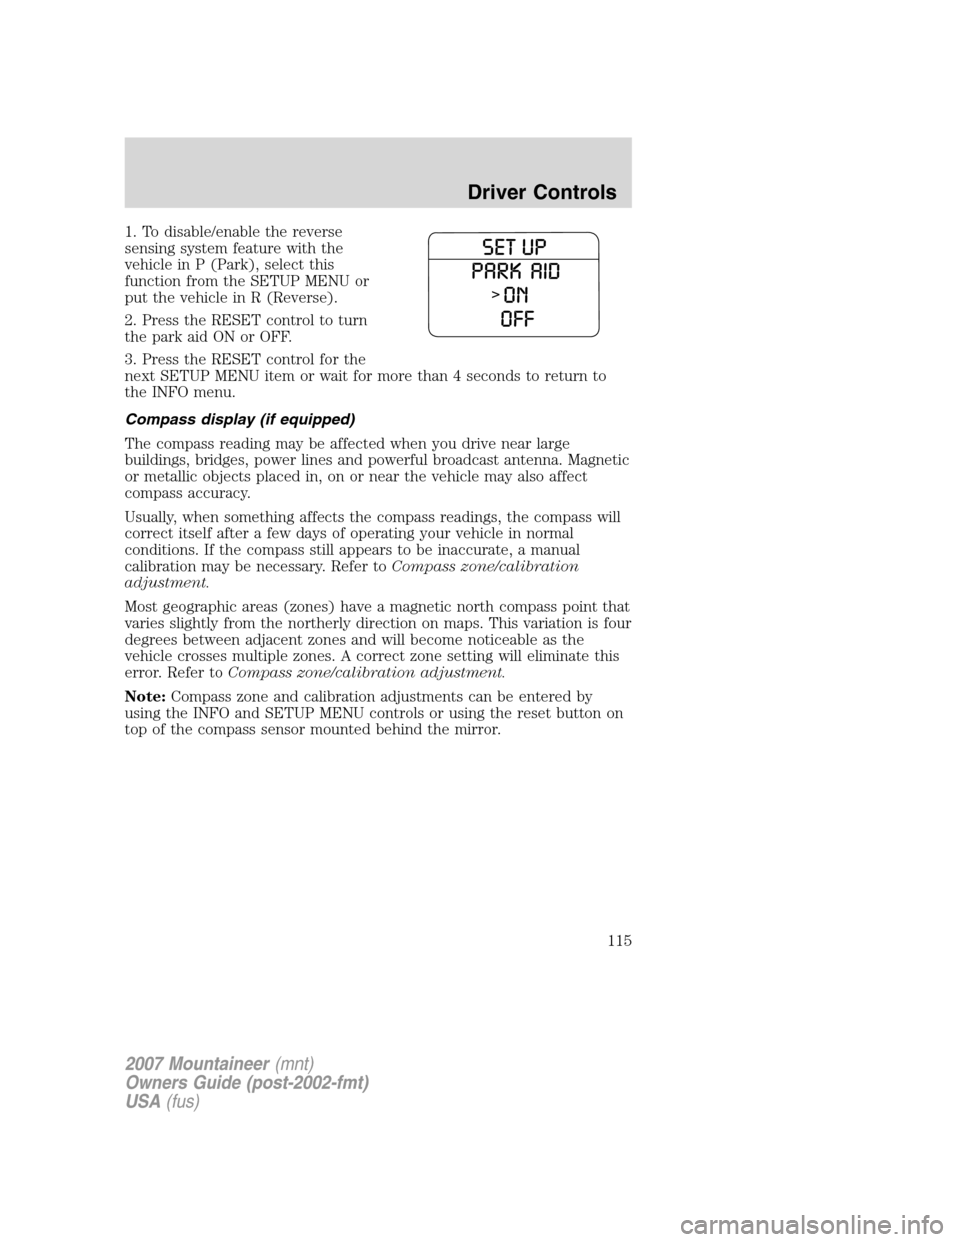
1. To disable/enable the reverse
sensing system feature with the
vehicle in P (Park), select this
function from the SETUP MENU or
put the vehicle in R (Reverse).
2. Press the RESET control to turn
the park aid ON or OFF.
3. Press the RESET control for the
next SETUP MENU item or wait for more than 4 seconds to return to
the INFO menu.
Compass display (if equipped)
The compass reading may be affected when you drive near large
buildings, bridges, power lines and powerful broadcast antenna. Magnetic
or metallic objects placed in, on or near the vehicle may also affect
compass accuracy.
Usually, when something affects the compass readings, the compass will
correct itself after a few days of operating your vehicle in normal
conditions. If the compass still appears to be inaccurate, a manual
calibration may be necessary. Refer toCompass zone/calibration
adjustment.
Most geographic areas (zones) have a magnetic north compass point that
varies slightly from the northerly direction on maps. This variation is four
degrees between adjacent zones and will become noticeable as the
vehicle crosses multiple zones. A correct zone setting will eliminate this
error. Refer toCompass zone/calibration adjustment.
Note:Compass zone and calibration adjustments can be entered by
using the INFO and SETUP MENU controls or using the reset button on
top of the compass sensor mounted behind the mirror.
2007 Mountaineer(mnt)
Owners Guide (post-2002-fmt)
USA(fus)
Driver Controls
115