2007 Mercury Mountaineer Driver seat
[x] Cancel search: Driver seatPage 7 of 360

Service Data Recording
Service data recorders in your vehicle are capable of collecting and
storing diagnostic information about your vehicle. This potentially
includes information about the performance or status of various systems
and modules in the vehicle, such as engine, throttle, steering or brake
systems. In order to properly diagnose and service your vehicle, Ford
Motor Company, Ford of Canada, and service and repair facilities may
access vehicle diagnostic information through a direct connection to your
vehicle when diagnosing or servicing your vehicle.
Event Data Recording
Other modules in your vehicle — event data recorders — are capable of
collecting and storing data during a crash or near crash event. The
recorded information may assist in the investigation of such an event.
The modules may record information about both the vehicle and the
occupants, potentially including information such as:
•how various systems in your vehicle were operating;
•whether or not the driver and passenger seatbelts were buckled;
•how far (if at all) the driver was depressing the accelerator and/or the
brake pedal;
•how fast the vehicle was traveling; and
•where the driver was positioning the steering wheel.
To access this information, special equipment must be directly connected
to the recording modules. Ford Motor Company and Ford of Canada do
not access event data recorder information without obtaining consent,
unless pursuant to court order or where required by law enforcement,
other government authorities or other third parties acting with lawful
authority. Other parties may seek to access the information
independently of Ford Motor Company and Ford of Canada.
2007 Mountaineer(mnt)
Owners Guide (post-2002-fmt)
USA(fus)
Introduction
7
Page 33 of 360

SEEK, SEEKto toggle ON/OFF. When COMPRESS is ON, the
system will bring the soft and loud CD passages together for a more
consistent listening level.
ALL SEATS (Occupancy mode):Use
/to select and optimize
sound for ALL SEATS, DRIVERS SEAT or REAR SEATS.
SINGLE PLAY/DUAL PLAY (if equipped):If SINGLE PLAY is ON,
press
/for DUAL PLAY. For further information on Single
Play/Dual Play, please refer to theFamily Entertainment DVD system
later in this section.
4.AUX:Press repeatedly to cycle
through FES/DVD (if equipped),
LINE IN (auxiliary audio mode) and
SAT1, SAT2 and SAT3 modes (satellite radio, if equipped).
For location and further information on auxiliary audio mode, refer to
Auxiliary input jacklater in this chapter.
Satellite radio is available only with a valid SIRIUS radio
subscription. Check with your authorized dealer for availability.
If your vehicle is equipped with a Family Entertainment System (FES)
please refer to theFamily Entertainment DVD systemlater in this
section.
5.SEEK:In radio and CD/MP3
mode,press to access the previous
(
) or next () strong station
or track.
In satellite radio mode (if equipped),press
SEEKto seek to
the previous/next channel. If a specific category is selected, (Jazz, Rock,
News, etc.), press
SEEK, SEEKto seek to the previous/next
channel in the selected category. Press and hold
SEEK, SEEKto
fast seek through the previous /next channels.
In TEXT MODE,press
SEEK, SEEKto view the
previous/additional display text.
In CATEGORY MODE,press
SEEKto select a category.
Satellite radio is available only with a valid SIRIUS subscription.
Check with your authorized dealer for availability.
2007 Mountaineer(mnt)
Owners Guide (post-2002-fmt)
USA(fus)
Entertainment Systems
33
Page 67 of 360

The front glass on the liquid crystal display (LCD) flip-down
screen may break when hit with a hard surface. If the glass
breaks, do not touch the liquid crystalline material. In case of contact
with skin, wash immediately with soap and water.
The driver should not attempt to operate any function of the
DVD system while the vehicle is in motion. Give full attention to
driving and to the road. Pull off the road in a safe place before
inserting or extracting DVDs from the system. A remote control is
included in the system to allow the rear seat occupants to operate the
FES functions without distracting the driver.
Do not expose the liquid crystal display (LCD) flip-down screen
to direct sunlight or intensive ultraviolet rays for extensive
periods of time. Ultraviolet rays deteriorate the liquid crystal.
Be sure to review User Manuals for video games and video game
equipment when used as auxiliary inputs for your Family Entertainment
System (FES).
Do not operate video games or video equipment if the power cords
and/or cables are broken, split or damaged. Carefully place cords and/or
cables where they will not be stepped on or interfere with the operation
of seats and/or compartments.
Disconnect video games and video equipment power cords and/or cables
when not in use.
Avoid touching auxiliary input jacks with your fingers. Do not blow on
them or allow them to get wet or dirty.
Do not clean any part of the DVD player with benzene, paint thinner or
any other solvent.
Federal Communication Commission (FCC) Compliance
Changes or modifications not approved by Ford Lincoln-Mercury could
void user’s authority to operate the equipment. This equipment has been
tested and found to comply with the limits for a Class B digital device,
pursuant to Part 15 of the FCC Rules. These limits are designed to
provide reasonable protection against harmful interference in a
residential installation. This equipment generates, uses and can radiate
radio frequency energy and, if not installed and used in accordance with
the instructions, may cause harmful interference and radio
communications.
2007 Mountaineer(mnt)
Owners Guide (post-2002-fmt)
USA(fus)
Entertainment Systems
67
Page 93 of 360
Always keep the power point caps closed when not being used.
Cigar/Cigarette lighter (if equipped)
Do not plug optional electrical accessories into the cigarette lighter
socket.
Do not hold the lighter in with your hand while it is heating, this will
damage the lighter element and socket. The lighter will be released from
its heating position when it is ready to be used.
Improper use of the lighter can cause damage not covered by your
warranty.
Rear auxiliary power point (if equipped)
A second auxiliary power point is located on the rear side of the console.
It is accessible from the rear seats.
POWER WINDOWS
Do not leave children unattended in the vehicle and do not let
children play with the power windows. They may seriously injure
themselves.
When closing the power windows, you should verify they are free
of obstructions and ensure that children and/or pets are not in
the proximity of the window openings.
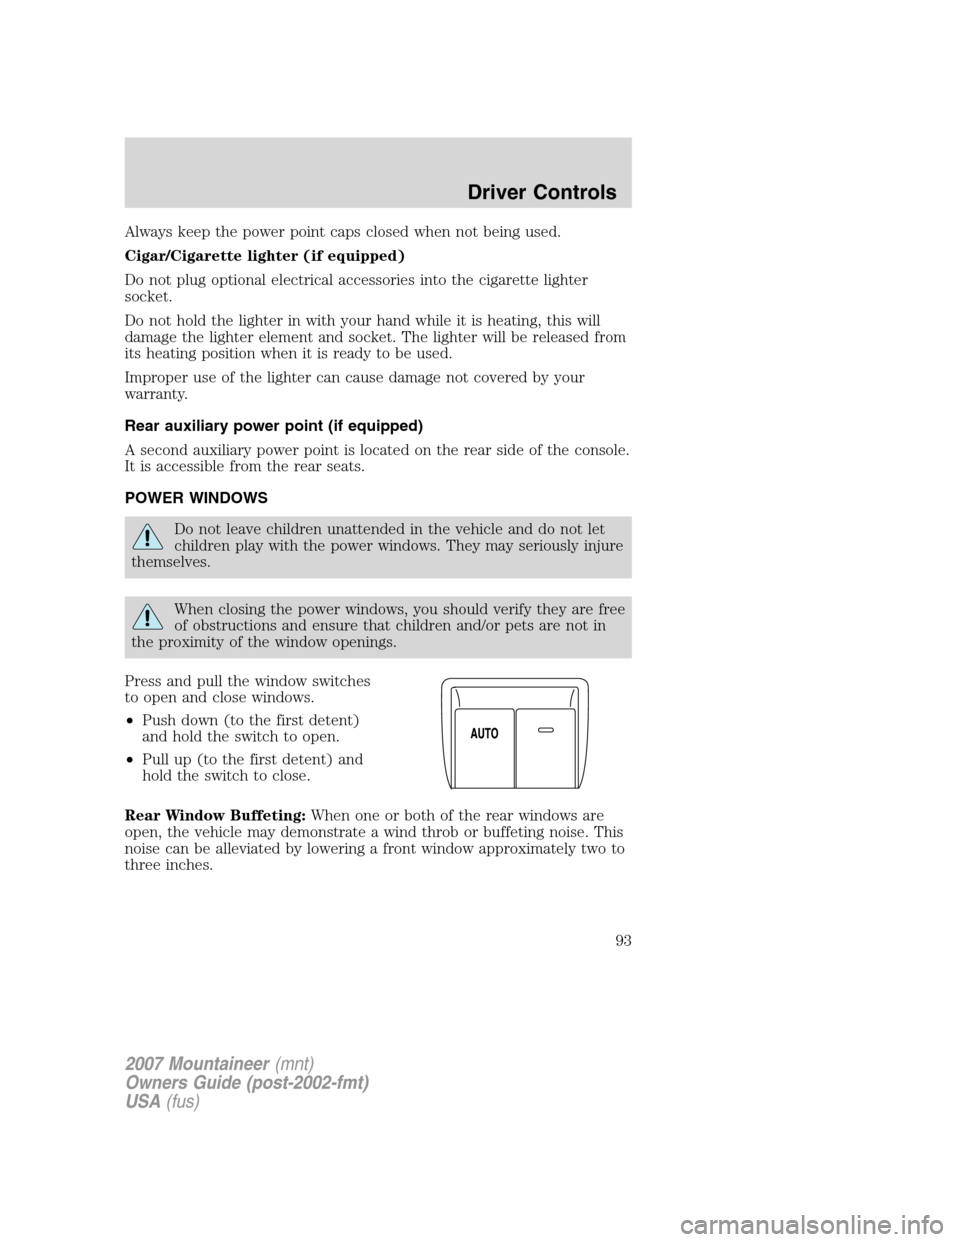
Press and pull the window switches
to open and close windows.
•Push down (to the first detent)
and hold the switch to open.
•Pull up (to the first detent) and
hold the switch to close.
Rear Window Buffeting:When one or both of the rear windows are
open, the vehicle may demonstrate a wind throb or buffeting noise. This
noise can be alleviated by lowering a front window approximately two to
three inches.
2007 Mountaineer(mnt)
Owners Guide (post-2002-fmt)
USA(fus)
Driver Controls
93
Page 110 of 360

•Easy Entry/Exit Seat
•Park Aid (if equipped)
•Compass Zone (if equipped)
•Compass Calibration (if equipped)
•Oil Life Start Value
AWD lock (4.6 L engine vehicles only)
Select this function from the SETUP MENU to display the AWD locked
function.
1. To disable/enable the AWD
feature, select this function from the
SETUP MENU.
2. Press the RESET control to select
the AUTO or LOCKED mode.
3. Press the RESET control for the
next SETUP MENU item or wait for
more than 4 seconds to return to
the INFO menu.
Note:When the AWD system is in the LOCKED mode, the 4X4 indicator
will be illuminated.
System check
Selecting this function from the
SETUP MENU causes the message
center to cycle through each of the
systems being monitored. For each
of the monitored systems, the
message center will indicate either
an OK message or a warning
message for two seconds.
Pressing the RESET control cycles the message center through each of
the systems being monitored.
The sequence of the system check report and how it appears in the
message center is as follows:
1. OIL LIFE RESET
2. CHARGING SYSTEM
3. WASHER FLUID
4. DOOR AJAR
2007 Mountaineer(mnt)
Owners Guide (post-2002-fmt)
USA(fus)
Driver Controls
110
Page 114 of 360

1. To change operation of the power
running board feature, select this
function from the SETUP MENU.
2. Press the RESET control to select
the running boards setting as
follows:
•AUTOMATIC: the running boards
will automatically deploy when a
door is opened and automatically retract when the door is closed,
•OUT: the running boards will remain OUT regardless of the doors
being open/closed. For example, use this setting when washing the
vehicle, or
•OFF: the running boards will remain IN regardless of the doors being
open/closed.
3. Press the RESET control for the next SETUP MENU item or wait for
more than 4 seconds to return to the INFO menu.
Easy entry/exit seat
This feature automatically moves the drivers seat backwards for easy exit
from the vehicle.
1. To disable/enable the easy exit
seat feature, select this function
from the SETUP MENU.
2. Press the RESET control to turn
the easy entry exit seat ON or OFF.
3. Press the RESET control for the
next SETUP MENU item or wait for
more than 4 seconds to return to
the INFO menu.
Reverse Sensing System (Park Aid) (if equipped)
This feature sounds a warning tone to warn the driver of obstacles near
the rear bumper, and functions only when R (Reverse) gear is selected.
2007 Mountaineer(mnt)
Owners Guide (post-2002-fmt)
USA(fus)
Driver Controls
114
Page 119 of 360

Warning display Status
Liftgate/glass ajar Warning returns after the condition
has cleared then reoccurs within the
same ignition ON-OFF cycle. Clear objects by pass seat
Check charging system
Low tire pressure
Tire monitor fault
Tire sensor fault
DOOR AJAR.Displayed when a door is not completely closed.
CLEAR OBJECTS BY PASS SEAT.Displayed when objects are by the
passenger seat. After the objects are moved away from the seat, if the
warning stays on or continues to come on contact your authorized
dealer.
CHECK CHARGING SYSTEM.Displayed when the electrical system is
not maintaining proper voltage. If you are operating electrical accessories
when the engine is idling at a low speed, turn off as many of the
electrical loads as soon as possible. If the warning stays on or comes on
when the engine is operating at normal speeds, have the electrical
system checked as soon as possible.
FUEL LEVEL LOW.Displayed as an early reminder of a low fuel
condition.
PARK BRAKE ENGAGED.Displayed when the manual park brake is
set, the engine is running and the vehicle is driven more than 3 mph
(5 km/h). If the warning stays on after the park brake is released,
contact your authorized dealer as soon as possible.
CHECK BRAKE SYSTEM.Displayed when the braking system is not
operating properly. If the warning stays on or continues to come on,
contact your authorized dealer as soon as possible.
CHECK PARK AID (if equipped).Displayed when the transmission is
in R (Reverse) and the Reverse Sensing System (Park Aid) is disabled.
Refer toReverse Sensing System (Park Aid)in this section to enable.
LOW TIRE PRESSURE.Displayed when one or more tires on your
vehicle have low tire pressure. Refer toInflating your tiresin theTires,
Wheels and Loadingchapter.
TIRE MONITOR FAULT.Displayed when the Tire Pressure Monitoring
System is malfunctioning. If the warning stays on or continues to come
on, have the system inspected by your authorized dealer.
2007 Mountaineer(mnt)
Owners Guide (post-2002-fmt)
USA(fus)
Driver Controls
119
Page 123 of 360

CARGO COVER (IF EQUIPPED)
Your vehicle may be equipped with a cargo area cover that covers the
luggage compartment of your vehicle.
To install the cover:
Push both ends of the cover into the
depressions (right side first) in the
trim panels behind the second row
seat.
To reduce the risk of
injuries, the cargo area
cover must be properly installed
on the rear trim panels.
Do not place any objects on the cargo area cover. They may
obstruct your vision or strike occupants of the vehicle in the
case of a sudden stop or collision.
Cargo management system
The cargo management system consists of storage compartments located
in the floor of the rear cargo area.
7 passenger stowage:
1. To open, lift up on the handle and
the lid.
2. To close, lower and press the lid
down.
2007 Mountaineer(mnt)
Owners Guide (post-2002-fmt)
USA(fus)
Driver Controls
123