Page 26 of 473
25 At a glance
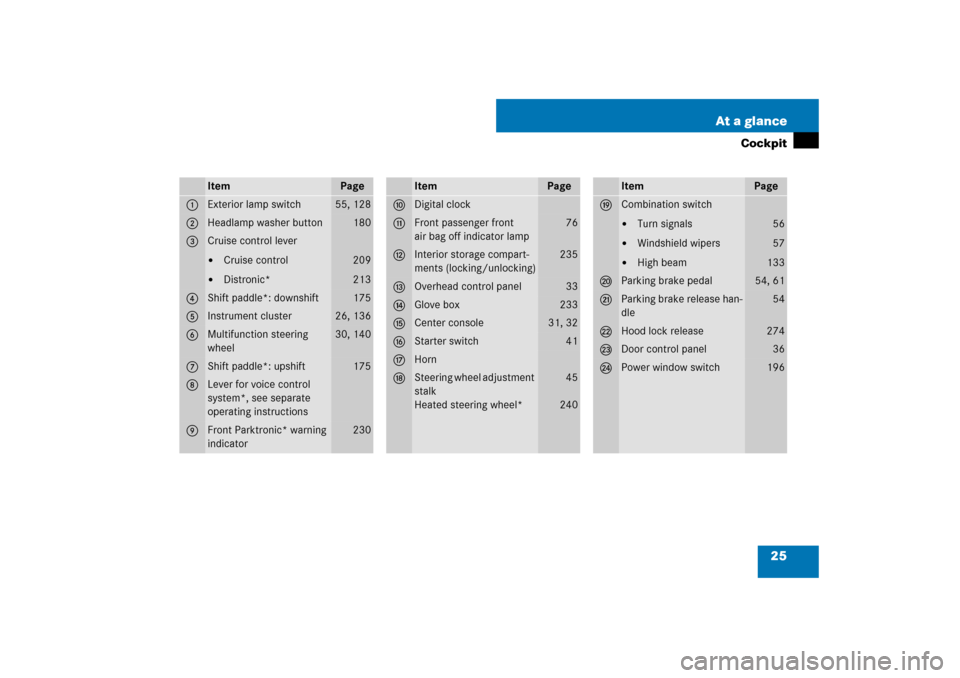
Cockpit
Item
Page
1
Exterior lamp switch
55, 128
2
Headlamp washer button
180
3
Cruise control lever�
Cruise control
�
Distronic*
209
213
4
Shift paddle*: downshift
175
5
Instrument cluster
26, 136
6
Multifunction steering
wheel
30, 140
7
Shift paddle*: upshift
175
8
Lever for voice control
system*, see separate
operating instructions
9
Front Parktronic* warning
indicator
230
Item
Page
a
Digital clock
b
Front passenger front
air bag off indicator lamp
76
c
Interior storage compart-
ments (locking/unlocking)
235
d
Overhead control panel
33
e
Glove box
233
f
Center console
31, 32
g
Starter switch
41
h
Horn
j
Steering wheel adjustment
stalk
Heated steering wheel*
45
240
Item
Page
k
Combination switch�
Turn signals
�
Windshield wipers
�
High beam
56
57
133
l
Parking brake pedal
54, 61
m
Parking brake release han-
dle
54
n
Hood lock release
274
o
Door control panel
36
p
Power window switch
196
Page 31 of 473
30 At a glanceMultifunction steering wheel
Item
Page
1
Left multifunction display in
the speedometer
139
2
Right multifunction display
in the tachometer
139
Operating the control sys-
tem
140
3
Selecting the submenu or
setting the volume:
Press buttonçdown/to decreaseæup/to increase
4
Telephone*:
Press buttonsto take a calltto end a call
Item
Page
5
Menu systems:
Press buttonÿfor previous menuèfor next menu
6
Moving within a menu:
Press buttonjfor next displaykfor previous display
Page 33 of 473
32 At a glanceCenter consoleLower part
Item
Page
1
Gear selector lever for
automatic transmission
173
2
Parktronic system*
deactivation switch
228
3
Exterior rear view mirror
adjustment
47
4
ABC suspension tuning
button
225
5
Tow-away alarm switch
98
6
Retractable hardtop
open/close switch with
buttons for roll bar
199,
81
Item
Page
7
ABC vehicle level control
button
225
8
ESP
® switch
91
9
Thumbwheel for setting fol-
lowing distance for
Distronic*
221
a
Distance warning function*
on/off switch
224
b
Program mode selector
switch for automatic trans-
mission
177
Page 36 of 473
35 At a glance
Storage compartments
Item
Page
1
Glove box
233
2
Passenger seat storage
compartment
234
First aid kit
388
3
Door storage compart-
ment
233
4
Rear storage compart-
ment, passenger side
235
CD changer
235
5
Side storage compartment
in trunk, parcel net
237
6
TrunkVehicle tool kit, jack, spare
wheel
388
Load assist
241
Luggage cover
205
Trunk load
443
Load limit
288
Item
Page
7
Navigation computer (re-
fer to separate Operator’s
Manual)
8
Rear storage compart-
ment, driver’s side
235
9
Door storage compart-
ment
233
a
Driver’s seat storage com-
partment
234
b
Parcel net in passenger
footwell
236
c
Armrest storage compart-
ment
234
Armrest storage tray
234
d
Luggage straps
237
Page 37 of 473
36 At a glanceDoor control panel
Item
Page
1
Inside door handle
111
2
Switches for opening/clos-
ing door and rear side win-
dows
196
3
Storing seat, mirror and
steering wheel settings
(Memory function)
126
4
Seat heating switch
123
Seat ventilation* switch
125
5
Seat adjustment switch
42,
121
6
Remote trunk opening
switch
112
Remote trunk open-
ing/closing* switch
113
Page 43 of 473

42 Getting startedAdjusting
Seats
Warning!
G
All seat, head restraint, steering wheel, and
rear view mirror adjustments, as well as fas-
tening of seat belts, must be done before
the vehicle is put into motion.
Warning!
G
Do not adjust the driver’s seat while driving.
Adjusting the seat while driving could cause
the driver to lose control of the vehicle.
Never ride in a moving vehicle with the seat
backrest in an excessively reclined position
as this can be dangerous. You could slide
under the seat belt in a collision. If you slide
under it, the belt would apply force at the ab-
domen or neck. That could cause serious or
fatal injuries. The seat backrest and seat
belts provide the best restraint when the
wearer is in a nearly upright position and
belts are properly positioned on the body.
Your seat must be adjusted so that you can
correctly fasten your seat belt (
�page 49).
Never place hands under the seat or near
any moving parts while a seat is being ad-
justed.
Warning!
G
When leaving the vehicle, always remove the
SmartKey or the SmartKey with
KEYLESS-GO* from the starter switch, take
it with you, and lock the vehicle.
Even with the SmartKey or the SmartKey
with KEYLESS-GO* removed from the start-
er switch or the SmartKey with
KEYLESS-GO* removed from the vehicle,
the power seats can be operated when the
respective door is open. Therefore, do not
leave children unattended in the vehicle, or
with access to an unlocked vehicle. Unsu-
pervised use of vehicle equipment may
cause an accident and/or serious personal
injury.
Page 44 of 473

43 Getting started
Adjusting
Seat adjustment
The seat adjustment switch is located in
the door.
1Head restraint height
2Seat height
3Seat cushion tilt
4Seat cushion depth
5Seat fore and aft adjustment
6Seat backrest tilt�
Switch on the ignition (
�page 39).
or
�
Open the respective door.Seat fore and aft adjustment
�
Press the switch forward or backward
in direction of arrow 5.
Adjust seat to a comfortable seating
position that still allows you to reach
the accelerator / brake pedal safely.
The position should be as far to the rear
as possible, consistent with ability to
properly operate controls.
Warning!
G
Children 12 years old and under must be
seated and properly secured in an appropri-
ate infant or child restraint recommended
for the size and weight of the child.
The infant or child restraint must be properly
secured with the vehicle’s seat belt fully in
accordance with the child seat manufactur-
er’s instructions.
A child’s risk of serious or fatal injuries is
significantly increased if the child restraints
are not properly secured in the vehicle and
the child is not properly secured in the child
restraint.
i
The memory function (
�page 126) lets you
store the settings for the seat position together
with the settings for the steering wheel and the
exterior rear view mirrors.
!
When moving the seats, make sure there are
no items in the footwell or behind the seats.
Otherwise you could damage the seats.
Page 45 of 473

44 Getting startedAdjustingSeat height�
Press the switch up or down in
direction of arrow2.
Seat cushion tilt
�
Press the switch up or down in
direction of arrow3 until your upper
legs are lightly supported.
Seat cushion depth
�
Press the switch forward or backward
in direction of arrow4 until your legs
are supported comfortably.
Seat backrest tilt
�
Press the switch forward or backward
in direction of arrow6 until your arms
are slightly angled when holding the
steering wheel.Head restraint height
�
Press the switch up or down in
direction of arrow1.Head restraint tilt
Manually adjust the angle of the head re-
straint.
�
Push or pull on the lower edge of the
head restraint cushion.
For more information on seats, see “Seats”
(
�page 121).
Warning!
G
For your protection, drive only with properly
positioned head restraints.
Adjust head restraint so that it is as close to
the head as possible and the center of the
head restraint supports the back of the head
at eye level. This will reduce the potential for
injury to the head and neck in the event of
an accident or similar situation.
Do not drive the vehicle without the seat
head restraints. Head restraints are intend-
ed to help reduce injuries during an acci-
dent.i
When moving the seat fore or aft after ad-
justing the head restraints, the head restraints
may readjust automatically.