Page 121 of 473
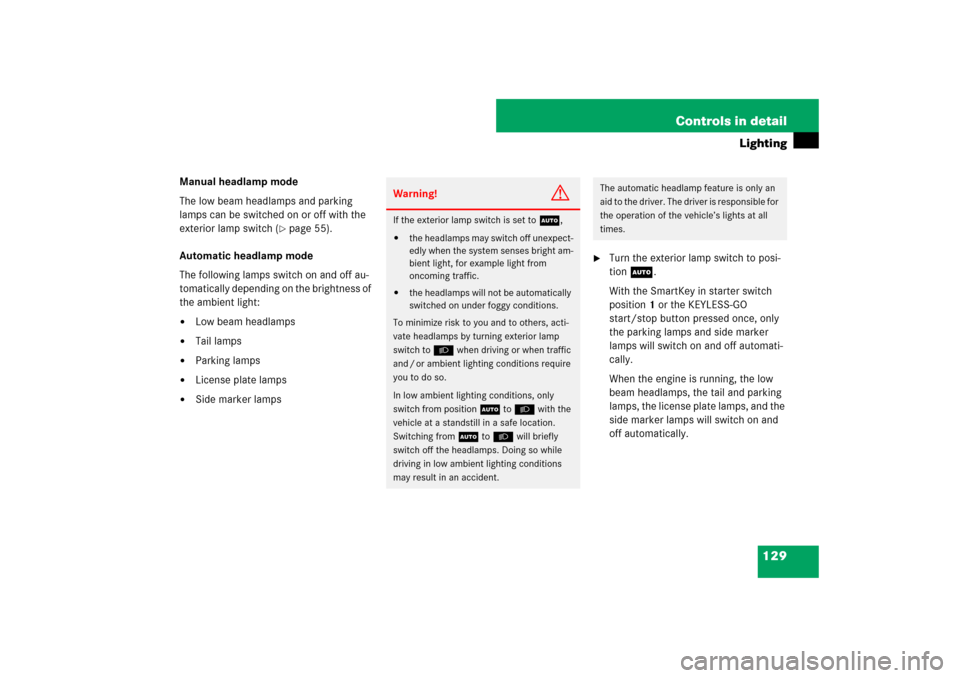
120 Controls in detailLocking and unlockingLocking�
Press central locking switch1.
If all the doors are closed, the vehicle
locks.
Unlocking
�
Press central unlocking switch2.
The vehicle unlocks.
i
If the vehicle was previously centrally locked
using the SmartKey or the SmartKey with
KEYLESS-GO*, it will not unlock using the central
locking switch.
If the vehicle was previously locked with the cen-
tral locking switch
�
while in the global remote control mode, the
complete vehicle is unlocked when a door is
opened from the inside
�
while in the selective remote control mode,
only the door opened from the inside is un-
locked
Page 129 of 473

128 Controls in detail LightingFor information on how to switch on the
headlamps and use the turn signals, see
“Switching on headlamps” (
�page 55)
and “Turn signals” (
�page 56).
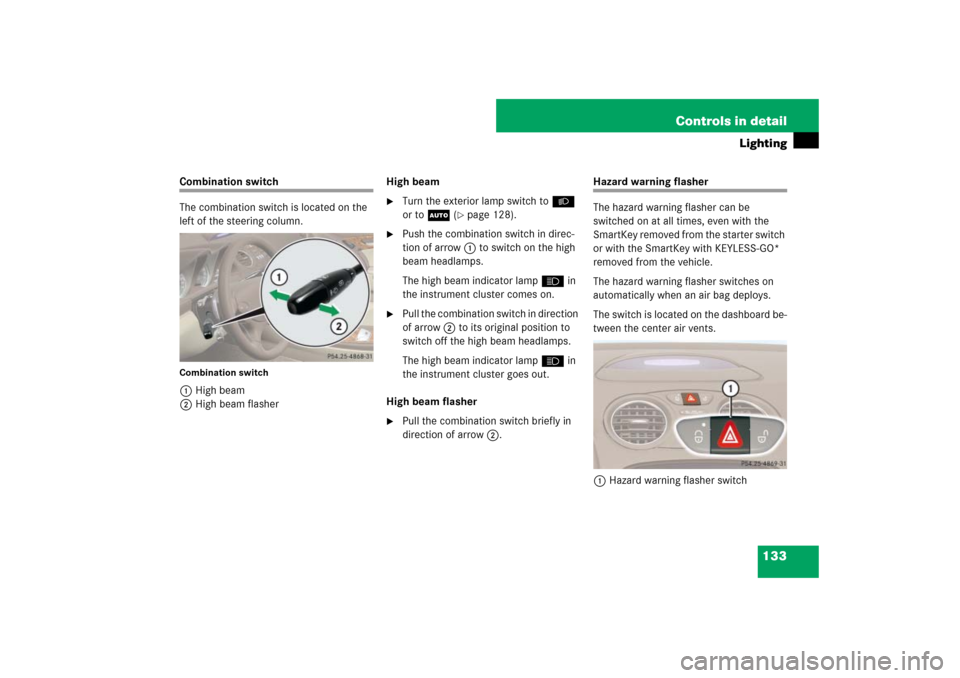
Exterior lamp switch
The exterior lamp switch is located on the
dashboard to the left of the steering wheel.
MOff
Daytime running lamp mode
(
�page 130)
UAutomatic headlamp mode
Daytime running lamp mode
(�page 130)
CParking lamps (also tail lamps, li-
cense plate lamps, side marker
lamps, instrument panel lamps)Canada only: When the engine is
running, the low beam headlamps
are also switched on.
BLow beam headlamps (or high
beam headlamps when the combi-
nation switch is pushed forward)
and parking lamps
ˆStanding lamps, right (turn left one
stop)
‚Standing lamps, left (turn left two
stops)
CIndicator lamp for parking lamps
‡Indicator lamp for front fog lamps
†Indicator lamp for rear fog lamp
i
If you drive in countries where vehicles drive
on the other side of the road than the country in
which the vehicle is registered, you must have
the headlamps modified for symmetrical low
beams. Relevant information can be obtained at
any authorized Mercedes-Benz Center.
i
With the SmartKey removed from the starter
switch or the engine turned off with
KEYLESS-GO* and the driver’s door open, a
warning sounds if the parking lamps or the low
beam headlamps are switched on.
The message $
Turn off lamps
appears in
the multifunction display.
Page 130 of 473

129 Controls in detail
Lighting
Manual headlamp mode
The low beam headlamps and parking
lamps can be switched on or off with the
exterior lamp switch (
�page 55).
Automatic headlamp mode
The following lamps switch on and off au-
tomatically depending on the brightness of
the ambient light:
�
Low beam headlamps
�
Tail lamps
�
Parking lamps
�
License plate lamps
�
Side marker lamps
�
Turn the exterior lamp switch to posi-
tion U.
With the SmartKey in starter switch
position1 or the KEYLESS-GO
start/stop button pressed once, only
the parking lamps and side marker
lamps will switch on and off automati-
cally.
When the engine is running, the low
beam headlamps, the tail and parking
lamps, the license plate lamps, and the
side marker lamps will switch on and
off automatically.
Warning!
G
If the exterior lamp switch is set toU,�
the headlamps may switch off unexpect-
edly when the system senses bright am-
bient light, for example light from
oncoming traffic.
�
the headlamps will not be automatically
switched on under foggy conditions.
To minimize risk to you and to others, acti-
vate headlamps by turning exterior lamp
switch to B when driving or when traffic
and / or ambient lighting conditions require
you to do so.
In low ambient lighting conditions, only
switch from position U to B with the
vehicle at a standstill in a safe location.
Switching from U to B will briefly
switch off the headlamps. Doing so while
driving in low ambient lighting conditions
may result in an accident.
The automatic headlamp feature is only an
aid to the driver. The driver is responsible for
the operation of the vehicle’s lights at all
times.
Page 134 of 473

133 Controls in detail
Lighting
Combination switch
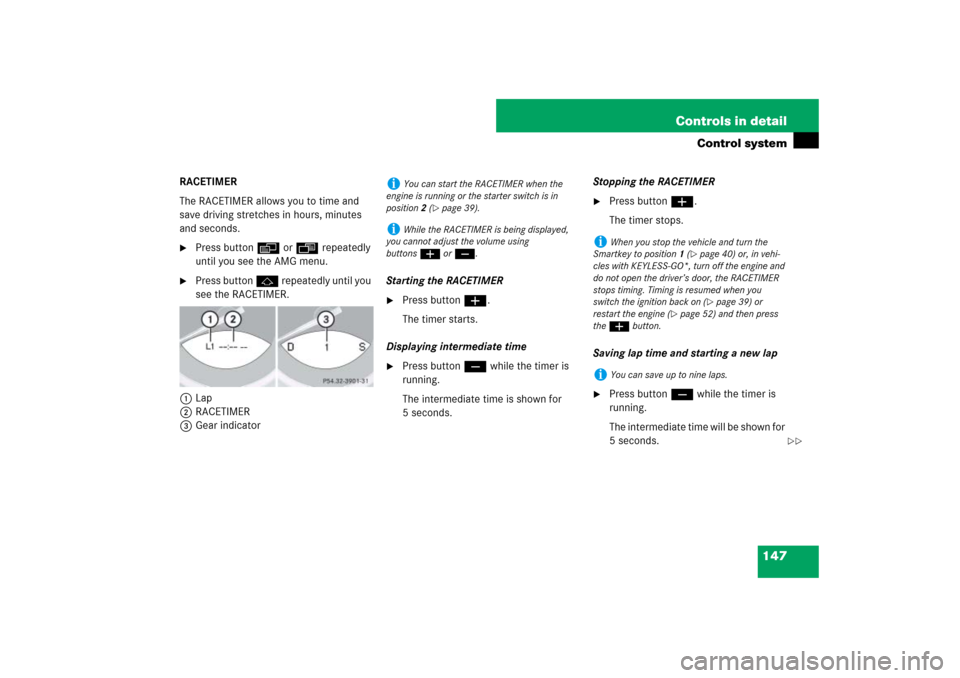
The combination switch is located on the
left of the steering column.Combination switch1High beam
2High beam flasherHigh beam
�
Turn the exterior lamp switch toB
or toU (
�page 128).
�
Push the combination switch in direc-
tion of arrow1 to switch on the high
beam headlamps.
The high beam indicator lamp A in
the instrument cluster comes on.
�
Pull the combination switch in direction
of arrow 2 to its original position to
switch off the high beam headlamps.
The high beam indicator lamp A in
the instrument cluster goes out.
High beam flasher
�
Pull the combination switch briefly in
direction of arrow2.
Hazard warning flasher
The hazard warning flasher can be
switched on at all times, even with the
SmartKey removed from the starter switch
or with the SmartKey with KEYLESS-GO*
removed from the vehicle.
The hazard warning flasher switches on
automatically when an air bag deploys.
The switch is located on the dashboard be-
tween the center air vents.
1Hazard warning flasher switch
Page 140 of 473

139 Controls in detail
Control system
�Control system
The control system is activated as soon
as the SmartKey in the starter switch is
turned to position1 or as soon as the
KEYLESS-GO start/stop button is in
position 1. The control system enables
you to�
call up information about your vehicle
�
change vehicle settings
For example, you can use the control sys-
tem to find out when your vehicle is next
due for service, to set the language for
messages in the instrument cluster dis-
play, and much more.
The control system relays information to
the multifunction display.
Multifunction display
The multifunction display consists of the
display fields in the speedometer and the
tachometer. In its default state, the left
multifunction display shows the main
odometer and the outside temperature,
while the trip odometer appears in the
right multifunction display. This default
setting is referred to as the standard
display.
1Main odometer
2Outside temperature
3Current gear selector lever position
4Trip odometer
5Automatic transmission program mode
Warning!
G
A driver’s attention to the road and traffic
conditions must always be his /her primary
focus when driving.
For your safety and the safety of others,
selecting features through the multifunction
steering wheel should only be done by the
driver when traffic and road conditions per-
mit it to be done safely.
Bear in mind that at a speed of just
30 mph (approximately 50 km / h), your
vehicle is covering a distance of 44 feet
(approximately 14 m) every second.
Page 148 of 473

147 Controls in detail
Control system
RACETIMER
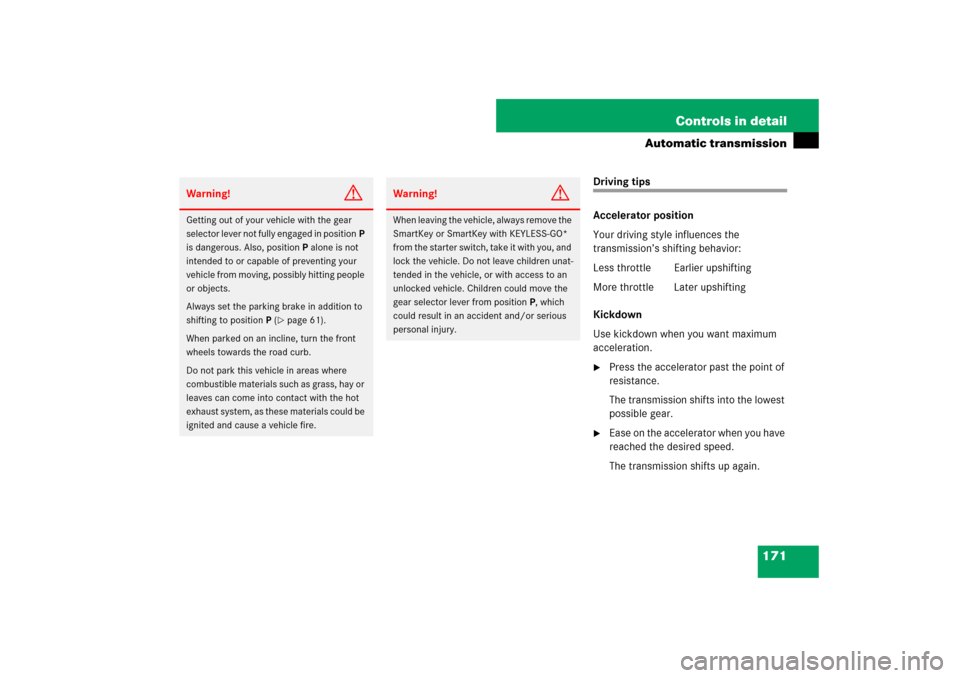
The RACETIMER allows you to time and
save driving stretches in hours, minutes
and seconds.�
Press button è or ÿ repeatedly
until you see the AMG menu.
�
Press button j repeatedly until you
see the RACETIMER.
1Lap
2RACETIMER
3Gear indicatorStarting the RACETIMER
�
Press button æ.
The timer starts.
Displaying intermediate time
�
Press button ç while the timer is
running.
The intermediate time is shown for
5 seconds.Stopping the RACETIMER
�
Press button æ.
The timer stops.
Saving lap time and starting a new lap
�
Press button ç while the timer is
running.
The intermediate time will be shown for
5 seconds.
i
You can start the RACETIMER when the
engine is running or the starter switch is in
position2 (
�page 39).
i
While the RACETIMER is being displayed,
you cannot adjust the volume using
buttonsæ or ç.
i
When you stop the vehicle and turn the
Smartkey to position 1 (
�page 40) or, in vehi-
cles with KEYLESS-GO*, turn off the engine and
do not open the driver’s door, the RACETIMER
stops timing. Timing is resumed when you
switch the ignition back on (�page 39) or
restart the engine (
�page 52) and then press
the æbutton.
i
You can save up to nine laps.
��
Page 154 of 473

153 Controls in detail
Control system
Should the vehicle’s system record any
conditions while driving, the number of
messages will reappear in the multifunc-
tion display�
when the SmartKey in the starter
switch is turned to position0 or re-
moved from the starter switch
or
�
when you turn off the engine by press-
ing the KEYLESS-GO* start/stop but-
ton on the gear selector lever once and
open the driver’s door (this puts the
starter switch in position 0, same as
with the SmartKey removed from the
starter switch)
Settings menu
In the
Settings
menu there are two func-
tions:
�
The function
Reset
, with which you can
reset most settings to those set at the
factory.
�
A collection of submenus with which
you can make individual settings for
your vehicle.
The following settings and submenus are
available:Resetting all settings
You can reset the functions of most of the
submenus to the factory settings.
For safety, the
Light circuit Headlamp
mode
submenu in the
Lighting
menu can
be reset with the vehicle at standstill only.
�
Press button è or ÿ repeatedly
until the
Settings...
menu appears in
the multifunction display.
i
The vehicle status message memory will be
cleared when you then turn the SmartKey in the
starter switch to position 1 or 2, or when you
press the KEYLESS-GO* start/stop button once
or twice without depressing the brake pedal. You
will then only see high priority messages in the
multifunction display (
�page 347).
Function
Page
Resetting all settings
153
Submenus in the Settings menu
154
Instrument cluster submenu
156
Time submenu
157
Lighting submenu
159
Vehicle submenu
162
Convenience submenu
162
��
Page 172 of 473

171 Controls in detail
Automatic transmission
Driving tips
Accelerator position
Your driving style influences the
transmission’s shifting behavior:
Less throttle Earlier upshifting
More throttle Later upshifting
Kickdown
Use kickdown when you want maximum
acceleration.�
Press the accelerator past the point of
resistance.
The transmission shifts into the lowest
possible gear.
�
Ease on the accelerator when you have
reached the desired speed.
The transmission shifts up again.
Warning!
G
Getting out of your vehicle with the gear
selector lever not fully engaged in positionP
is dangerous. Also, positionP alone is not
intended to or capable of preventing your
vehicle from moving, possibly hitting people
or objects.
Always set the parking brake in addition to
shifting to positionP (
�page 61).
When parked on an incline, turn the front
wheels towards the road curb.
Do not park this vehicle in areas where
combustible materials such as grass, hay or
leaves can come into contact with the hot
exhaust system, as these materials could be
ignited and cause a vehicle fire.
Warning!
G
When leaving the vehicle, always remove the
SmartKey or SmartKey with KEYLESS-GO*
from the starter switch, take it with you, and
lock the vehicle. Do not leave children unat-
tended in the vehicle, or with access to an
unlocked vehicle. Children could move the
gear selector lever from positionP, which
could result in an accident and/or serious
personal injury.