Page 624 of 705

623 Practical hints
Replacing bulbs
Notes on bulb replacement
�
Only use 12-volt-bulbs of the same
type and with the specified watt rating.
�
Switch lights off before changing a bulb
to prevent short circuits.
�
Always use a clean lint-free cloth when
handling bulbs.
�
Your hands should be dry and free of oil
and grease.
�
If the newly installed bulb does not
come on, visit an authorized
Mercedes-Benz Center.
Have the LEDs and bulbs for the following
lamps replaced by an authorized
Mercedes-Benz Center.
�
the Bi-Xenon lamps
�
the front turn signal lamps
�
the front fog lamps
�
the additional turn signal lamps in the
exterior rear view mirrors
�
the parking and standing lamps
�
the front side marker lamps
�
the high mounted brake lamps
�
the brake, tail and rear standing lamps
�
the rear side marker lamps
�
the rear fog lamp
�
the rear turn signal lamps
�
the rear side marker lamps
�
the license plate lamps
Replacing bulbs for front lamps
Before you start to replace a bulb for a
front lamp, do the following first:�
Turn the exterior lamp switch to M
(�page 342).
�
Open the hood (
�page 492) (except
for side marker lamps).
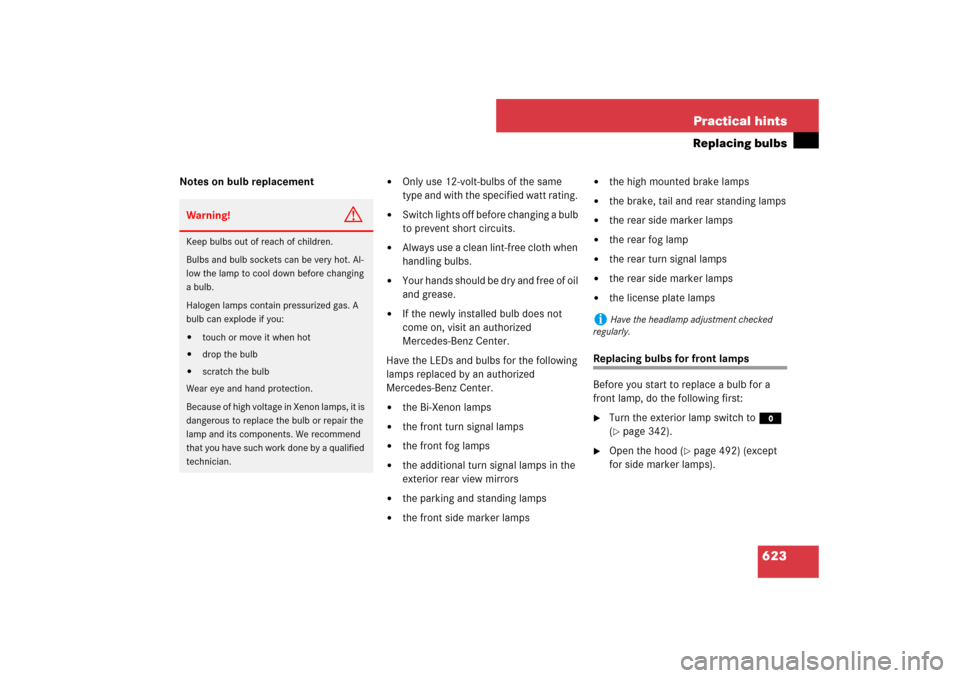
Warning!
G
Keep bulbs out of reach of children.
Bulbs and bulb sockets can be very hot. Al-
low the lamp to cool down before changing
a bulb.
Halogen lamps contain pressurized gas. A
bulb can explode if you:�
touch or move it when hot
�
drop the bulb
�
scratch the bulb
Wear eye and hand protection.
Because of high voltage in Xenon lamps, it is
dangerous to replace the bulb or repair the
lamp and its components. We recommend
that you have such work done by a qualified
technician.
i
Have the headlamp adjustment checked
regularly.
Page 627 of 705

626 Practical hintsReplacing bulbs�
Insert bulb holder1 into guide in
headlamp. Wire2 must point down-
ward and to the right.
�
Turn bulb holder1 clockwise until it
engages and wire2 points downward
and to the left.
Corner-illuminating lamp
1Bulb holder
2Grip
3Wire position
�
Turn cover3 (
�page 624) counter-
clockwise and remove it.
�
Turn bulb holder1 counterclockwise
until it disengages.
�
Take out bulb holder1.
�
Take bulb out of holder.
�
Insert new bulb into holder and press it
all the way down.
�
Insert bulb holder1 into guide in
headlamp.
The tab of the bulb holder must be po-
sitioned on the upper left-hand side
and wire3 must point downward and
to the left for the left headlamp, up-
ward and to the right for the right head-
lamp.
�
Turn bulb holder1 clockwise until it
engages and grip2 is in a horizontal
position.Additional turn signal lamp bulbs
The additional turn signal lamps in the ex-
terior rear view mirrors have LEDs.
If a malfunction occurs or LEDs fail to func-
tion, the entire turn signal unit must be re-
placed. Have the turn signal unit replaced
by an authorized Mercedes-Benz Center.
Front side marker lamp bulbs
Since replacing the side marker lamp bulbs
is a technically highly demanding process,
we recommend you have the side marker
lamp bulbs replaced by an authorized
Mercedes-Benz Center.
��
Page 692 of 705

691 Index
Cruise control 559
DISTRONIC Plus* 560
Doors 590
EBP (Electronic Brake
Proportioning) 574
Engine 547
Engine oil 494, 602
ESP
®
572, 582
Fog lamps 598
Front passenger front air bag 562
Fuel cap 591
Gear selector lever 562, 566, 567,
569, 610
Headlamps 595
Hood 591
Key, SmartKey with
KEYLESS-GO* 592
Lamps, exterior 595
License plate lamps 597
Light sensor 596
Night View Assist* 601
Park Assist* 566
Parking brake 576
Parking lamps 599
PRE-SAFE®
567, 572
Restraint systems 605Side marker lamps 599
SRS 605
Tail lamps 600
Tele Aid 607
Trunk 610
Turn signals 596
Windshield washer fluid 610
Multifunction steering wheel 242, 675
N
Navigation system
Menu overview (COMAND) 147
Navigation system (COMAND) 140
Basic settings 150
Destination entry 153
Destination memory 195
Detour function (COMAND) 194
Driving maneuver 185
Hiding/showing the menu
system 148
Last destinations 201
Map display 148
Operation 148
POI entry 177
Route guidance 185Navigation system (Instrument cluster
control system) 246
Driving maneuver 247
Navigation system (Voice Control*) 269
Neutral gear position, Automatic
transmission 367, 370
New vehicle break-in 478
Night View Assist* 420
Cleaning the windshield in front of the
camera 539
Dirty or fogged-up windshield 422
Image on multifunction display 421
Malfunction 423
Messages in display 601
Removing condensation 422
Switching on or off 421
Normal occupant weight 527
Number, Vehicle Identification (VIN) 652
O
Occupant Classification System see OCS
Occupant distribution 527
Page 697 of 705

696 IndexShelf below rear window, Cleaning and
care of 542
Shift program mode, Automatic
transmission 374
Shifting, Automatic transmission 367
Side impact air bags 49
Side marker lamps
Cleaning lenses 537
Messages in display 599
Side windows see Power windows
Sidewall 527, 677
Sirius satellite radio* (COMAND) 98
SmartKey see Key, SmartKey
SmartKey with KEYLESS-GO* see Key,
SmartKey with KEYLESS-GO*
SMS messages 137
Snow chains 531
Spare fuses 646
Spare wheel see Minispare wheel
Speed
Setting current 381
Setting to last stored speed in DIS-
TRONIC Plus* (“Resume”
function) 395Speed settings
Cruise control 383
DISTRONIC Plus* 393, 394
To last stored speed (“Resume” func-
tion) in Cruise control 384
Speedometer
Displays 387
SRS 57, 677
Indicator lamp 552
Messages in display 605
Standing water, Driving through 485
Starter battery 636
Starter switch 315
Positions 315
Starting difficulties, Engine 360
Starting, Engine 359
Steering column 330
Steering wheel
Adjustment 330
Cleaning 542
Easy entry/exit feature 328
Heated steering wheel* 331
Power steering fluid 661
Steering wheel gearshift control
Automatic transmission 375Stolen Vehicle Recovery services 469
Storage compartments 448
Cup holder 452
Front armrest 448
Parcel net 449
Rear armrest 450
Ruffled storage pockets 451
Storage compartment in front of
armrest 448
Under the front seats 449
Storing tires 502
Summer opening feature 355
Sun visors 455
Sunroof see Power tilt/sliding sunroof
Sunshades
Extending or retracting rear window
sunshade (COMAND) 227
Extending/retracting rear window
sunshade 456
Opening or closing rear side window
sunshades 355
Supplemental Restraint System see SRS
Suspension tuning
Setting (ABC*) 403