Page 537 of 705

536 OperationVehicle careEngine cleaning
Prior to cleaning the engine compartment,
make sure to protect electrical compo-
nents and connectors from contact with
water and cleaning agents.
Corrosion protection, such as
MB Anticorrosion Wax, should be applied
to the engine compartment after every en-
gine cleaning. Before applying, all control
linkage bushings and joints should be lu-
bricated. The poly-V-belt and all pulleys
should be protected from any wax.
Vehicle washing
In the winter, thoroughly remove all traces
of road salt as soon as possible.
When washing the vehicle underbody, do
not forget to clean the inner sides of the
wheels.Hand-wash
Do not use hot water or wash your vehicle
in direct sunlight.
�
Only use a mild car wash detergent,
such as Mercedes-Benz approved Car
Shampoo.
�
Thoroughly spray the vehicle with a dif-
fused jet of water.
Direct only a very weak spray towards
the ventilation intake.
�
Use plenty of water and rinse the
sponge and chamois frequently.
�
Rinse with clean water and thoroughly
dry with a chamois.
Do not allow cleaning agents to dry on
the finish.
Automatic car wash
You can have your vehicle washed in an au-
tomatic car wash from the start. Automatic
car washes without brushes are prefera-
ble.If the vehicle is very dirty, prewash it be-
fore running it through the automatic car
wash.
i
Vehicles with KEYLESS-GO*:
If a door handle is hit by a strong jet of water, and
a SmartKey with KEYLESS-GO* is in close prox-
imity, i.e. within approximately 3 ft (approxi-
mately 1 m), the vehicle could be inadvertently
locked or unlocked.
!
Do not clean your vehicle in an automatic
touchless car wash which uses caustic spray.
Otherwise the caustic spray will damage the
paint or ornamental moldings.
!
Due to the width of the vehicle, fold in
exterior rear view mirrors prior to running the ve-
hicle through an automatic car wash to prevent
damage to the mirrors.
Make sure that the windshield wiper switch is set
to0 (�page 351). Otherwise, the rain sensor
could activate and cause the wipers to move un-
intentionally. This may lead to vehicle damage.
i
After running the vehicle through an auto-
matic car wash, wipe any wax off of the wind-
shield (
�page 540). This will prevent smears
and reduce wiping noise which can be caused by
residual wax on the windshield.
When leaving the car wash, make sure that the
mirrors are folded out. Otherwise they may vi-
brate.
Page 541 of 705
.
�
Make sure the vehicle’s on-board elec")
540 OperationVehicle careCleaning the windows and the wiper
blades�
Make sure the hood is fully closed.
�
Place wiper arms in vertical position
(�page 627).
�
Make sure the vehicle’s on-board elec-
tronics have status 0 (
�page 315).
�
Fold the wiper arms forward until they
snap into place.
�
Clean the wiper blade inserts with a
clean cloth and detergent solution.
�
Use a soft, clean cloth and a mild win-
dow cleaning solution on all outside
and inside glass surfaces.
An automotive glass cleaner is recom-
mended.
!
If the windshield wipers leave smears on the
windshield after the vehicle has been driven
through an automatic car wash, wax or other res-
idue is on the windshield. Clean the windshield
with washer fluid shortly after cleaning the car in
an automatic car wash (
�page 352).
!
The windshield wipers must be in a vertical
position before folding them away from the wind-
shield. They could otherwise damage the hood.
Never open the hood when the wiper arms are
folded forward.
Warning!
G
For safety reasons, switch off wipers and re-
move SmartKey from starter switch (vehi-
cles with KEYLESS-GO*: Make sure the
vehicle’s on-board electronics have
status0) before cleaning the windshield
and/or the wiper blades. Otherwise, the
wiper motor could suddenly turn on and
cause injury.!
While doing so, only touch the wiper arm so
as not to damage the wiper blade inserts.
!
Fold the windshield wiper arms back onto
the windshield before turning the SmartKey in
the starter switch or pressing the KEYLESS-GO*
start/stop button (vehicles with KEYLESS-GO*).
Hold on to the wiper when folding the wiper arm
back. If released, the force of the impact from
the tensioning spring could crack the windshield.
!
To clean the window interior, do not use a
dry cloth, abrasives, solvents or cleaners con-
taining solvents. Do not touch the inside of the
front, rear or side windows with hard objects
such as an ice scraper or ring. Doing so may
damage the windows.
Page 593 of 705

592 Practical hintsWhat to do if …?Display
Possible cause/consequence
Possible solution
Key
not recognized
The SmartKey with KEYLESS-GO* is not
recognized while the engine is running be-
cause the SmartKey with KEYLESS-GO* is
not in the vehicle.
�
Stop the vehicle in a safe location as soon as
it is safe to do so.
�
Search for the SmartKey.
Otherwise the vehicle cannot be centrally
locked nor can the engine be started again
after the engine is stopped.
The SmartKey with KEYLESS-GO* is not
recognized while the engine is running be-
cause there is strong radio-frequency inter-
ference.
�
Stop the vehicle in a safe location as soon as
it is safe to do so.
�
Remove KEYLESS-GO* button from over
starter switch (
�page 316).
�
Operate the vehicle with the SmartKey in the
starter switch.
The SmartKey with KEYLESS-GO* is mo-
mentarily not recognized.
�
Change the position of the SmartKey in the
vehicle.
�
If necessary, operate vehicle using SmartKey
with KEYLESS-GO* in starter switch under
KEYLESS-GO* button (
�page 316).
Page 594 of 705
593 Practical hints
What to do if …?
Display
Possible cause/consequence
Possible solution
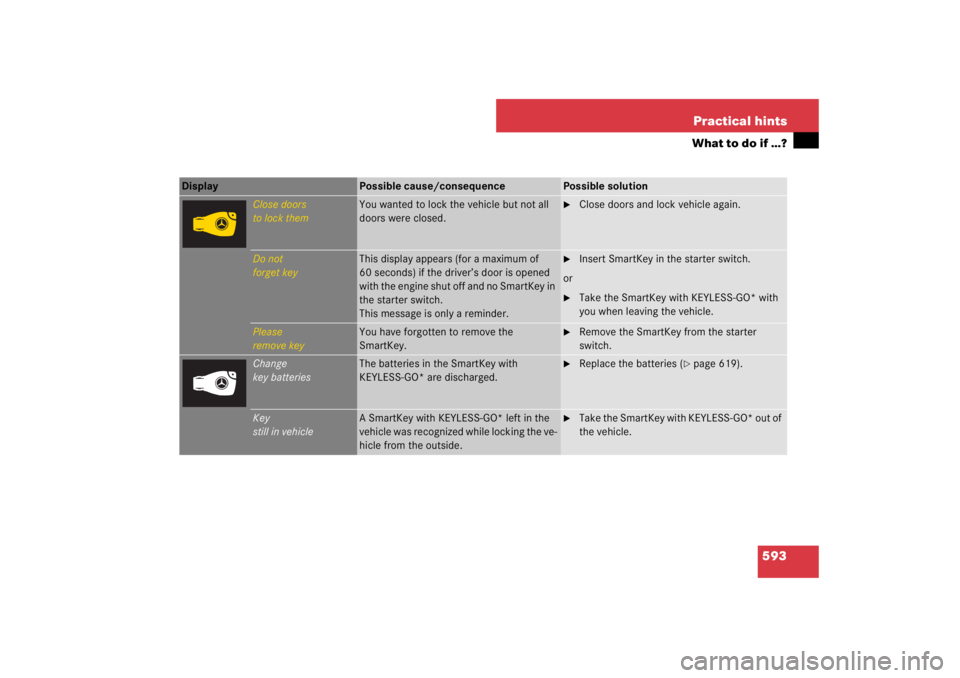
Close doors
to lock them
You wanted to lock the vehicle but not all
doors were closed.
�
Close doors and lock vehicle again.
Do not
forget key
This display appears (for a maximum of
60 seconds) if the driver’s door is opened
with the engine shut off and no SmartKey in
the starter switch.
This message is only a reminder.
�
Insert SmartKey in the starter switch.
or
�
Take the SmartKey with KEYLESS-GO* with
you when leaving the vehicle.
Please
remove key
You have forgotten to remove the
SmartKey.
�
Remove the SmartKey from the starter
switch.
Change
key batteries
The batteries in the SmartKey with
KEYLESS-GO* are discharged.
�
Replace the batteries (
�page 619).
Key
still in vehicle
A SmartKey with KEYLESS-GO* left in the
vehicle was recognized while locking the ve-
hicle from the outside.
�
Take the SmartKey with KEYLESS-GO* out of
the vehicle.
Page 595 of 705
594 Practical hintsWhat to do if …?Display
Possible cause/consequence
Possible solution
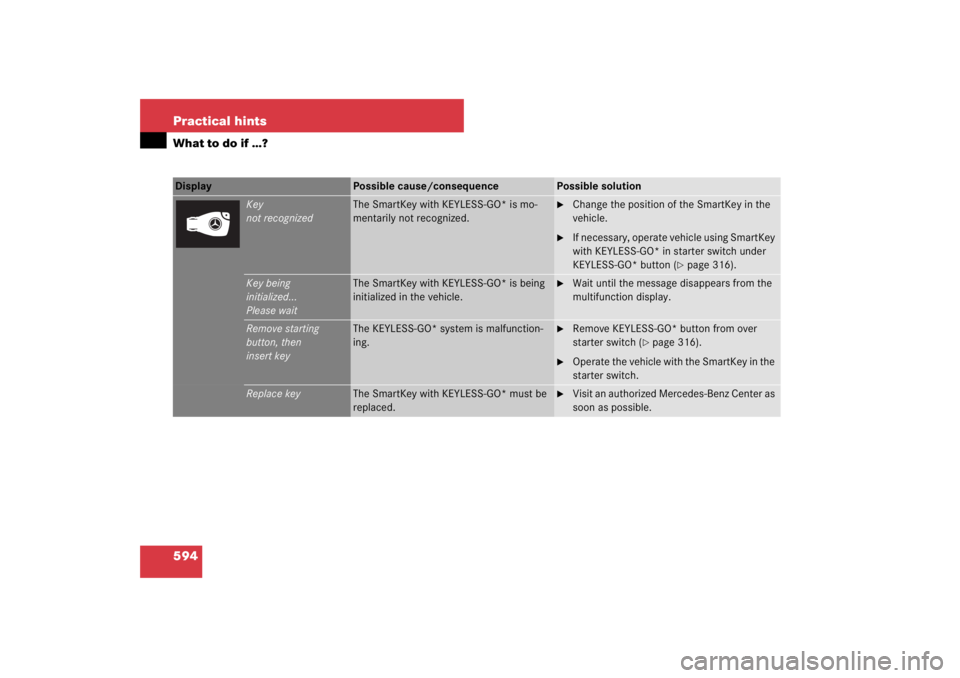
Key
not recognized
The SmartKey with KEYLESS-GO* is mo-
mentarily not recognized.
�
Change the position of the SmartKey in the
vehicle.
�
If necessary, operate vehicle using SmartKey
with KEYLESS-GO* in starter switch under
KEYLESS-GO* button (
�page 316).
Key being
initialized…
Please wait
The SmartKey with KEYLESS-GO* is being
initialized in the vehicle.
�
Wait until the message disappears from the
multifunction display.
Remove starting
button, then
insert key
The KEYLESS-GO* system is malfunction-
ing.
�
Remove KEYLESS-GO* button from over
starter switch (
�page 316).
�
Operate the vehicle with the SmartKey in the
starter switch.
Replace key
The SmartKey with KEYLESS-GO* must be
replaced.
�
Visit an authorized Mercedes-Benz Center as
soon as possible.
Page 611 of 705
610 Practical hintsWhat to do if …?Display
Possible cause/consequence
Possible solution
Shift to 'P'
You have attempted to turn off the engine
with the KEYLESS-GO* start/stop button
and opened the driver’s door with the auto-
matic transmission not shift to positionP.
�
Shift the automatic transmission toP
(�page 367).
or
�
Close the driver’s door.
You are driving with the trunk open.
�
Close the trunk (
�page 437).
Washer fluid,
please refill
The water level has dropped to approx.
1.1 US qts (1.0 l).
�
Add washer fluid (
�page 498).
Page 615 of 705
614 Practical hintsUnlocking/locking in an emergencyUnlocking the vehicle
If you are unable to unlock the vehicle with
the SmartKey or KEYLESS-GO*, open the
driver’s door and the trunk using the me-
chanical key. Removing the mechanical key
1Mechanical key locking tab
2Mechanical key
�
Move locking tab1 in the direction of
arrow.
�
Slide mechanical key2 out of the
housing.Unlocking the driver’s door
1Unlocking
2Mechanical key
�
Insert mechanical key2 into the driv-
er’s door lock until it stops.
�
Turn mechanical key2 counterclock-
wise to position1.
The driver’s door is unlocked.
�
Pull door handle quickly.
The locking knob moves up.
�
Turn back mechanical key2 and re-
move.
�
Pull door handle again.
i
Unlocking the driver’s door and/or the trunk
with the mechanical key will trigger the anti-theft
alarm system (
�page 75).
To cancel the alarm, insert the SmartKey or
SmartKey with KEYLESS-GO* in the starter
switch.
Page 616 of 705
 is required to open the trunk lid.
1Trunk lid lock�
Insert the mechanical key")
615 Practical hints
Unlocking/locking in an emergency
Unlocking the trunk
A minimum height clearance of 5.9 ft.
(1.80 m) is required to open the trunk lid.
1Trunk lid lock�
Insert the mechanical key into the
trunk lid lock1 until it stops.
�
Turn mechanical key all the way to the
left.
The trunk opens.
�
Turn the mechanical key back and re-
move it from the trunk lid lock.
Locking the vehicle
If you cannot lock the vehicle with the
SmartKey or KEYLESS-GO*, do the follow-
ing:�
Close the front passenger door, the
rear right door and the trunk.
�
Open the driver’s door and the rear left
door.
�
Press the central locking switch on the
driver’s door (
�page 314).
The locking knobs of the front passen-
ger door and the rear doors move
down.
If the vehicle battery is disconnected or
drained:
�
Press down the locking knobs of
the front passenger door and the
rear doors manually.
�
Exit the vehicle.
�
Close the driver’s door.
�
Enter the vehicle through the rear left
door.
�
Press down the locking knob of the
driver’s door.
�
Exit the vehicle.
�
Close the rear left door.
The vehicle is locked.
!
The trunk lid swings open upwards automat-
ically. Always make sure that there is sufficient
overhead clearance.
!
To prevent inadvertent lockout, make sure
to have the SmartKey or SmartKey with KEY-
LESS-GO* with you before proceeding with the
next step. The next step will lock the vehicle.