Page 156 of 585

155 Controls in detail
Control system
�
Press buttonk orj repeatedly
until the coolant temperature appears
in the multifunction display.Calling up digital speedometer or
outside temperature
�
Press buttonk orj repeatedly
until the digital speedometer or the
outside temperature appears in the
multifunction display.
Digital speedometer
Outside temperature
!
Excessive coolant temperature triggers a
warning message in the multifunction display
(
�page 450).
The engine should not be operated with the
coolant temperature above 248°F (120°C).
Doing so may cause serious engine damage
which is not covered by the Mercedes-Benz
Limited Warranty.
i
During severe operating conditions, e.g.
stop-and-go traffic, the coolant temperature may
rise close to 248°F (120°C).
i
You can select whether the digital speedom-
eter or the outside temperature is shown in the
multifunction display.
You can change the setting in the submenu
Instr. cluster
via the function
Status line
display
, see “Selecting display (digital speed-
ometer or outside temperature) for status
indicator” (�page 168).
Page 165 of 585

164 Controls in detailControl systemShould the vehicle’s system record any
conditions while driving, the number of
messages will reappear in the multifunc-
tion display�
when the SmartKey in the starter
switch is turned to position0 or
removed from the starter switch.
or
�
when you turn off the engine by
pressing the KEYLESS-GO* start/stop
button (
�page 67) in the starter
switch once and open the driver’s door
(this puts the starter switch in
position0, same as with the SmartKey
removed from the starter switch)
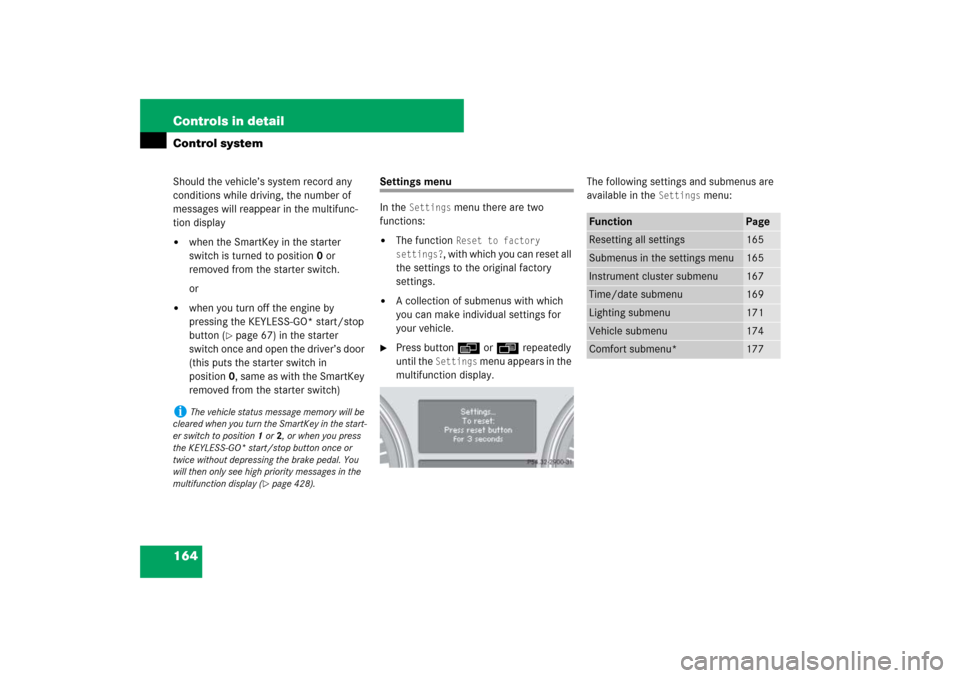
Settings menu
In the
Settings
menu there are two
functions:
�
The function
Reset to factory
settings?
, with which you can reset all
the settings to the original factory
settings.
�
A collection of submenus with which
you can make individual settings for
your vehicle.
�
Press buttonè orÿ repeatedly
until the
Settings
menu appears in the
multifunction display.The following settings and submenus are
available in the
Settings
menu:
i
The vehicle status message memory will be
cleared when you turn the SmartKey in the start-
er switch to position1 or2, or when you press
the KEYLESS-GO* start/stop button once or
twice without depressing the brake pedal. You
will then only see high priority messages in the
multifunction display (
�page 428).
Function
Page
Resetting all settings
165
Submenus in the settings menu
165
Instrument cluster submenu
167
Time/date submenu
169
Lighting submenu
171
Vehicle submenu
174
Comfort submenu*
177
Page 166 of 585

165 Controls in detail
Control system
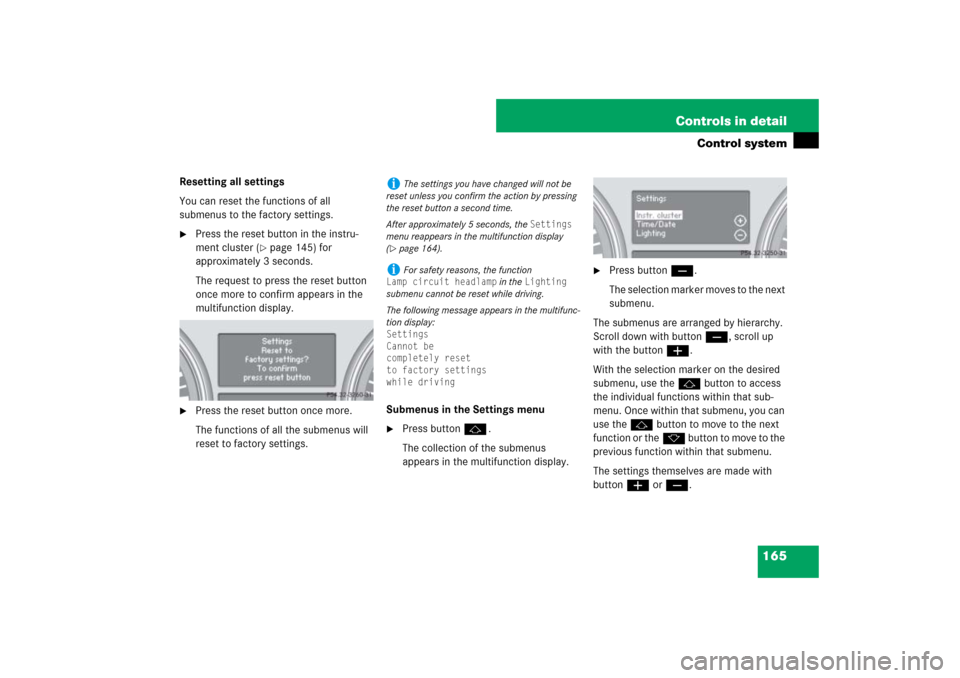
Resetting all settings
You can reset the functions of all
submenus to the factory settings.�
Press the reset button in the instru-
ment cluster (
�page 145) for
approximately 3 seconds.
The request to press the reset button
once more to confirm appears in the
multifunction display.
�
Press the reset button once more.
The functions of all the submenus will
reset to factory settings.Submenus in the Settings menu
�
Press buttonj.
The collection of the submenus
appears in the multifunction display.
�
Press buttonç.
The selection marker moves to the next
submenu.
The submenus are arranged by hierarchy.
Scroll down with buttonç, scroll up
with the buttonæ.
With the selection marker on the desired
submenu, use the jbutton to access
the individual functions within that sub-
menu. Once within that submenu, you can
use thej button to move to the next
function or thek button to move to the
previous function within that submenu.
The settings themselves are made with
buttonæ orç.
i
The settings you have changed will not be
reset unless you confirm the action by pressing
the reset button a second time.
After approximately 5 seconds, the
Settings
menu reappears in the multifunction display
(
�page 164).
i
For safety reasons, the function
Lamp circuit headlamp
in the
Lighting
submenu cannot be reset while driving.
The following message appears in the multifunc-
tion display:
Settings
Cannot be
completely reset
to factory settings
while driving
Page 167 of 585
166 Controls in detailControl systemThe table below shows what settings can
be changed within the various menus.
Detailed instructions on making individual
settings can be found on the following
pages.INSTRUMENT CLUSTER
TIME/DATE
LIGHTING
VEHICLE
COMFORT*
(�page 167)
(�page 169)
(�page 171)
(�page 174)
(�page 177)
Selecting speedometer
display mode
Setting the time (hours)
Setting daytime running
lamp mode (USA only)
Compass adjustment
Activating
easy-entry/exit
feature*
Selecting language
Setting the time (minutes)
Setting locator lighting
Compass calibration
Setting fold-in func-
tion* for exterior rear
view mirrors
Selecting display (digital
speedometer or outside
temperature) for status in-
dicator
Setting the date (month)
Setting night security
illumination
Audio search function
Setting the date (day)
Setting interior lighting
delayed shut-off
Setting automatic
locking
Setting the date (year)
Limiting opening
height of tailgate*
Page 168 of 585

167 Controls in detail
Control system
Instrument cluster submenu
Access the
Instr. cluster
submenu via
the
Settings
menu. Use the
Instr.
cluster
submenu to change the instru-
ment cluster display settings.
The following functions are available:Selecting speedometer display mode
�
Move the selection marker with
buttonæ orç to the
Instr.
cluster
submenu.
�
Press buttonj ork repeatedly
until the message
Display unit
Digital speedometer
appears in the
multifunction display.
The selection marker is on the current
setting.
�
Press buttonæ or ç to set
speedometer unit to
km or
miles
.Selecting language
�
Move the selection marker with
buttonæ orç to the
Instr.
cluster
submenu.
�
Press buttonj ork repeatedly
until the message
Language
appears in
the multifunction display.
The selection marker is on the current
setting.
�
Press buttonæ orç to select
the language to be used for the
multifunction display messages.
Function
Page
Selecting speedometer display
mode
167
Selecting language
167
Selecting display (digital
speedometer or outside
temperature) for status indica-
tor
168
��
Page 169 of 585
168 Controls in detailControl system
Available languages:�
German
�
English
�
French
�
Italian
�
Spanish
�
Dutch
�
Swedish
�
Danish
�
Turkish
�
Portuguese
�
Russian (Canada only)Selecting display (digital speedometer
or outside temperature) for status
indicator
�
Move the selection marker with
buttonæ orç to the
Instr.
cluster
submenu.
�
Press buttonj ork repeatedly
until the message
Status line
display
appears in the multifunction
display.
The selection marker is on the current
setting.
�
Press buttonæ orç to select
the desired setting.
The selected display is then shown
continuously in the status indicator
(lower display).
The other display now appears in the
menu of the standard display
(�page 154):
�
Digital speedometer
or
�
Outside temperature
��
Page 182 of 585

181 Controls in detail
Control system
Resetting fuel consumption statistics�
Press buttonÿ orè repeatedly
until the message
From start
appears
in the multifunction display.
�
Press and hold the reset button in the
instrument cluster (
�page 145) until
the value is reset to 0.
Fuel consumption statistics since the
last reset
�
Press buttonÿ orè repeatedly
until the message
From start
appears
in the multifunction display.
�
Press buttonj ork repeatedly
until the message
After reset
appears
in the multifunction display.1Distance driven since last reset
2Time elapsed since last reset
3Average speed since last reset
4Average fuel consumption since last
reset
Resetting fuel consumption statistics
manually
�
Press buttonÿ orè repeatedly
until the message
From start
appears
in the multifunction display.
�
Press buttonj ork repeatedly
until the message
After reset
appears
in the multifunction display.
�
Press and hold the reset button in the
instrument cluster (
�page 145) until
the value is reset to 0.Distance to empty
�
Press buttonÿ orè repeatedly
until the message
From start
appears
in the multifunction display.
�
Press buttonj ork repeatedly
until the message
Range:
appears in
the multifunction display.
The calculated remaining driving range
based on the current fuel tank level
appears in the multifunction display.
i
The fuel consumption statistics reset auto-
matically to 0 when either of the following values
is exceeded:
�
distance covered: 100 000 miles
�
time elapsed: 10 000 hours
Page 255 of 585

254 Controls in detailDriving systemsIf Distronic calculates that there is a dan-
ger of collision:�
The distance warning lampl in the
instrument cluster comes on
(�page 27).
�
An intermittent warning sounds.
�
Immediately apply the brake to avoid a
collision.
Under no circumstances should the
driver await the intermittent warning
sound before braking. See the follow-
ing warning note.
The intermittent warning sound ceases
and the distance warning lampl
goes out when the necessary distance
to the vehicle ahead is again estab-
lished.
Warning!
G
An intermittent warning sounds and the
distance warning lampl in the instru-
ment cluster is illuminated if the Distronic
system calculates that the distance to the
vehicle ahead and your vehicle’s current
speed indicate that Distronic will not be ca-
pable of slowing the vehicle sufficiently to
maintain the preset following distance,
which creates a danger of a collision.
Immediately brake the vehicle to increase
your distance to the preceding vehicle. The
warning sound is intended as a final caution
in which you should intercede with your own
braking inputs to avoid a potentially danger-
ous situation. Do not wait for the operation
of the warning signal to intercede with your
own braking. This will result in potentially
dangerous emergency braking which will
not always result in an impact being avoid-
ed.
Tailgating increases the risk of an accident.
Warning!
G
Distronic brakes your vehicle with a maxi-
mum deceleration of 6.5 ft/s
2 (2 m/s
2). This
corresponds to about 20% of the maximum
deceleration of your vehicle.
Distronic brakes the vehicle in an effort to
restore the preset distance or to maintain
the set speed.
Keep driver’s foot area clear at all times, in-
cluding the area under the brake pedal. Ob-
jects stored in this area may impair pedal
movement which could interfere with the
braking ability of the Distronic system.
Do not place your foot under the brake pedal
– your foot could become caught.