Page 142 of 481
141 Controls in detail
Control system
�Control system
The control system is activated as soon as
the SmartKey in the starter switch is
turned to position1 or as soon as the
KEYLESS-GO* start/stop button is in
position1. The control system enables you
to
�call up information about your vehicle
�change vehicle settings
For example, you can use the control sys-
tem to find out when your vehicle is next
due for service, to set the language for
messages in the instrument cluster dis-
play, and much more.
The control system relays information to
the multifunction display.
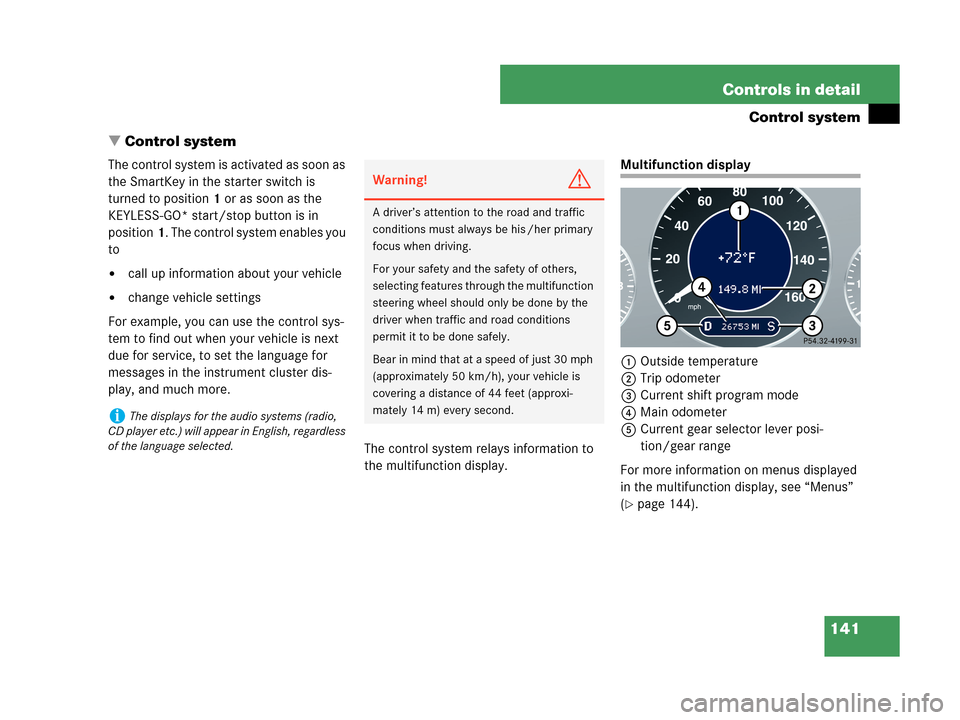
Multifunction display
1Outside temperature
2Trip odometer
3Current shift program mode
4Main odometer
5Current gear selector lever posi-
tion/gear range
For more information on menus displayed
in the multifunction display, see “Menus”
(
�page 144).
iThe displays for the audio systems (radio,
CD player etc.) will appear in English, regardless
of the language selected.
Warning!G
A driver’s attention to the road and traffic
conditions must always be his /her primary
focus when driving.
For your safety and the safety of others,
selecting features through the multifunction
steering wheel should only be done by the
driver when traffic and road conditions
permit it to be done safely.
Bear in mind that at a speed of just 30 mph
(approximately 50 km/h), your vehicle is
covering a distance of 44 feet (approxi-
mately 14 m) every second.
Page 151 of 481
150 Controls in detail
Control system
�Press buttonè orÿ repeatedly
until the vehicle status message
memory appears in the multifunction
display.
If the vehicle status message memory
menu does not appear, then there are
no messages stored.Vehicle status messages have been
recorded
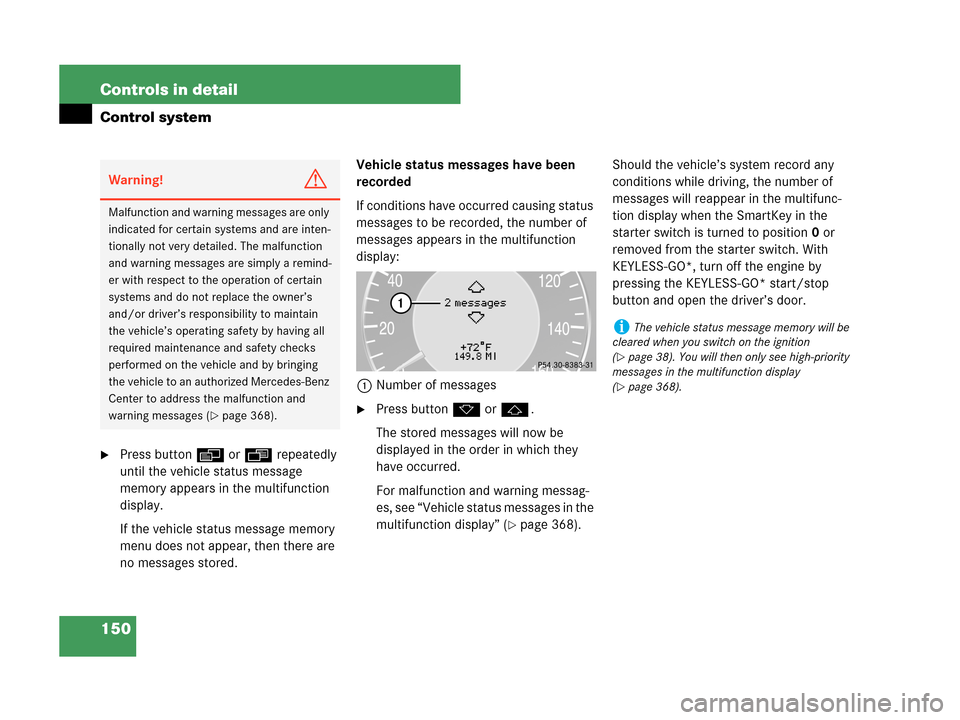
If conditions have occurred causing status
messages to be recorded, the number of
messages appears in the multifunction
display:
1Number of messages
�Press buttonk orj.
The stored messages will now be
displayed in the order in which they
have occurred.
For malfunction and warning messag-
es, see “Vehicle status messages in the
multifunction display” (
�page 368).Should the vehicle’s system record any
conditions while driving, the number of
messages will reappear in the multifunc-
tion display when the SmartKey in the
starter switch is turned to position0 or
removed from the starter switch. With
KEYLESS-GO*, turn off the engine by
pressing the KEYLESS-GO* start/stop
button and open the driver’s door.
Warning!G
Malfunction and warning messages are only
indicated for certain systems and are inten-
tionally not very detailed. The malfunction
and warning messages are simply a remind-
er with respect to the operation of certain
systems and do not replace the owner’s
and/or driver’s responsibility to maintain
the vehicle’s operating safety by having all
required maintenance and safety checks
performed on the vehicle and by bringing
the vehicle to an authorized Mercedes-Benz
Center to address the malfunction and
warning messages (
�page 368).
iThe vehicle status message memory will be
cleared when you switch on the ignition
(
�page 38). You will then only see high-priority
messages in the multifunction display
(
�page 368).
Page 161 of 481
160 Controls in detail
Control system
Setting night security illumination
(Headlamps delayed shut-off feature)
Use this function to set whether you would
like the exterior lamps to remain on for
15 seconds during darkness after exiting
the vehicle and closing all doors.
With the headlamps delayed shut-off
feature activated and the exterior lamp
switch in positionU before the engine
is turned off, the following lamps will
switch on when the engine is turned off:
�Parking lamps
�Tail lamps
�License plate lamps
�Side marker lamps
�Front fog lamps
If after turning off the engine you do not
open a door or do not close an opened
door, the lamps will automatically switch
off after 60 seconds.
�Move the selection marker with
buttonæ orç to the
Lighting
submenu.
�Press buttonj ork repeatedly
until the message
Headlamps delayed
shut-off
appears in the multifunction
display.
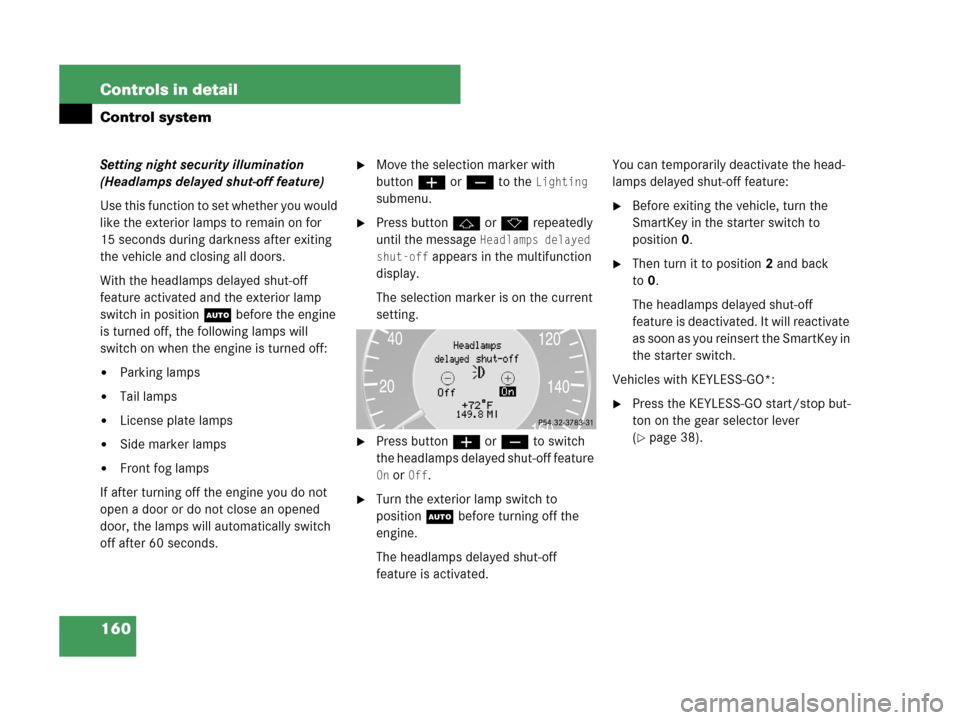
The selection marker is on the current
setting.
�Press buttonæ orç to switch
the headlamps delayed shut-off feature
Onor Off.
�Turn the exterior lamp switch to
position U before turning off the
engine.
The headlamps delayed shut-off
feature is activated.You can temporarily deactivate the head-
lamps delayed shut-off feature:
�Before exiting the vehicle, turn the
SmartKey in the starter switch to
position0.
�Then turn it to position2 and back
to0.
The headlamps delayed shut-off
feature is deactivated. It will reactivate
as soon as you reinsert the SmartKey in
the starter switch.
Vehicles with KEYLESS-GO*:
�Press the KEYLESS-GO start/stop but-
ton on the gear selector lever
(
�page 38).
Page 171 of 481
170 Controls in detail
Automatic transmission
Gear selector lever positions
The current gear selector lever position
appears in the multifunction display.
1Current gear selector lever positionEffect
ìPark position
Gear selector lever position
when the vehicle is parked. Place
gear selector lever in park
positionP only when vehicle is
stopped. The park position is not
intended to serve as a brake
when the vehicle is parked.
Rather, the driver should always
set the parking brake in addition
to placing the gear selector lever
in park positionP to secure the
vehicle.
Effect
The SmartKey can only be
removed from the starter switch
with the gear selector lever in
park positionP. With the
SmartKey removed, the gear
selector lever is locked in park
positionP.
If the vehicle’s electrical system
is malfunctioning, the gear
selector lever could remain
locked in park positionP
(
�page 401).
íReverse gear
Place gear selector lever in
positionR only when vehicle is
stopped.
Page 179 of 481
178 Controls in detail
Automatic transmission
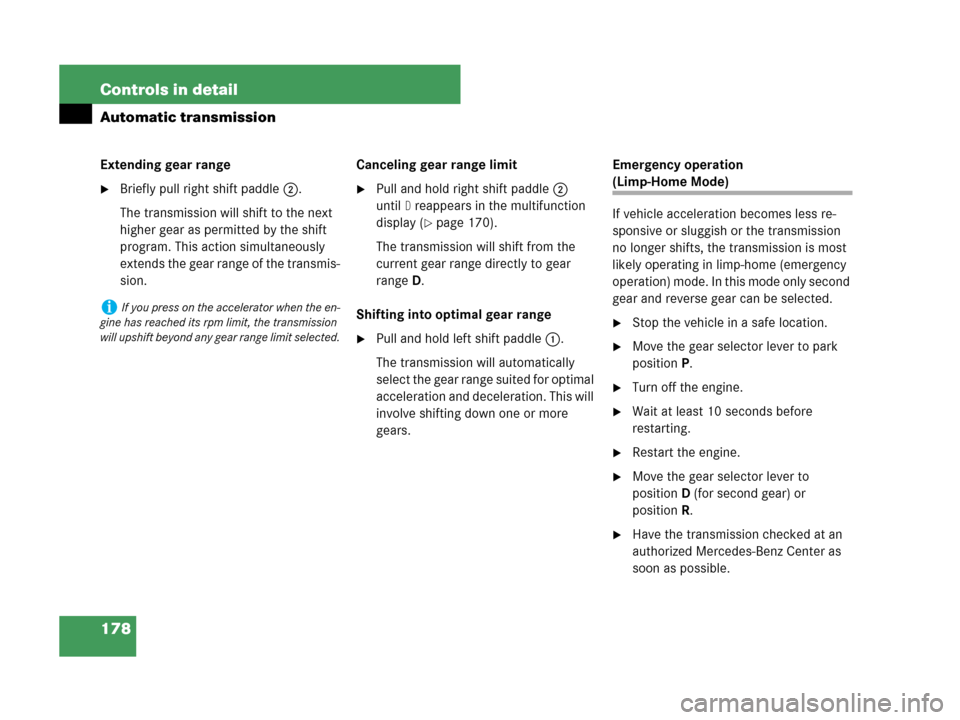
Extending gear range
�Briefly pull right shift paddle2.
The transmission will shift to the next
higher gear as permitted by the shift
program. This action simultaneously
extends the gear range of the transmis-
sion.Canceling gear range limit�Pull and hold right shift paddle2
until
D reappears in the multifunction
display (
�page 170).
The transmission will shift from the
current gear range directly to gear
rangeD.
Shifting into optimal gear range
�Pull and hold left shift paddle1.
The transmission will automatically
select the gear range suited for optimal
acceleration and deceleration. This will
involve shifting down one or more
gears.Emergency operation
(Limp-Home Mode)
If vehicle acceleration becomes less re-
sponsive or sluggish or the transmission
no longer shifts, the transmission is most
likely operating in limp-home (emergency
operation) mode. In this mode only second
gear and reverse gear can be selected.
�Stop the vehicle in a safe location.
�Move the gear selector lever to park
positionP.
�Turn off the engine.
�Wait at least 10 seconds before
restarting.
�Restart the engine.
�Move the gear selector lever to
positionD (for second gear) or
positionR.
�Have the transmission checked at an
authorized Mercedes-Benz Center as
soon as possible.
iIf you press on the accelerator when the en-
gine has reached its rpm limit, the transmission
will upshift beyond any gear range limit selected.
Page 183 of 481
182 Controls in detail
Good visibility
Rear window sunshade* (Canada only)
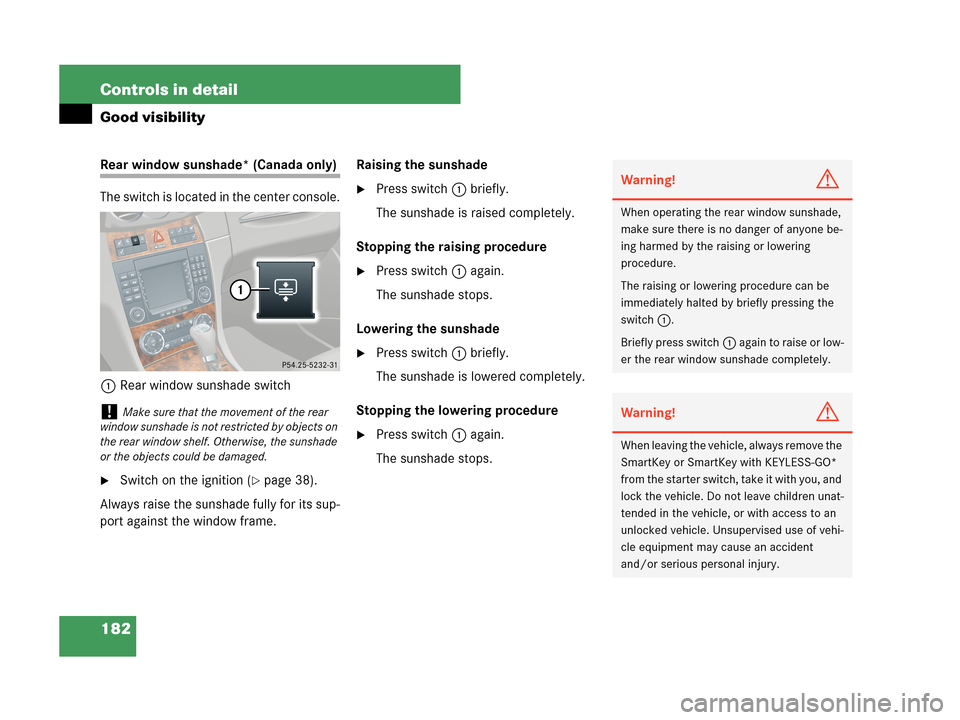
The switch is located in the center console.
1Rear window sunshade switch
�Switch on the ignition (�page 38).
Always raise the sunshade fully for its sup-
port against the window frame.Raising the sunshade
�Press switch1 briefly.
The sunshade is raised completely.
Stopping the raising procedure
�Press switch1 again.
The sunshade stops.
Lowering the sunshade
�Press switch1 briefly.
The sunshade is lowered completely.
Stopping the lowering procedure
�Press switch1 again.
The sunshade stops.
!Make sure that the movement of the rear
window sunshade is not restricted by objects on
the rear window shelf. Otherwise, the sunshade
or the objects could be damaged.
Warning!G
When operating the rear window sunshade,
make sure there is no danger of anyone be-
ing harmed by the raising or lowering
procedure.
The raising or lowering procedure can be
immediately halted by briefly pressing the
switch1.
Briefly press switch1 again to raise or low-
er the rear window sunshade completely.
Warning!G
When leaving the vehicle, always remove the
SmartKey or SmartKey with KEYLESS-GO*
from the starter switch, take it with you, and
lock the vehicle. Do not leave children unat-
tended in the vehicle, or with access to an
unlocked vehicle. Unsupervised use of vehi-
cle equipment may cause an accident
and/or serious personal injury.
Page 216 of 481
215 Controls in detail
Audio system
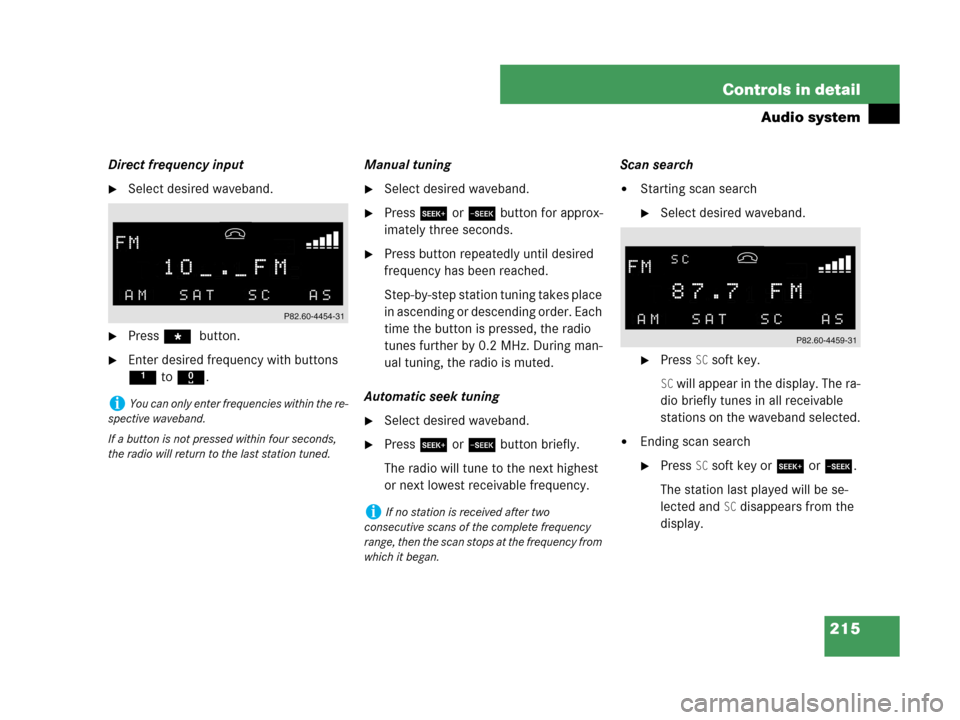
Direct frequency input
�Select desired waveband.
�Press * button.
�Enter desired frequency with buttons
1to R.Manual tuning
�Select desired waveband.
�Press S or Tbutton for approx-
imately three seconds.
�Press button repeatedly until desired
frequency has been reached.
Step-by-step station tuning takes place
in ascending or descending order. Each
time the button is pressed, the radio
tunes further by 0.2 MHz. During man-
ual tuning, the radio is muted.
Automatic seek tuning
�Select desired waveband.
�Press S or T button briefly.
The radio will tune to the next highest
or next lowest receivable frequency.Scan search
�Starting scan search
�Select desired waveband.
�Press SC soft key.
SC will appear in the display. The ra-
dio briefly tunes in all receivable
stations on the waveband selected.
�Ending scan search
�Press SC soft key or S or T.
The station last played will be se-
lected and
SC disappears from the
display.
iYou can only enter frequencies within the re-
spective waveband.
If a button is not pressed within four seconds,
the radio will return to the last station tuned.
iIf no station is received after two
consecutive scans of the complete frequency
range, then the scan stops at the frequency from
which it began.
Page 218 of 481
217 Controls in detail
Audio system
Interrupting radio mode
The radio mode is interrupted by an incom-
ing call on the telephone* (
�page 235)
�Mute on
�Press U button.
The radio mode is interrupted and
MUTED appears in the display.
�Mute off
�Press U button.
The radio mode is again active.
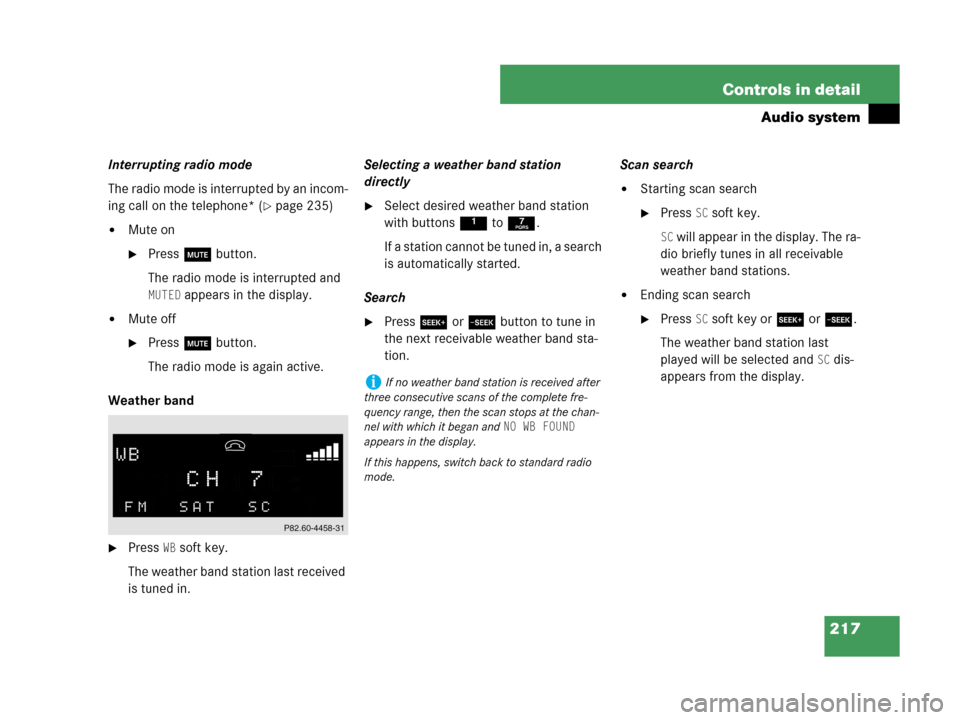
Weather band
�Press WB soft key.
The weather band station last received
is tuned in.Selecting a weather band station
directly
�Select desired weather band station
with buttons 1 to 7.
If a station cannot be tuned in, a search
is automatically started.
Search
�Press S or T button to tune in
the next receivable weather band sta-
tion.Scan search
�Starting scan search
�Press SC soft key.
SC will appear in the display. The ra-
dio briefly tunes in all receivable
weather band stations.
�Ending scan search
�Press SC soft key or S or T.
The weather band station last
played will be selected and
SC dis-
appears from the display.
iIf no weather band station is received after
three consecutive scans of the complete fre-
quency range, then the scan stops at the chan-
nel with which it began and
NO WB FOUND
appears in the display.
If this happens, switch back to standard radio
mode.