Page 595 of 723
592 Practical hints
What to do if …?
Display Possible cause/consequencePossible solution
Tire pressures
displayed after driving
a few minutesThe tire inflation pressure is being checked.�Drive the vehicle for a few minutes.
Visit workshop
without shifting gearsThe automatic transmission cannot be shift-
ed out of the set position because of a
malfunction.If the automatic transmission is shift to positionD (�page 389):
�Without changing the automatic transmission from
positionD, drive to an authorized Mercedes-Benz Center.
If the automatic transmission is shift to positionN, R or P:
�Do not drive.
�Consult an authorized Mercedes-Benz Center.
Page 606 of 723
603 Practical hints
What to do if …?
Display Possible cause/consequencePossible solution
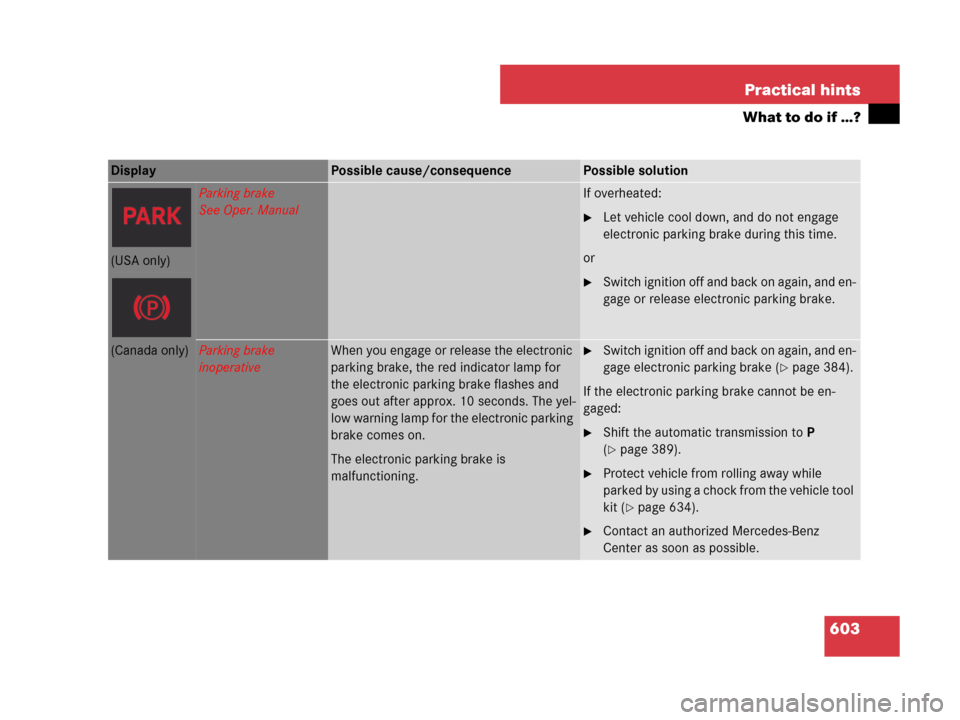
Parking brake
See Oper. ManualIf overheated:
�Let vehicle cool down, and do not engage
electronic parking brake during this time.
or
�Switch ignition off and back on again, and en-
gage or release electronic parking brake.
(USA only)
(Canada only)Parking brake
inoperativeWhen you engage or release the electronic
parking brake, the red indicator lamp for
the electronic parking brake flashes and
goes out after approx. 10 seconds. The yel-
low warning lamp for the electronic parking
brake comes on.
The electronic parking brake is
malfunctioning.�Switch ignition off and back on again, and en-
gage electronic parking brake (
�page 384).
If the electronic parking brake cannot be en-
gaged:
�Shift the automatic transmission to P
(
�page 389).
�Protect vehicle from rolling away while
parked by using a chock from the vehicle tool
kit (
�page 634).
�Contact an authorized Mercedes-Benz
Center as soon as possible.
Page 625 of 723
622 Practical hints
What to do if …?
Display Possible cause/consequencePossible solution
Night View Assist
inoperativeNight View Assist* is malfunctioning.�Contact an authorized Mercedes-Benz
Center as soon as possible.
Night View Assist
currently unavailableThe temperature of the camera* is too high
(
�page 446).
�Wait until the message “Night View Assist
available again” appears.
In addition you can:
�Swing the camera* cover down
(
�page 561).
�Adjust the air distribution of the automatic
climate control so that air flows upward
(
�page 246).
Night View Assist
Lights must be set
to AUTO or ONYou have tried to switch on Night View
Assist*, but the light switch is not set
to* or B.�Turn the exterior lamp switch
to*orB (
�page 363).
Night View Assist
Not in Reverse gearYou have tried to switch on Night View
Assist* while the automatic transmission
was in position R.�Shift the automatic transmission to P, N or D
(
�page 389).
Page 626 of 723
623 Practical hints
What to do if …?
Display Possible cause/consequencePossible solution
Night View Assist
Lights ON or AUTO,
not in R gearYou have tried to switch on Night View
Assist* but the light switch is not set
to*or B.
In addition, the automatic transmission is in
positionR.�Turn the exterior lamp switch
to*orB (
�page 363).
�Shift the automatic transmission to P, N or D
(
�page 389).
Night View Assist
only when
it is darkYou have tried to switch on Night View
Assist* by daylight.You can only switch on Night View Assist* when
it is dark.
Engine oil level
Stop vehicle!
Switch engine offCL 600 only
There is no oil in the engine. There is a dan-
ger of engine damage.�Carefully bring the vehicle to a halt as soon
as it is safe to do so in a safe location.
�Turn off the engine.
�Add engine oil (�page 516) and check the
engine oil level (
�page 513).
Page 634 of 723
631 Practical hints
What to do if …?
Display Possible cause/consequencePossible solution
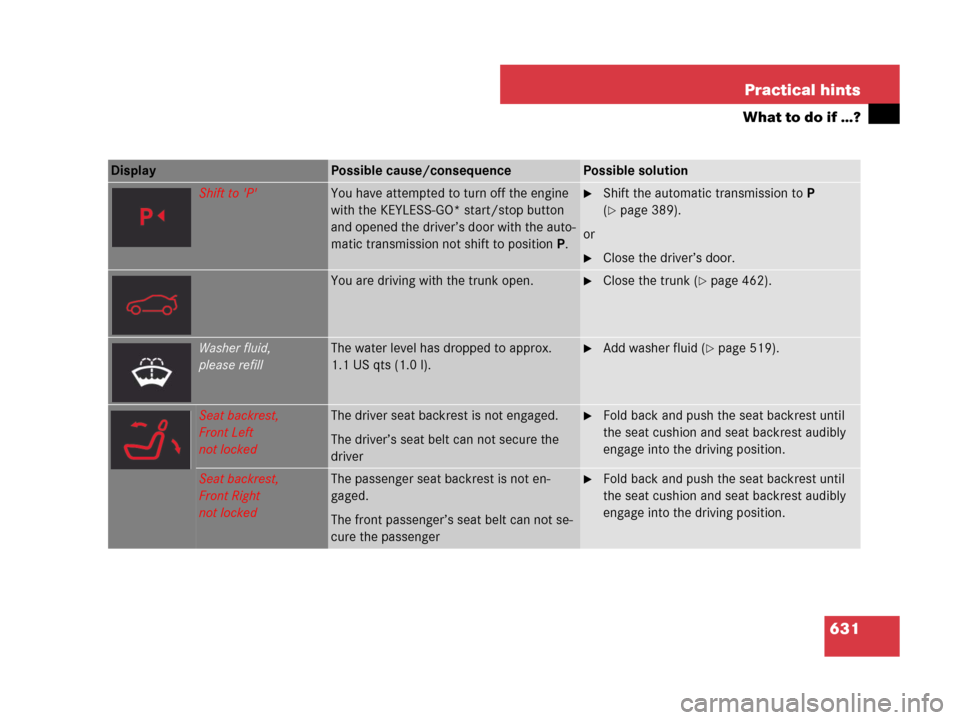
Shift to 'P'You have attempted to turn off the engine
with the KEYLESS-GO* start/stop button
and opened the driver’s door with the auto-
matic transmission not shift to positionP.�Shift the automatic transmission toP
(
�page 389).
or
�Close the driver’s door.
You are driving with the trunk open.�Close the trunk (�page 462).
Washer fluid,
please refillThe water level has dropped to approx.
1.1 US qts (1.0 l).�Add washer fluid (�page 519).
Seat backrest,
Front Left
not lockedThe driver seat backrest is not engaged.
The driver’s seat belt can not secure the
driver�Fold back and push the seat backrest until
the seat cushion and seat backrest audibly
engage into the driving position.
Seat backrest,
Front Right
not lockedThe passenger seat backrest is not en-
gaged.
The front passenger’s seat belt can not se-
cure the passenger�Fold back and push the seat backrest until
the seat cushion and seat backrest audibly
engage into the driving position.
Page 640 of 723
637 Practical hints
Unlocking/locking in an emergency
Mechanically releasing the electronic
parking brake
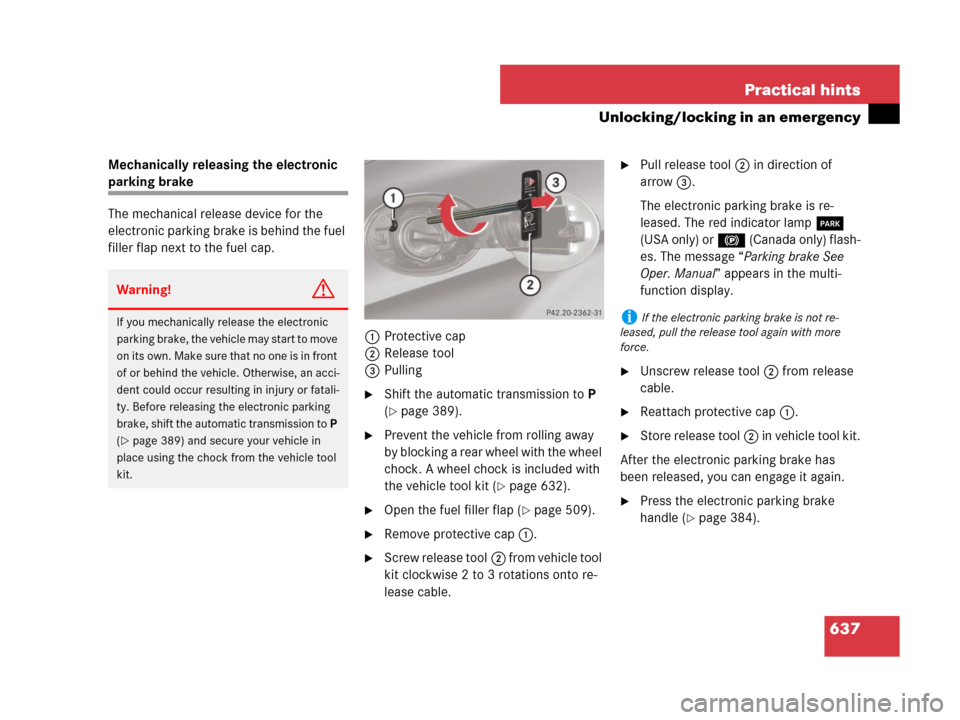
The mechanical release device for the
electronic parking brake is behind the fuel
filler flap next to the fuel cap.
1Protective cap
2Release tool
3Pulling
�Shift the automatic transmission to P
(
�page 389).
�Prevent the vehicle from rolling away
by blocking a rear wheel with the wheel
chock. A wheel chock is included with
the vehicle tool kit (
�page 632).
�Open the fuel filler flap (�page 509).
�Remove protective cap1.
�Screw release tool2 from vehicle tool
kit clockwise 2 to 3 rotations onto re-
lease cable.
�Pull release tool2 in direction of
arrow3.
The electronic parking brake is re-
leased. The red indicator lamp 0
(USA only) or ! (Canada only) flash-
es. The message “Parking brake See
Oper. Manual” appears in the multi-
function display.
�Unscrew release tool2 from release
cable.
�Reattach protective cap1.
�Store release tool2 in vehicle tool kit.
After the electronic parking brake has
been released, you can engage it again.
�Press the electronic parking brake
handle (
�page 384).
Warning!G
If you mechanically release the electronic
parking brake, the vehicle may start to move
on its own. Make sure that no one is in front
of or behind the vehicle. Otherwise, an acci-
dent could occur resulting in injury or fatali-
ty. Before releasing the electronic parking
brake, shift the automatic transmission to P
(
�page 389) and secure your vehicle in
place using the chock from the vehicle tool
kit.
iIf the electronic parking brake is not re-
leased, pull the release tool again with more
force.
Page 652 of 723
649 Practical hints
Flat tire
�Flat tire
Preparing the vehicle
�Park the vehicle in a safe distance from
moving traffic on a hard, flat surface
when possible.
�Turn on the hazard warning flashers.
�Turn the steering wheel so that the
front wheels are in a straight ahead
position.
�Shift the automatic transmission toP
(
�page 389).
�Turn off the engine (�page 387).
�Remove the SmartKey from the starter
switch.
Vehicles with SmartKey with
KEYLESS-GO*:
�Turn off the engine by pressing the
KEYLESS-GO* button once
(
�page 388).
�Open the driver’s door (this puts
the starter switch in position0,
same as with the SmartKey re-
moved from the starter switch). The
driver’s door then can be closed
again.
�Have any passenger exit the vehicle at
a safe distance from the roadway.
Mounting the Minispare wheel
iOpen the door only when conditions are safe
to do so.
Warning!G
The dimensions of the Minispare wheel are
different from those of the road wheels. As
a result, the vehicle handling characteristics
change when driving with a Minispare wheel
mounted. Adapt your driving style accord-
ingly.
The Minispare wheel is for temporary use
only. When driving with Minispare wheel
mounted, ensure proper tire inflation
pressure and do not exceed a vehicle speed
of 50 mph (80 km/h).
Contact the nearest Mercedes-Benz Center
as soon as possible to have the Minispare
wheel replaced with a regular road wheel.
Never operate the vehicle with more than
one Minispare wheel mounted.
Do not switch off the ESP
® when a Minis-
pare wheel is mounted.
Page 660 of 723
657 Practical hints
Batteries
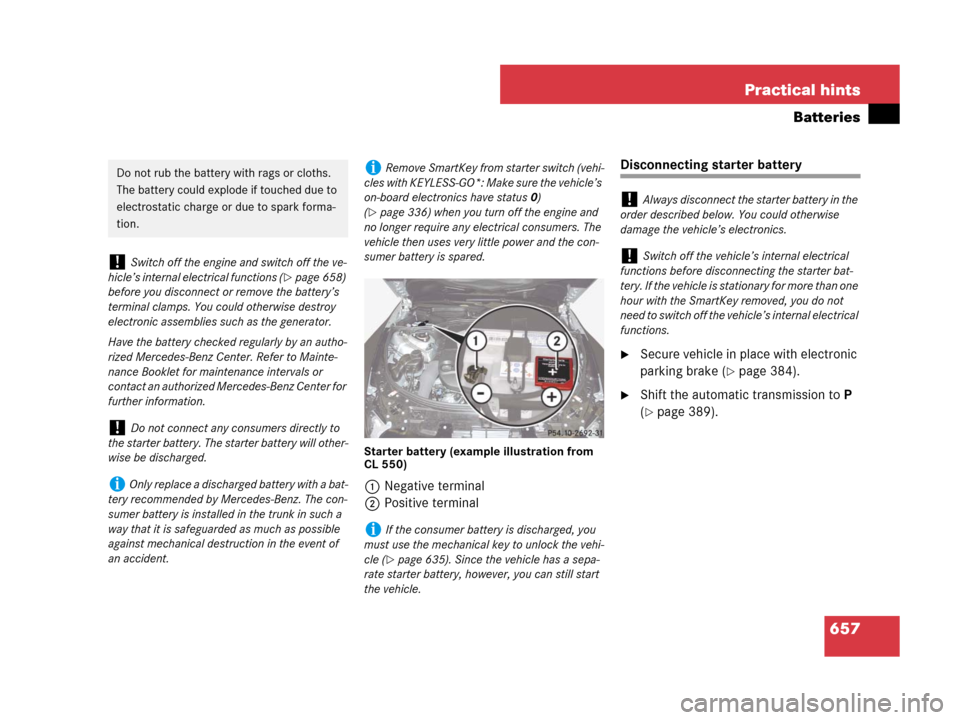
Starter battery (example illustration from
CL 550)
1Negative terminal
2Positive terminal
Disconnecting starter battery
�Secure vehicle in place with electronic
parking brake (
�page 384).
�Shift the automatic transmission toP
(
�page 389).
Do not rub the battery with rags or cloths.
The battery could explode if touched due to
electrostatic charge or due to spark forma-
tion.
!Switch off the engine and switch off the ve-
hicle’s internal electrical functions (
�page 658)
before you disconnect or remove the battery’s
terminal clamps. You could otherwise destroy
electronic assemblies such as the generator.
Have the battery checked regularly by an autho-
rized Mercedes-Benz Center. Refer to Mainte-
nance Booklet for maintenance intervals or
contact an authorized Mercedes-Benz Center for
further information.
!Do not connect any consumers directly to
the starter battery. The starter battery will other-
wise be discharged.
iOnly replace a discharged battery with a bat-
tery recommended by Mercedes-Benz. The con-
sumer battery is installed in the trunk in such a
way that it is safeguarded as much as possible
against mechanical destruction in the event of
an accident.
iRemove SmartKey from starter switch (vehi-
cles with KEYLESS-GO*: Make sure the vehicle’s
on-board electronics have status 0)
(
�page 336) when you turn off the engine and
no longer require any electrical consumers. The
vehicle then uses very little power and the con-
sumer battery is spared.
iIf the consumer battery is discharged, you
must use the mechanical key to unlock the vehi-
cle (
�page 635). Since the vehicle has a sepa-
rate starter battery, however, you can still start
the vehicle.
!Always disconnect the starter battery in the
order described below. You could otherwise
damage the vehicle’s electronics.
!Switch off the vehicle’s internal electrical
functions before disconnecting the starter bat-
tery. If the vehicle is stationary for more than one
hour with the SmartKey removed, you do not
need to switch off the vehicle’s internal electrical
functions.