Page 606 of 723
603 Practical hints
What to do if …?
Display Possible cause/consequencePossible solution
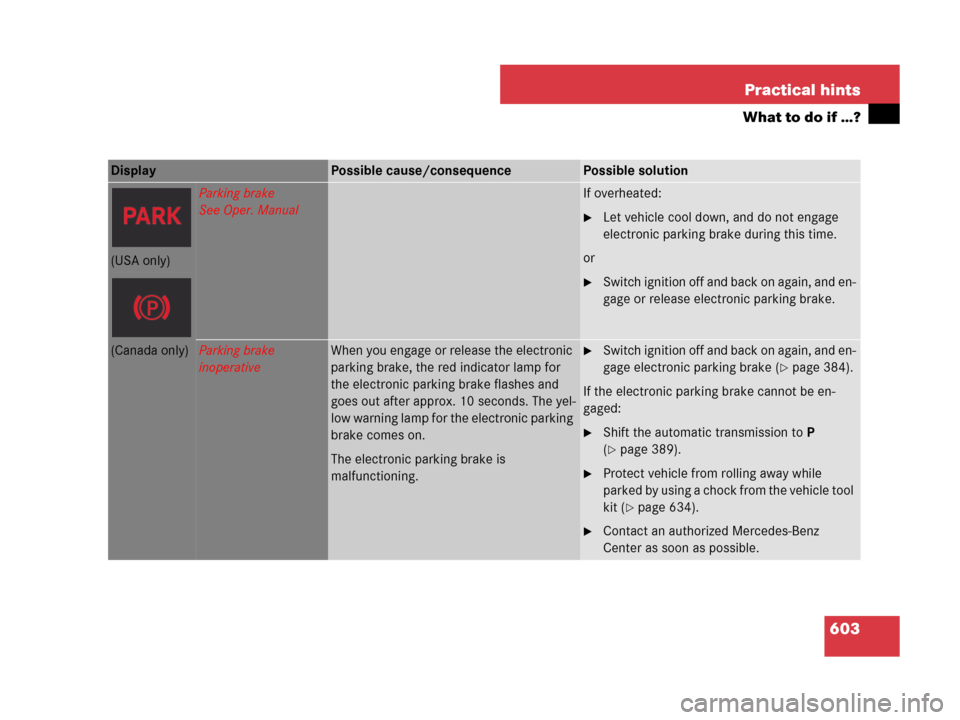
Parking brake
See Oper. ManualIf overheated:
�Let vehicle cool down, and do not engage
electronic parking brake during this time.
or
�Switch ignition off and back on again, and en-
gage or release electronic parking brake.
(USA only)
(Canada only)Parking brake
inoperativeWhen you engage or release the electronic
parking brake, the red indicator lamp for
the electronic parking brake flashes and
goes out after approx. 10 seconds. The yel-
low warning lamp for the electronic parking
brake comes on.
The electronic parking brake is
malfunctioning.�Switch ignition off and back on again, and en-
gage electronic parking brake (
�page 384).
If the electronic parking brake cannot be en-
gaged:
�Shift the automatic transmission to P
(
�page 389).
�Protect vehicle from rolling away while
parked by using a chock from the vehicle tool
kit (
�page 634).
�Contact an authorized Mercedes-Benz
Center as soon as possible.
Page 607 of 723
604 Practical hints
What to do if …?
Display Possible cause/consequencePossible solution
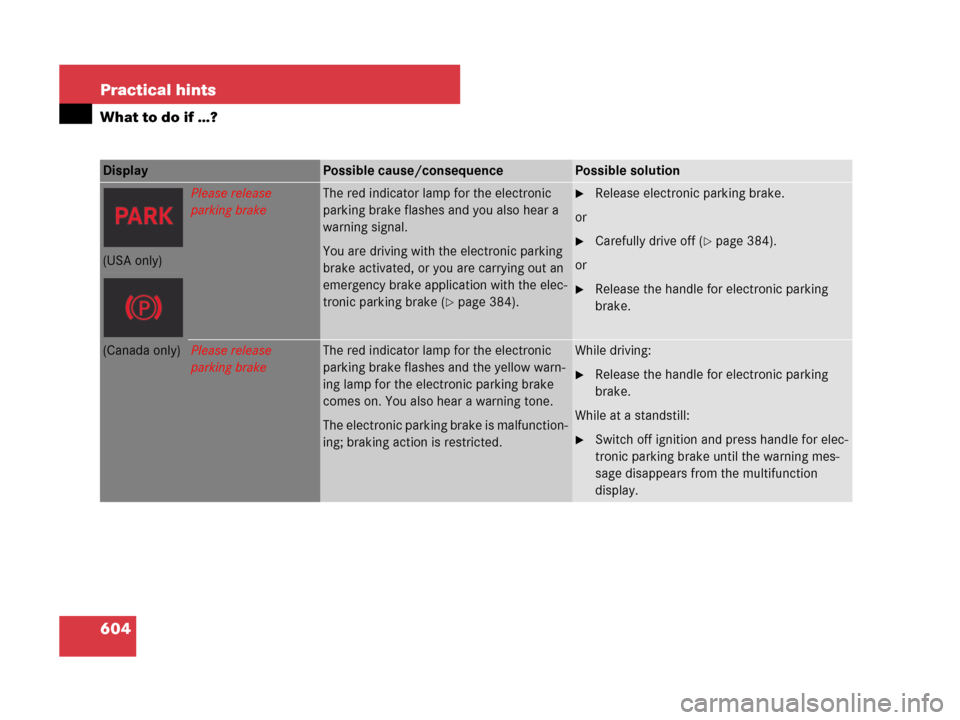
Please release
parking brakeThe red indicator lamp for the electronic
parking brake flashes and you also hear a
warning signal.
You are driving with the electronic parking
brake activated, or you are carrying out an
emergency brake application with the elec-
tronic parking brake (
�page 384).
�Release electronic parking brake.
or
�Carefully drive off (�page 384).
or
�Release the handle for electronic parking
brake.
(USA only)
(Canada only)Please release
parking brakeThe red indicator lamp for the electronic
parking brake flashes and the yellow warn-
ing lamp for the electronic parking brake
comes on. You also hear a warning tone.
The electronic parking brake is malfunction-
ing; braking action is restricted.While driving:
�Release the handle for electronic parking
brake.
While at a standstill:
�Switch off ignition and press handle for elec-
tronic parking brake until the warning mes-
sage disappears from the multifunction
display.
Page 608 of 723
605 Practical hints
What to do if …?
Display Possible cause/consequencePossible solution
Turn on the ignition
to release the
parking brakeThe yellow indicator lamp for the electronic
parking brake comes on.
You have tried to release the electronic
parking brake, but the ignition was not
switched on.�Switch on the ignition (�page 336).
(USA only)
(Canada only)
Inoperative
See Oper. ManualESP® as well as PRE-SAFE® are switched off
due to a malfunction. In addition, the v
warning lamp in the instrument cluster
comes on.
The ABS may not be operational.�Continue driving with added caution.
�Have the system checked at an authorized
Mercedes-Benz Center as soon as possible.
Failure to follow these instructions increases the
risk of an accident.
Page 635 of 723
632 Practical hints
Where will I find ...?
First aid kit
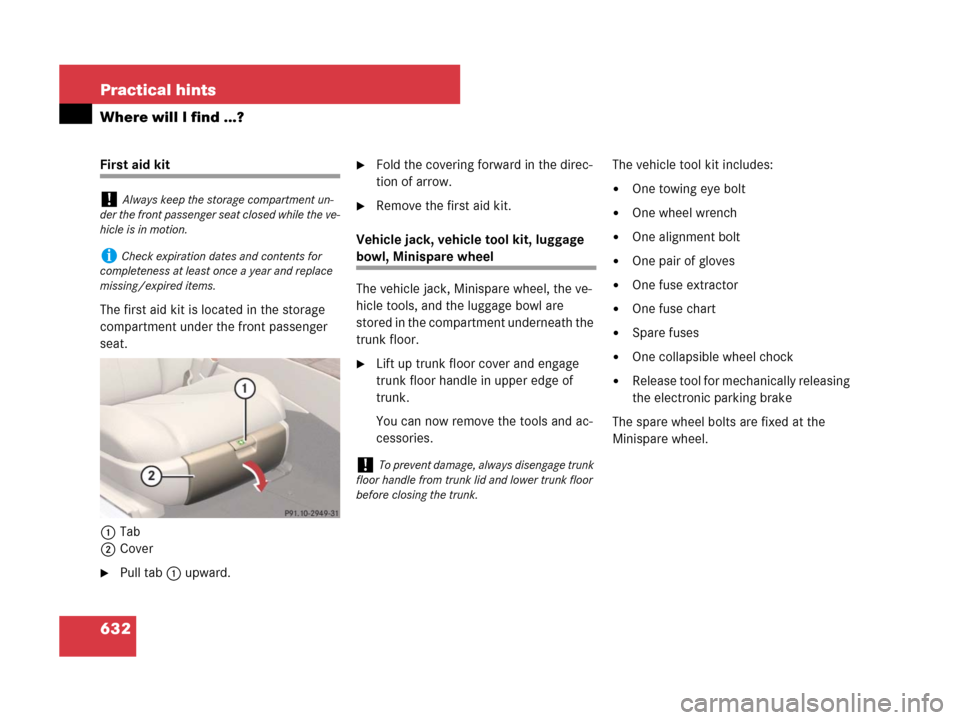
The first aid kit is located in the storage
compartment under the front passenger
seat.
1Tab
2Cover
�Pull tab1 upward.
�Fold the covering forward in the direc-
tion of arrow.
�Remove the first aid kit.
Vehicle jack, vehicle tool kit, luggage
bowl, Minispare wheel
The vehicle jack, Minispare wheel, the ve-
hicle tools, and the luggage bowl are
stored in the compartment underneath the
trunk floor.
�Lift up trunk floor cover and engage
trunk floor handle in upper edge of
trunk.
You can now remove the tools and ac-
cessories.The vehicle tool kit includes:
�One towing eye bolt
�One wheel wrench
�One alignment bolt
�One pair of gloves
�One fuse extractor
�One fuse chart
�Spare fuses
�One collapsible wheel chock
�Release tool for mechanically releasing
the electronic parking brake
The spare wheel bolts are fixed at the
Minispare wheel.
!Always keep the storage compartment un-
der the front passenger seat closed while the ve-
hicle is in motion.
iCheck expiration dates and contents for
completeness at least once a year and replace
missing/expired items.
!To prevent damage, always disengage trunk
floor handle from trunk lid and lower trunk floor
before closing the trunk.
Page 636 of 723
633 Practical hints
Where will I find ...?
Vehicle jack
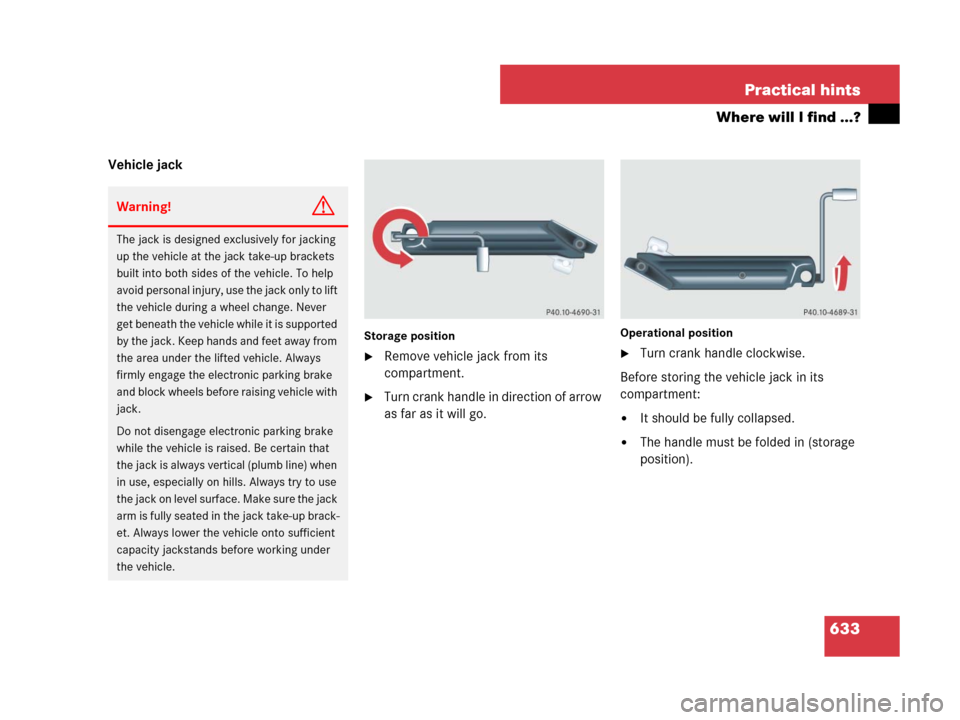
Storage position
�Remove vehicle jack from its
compartment.
�Turn crank handle in direction of arrow
as far as it will go.
Operational position
�Turn crank handle clockwise.
Before storing the vehicle jack in its
compartment:
�It should be fully collapsed.
�The handle must be folded in (storage
position).
Warning!G
The jack is designed exclusively for jacking
up the vehicle at the jack take-up brackets
built into both sides of the vehicle. To help
avoid personal injury, use the jack only to lift
the vehicle during a wheel change. Never
get beneath the vehicle while it is supported
by the jack. Keep hands and feet away from
the area under the lifted vehicle. Always
firmly engage the electronic parking brake
and block wheels before raising vehicle with
jack.
Do not disengage electronic parking brake
while the vehicle is raised. Be certain that
the jack is always vertical (plumb line) when
in use, especially on hills. Always try to use
the jack on level surface. Make sure the jack
arm is fully seated in the jack take-up brack-
et. Always lower the vehicle onto sufficient
capacity jackstands before working under
the vehicle.
Page 640 of 723
637 Practical hints
Unlocking/locking in an emergency
Mechanically releasing the electronic
parking brake
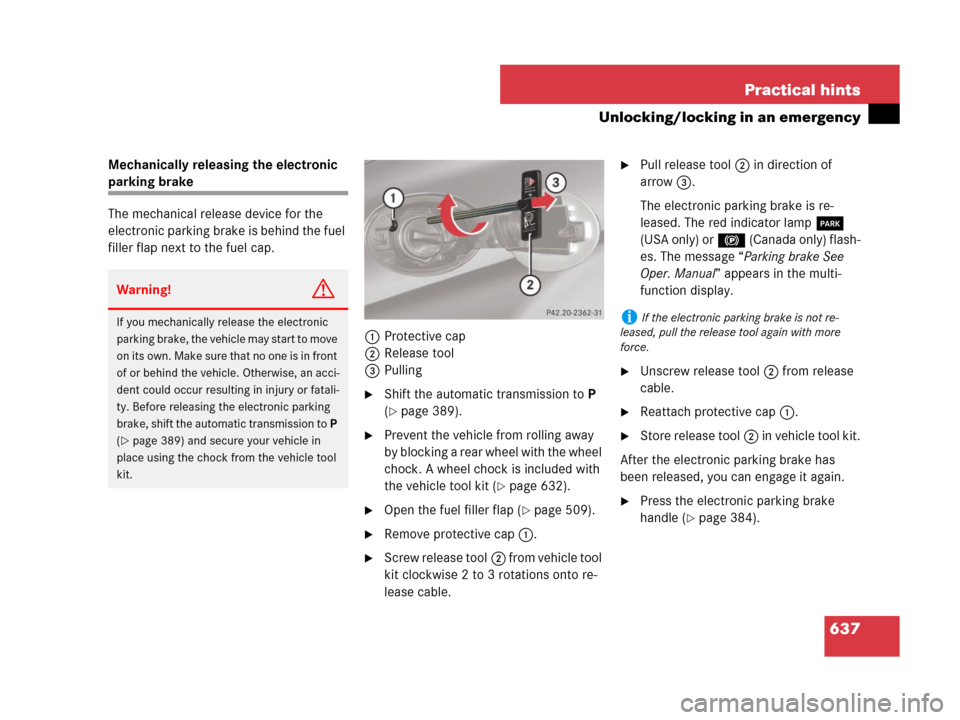
The mechanical release device for the
electronic parking brake is behind the fuel
filler flap next to the fuel cap.
1Protective cap
2Release tool
3Pulling
�Shift the automatic transmission to P
(
�page 389).
�Prevent the vehicle from rolling away
by blocking a rear wheel with the wheel
chock. A wheel chock is included with
the vehicle tool kit (
�page 632).
�Open the fuel filler flap (�page 509).
�Remove protective cap1.
�Screw release tool2 from vehicle tool
kit clockwise 2 to 3 rotations onto re-
lease cable.
�Pull release tool2 in direction of
arrow3.
The electronic parking brake is re-
leased. The red indicator lamp 0
(USA only) or ! (Canada only) flash-
es. The message “Parking brake See
Oper. Manual” appears in the multi-
function display.
�Unscrew release tool2 from release
cable.
�Reattach protective cap1.
�Store release tool2 in vehicle tool kit.
After the electronic parking brake has
been released, you can engage it again.
�Press the electronic parking brake
handle (
�page 384).
Warning!G
If you mechanically release the electronic
parking brake, the vehicle may start to move
on its own. Make sure that no one is in front
of or behind the vehicle. Otherwise, an acci-
dent could occur resulting in injury or fatali-
ty. Before releasing the electronic parking
brake, shift the automatic transmission to P
(
�page 389) and secure your vehicle in
place using the chock from the vehicle tool
kit.
iIf the electronic parking brake is not re-
leased, pull the release tool again with more
force.
Page 644 of 723
641 Practical hints
Replacing bulbs
�Replacing bulbs
Safe vehicle operation depends on proper
exterior lighting and signaling. It is there-
fore essential that all bulbs and lamp as-
semblies are in good working order at all
times.
Correct headlamp adjustment is extremely
important. Have headlamps checked and
readjusted at regular intervals and when a
bulb has been replaced. See an authorized
Mercedes-Benz Center for headlamp ad-
justment.iIf the headlamps or front fog lamps are
fogged up on the inside as a result of high humid-
ity, driving the vehicle a distance with the lights
on should clear up the fogging.iSubstitute bulbs will be brought into use
when the following lamps malfunction:
�Brake lamps
�Rear fog lamps
�Front parking lamps
�Tail lamps
�Turn signal lamps
Read and observe messages in the multifunction
display (
�page 580).
Page 645 of 723
642 Practical hints
Replacing bulbs
Bulbs Front lamps Rear lamps
LampType
1Low and high beam
lamp1
1Bi-Xenon headlamps: Low beam and high beam
use the same D1S-35W lamp. Do not replace the
Bi-Xenon bulbs yourself. Contact an authorized
Mercedes-Benz Center.
D1S-35 W
2Additional turn signal
lampLED
3Parking and standing
lampW5W
4Side marker lampW5W
5High beam flasher lampH7-55 W
IR emitter* (for Night
View Assist*)H11-55 W
6Corner-illuminating
lampH7-55 W
7Fog lampH11-55 W
8Turn signal lampPY 24 W
LampType
9High mounted brake
lampLED
aTurn signal lampHiP 16 W
bBrake lamp/tail lamp
and standing lampLED
cLicense plate lampW5W
dBackup lampHiP 16 W
eSide marker lampLED
fRear fog lamp (driver’s
side only)HiP 19 W