2007 MERCEDES-BENZ C-CLASS ESTATE warning light
[x] Cancel search: warning lightPage 126 of 377

Instrument cluste
r 123Instrument cluster
You will find an illustration of the instrumen t
cluster in the "At a glance" section
( Y page 28). G
Risk of accident
No messages can be displayed if instru -
ment cluster and/or the multi-function dis-
play fail .
This means that you will not see information
about the driving situation, such as the
speed, outside temperature, warning/indi-
cator lamps, display messages or system
failures. The vehicle's handling character-
istics may be affected. Adjust your driving
style and speed accordingly.
Immediately consult a qualified specialist
workshop which has the necessary special-
ist knowledge and tools to carry out the
work required. Mercedes-Benz recom-
mends that you use a Mercedes-Benz
Service Centre for this purpose. In particu-
lar, work relevant to safety or on safety-
related systems must be carried out at a
qualified specialist workshop. Activating the multi-function displa
y
X Switch on the ignition.
The multi-function display is also activate d
when you switch on the lights or open th e
driver's door. Adjusting the instrument cluster
lighting
1
Brightness control
X Brighter or dimmer: turn clockwise or
anti-clockwise. Coolant temperature gaug
e
The coolant temperature gauge is in the
instrument cluster on the left-hand side. The
coolant temperature may rise to 120 †under
normal operating conditions and if the con-
centration of antifreeze/corrosion inhibitor is
correct. The coolant temperature may rise to
the top end of the scale at high outside tem-
peratures and on long uphill stretches. Resetting the trip meter
Vehicles with a 4-button multi-function
steering wheel: you can reset the trip meter
in the standard displa ymenu
( Y page 128).
Vehicles with a 12-button luxury multi-
function steering wheel* :you can find th e
"Reset values" function in the Tripmenu in
the on-board computer (Y page 135). Controls
* optional
204_AKB; 2; 3, en-GB
mkalafa,
2007-06-26T23:11:51+02:00 - Seite 123
Page 143 of 377
On-board computer (vehicles with the luxury multi-function steering wheel*, 12 buttons)
140 Service menu
i Menu overview (Y page 132), using the
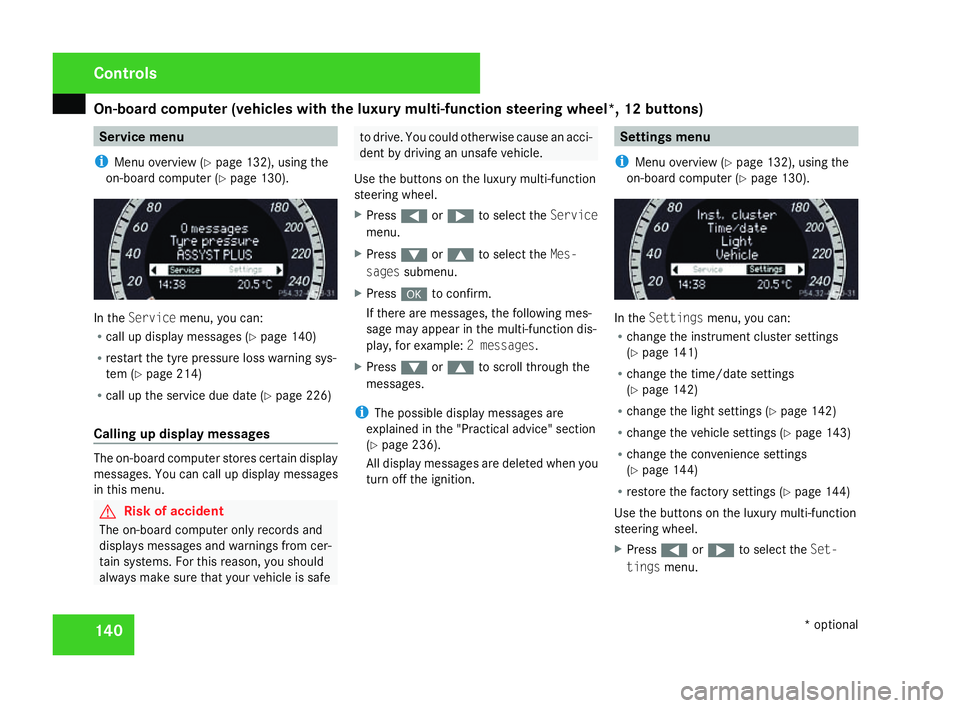
on-board computer (Y page 130). In the
Servic emenu, you can:
R call up display messages (Y page 140 )
R restart the tyre pressure loss warning sys-
tem (Y page 214 )
R call up the service due date (Y page 226 )
Calling up display messages The on-board computer stores certain display
messages. You can call up display messages
in this menu. G
Risk of accident
The on-board computer only records and
displays messages and warnings from cer-
tain systems. For this reason, you shoul d
always make sure that your vehicle is safe to drive. You could otherwise cause an acci-
dent by driving an unsafe vehicle .
Use the buttons on the luxury multi-function
steering wheel.
X Press (or& to select the Service
menu.
X Press %or$ to select the Mes-
sages submenu.
X Press #to confirm.
If there are messages, the following mes -
sage may appear in the multi-function dis-
play, for example: 2 messages.
X Press %or$ to scroll through the
messages.
i The possible display messages are
explained in the "Practical advice" section
( Y page 236).
All display messages are deleted when you
turn off the ignition. Settings menu
i Menu overview (Y page 132), using the
on-board computer (Y page 130). In the
Settings menu, you can:
R change the instrument cluster settings
(Y page 141 )
R change the time/date settings
(Y page 142 )
R change the light settings (Y page 142 )
R change the vehicle settings (Y page 143 )
R change the convenience settings
(Y page 144 )
R restore the factory settings (Y page 144 )
Use the buttons on the luxury multi-function
steering wheel.
X Press (or& to select the Set-
tings menu. Controls
* optional
204_AKB; 2; 3, en-GB
mkalafa,
2007-06-26T23:11:51+02:00 - Seite 140
Page 151 of 377
Driving sys
tems 14
8
Making adjustments in 1 km/h incre-
ments X
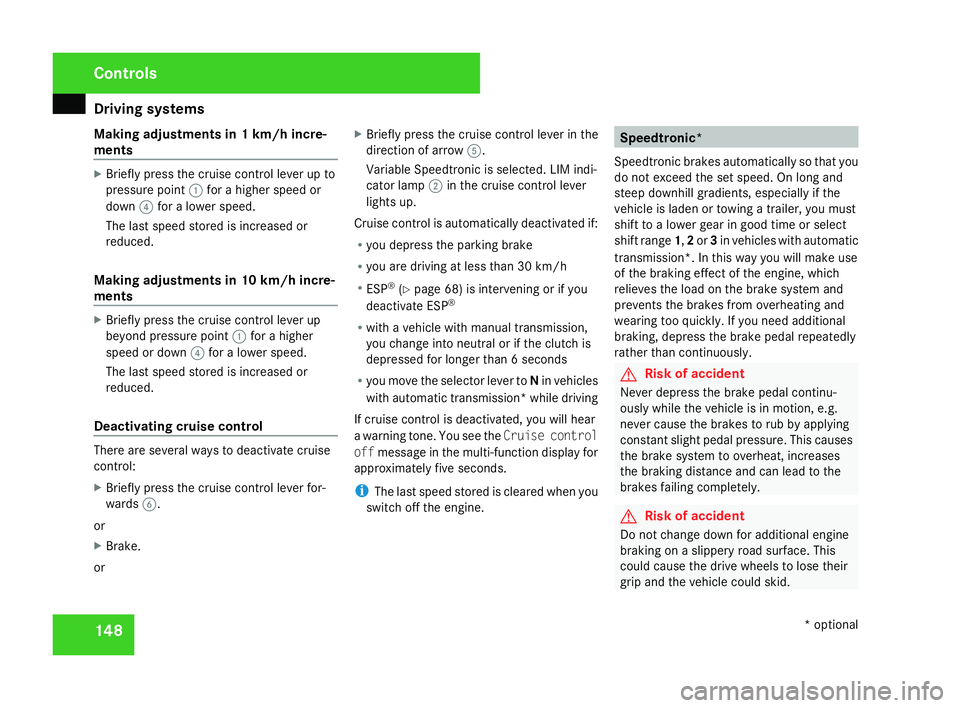
Briefly press the cruise control lever up to
pressure point 1for a higher speed or
down 4for a lower speed.
The last speed stored is increased or
reduced.
Making adjustments in 10 km/h incre-
ments X
Briefly press the cruise control lever up
beyond pressure point 1for a higher
speed or down 4for a lower speed.
The last speed stored is increased or
reduced.
Deactivating cruise control There are several ways to deactivate cruis
e
control :
X Briefly press the cruise control lever for-
wards 6.
or
X Brake .
or X
Briefly press the cruise control lever in the
direction of arrow 5.
Variable Speedtronic is selected. LIM indi-
cator lamp 2in the cruise control lever
lights up.
Cruise control is automatically deactivated if:
R you depress the parking brak e
R you are driving at less than 30 km/h
R ESP ®
(Y page 68) is intervening or if you
deactivate ESP ®
R with a vehicle with manual transmission ,
you change into neutral or if the clutch is
depressed for longer than 6 seconds
R you move the selector lever to Nin vehicles
with automatic transmission* while drivin g
If cruise control is deactivated, you will hear
a warning tone. You see the Cruise control
off message in the multi-function display for
approximately five seconds.
i The last speed stored is cleared when you
switch off the engine. Speedtronic*
Speedtronic brakes automatically so that you
do not exceed the set speed. On long and
steep downhill gradients, especially if the
vehicle is laden or towing a trailer, you must
shift to a lower gear in good time or select
shift range 1,2 or 3in vehicles with automatic
transmission*. In this way you will make use
of the braking effect of the engine, which
relieves the load on the brake system and
prevents the brakes from overheating and
wearing too quickly. If you need additional
braking, depress the brake pedal repeatedly
rather than continuously. G
Risk of accident
Never depress the brake pedal continu -
ously while the vehicle is in motion, e.g.
never cause the brakes to rub by applying
constant slight pedal pressure. This causes
the brake system to overheat, increases
the braking distance and can lead to the
brakes failing completely. G
Risk of accident
Do not change down for additional engine
braking on a slippery road surface. Thi s
could cause the drive wheels to lose thei r
grip and the vehicle could skid. Controls
* optional
204_AKB; 2; 3, en-GB
mkalafa,
2007-06-26T23:11:51+02:00 - Seite 148
Page 153 of 377
Driving sys
tems 15
0
Storing the current speed You can use the cruise control lever to restrict
the speed to any speed above 30 km/h whil e
the engine is running .
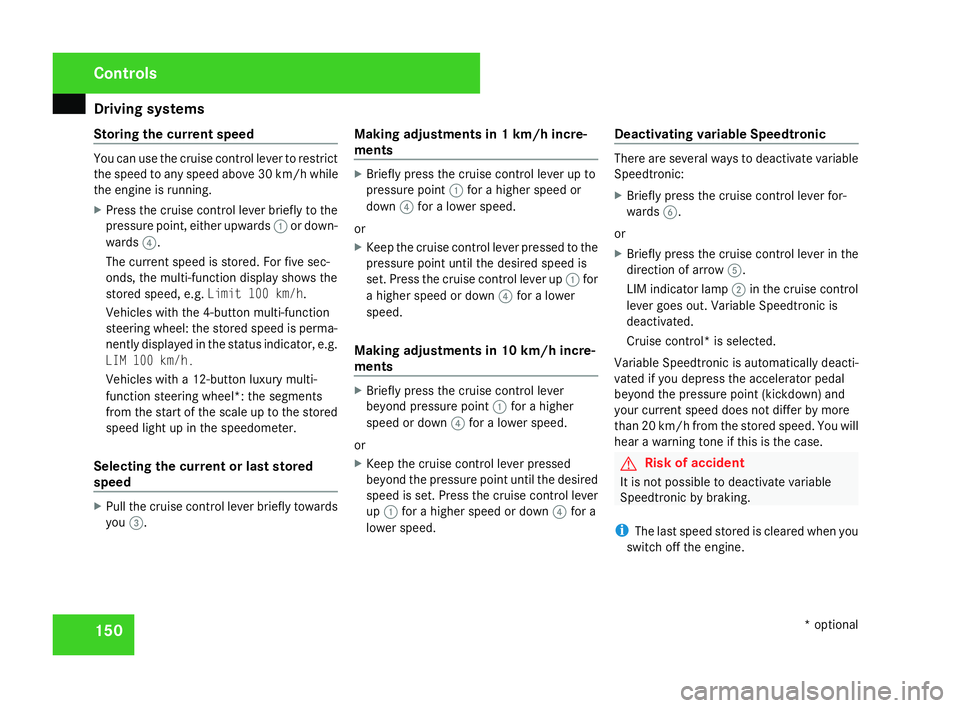
X Press the cruise control lever briefly to the
pressure point, either upwards 1or down-
wards 4.
The current speed is stored. For five sec-
onds, the multi-function display shows the
stored speed, e.g. Limit 100 km/h.
Vehicles with the 4-button multi-function
steering wheel: the stored speed is perma-
nently displayed in the status indicator, e.g.
LIM 100 km/h.
Vehicles with a 12-button luxury multi-
function steering wheel*: the segments
from the start of the scale up to the stored
speed light up in the speedometer.
Selecting the current or last stored
speed X
Pull the cruise control lever briefly towards
you 3. Making adjustments in 1 km/h incre-
ments X
Briefly press the cruise control lever up to
pressure point 1for a higher speed or
down 4for a lower speed.
or
X Keep the cruise control lever pressed to the
pressure point until the desired speed is
set. Press the cruise control lever up 1for
a higher speed or down 4for a lower
speed.
Making adjustments in 10 km/h incre-
ments X
Briefly press the cruise control lever
beyond pressure point 1for a higher
speed or down 4for a lower speed.
or
X Keep the cruise control lever pressed
beyond the pressure point until the desired
speed is set. Press the cruise control lever
up 1 for a higher speed or down 4for a
lower speed. Deactivating variable Speedtronic There are several ways to deactivate variable
Speedtronic
:
X Briefly press the cruise control lever for-
wards 6.
or
X Briefly press the cruise control lever in the
direction of arrow 5.
LIM indicator lamp 2in the cruise control
lever goes out. Variable Speedtronic is
deactivated.
Cruise control* is selected.
Variable Speedtronic is automatically deacti-
vated if you depress the accelerator pedal
beyond the pressure point (kickdown) and
your current speed does not differ by mor e
than 20 km/h from the stored speed. You will
hear a warning tone if this is the case. G
Risk of accident
It is not possible to deactivate variabl e
Speedtronic by braking.
i The last speed stored is cleared when you
switch off the engine. Controls
* optional
204_AKB; 2; 3, en-GB
mkalafa,
2007-06-26T23:11:51+02:00 - Seite 150
Page 157 of 377
Driving sys
tems 15
4
Front sensor
s Centr
e Approximately 100 cm
Corner
s Approximately 60 cm
Rear sensors
Centre Approximately 120 cm
Corner
s Approximately 80 cm
!
Pay particular attention to objects above
or below the sensors when parking, such
as flower pots or trailer towbars. Parktroni c
does not detect such objects when they are
in the immediate vicinity of the vehicle. You
could damage the vehicle or the objects.
Ultrasonic sources such as an automatic
car wash, a lorry's compressed-air brakes
or a pneumatic drill could cause Parktronic
to malfunction .
Minimum distanc eCentr
e Approximately 20 cm
Corner
s Approximately 15 cm If there is an obstacle within this range, al
l
warning displays light up and a tone sounds.
If the distance falls below the minimum clear -
ance, it may no longer be shown.
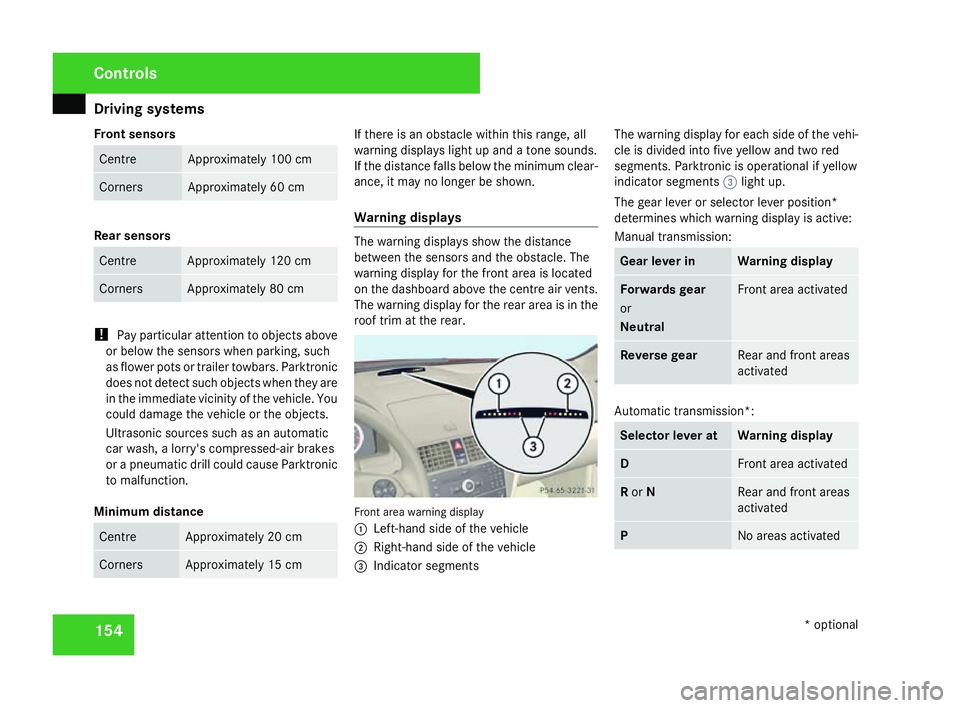
Warning displays The warning displays show the distanc
e
between the sensors and the obstacle. The
warning display for the front area is located
on the dashboard above the centre air vents.
The warning display for the rear area is in the
roof trim at the rear. Front area warning display
1
Left-hand side of the vehicle
2 Right-hand side of the vehicl e
3 Indicator segments The warning display for each side of the vehi-
cle is divided into five yellow and two red
segments. Parktronic is operational if yellow
indicator segments
3light up.
The gear lever or selector lever position*
determines which warning display is active:
Manual transmission : Gear lever in Warning display
Forwards gear
or
Neutral Front area activated
Reverse gear Rear and front areas
activated
Automatic transmission*:
Selector lever at Warning displa
y D Front area activate
d R
or N Rear and front area
s
activated P No areas activatedControls
* optional
204_AKB; 2; 3, en-GB
mkalafa,
2007-06-26T23:11:51+02:00 - Seite 154
Page 158 of 377
Driving sys
tems 15
5
One or more segments light up as the vehicle
approaches an obstacle, depending on the
vehicle's distance from the obstacle.
From the:
R sixth segment onwards, you will hear an
intermittent warning tone for approxi-
mately two seconds
R seventh segment onwards, you will hear a
warning tone for approximately two sec -
onds. You have reached the minimum dis-
tance.
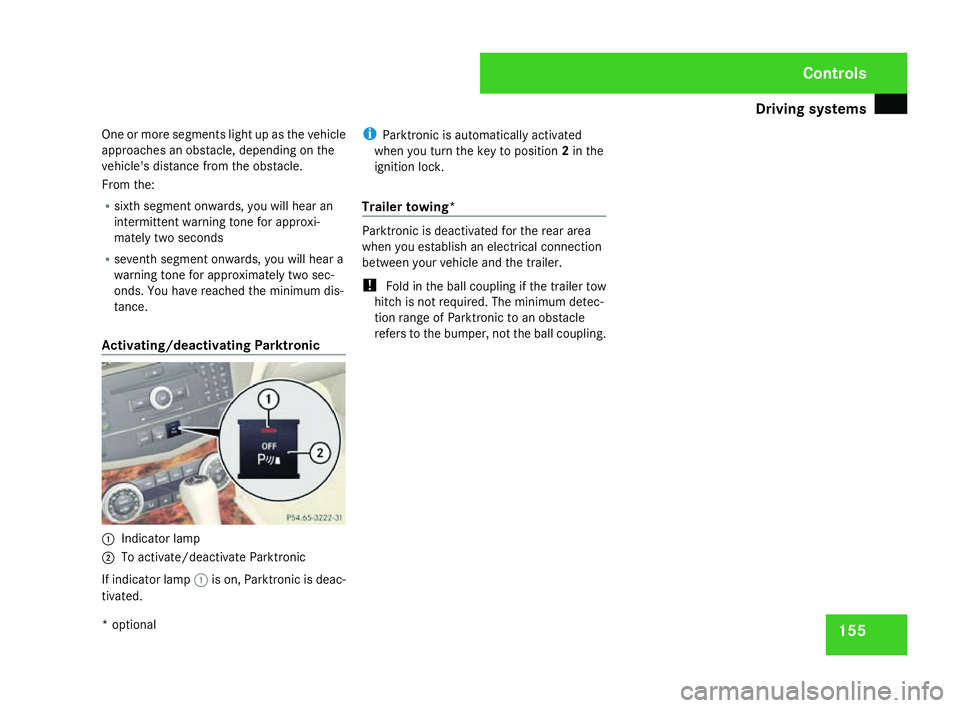
Activating/deactivating Parktronic 1
Indicator lamp
2 To activate/deactivate Parktronic
If indicator lamp 1is on, Parktronic is deac-
tivated. i
Parktronic is automatically activated
when you turn the key to position 2in the
ignition lock .
Trailer towing* Parktronic is deactivated for the rear area
when you establish an electrical connectio
n
between your vehicle and the trailer.
! Fold in the ball coupling if the trailer tow
hitch is not required. The minimum detec -
tion range of Parktronic to an obstacle
refers to the bumper, not the ball coupling . Cont
rols
* optional
204_AKB; 2; 3, en-GB
mkalafa,
2007-06-26T23:11:51+02:00 - Seite 155
Page 240 of 377
Display
messages 23
7 cator lamps, display messages or system
failures. The vehicle's handling character-
istics may be affected. Adjust your driving
style and speed accordingly .
Immediately consult a qualified specialist
workshop which has the necessary special-
ist knowledge and tools to carry out the
work required. Mercedes-Benz recom-
mends that you use a Mercedes-Benz
Service Centre for this purpose. In particu- lar, work relevant to safety or on safety-
related systems must be carried out at
a
qualified specialist workshop.
Before starting a journey, check that the
warning and indicator lamps are operatin g
correctly .
X Turn the key to position 2in the ignition
lock .
or X
Press the KEYLESS GO button* twice.
All warning and indicator lamps (except for
the main-beam indicator lamp and the turn
signal indicator lamps) light up and the
multi-function display is activated.
The following tables contain all the display
messages. To make it easier for you to find
the relevant display message, the display
messages are divided into text messages
( Y page 237) and symbol messages
( Y page 247). Text messages
G
Risk of accident and injury
Always have maintenance work carried out at a qualified specialist workshop which has the necessary specialist knowledge and tools to
carry out the work required .
Mercedes-Benz recommends that you use a Mercedes-Benz Service Centre for this purpose.
In particular, work relevant to safety or on safety-related systems must be carried out at a qualified specialist workshop. The operating
safety of the vehicle can be affected if this work is carried out incorrectly. There is a risk of accident and injury.
Vehicles with 4-button multi-function steering wheel: text messages are listed in the left-hand column under "Display messages".
Vehicles with 12-button luxury multi-function steering wheel: text messages are listed in the right-hand column under "Display mes-
sages". Practical advice
* optional
204_AKB; 2; 3, en-GB
mkalafa,
2007-06-26T23:11:51+02:00 - Seite 237
Page 241 of 377
Display
messages 23
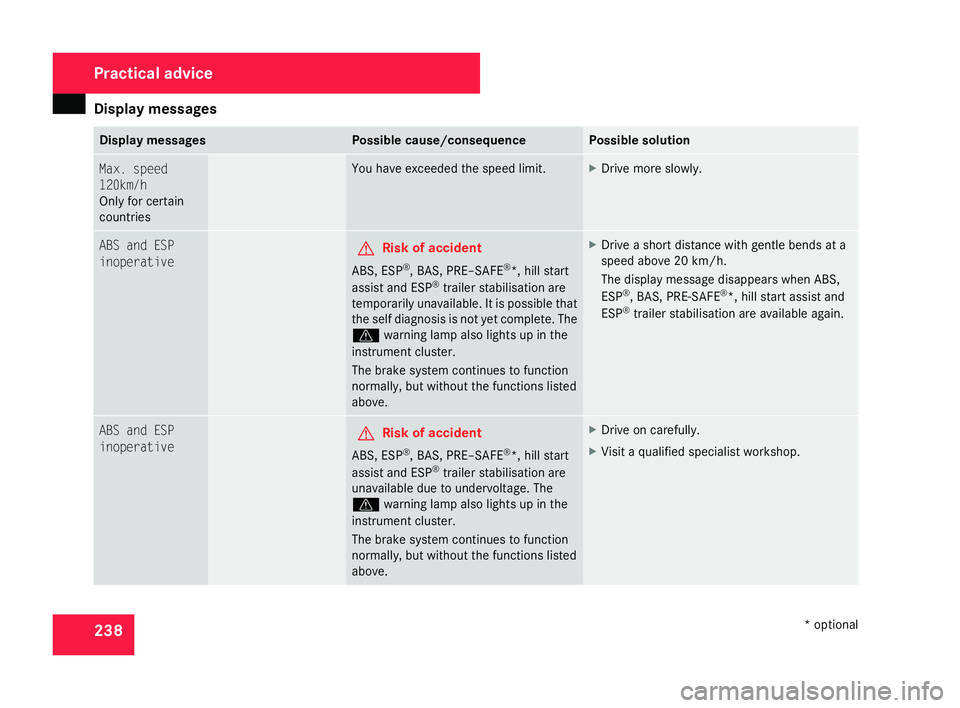
8 Display messages Possible cause/consequence Possible solution
Max. speed
120km/
h
Only for certain
countries You have exceeded the speed limit. X
Drive more slowly . ABS and ESP
inoperative
G
Risk of accident
ABS, ESP ®
, BAS, PRE–SAFE ®
*, hill start
assist and ESP ®
trailer stabilisation ar e
temporarily unavailable. It is possible tha t
the self diagnosis is not yet complete. Th e
v warning lamp also lights up in th e
instrument cluster.
The brake system continues to function
normally, but without the functions listed
above. X
Drive a short distance with gentle bends at a
speed above 20 km/h.
The display message disappears when ABS,
ESP ®
, BAS, PRE-SAFE ®
*, hill start assist and
ESP ®
trailer stabilisation are available again. ABS and ESP
inoperative
G
Risk of accident
ABS, ESP ®
, BAS, PRE–SAFE ®
*, hill start
assist and ESP ®
trailer stabilisation ar e
unavailable due to undervoltage. The
v warning lamp also lights up in th e
instrument cluster.
The brake system continues to function
normally, but without the functions listed
above. X
Drive on carefully.
X Visit a qualified specialist workshop. Practical advice
* optional
204_AKB; 2; 3, en-GB
mkalafa,
2007-06-26T23:11:51+02:00 - Seite 238