Page 19 of 90

19
Getting started
Ifnecessary
Rear View
Monitor
Screen change
nDo not keep your eyes fixed on the monitor screen or operate the system
while driving
Do not change the settings and destination locations while driving. Minimize the time
spent viewing the monitor screen and listening to the voice guidance while driving.
Operating the system will distract the driver from looking ahead of the vehicle and may
cause an accident. Always stop the vehicle in a safe location and use the parking brake
before operating the system.
Map
orientation
Map scale
Changing the Map Orientation/Scale
Warning
1
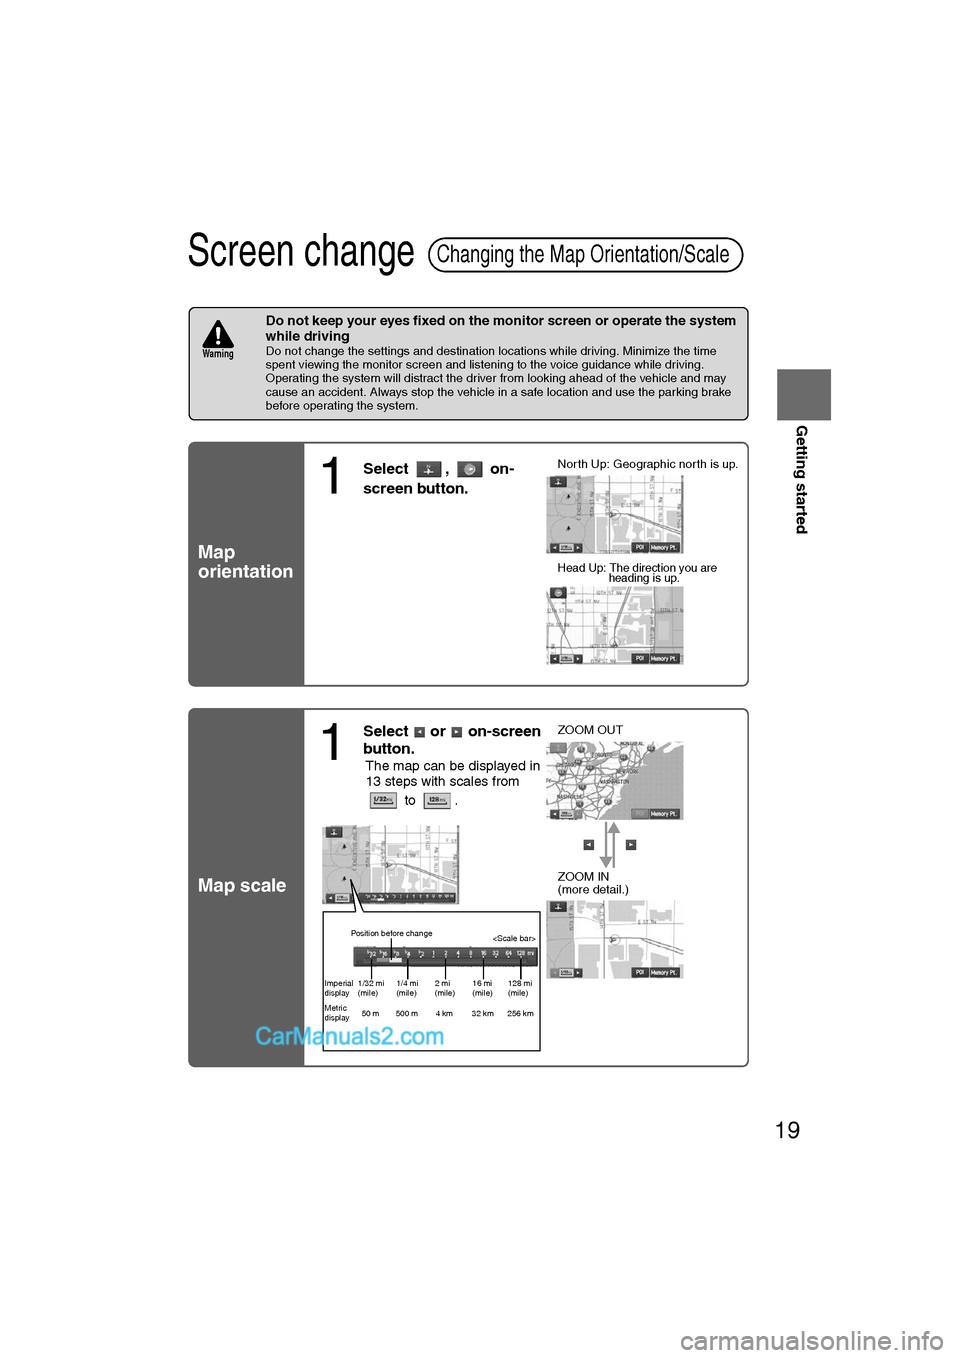
Select , on-
screen button.lNorth Up: Geographic north is up.
lHead Up: The direction you are heading is up.
1
Select or on-screen
button.
lThe map can be displayed in
13 steps with scales from
to . l
ZOOM OUT
lZOOM IN
(more detail.)
Position before change
Imperial
display1/32 mi
(mile) 1/4 mi
(mile)2 mi
(mile)16 mi
(mile)128 mi
(mile)
Metric
display 50 m 500 m 4 km 32 km 256 km
�%�:�����A�'�#���D�Q�Q�M�����2�C�I�G�����������6�W�G�U�F�C�[�����5�G�R�V�G�O�D�G�T�������������������������������2�/
Page 35 of 90

35
Routing
Ifnecessary
Rear View
Monitor
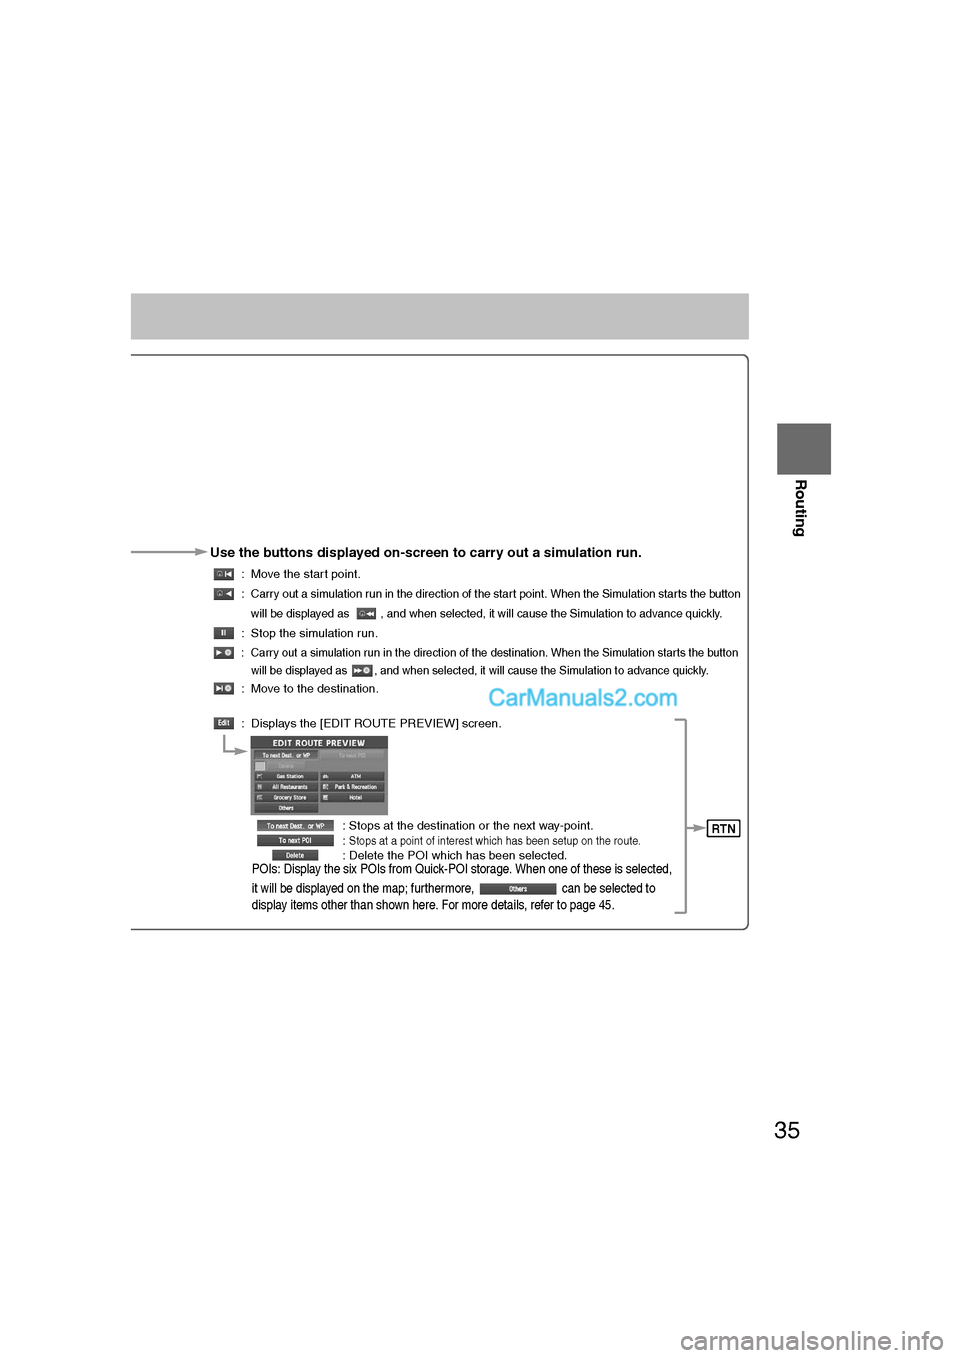
Use the buttons displayed on-screen to carry out a simulation run.
: Move the start point.
:
Carry out a simulation run in the direction of the start point. When the Simulation starts the button
will be displayed as , and when selected, it will cause the Simulation to advance quickly.
: Stop the simulation run.
: Carry out a simulation run in the direction of the destination. When the Simulation starts the button will be displayed as , and when selected, it will cause the Simulation to advance quickly.
: Move to the destination.
: Displays the [EDIT ROUTE PREVIEW] screen.
: Stops at the destination or the next way-point.
:
Stops at a point of interest which has been setup on the route. : Delete the POI which has been selected.POIs: Display the six POIs from Quick-POI storage. When one of these is selected,
it will be displayed on the map; furthermore, can be selected to
display items other than shown here. For more details, refer to page 45.
RTN
�%�:�����A�'�#���D�Q�Q�M�����2�C�I�G�����������6�W�G�U�F�C�[�����5�G�R�V�G�O�D�G�T�������������������������������2�/
Page 70 of 90

70
Before
UseGetting
started
RoutingAddress
Book
Vo i c e Recognition
Navigation
Set Up
RDM-TMC
Audio Operation
Navigation
Set Up
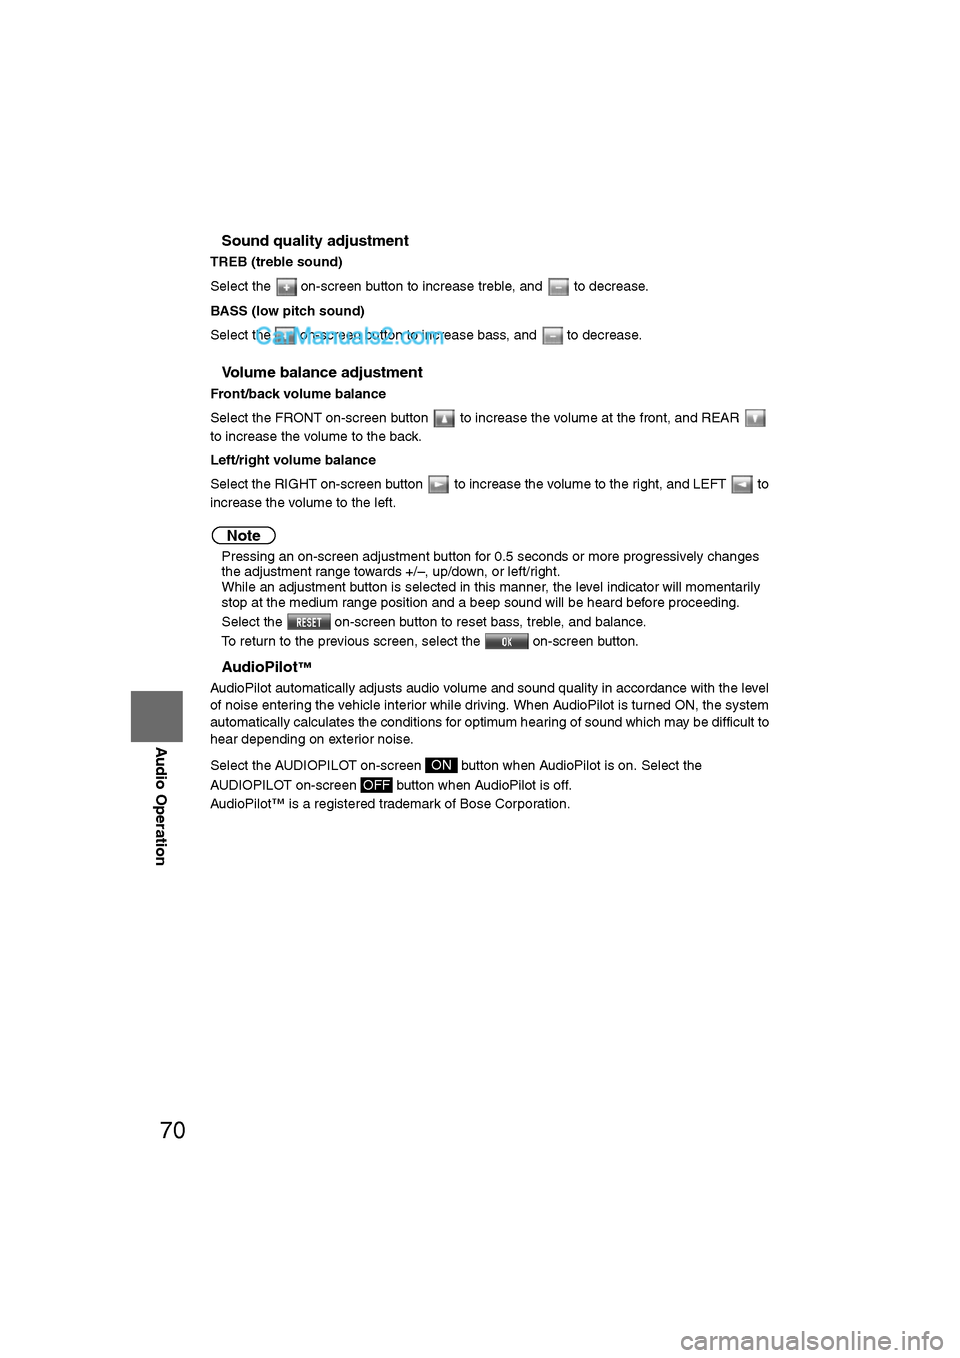
nSound quality adjustment
TREB (treble sound)
Select the on-screen button to increase treble, and to decrease.
BASS (low pitch sound)
Select the on-screen button to increase bass, and to decrease.
nVolume balance adjustment
Front/back volume balance
Select the FRONT on-screen button to increase the volume at the front, and REAR
to increase the volume to the back.
Left/right volume balance
Select the RIGHT on-screen button to increase the volume to the right, and LEFT to
increase the volume to the left.
Note
l
Pressing an on-screen adjustment button for 0.5 seconds or more progressively changes
the adjustment range towards +/–, up/down, or left/right.
l While an adjustment button is selected in this manner, the level indicator will momentarily
stop at the medium range position and a beep sound will be heard before proceeding.
l Select the on-screen button to reset bass, treble, and balance.
l To return to the previous screen, select the on-screen button.
nAudioPilot™
AudioPilot automatically adjusts audio volume and sound quality in accordance with the level
of noise entering the vehicle interior while driving. When AudioPilot is turned ON, the system
automatically calculates the conditions for optimum hearing of sound which may be difficult to
hear depending on exterior noise.
Select the AUDIOPILOT on-screen button when AudioPilot is on. Select the
AUDIOPILOT on-screen button when AudioPilot is off.
AudioPilot™ is a registered trademark of Bose Corporation.
ON
OFF
�%�:�����A�'�#���D�Q�Q�M�����2�C�I�G�����������6�W�G�U�F�C�[�����5�G�R�V�G�O�D�G�T�������������������������������2�/