Page 72 of 94

71
Audio Operation
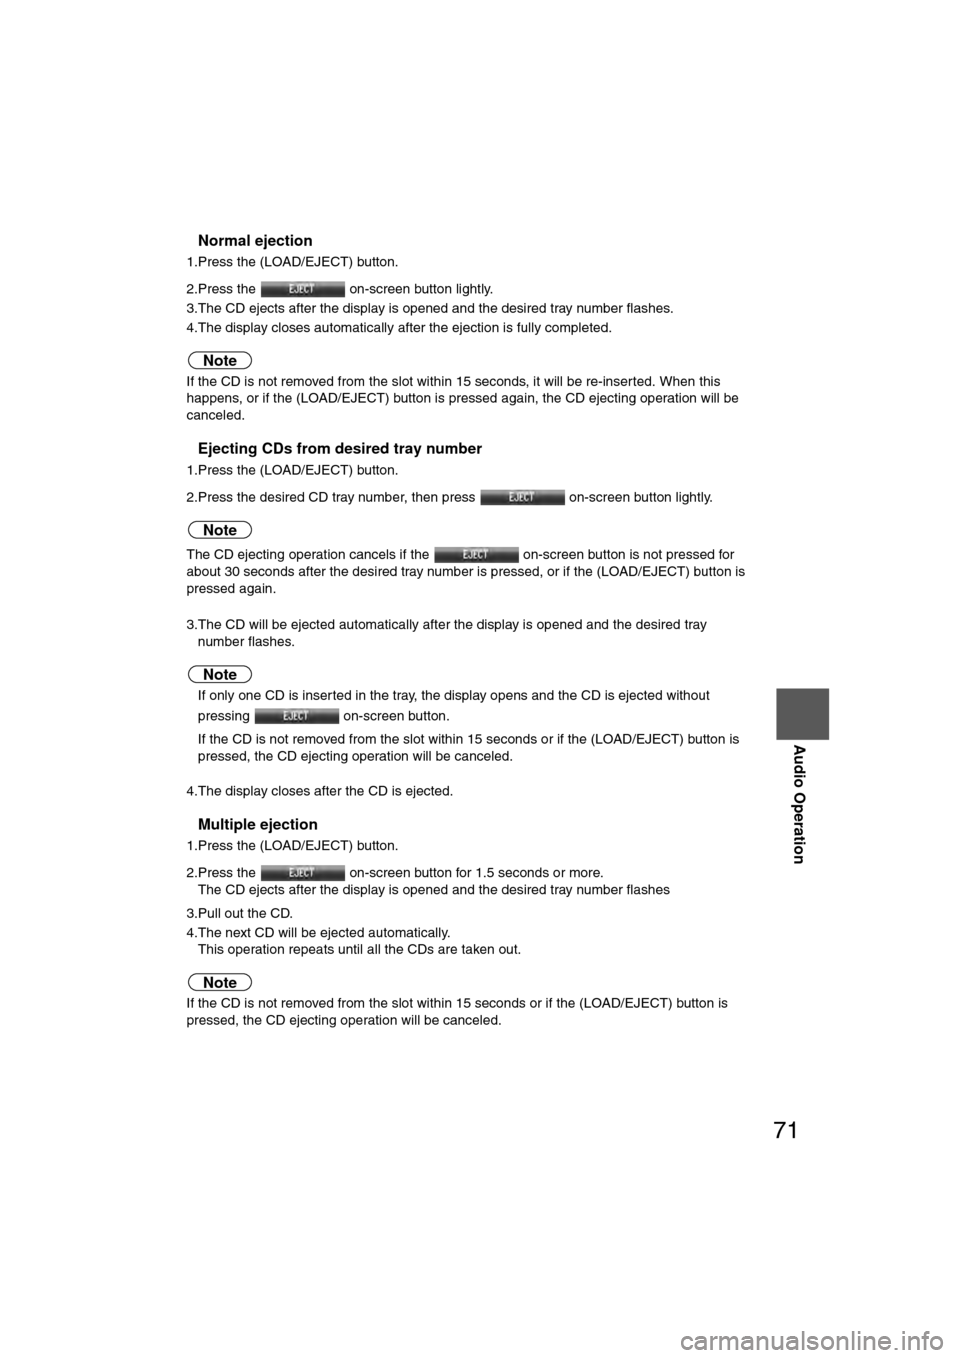
nNormal ejection
1.Press the (LOAD/EJECT) button.
2.Press the on-screen button lightly.
3.The CD ejects after the display is opened and the desired tray number flashes.
4.The display closes automatically after the ejection is fully completed.
Note
If the CD is not removed from the slot within 15 seconds, it will be re-inserted. When this
happens, or if the (LOAD/EJECT) button is pressed again, the CD ejecting operation will be
canceled.
nEjecting CDs from desired tray number
1.Press the (LOAD/EJECT) button.
2.Press the desired CD tray number, then press on-screen button lightly.
Note
The CD ejecting operation cancels if the on-screen button is not pressed for
about 30 seconds after the desired tray number is pressed, or if the (LOAD/EJECT) button is
pressed again.
3.The CD will be ejected automatically after the display is opened and the desired tray number flashes.
Note
lIf only one CD is inserted in the tray, the display opens and the CD is ejected without
pressing on-screen button.
l If the CD is not removed from the slot within 15 seconds or if the (LOAD/EJECT) button is
pressed, the CD ejecting operation will be canceled.
4.The display closes after the CD is ejected.
nMultiple ejection
1.Press the (LOAD/EJECT) button.
2.Press the on-screen button for 1.5 seconds or more. The CD ejects after the display is opened and the desired tray number flashes
3.Pull out the CD.
4.The next CD will be ejected automatically. This operation repeats until all the CDs are taken out.
Note
If the CD is not removed from the slot within 15 seconds or if the (LOAD/EJECT) button is
pressed, the CD ejecting operation will be canceled.
�%�:�����A�'�#���D�Q�Q�M�����2�C�I�G�����������6�J�W�T�U�F�C�[�����/�C�T�E�J���������������������������������2�/
Page 80 of 94

79
Rear View Monitor
Switching to the Rear View Monitor Display
Shift the shift lever to R with the ignition switch in the ON position to switch the display to the
rear view monitor display.
Note
When the shift lever is shifted from R to another shift lever position, the screen returns to the
previous display.
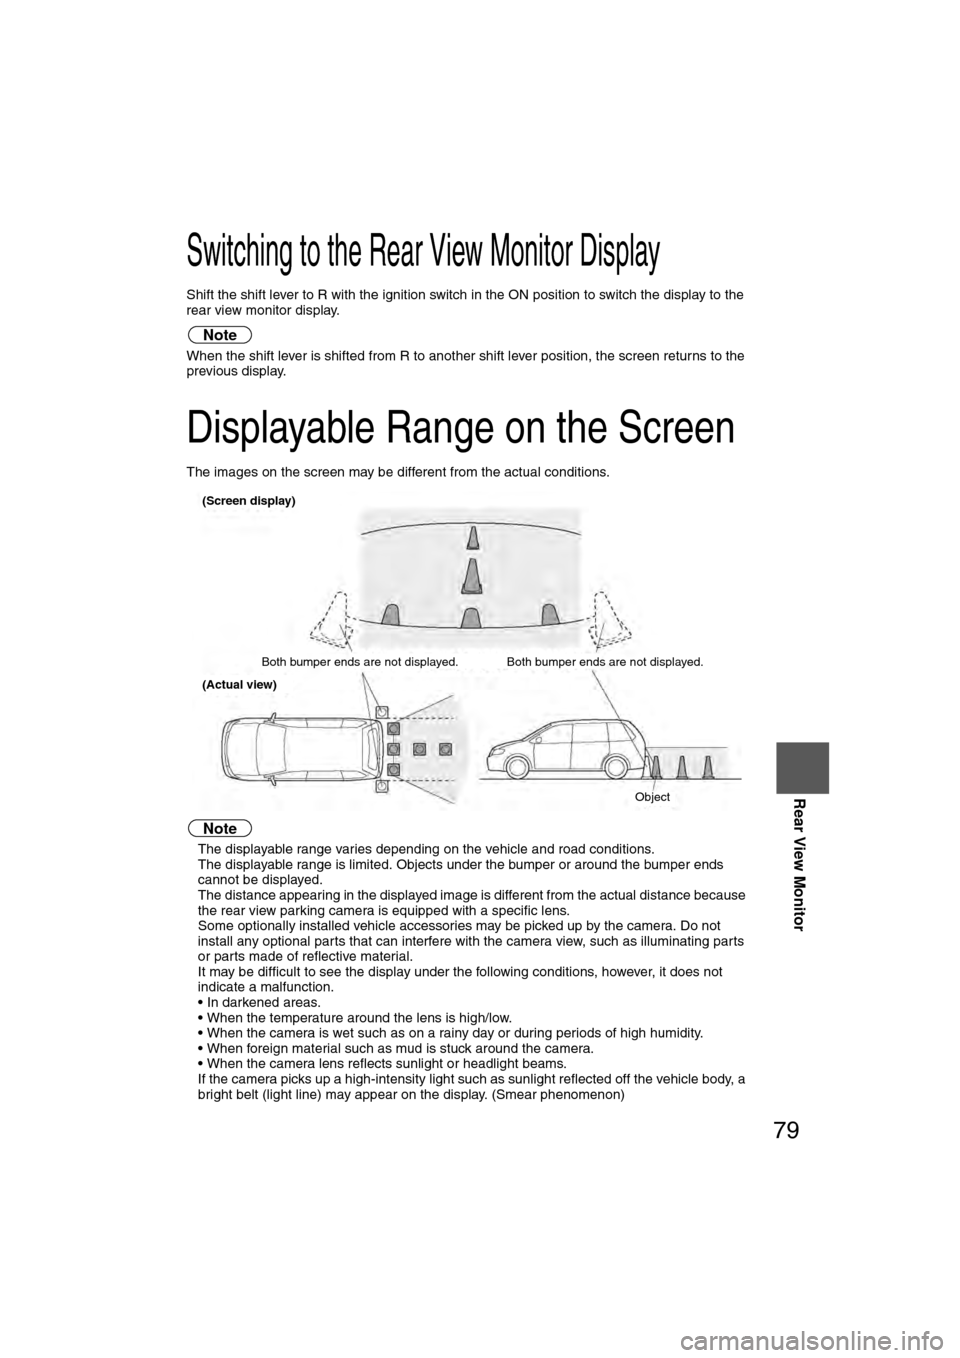
Displayable Range on the Screen
The images on the screen may be different from the actual conditions.
Note
lThe displayable range varies depending on the vehicle and road conditions.
l The displayable range is limited. Objects under the bumper or around the bumper ends
cannot be displayed.
l The distance appearing in the displayed image is different from the actual distance because
the rear view parking camera is equipped with a specific lens.
l Some optionally installed vehicle accessories may be picked up by the camera. Do not
install any optional parts that can interfere with the camera view, such as illuminating parts
or parts made of reflective material.
l It may be difficult to see the display under the following conditions, however, it does not
indicate a malfunction.
• In darkened areas.
• When the temperature around the lens is high/low.
• When the camera is wet such as on a rainy day or during periods of high humidity.
• When foreign material such as mud is stuck around the camera.
• When the camera lens reflects sunlight or headlight beams.
l If the camera picks up a high-intensity light such as sunlight reflected off the vehicle body, a
bright belt (light line) may appear on the display. (Smear phenomenon)
(Screen display)
Both bumper ends are not displayed. Both bumper ends are not displayed. Object
(Actual view)
�%�:�����A�'�#���D�Q�Q�M�����2�C�I�G�����������6�J�W�T�U�F�C�[�����/�C�T�E�J���������������������������������2�/
Page 84 of 94

10
Before Use
Navigation
Set Up
RDM-TMCIf
necessary
Rear View
Monitor
8. RTN button*2 :
Button used to return to the previous screen.
9. DISP button: Screen brightness/contrast mode selection and adjustment
display.
10.POWER/VOLUME button: The volume can be adjusted by turning the dial. Turn the audio unit off by pressing the dial.
11.TUNE/SEEK button: Performs tuning (short press) and searching (long press) in FM/AM mode. Performs track skip (short press) and fast-
forward/reverse (long press) in CD mode.
12.SCAN button: Performs scanning operation in FM/AM and CD modes.
13.AUDIO button: Audio unit-related operation screen display (preset display of
FM and AM).
The on-screen touch button "SOUND" is constantly displayed
at the bottom of the audio unit-related screen for displaying the
sound quality adjustment screen when selected.
*1 : The external input terminal is not equipped on your vehicle
because it is not standard equipment.
*2 : For navigation unit operation
Note
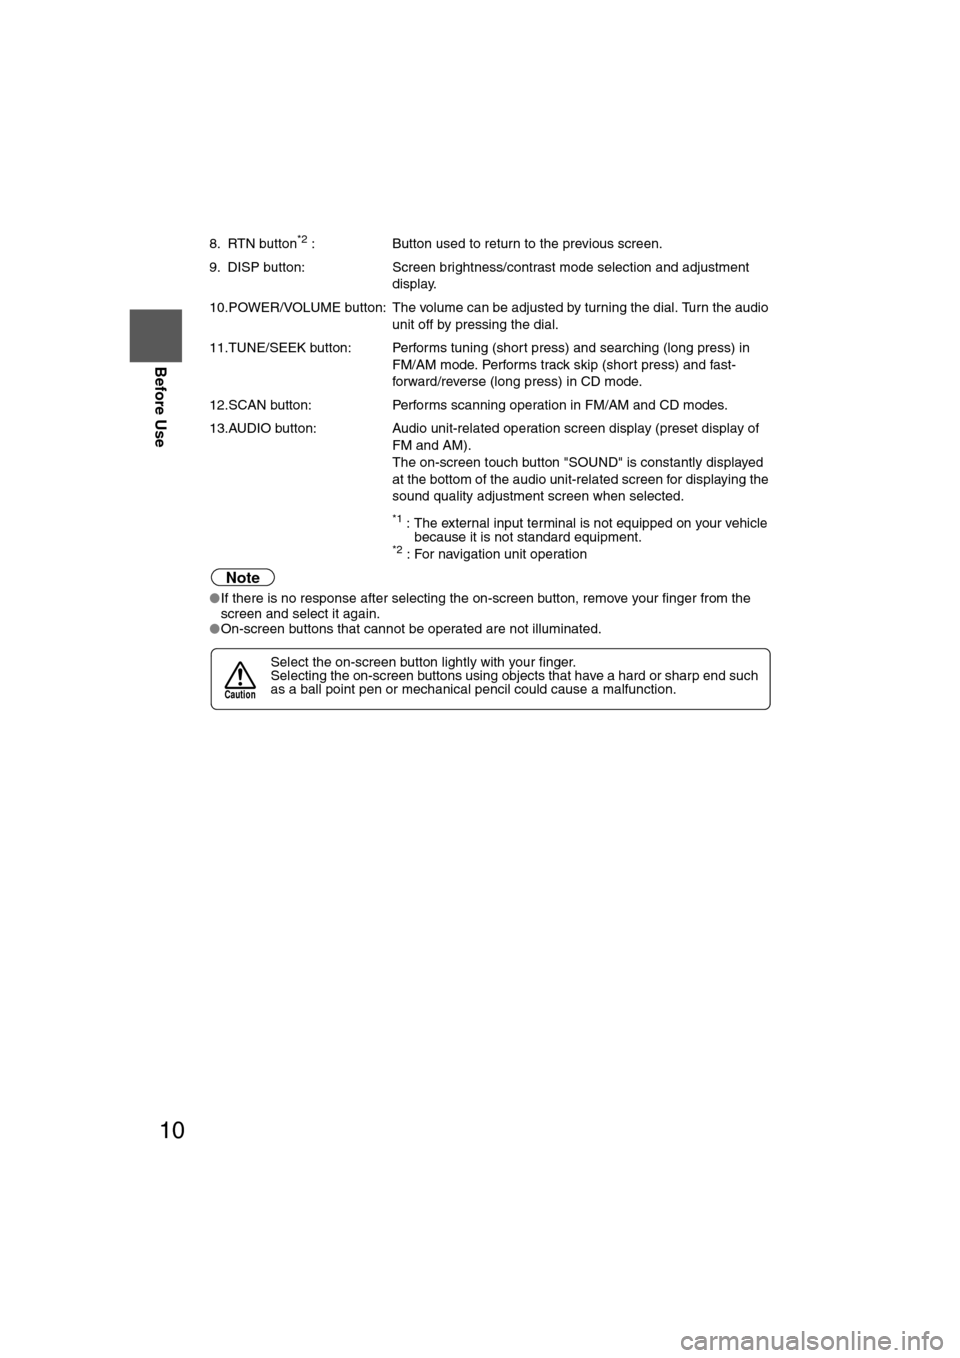
lIf there is no response after selecting the on-screen button, remove your finger from the
screen and select it again.
l On-screen buttons that cannot be operated are not illuminated.
Select the on-screen button lightly with your finger.
Selecting the on-screen buttons using objects that have a hard or sharp end such
as a ball point pen or mechanical pencil could cause a malfunction.
Caution
�%�:�����A�'�#���D�Q�Q�M�����2�C�I�G�����������6�J�W�T�U�F�C�[�����/�C�T�E�J���������������������������������2�/
Page 86 of 94

13
Getting started
If necessary
Rear View
Monitor
lThe Current Position screen appears.
Note
lYou can select the language by selecting the on-screen button. You can also
change the selected language using Language Selection. ( page 51)
l The CAUTION screen remains on the display unless you select the on-screen
button.
Select the on-screen button lightly with your finger.
Colors for unavailable buttons will be pale.
2
Read the CAUTION
carefully, and select
the on-screen
button.
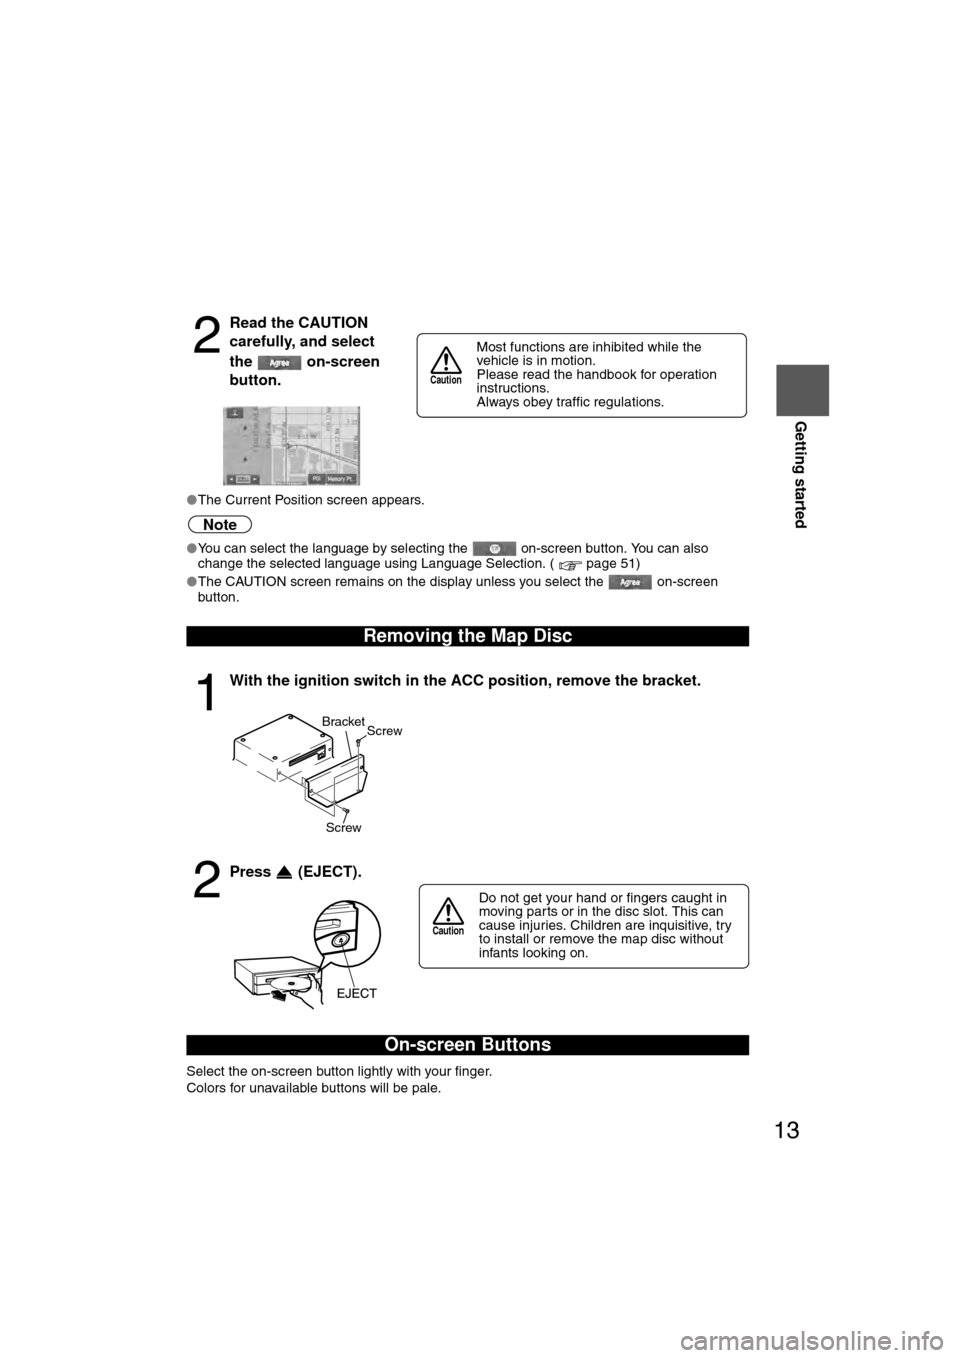
Removing the Map Disc
1
With the ignition switch in the ACC position, remove the bracket.
2
Press (EJECT).
On-screen Buttons
Most functions are inhibited while the
vehicle is in motion.
Please read the handbook for operation
instructions.
Always obey traffic regulations.
Caution
Screw Screw
Bracket
Do not get your hand or fingers caught in
moving parts or in the disc slot. This can
cause injuries. Children are inquisitive, try
to install or remove the map disc without
infants looking on.
Caution
�%�:�����A�'�#���D�Q�Q�M�����2�C�I�G�����������6�J�W�T�U�F�C�[�����/�C�T�E�J���������������������������������2�/