Page 229 of 328
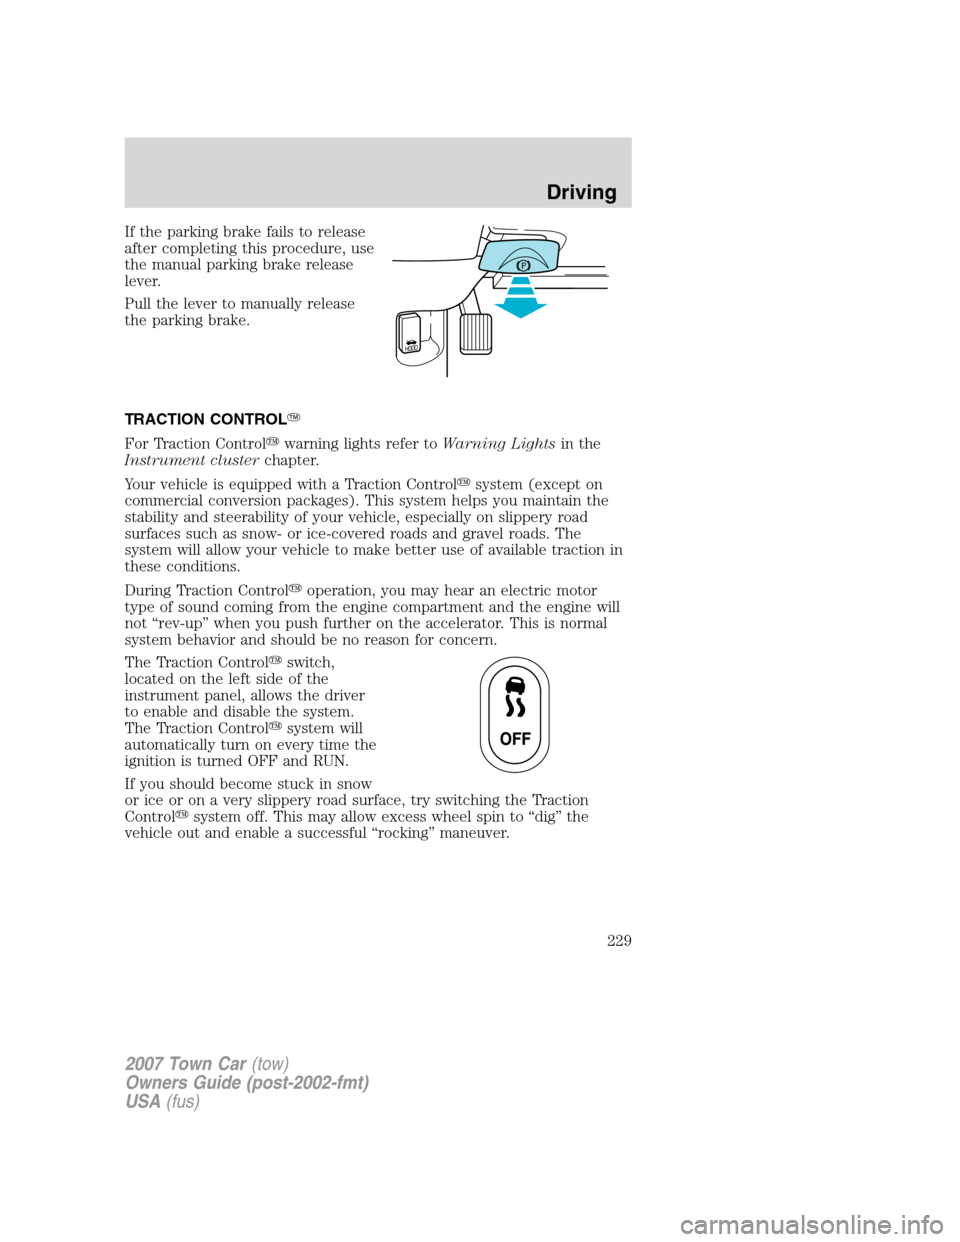
If the parking brake fails to release
after completing this procedure, use
the manual parking brake release
lever.
Pull the lever to manually release
the parking brake.
TRACTION CONTROL�
For Traction Control�warning lights refer toWarning Lightsin the
Instrument clusterchapter.
Your vehicle is equipped with a Traction Control�system (except on
commercial conversion packages). This system helps you maintain the
stability and steerability of your vehicle, especially on slippery road
surfaces such as snow- or ice-covered roads and gravel roads. The
system will allow your vehicle to make better use of available traction in
these conditions.
During Traction Control�operation, you may hear an electric motor
type of sound coming from the engine compartment and the engine will
not “rev-up” when you push further on the accelerator. This is normal
system behavior and should be no reason for concern.
The Traction Control�switch,
located on the left side of the
instrument panel, allows the driver
to enable and disable the system.
The Traction Control�system will
automatically turn on every time the
ignition is turned OFF and RUN.
If you should become stuck in snow
or ice or on a very slippery road surface, try switching the Traction
Control�system off. This may allow excess wheel spin to “dig” the
vehicle out and enable a successful “rocking” maneuver.
2007 Town Car(tow)
Owners Guide (post-2002-fmt)
USA(fus)
Driving
229
Page 237 of 328
Audible Warnings
Distance to Object Warning
3.1 feet (1 meter) to 5.7 feet
(1.8 meters)Medium/fast beep
5.7 feet (1.8 meters) to 9 feet
(2.8 meters)Medium beep
9 feet (2.8 meters) to 13 feet
(4 meters)Medium/slow beep
13 feet (4 meters) to 19.6 feet
(6 meters)Slow beep
Speed below 2.5 mph (4 km/h)
up to 1.4 feet (.4 meters) Solid
1.4 feet (.4 meters) to 3 feet
(.9 meters)Fast beep
3 feet (.9 meters) to 4.5 feet
(1.4 meters)Medium beep
4.5 feet (1.4 meters) to 6.3
feet (1.9 meters)Medium/slow beep
6.3 feet (1.9 meters) to 8.7
feet (2.6 meters)Slow beep
8.7 feet (2.6 meters) to 16.4
feet (5 meters)No sound
The reverse sensing system is automatically enabled when the gear
selector is placed in R (Reverse) and the ignition is ON. A control in the
message center allows the driver to disable the system only when the
ignition is ON and the gear selector is in R (Reverse). Refer toMessage
centerin theDriver Controlschapter.
The message center will indicate the system is OFF and will not allow
the driver to switch the system ON to indicate a failure of the reverse
sensing system.
The radar sensor is located behind the rear bumper/fascia. Always
keep the rear bumper/fascia free from snow, ice and large
accumulations of dirt. These elements may cause the system to
operate inaccurately.
If the vehicle sustains damage to the rear bumper/fascia, leaving
it misaligned or bent, the sensing zone may be altered causing
inaccurate measurement of obstacles or false alarms.
2007 Town Car(tow)
Owners Guide (post-2002-fmt)
USA(fus)
Driving
237
Page 239 of 328
ROADSIDE ASSISTANCE
Getting roadside assistance
To fully assist you should you have a vehicle concern, Ford Motor
Company offers a complimentary roadside assistance program. This
program is separate from the New Vehicle Limited Warranty. The service
is available:
•24–hours, seven days a week
•for the New Vehicle Limited Warranty period of three years or 36,000
miles (60,000 km), whichever occurs first on Ford and Mercury
vehicles, and four years or 50,000 miles (80,000 km) on Lincoln
vehicles.
Roadside assistance will cover:
•a flat tire change with a good spare (except Ford GT which has a tire
inflation kit)
•battery jump start
•lock-out assistance (key replacement cost is the customer’s
responsibility)
•fuel delivery – Independent Service Contractors, if not prohibited by
state, local or municipal law shall deliver up to 2.0 gallons (7.5L) of
gasoline or 5 gallons (18.9L) of diesel fuel to a disabled vehicle. Fuel
delivery service is limited to two no-charge occurrences within a
12-month period.
•winch out – available within 100 feet (30.5 meters) of a paved or
county maintained road, no recoveries.
•towing – Ford/Mercury/Lincoln eligible vehicle towed to an authorized
dealer within 35 miles (56.3 km) of the disablement location or to the
nearest authorized dealer. If a member requests to be towed to an
authorized dealer more than 35 miles (56.3 km) from the disablement
location, the member shall be responsible for any mileage costs in
excess of 35 miles (56.3 km).
Trailers shall be covered up to $100 if the disabled eligible vehicle
requires service at the nearest authorized dealer. If the trailer is disabled,
but the towing vehicle is operational, the trailer does not qualify for any
roadside services.
2007 Town Car(tow)
Owners Guide (post-2002-fmt)
USA(fus)
Roadside Emergencies
239
Page 240 of 328
Canadian customers refer to your Owner Information Guide for
information on:
•coverage period
•exact fuel amounts
•towing of your disabled vehicle
•emergency travel expense reimbursement
•travel planning benefits
Using roadside assistance
Complete the roadside assistance identification card and place it in your
wallet for quick reference. In the United States, this card is found in the
Owner Guide portfolio in the glove compartment. In Canada, the card is
found in theOwner Information Guidein the glove compartment.
U.S. Ford or Mercury vehicle customers who require roadside assistance,
call 1–800–241–3673; Lincoln vehicle customers call 1–800–521–4140.
Canadian customers who require roadside assistance, call
1–800–665–2006.
If you need to arrange roadside assistance for yourself, Ford Motor
Company will reimburse a reasonable amount. To obtain reimbursement
information, U.S. Ford or Mercury vehicles customers call
1–800–241–3673; Lincoln vehicle customers call 1–800–521–4140.
Canadian customers who need to obtain reimbursement information, call
1–800–665–2006.
Roadside coverage beyond basic warranty
In the United States, you may purchase additional roadside assistance
coverage beyond this period through the Ford Auto Club by contacting
your authorized dealer.
Similarly in Canada, for uninterrupted Roadside Assistance coverage, you
may purchase extended coverage prior to your Basic Warranty’s Roadside
Assistance expiring. For more information and enrollment, contact
1–877–294–2582 or visit our website at www.ford.ca.
2007 Town Car(tow)
Owners Guide (post-2002-fmt)
USA(fus)
Roadside Emergencies
240
Page 241 of 328
HAZARD FLASHER
The hazard flasher is located on the
steering column, just behind the
steering wheel. The hazard flashers
will operate when the ignition is in
any position or if the key is not in
the ignition.
Push in the flasher control and all
front and rear direction signals will
flash. Press the flasher control again
to turn them off. Use it when your
vehicle is disabled and is creating a
safety hazard for other motorists.
Note:With extended use, the flasher may run down your battery.
FUEL PUMP SHUT-OFF SWITCH
FUEL
RESET
The fuel pump shut-off switch is a device intended to stop the electric
fuel pump when your vehicle has been involved in a substantial jolt.
After a collision, if the engine cranks but does not start, the fuel pump
shut-off switch may have been activated.
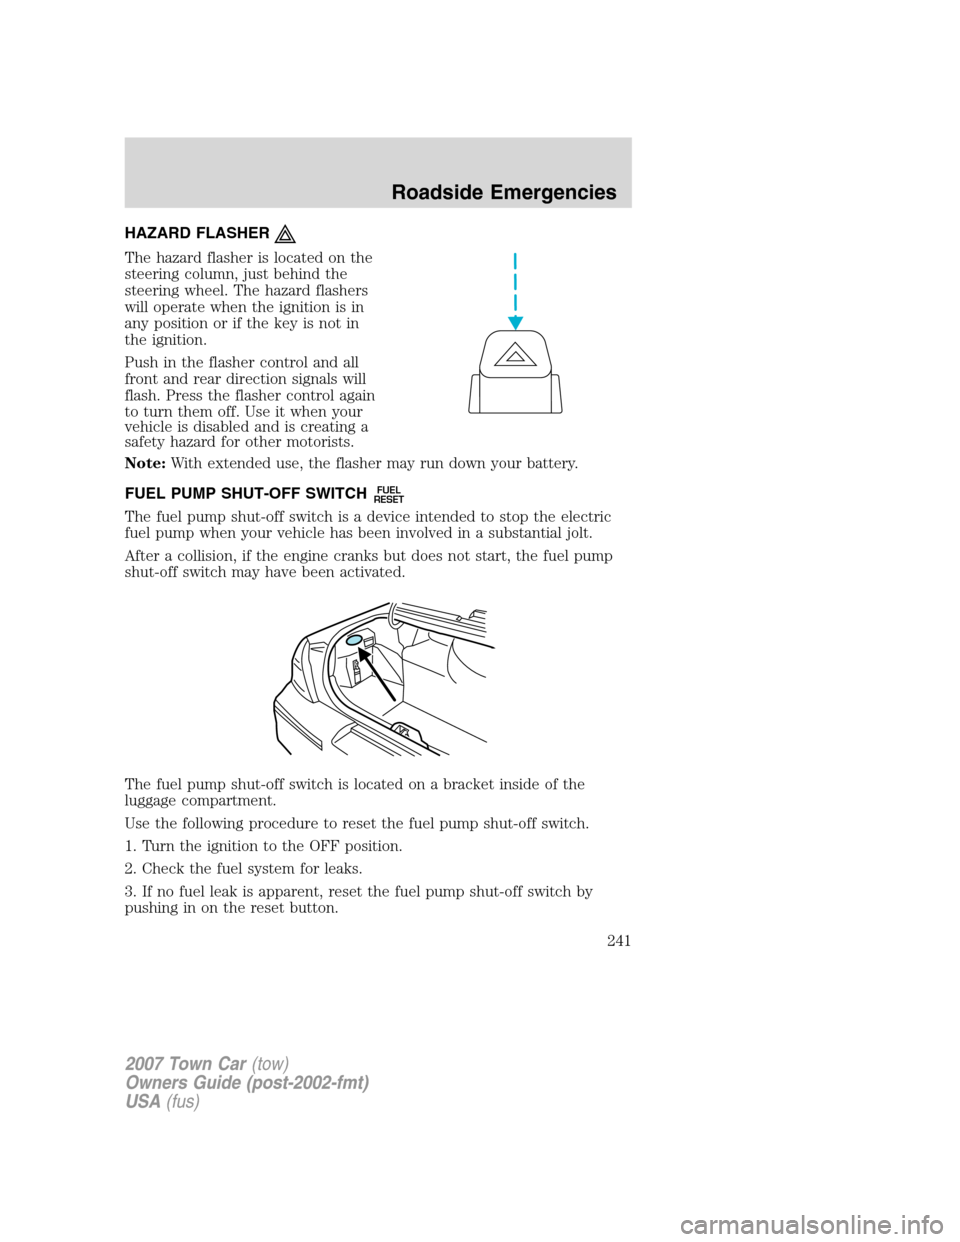
The fuel pump shut-off switch is located on a bracket inside of the
luggage compartment.
Use the following procedure to reset the fuel pump shut-off switch.
1. Turn the ignition to the OFF position.
2. Check the fuel system for leaks.
3. If no fuel leak is apparent, reset the fuel pump shut-off switch by
pushing in on the reset button.
2007 Town Car(tow)
Owners Guide (post-2002-fmt)
USA(fus)
Roadside Emergencies
241
Page 256 of 328
1.Use only a 12–volt supply to start your vehicle.
2. Do not disconnect the battery of the disabled vehicle as this could
damage the vehicle’s electrical system.
3. Park the booster vehicle close to the hood of the disabled vehicle
making sure the two vehiclesdo nottouch. Set the parking brake on
both vehicles and stay clear of the engine cooling fan and other moving
parts.
4. Check all battery terminals and remove any excessive corrosion before
you attach the battery cables. Ensure that vent caps are tight and level.
5. Turn the heater fan on in both vehicles to protect any electrical
surges. Turn all other accessories off.
Connecting the jumper cables
1. Connect the positive (+) jumper cable to the positive (+) terminal of
the discharged battery.
Note:In the illustrations,lightning boltsare used to designate the
assisting (boosting) battery.
+–+–
+–+–
2007 Town Car(tow)
Owners Guide (post-2002-fmt)
USA(fus)
Roadside Emergencies
256
Page 258 of 328
2. Start the engine of the disabled vehicle.
3. Once the disabled vehicle has been started, run both engines for an
additional three minutes before disconnecting the jumper cables.
Removing the jumper cables
Remove the jumper cables in the reverse order that they were
connected.
1. Remove the jumper cable from thegroundmetal surface.
Note:In the illustrations,lightning boltsare used to designate the
assisting (boosting) battery.
2. Remove the jumper cable on the negative (-) connection of the
booster vehicle’s battery.
+–+–
+–+–
2007 Town Car(tow)
Owners Guide (post-2002-fmt)
USA(fus)
Roadside Emergencies
258
Page 259 of 328
3. Remove the jumper cable from the positive (+) terminal of the booster
vehicle’s battery.
4. Remove the jumper cable from the positive (+) terminal of the
disabled vehicle’s battery.
After the disabled vehicle has been started and the jumper cables
removed, allow it to idle for several minutes so the engine computer can
relearnits idle conditions.
+–+–
+–+–
2007 Town Car(tow)
Owners Guide (post-2002-fmt)
USA(fus)
Roadside Emergencies
259