Page 109 of 328
TILT STEERING WHEEL
To adjust the steering wheel:
1. Pull and hold the steering wheel
release control toward you.
2. Move the steering wheel up or
down until you find the desired
location.
3. Release the steering wheel
release control. This will lock the
steering wheel in position.
Never adjust the steering wheel when the vehicle is moving.
ILLUMINATED VISOR MIRROR (IF EQUIPPED)
Lift the mirror cover to turn on the
visor mirror lamp.
Slide on rod feature (if
equipped)
Rotate the visor towards the side
window and extend it rearward for
additional sunlight coverage.
Note:To stow the visor back into
the headliner, visor must be
retracted before moving it back
towards the windshield.
2007 Town Car(tow)
Owners Guide (post-2002-fmt)
USA(fus)
Driver Controls
109
Page 110 of 328
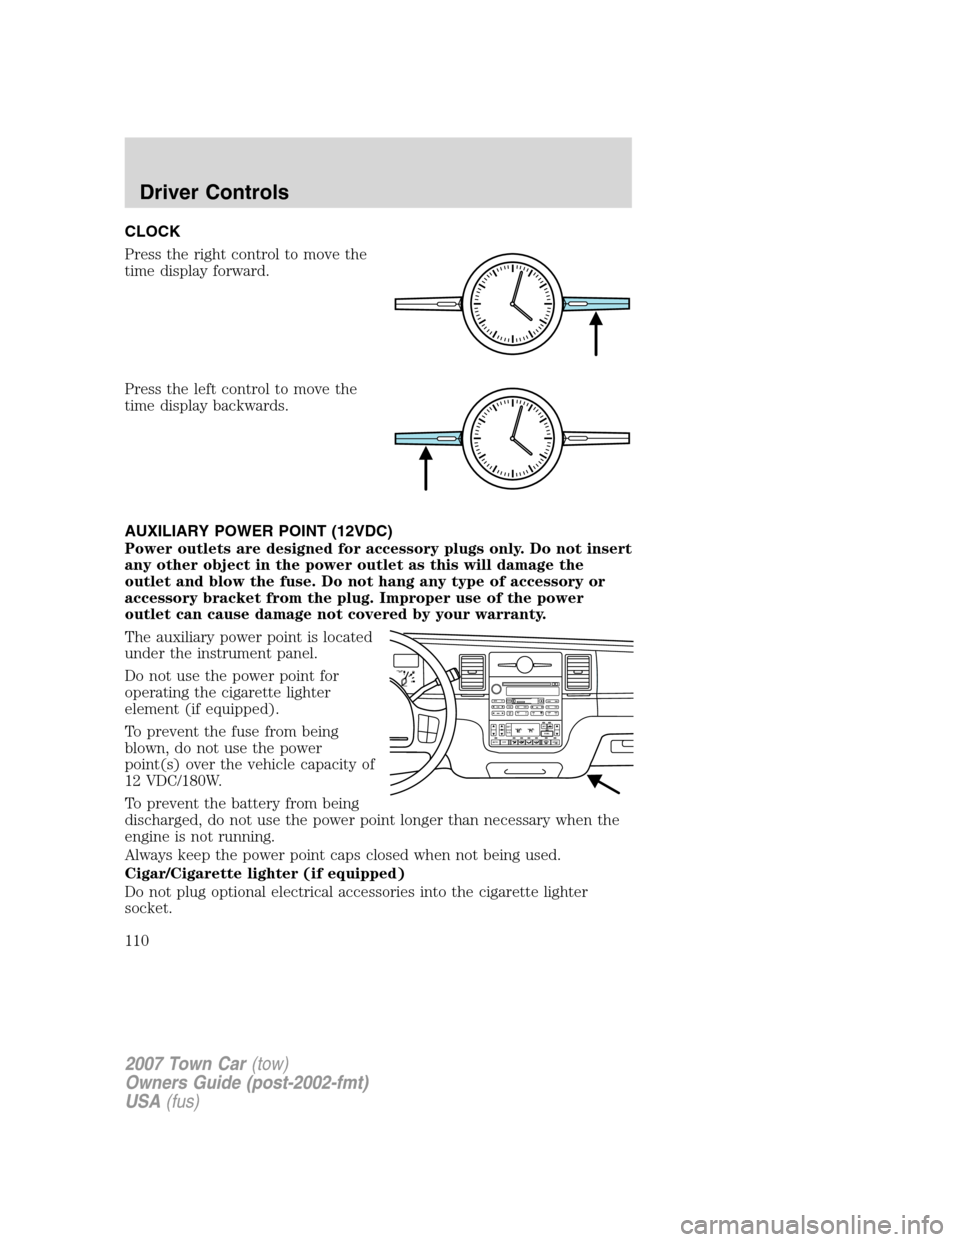
CLOCK
Press the right control to move the
time display forward.
Press the left control to move the
time display backwards.
AUXILIARY POWER POINT (12VDC)
Power outlets are designed for accessory plugs only. Do not insert
any other object in the power outlet as this will damage the
outlet and blow the fuse. Do not hang any type of accessory or
accessory bracket from the plug. Improper use of the power
outlet can cause damage not covered by your warranty.
The auxiliary power point is located
under the instrument panel.
Do not use the power point for
operating the cigarette lighter
element (if equipped).
To prevent the fuse from being
blown, do not use the power
point(s) over the vehicle capacity of
12 VDC/180W.
To prevent the battery from being
discharged, do not use the power point longer than necessary when the
engine is not running.
Always keep the power point caps closed when not being used.
Cigar/Cigarette lighter (if equipped)
Do not plug optional electrical accessories into the cigarette lighter
socket.
F
E1
2FILL ON
LEFT<
SHUF MUTE
SELBALBASS
FADETREB
SCAN CD
AM/FM
SEEKREWFF
COMP
56 34 12SIDE TUNETAPE
RDS
AUTO
SET
AUTO OFFDUAL A/C
R EXT
F/ CFF
2007 Town Car(tow)
Owners Guide (post-2002-fmt)
USA(fus)
Driver Controls
110
Page 111 of 328
Do not hold the lighter in with your hand while it is heating, this will
damage the lighter element and socket. The lighter will be released from
its heating position when it is ready to be used.
Improper use of the lighter can cause damage not covered by your
warranty.
REAR CENTER CONSOLE FEATURES (IF EQUIPPED)
The rear center console incorporates the following features:
•utility compartment
•auxiliary power point (if equipped)
•remote radio/climate controls (if equipped)
•remote seat adjustment (if equipped)
Remote seat adjustment
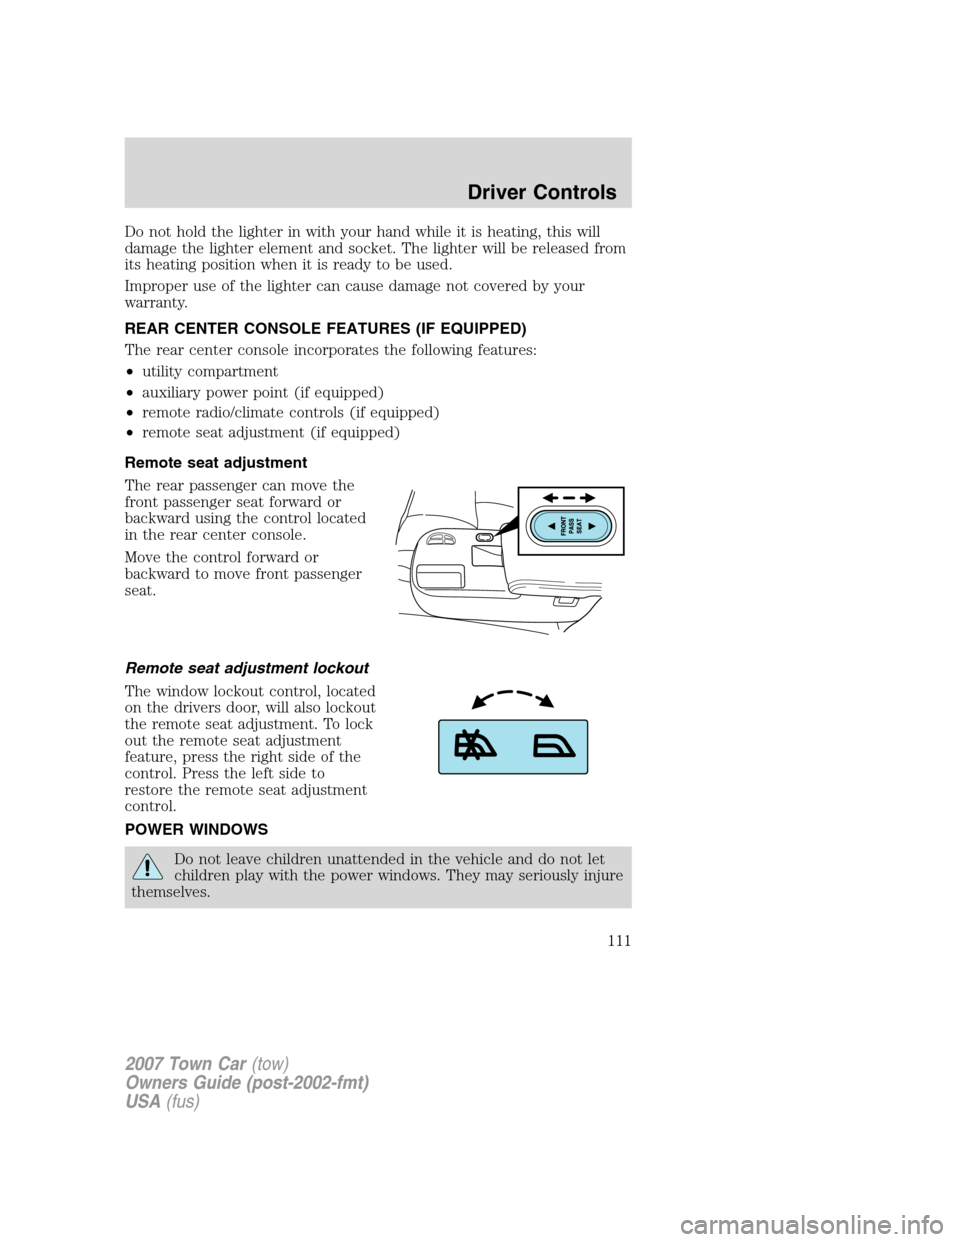
The rear passenger can move the
front passenger seat forward or
backward using the control located
in the rear center console.
Move the control forward or
backward to move front passenger
seat.
Remote seat adjustment lockout
The window lockout control, located
on the drivers door, will also lockout
the remote seat adjustment. To lock
out the remote seat adjustment
feature, press the right side of the
control. Press the left side to
restore the remote seat adjustment
control.
POWER WINDOWS
Do not leave children unattended in the vehicle and do not let
children play with the power windows. They may seriously injure
themselves.
2007 Town Car(tow)
Owners Guide (post-2002-fmt)
USA(fus)
Driver Controls
111
Page 112 of 328
When closing the power windows, you should verify they are free
of obstructions and ensure that children and/or pets are not in
the proximity of the window openings.
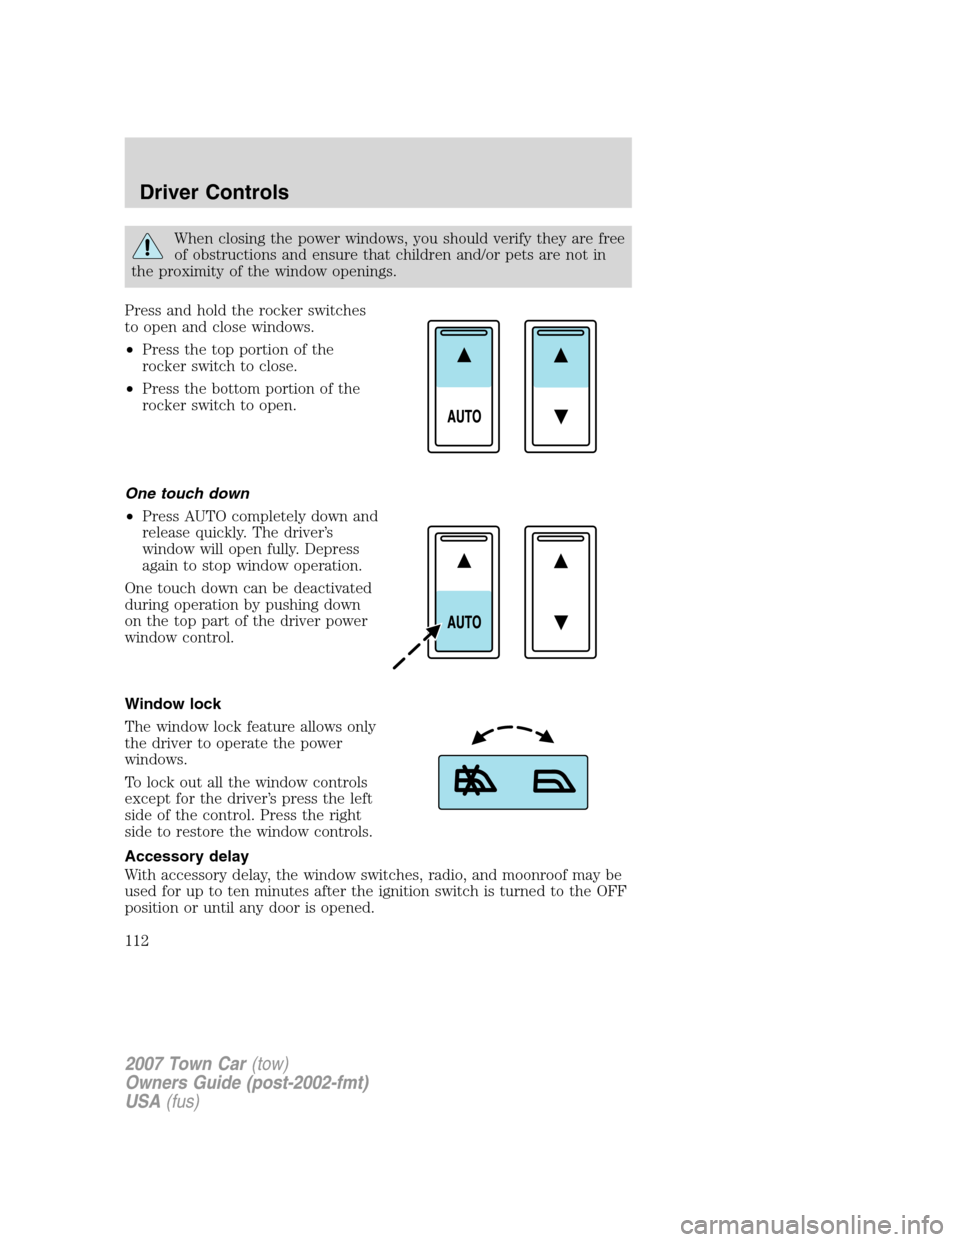
Press and hold the rocker switches
to open and close windows.
•Press the top portion of the
rocker switch to close.
•Press the bottom portion of the
rocker switch to open.
One touch down
•Press AUTO completely down and
release quickly. The driver’s
window will open fully. Depress
again to stop window operation.
One touch down can be deactivated
during operation by pushing down
on the top part of the driver power
window control.
Window lock
The window lock feature allows only
the driver to operate the power
windows.
To lock out all the window controls
except for the driver’s press the left
side of the control. Press the right
side to restore the window controls.
Accessory delay
With accessory delay, the window switches, radio, and moonroof may be
used for up to ten minutes after the ignition switch is turned to the OFF
position or until any door is opened.
2007 Town Car(tow)
Owners Guide (post-2002-fmt)
USA(fus)
Driver Controls
112
Page 113 of 328
AUTOMATIC DIMMING INSIDE REAR VIEW MIRROR
Your vehicle may be equipped with an inside rear view mirror which has
an auto-dimming function (available as an option on the outside driver’s
side mirror). The electrochromic day/night mirror will change from the
normal (high reflective) state to the non-glare (darkened) state when
bright lights (glare) reach the mirror. When the mirror detects bright
light from behind the vehicle, it will automatically adjust (darken) to
minimize glare.
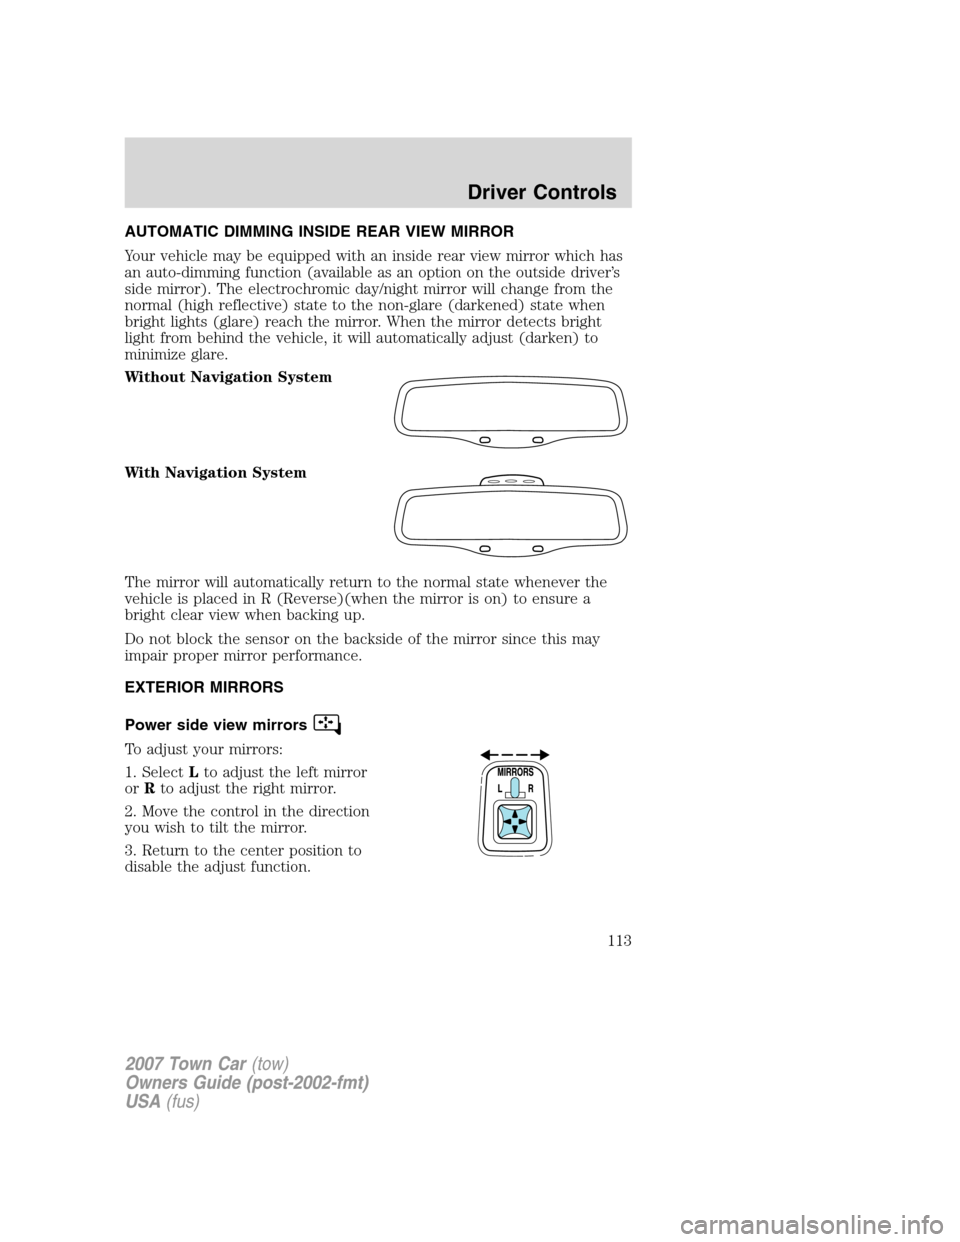
Without Navigation System
With Navigation System
The mirror will automatically return to the normal state whenever the
vehicle is placed in R (Reverse)(when the mirror is on) to ensure a
bright clear view when backing up.
Do not block the sensor on the backside of the mirror since this may
impair proper mirror performance.
EXTERIOR MIRRORS
Power side view mirrors
To adjust your mirrors:
1. SelectLto adjust the left mirror
orRto adjust the right mirror.
2. Move the control in the direction
you wish to tilt the mirror.
3. Return to the center position to
disable the adjust function.
2007 Town Car(tow)
Owners Guide (post-2002-fmt)
USA(fus)
Driver Controls
113
Page 119 of 328
Rear radio/climate controls lockout
The rear radio/climate control feature can be locked out by pressing the
3 and the 5 buttons on the radio simultaneously while the radio is on. To
enable the rear radio/climate controls, press the 3 and the 5 buttons
again.
MOON ROOF (IF EQUIPPED)
Do not let children play with the moon roof or leave children
unattended in the vehicle. They may seriously hurt themselves.
When closing the moon roof, you should verify that it is free of
obstructions and ensure that children and/or pets are not in the
proximity of the moon roof opening.
You can move the glass panel of the moon roof back to open or tilt up
(from the closed position) to ventilate the vehicle.
To open the moon roof:
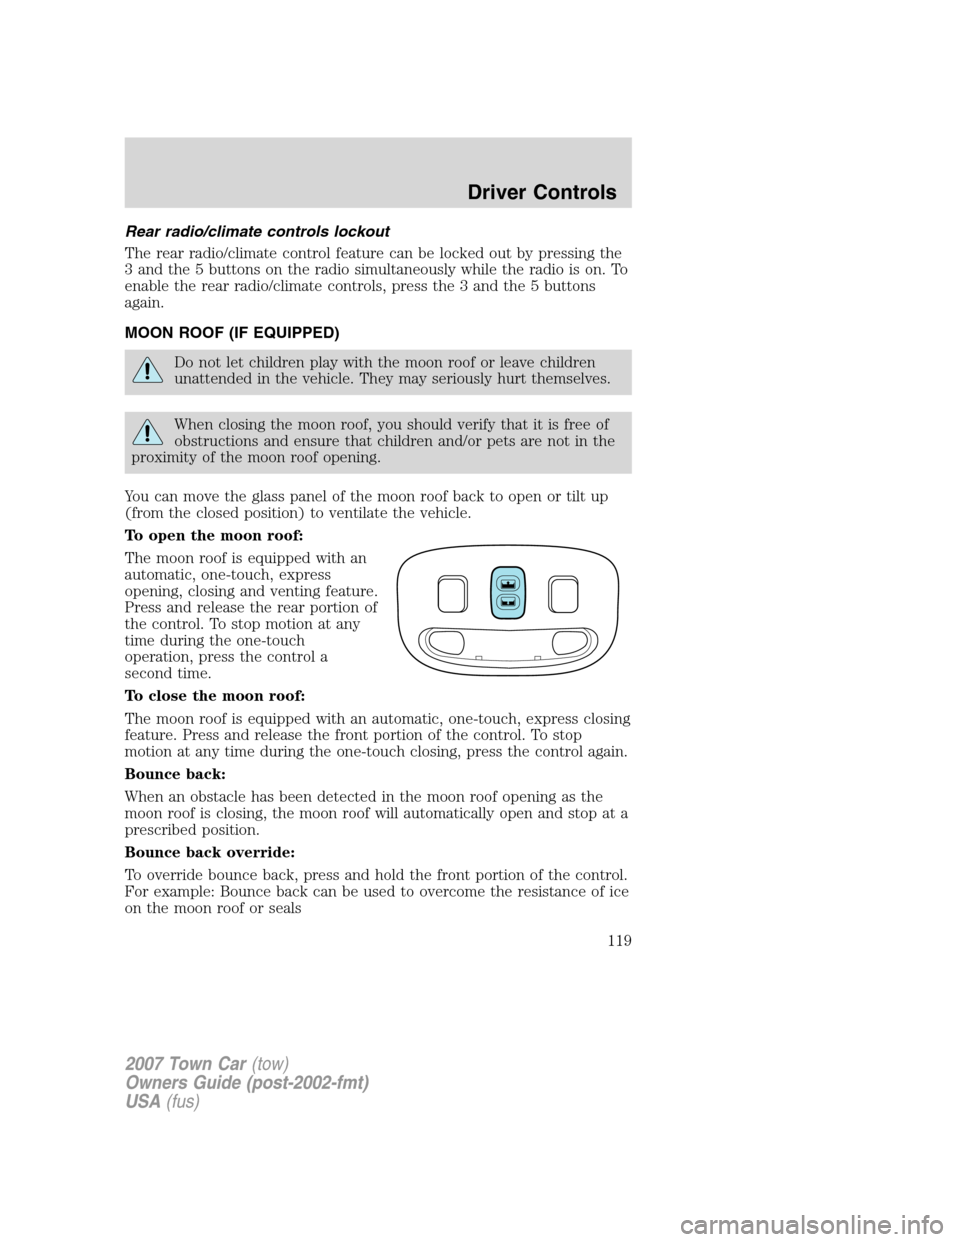
The moon roof is equipped with an
automatic, one-touch, express
opening, closing and venting feature.
Press and release the rear portion of
the control. To stop motion at any
time during the one-touch
operation, press the control a
second time.
To close the moon roof:
The moon roof is equipped with an automatic, one-touch, express closing
feature. Press and release the front portion of the control. To stop
motion at any time during the one-touch closing, press the control again.
Bounce back:
When an obstacle has been detected in the moon roof opening as the
moon roof is closing, the moon roof will automatically open and stop at a
prescribed position.
Bounce back override:
To override bounce back, press and hold the front portion of the control.
For example: Bounce back can be used to overcome the resistance of ice
on the moon roof or seals
2007 Town Car(tow)
Owners Guide (post-2002-fmt)
USA(fus)
Driver Controls
119
Page 120 of 328
To vent:
•To tilt the moon roof into the vent position (when the glass panel is
closed), press and release the front portion of the control.
•To close the moon roof from the vent position, press and hold the rear
portion of the control until the glass panel stops moving.
The moon roof has a sliding shade that can be opened or closed when
the glass panel is shut. To close the shade, pull it toward the front of the
vehicle.
Accessory delay:
With accessory delay, the window switches, audio system, and moon roof
(if equipped) may be used for up to 10 minutes after the ignition switch
is turned to the OFF position or until any door is opened.
HOMELINK�WIRELESS CONTROL SYSTEM (IF EQUIPPED)
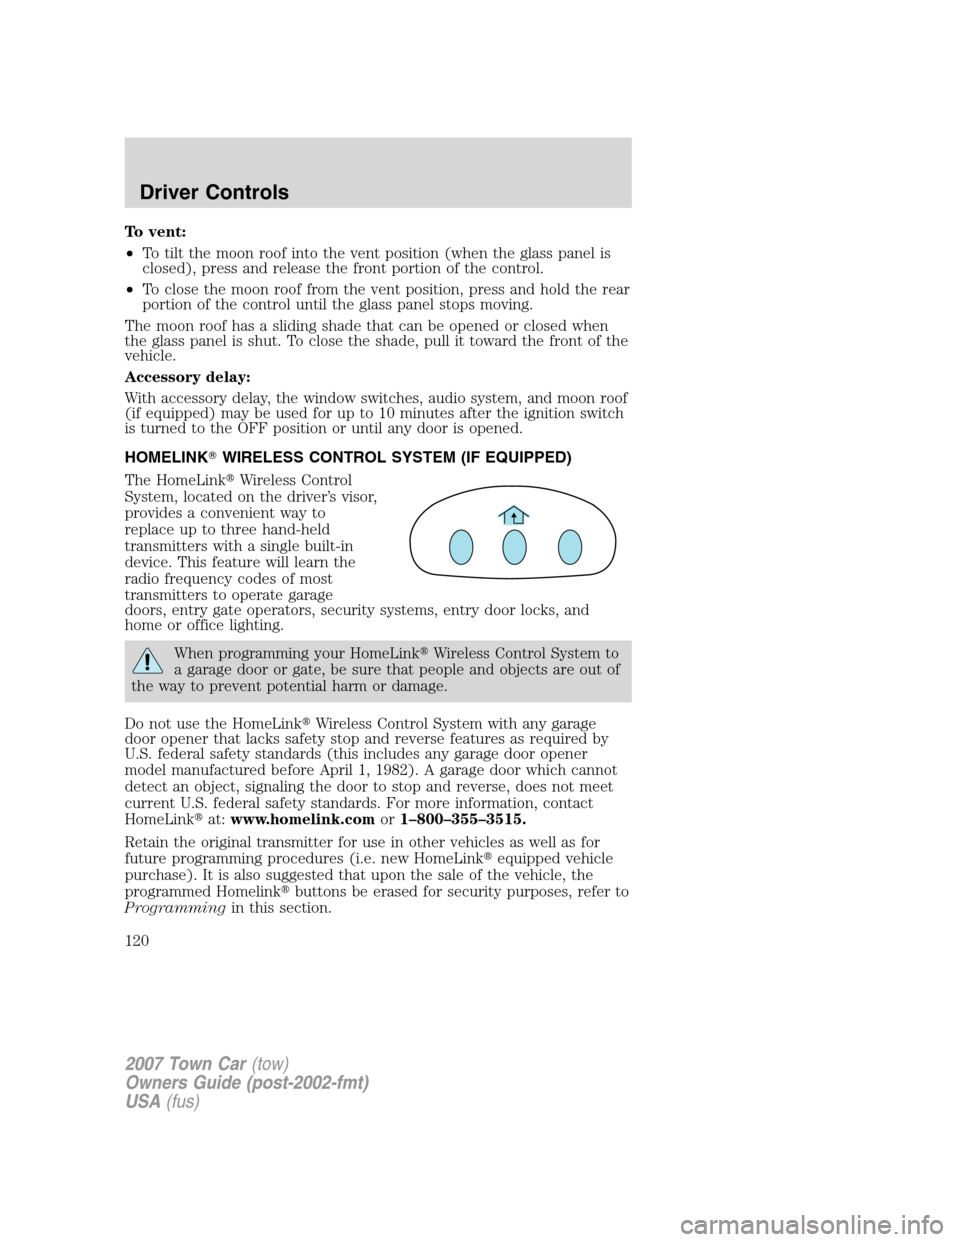
The HomeLink�Wireless Control
System, located on the driver’s visor,
provides a convenient way to
replace up to three hand-held
transmitters with a single built-in
device. This feature will learn the
radio frequency codes of most
transmitters to operate garage
doors, entry gate operators, security systems, entry door locks, and
home or office lighting.
When programming your HomeLink�Wireless Control System to
a garage door or gate, be sure that people and objects are out of
the way to prevent potential harm or damage.
Do not use the HomeLink�Wireless Control System with any garage
door opener that lacks safety stop and reverse features as required by
U.S. federal safety standards (this includes any garage door opener
model manufactured before April 1, 1982). A garage door which cannot
detect an object, signaling the door to stop and reverse, does not meet
current U.S. federal safety standards. For more information, contact
HomeLink�at:www.homelink.comor1–800–355–3515.
Retain the original transmitter for use in other vehicles as well as for
future programming procedures (i.e. new HomeLink�equipped vehicle
purchase). It is also suggested that upon the sale of the vehicle, the
programmed Homelink�buttons be erased for security purposes, refer to
Programmingin this section.
2007 Town Car(tow)
Owners Guide (post-2002-fmt)
USA(fus)
Driver Controls
120
Page 123 of 328
Operating the HomeLink�Wireless Control System
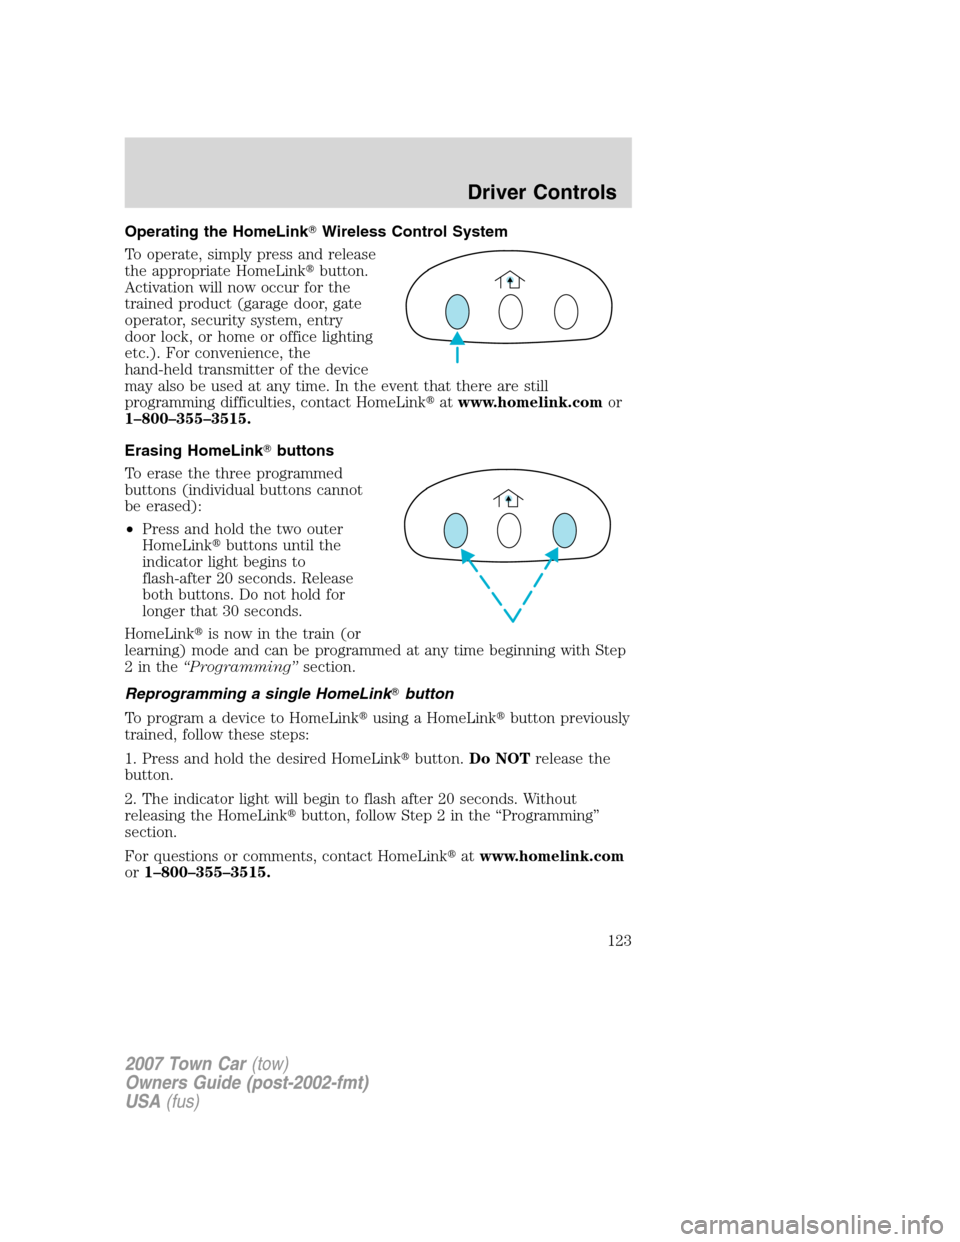
To operate, simply press and release
the appropriate HomeLink�button.
Activation will now occur for the
trained product (garage door, gate
operator, security system, entry
door lock, or home or office lighting
etc.). For convenience, the
hand-held transmitter of the device
may also be used at any time. In the event that there are still
programming difficulties, contact HomeLink�atwww.homelink.comor
1–800–355–3515.
Erasing HomeLink�buttons
To erase the three programmed
buttons (individual buttons cannot
be erased):
•Press and hold the two outer
HomeLink�buttons until the
indicator light begins to
flash-after 20 seconds. Release
both buttons. Do not hold for
longer that 30 seconds.
HomeLink�is now in the train (or
learning) mode and can be programmed at any time beginning with Step
2inthe“Programming”section.
Reprogramming a single HomeLink�button
To program a device to HomeLink�using a HomeLink�button previously
trained, follow these steps:
1. Press and hold the desired HomeLink�button.Do NOTrelease the
button.
2. The indicator light will begin to flash after 20 seconds. Without
releasing the HomeLink�button, follow Step 2 in the “Programming”
section.
For questions or comments, contact HomeLink�atwww.homelink.com
or1–800–355–3515.
2007 Town Car(tow)
Owners Guide (post-2002-fmt)
USA(fus)
Driver Controls
123