Page 245 of 350
535
Driving tips
1
2
3
4
5
6
7
8
9
Weight of the trailer tongue
The tongue load of any trailer is an
important weight to measure
because it affects the total gross
vehicle weight (GVW) of your vehi-
cle. This weight includes the curb
weight of the vehicle, any cargo you
may carry in it, and the people who
will be riding in the vehicle. And if you
will tow a trailer, you must add the
tongue load to the GVW because
your vehicle will also be carrying that
weight.
The trailer tongue should weigh a
maximum of 10% of the total loaded
trailer weight. After you've loaded
your trailer, weigh the trailer and then
the tongue, separately, to see if the
weights are proper. If they aren’t, you
may be able to correct them simply
by moving some items around in the
trailer.
Hitches It's important to have the correct
hitch equipment. Crosswinds, large
trucks going by, and rough roads are
a few reasons why you’ll need the
right hitch. Here are some rules to
follow:
Will you have to make any holes inthe body of your vehicle when you
install a trailer hitch? If you do, then
be sure to seal the holes later
when you remove the hitch.
If you don’t seal them, deadly car-
bon monoxide (CO) from your
exhaust can get into your vehicle,
as well as dirt and water.
The bumpers on your vehicle are not intended for hitches. Do not
attach rental hitches or other
bumper-type hitches to them. Use
only a frame-mounted hitch that
does not attach to the bumper.
WARNING -
Trailer
Never load a trailer with more weight in the rear than in the
front. The front should be
loaded with approximately
60% of the total trailer load;
the rear should be loaded with
approximately 40% of the total
trailer load.
Never exceed the maximum weight limits of the trailer or
trailer towing equipment.
Improper loading can result in
damage to your vehicle and/or
personal injury. Check
weights and loading at a com-
mercial scale or highway
patrol office equipped with
scales.
An improperly loaded trailer can cause loss of vehicle con-
trol.
Page 246 of 350
Driving tips36
5
1
2
3
4
5
6
7
8
9
Safety chains You should always attach chains
between your vehicle and your trail-
er. Cross the safety chains under the
tongue of the trailer so that the
tongue will not drop to the road if it
becomes separated from the hitch.
Instructions about safety chains may
be provided by the hitch manufactur-
er or by the trailer manufacturer.
Follow the manufacturer’s recom-
mendation for attaching safety
chains. Always leave just enough
slack so you can turn with your trail-
er. And, never allow safety chains to
drag on the ground.
Trailer brakes If your trailer weighs more than the
maximum trailer weight without trail-
er brakes loaded, then it needs its
own brakes and they must be ade-
quate. Be sure to read and follow the
instructions for the trailer brakes so
you’ll be able to install, adjust and
maintain them properly.
Don’t tap into your vehicle's brake
system.
Driving with a trailer Towing a trailer requires a certain
amount of experience. Before setting
out for the open road, you must get
to know your trailer. Acquaint your-
self with the feel of handling and
braking with the added weight of the
trailer. And always keep in mind that
the vehicle you are driving is now a
good deal longer and not nearly so
responsive as your vehicle is by
itself.
Before you start, check the trailer
hitch and platform, safety chains,
electrical connector(s), lights, tires
and mirror adjustment. If the trailer
has electric brakes, start your vehicle
and trailer moving and then apply the
trailer brake controller by hand to be
sure the brakes are working. This lets
you check your electrical connection
at the same time.
During your trip, check occasionally
to be sure that the load is secure,
and that the lights and any trailer
brakes are still working.
WARNING -
Trailer brakes
Do not use a trailer with its own
brakes unless you are absolute-
ly certain that you have properly
set up the brake system. This is
not a task for amateurs. Use an
experienced, competent trailer
shop for this work.
Page 249 of 350
539
Driving tips
1
2
3
4
5
6
7
8
9
Parking on hills Generally, you should not park your
vehicle, with a trailer attached, on a
hill. People can be seriously or fatal-
ly injured, and both your vehicle and
the trailer can be damaged if they
begin a downhill trajectory.However, if you ever have to park
your trailer on a hill, here’s how to do
it:
1. Apply your brakes, but don’t shift
into gear.
2. Have someone place chocks under the trailer wheels.
3. When the wheel chocks are in place, release the brakes until the
chocks absorb the load.
4. Reapply the brakes. Apply your parking brake, and then shift to R
(Reverse) for a manual transaxle
or P (Park) for an automatic
transaxle.
5. Release the brakes.
When you are ready to leave after parking on a hill 1. With the manual transaxle in Neutral or automatic transaxle in P
(Park), apply your brakes and hold
the brake pedal down while you:
Start your engine;
Shift into gear; and
Release the parking brake.
2. Slowly remove your foot from the brake pedal.
3. Drive slowly until the trailer is clear of the chocks.
4. Stop and have someone pick up and store the chocks.
WARNING
- Parking brake
It can be dangerous to get out of
your vehicle if the parking brake
is not firmly set.
If you have left the engine run-
ning, the vehicle can move sud-
denly. You or others could be
seriously or fatally injured.
WARNING
- Parking on a hill
Parking your vehicle on a hill
with a trailer attached could
cause serious injury or death,
should the trailer break lose.
Page 253 of 350
543
Driving tips
1
2
3
4
5
6
7
8
9
Refer to your vehicle's tire and load-
ing information label for specific
information about your vehicle's
capacity weight and seating posi-
tions. The combined weight of the
driver, passengers and cargo should
never exceed your vehicle's capacity
weight.
Compliance labelThe compliance label is located on
the driver's door sill.
The label shows the size of your orig-
inal tires and the inflation pressures
needed to obtain the gross weight
capacity of your vehicle. This is
called the GVWR (Gross Vehicle
Weight Rating). The GVWR includes
the weight of the vehicle, all occu-
pants, fuel and cargo.
This label also tells you the maxi-
mum weights that can be supported
by the front and rear axles, called
Gross Axle Weight Rating (GAWR).
To find out the actual loads on your
front and rear axles, you need to go
to a weigh station and weigh your
vehicle. Your dealer can help you with
this. Be sure to spread out your load
equally on both sides of the center-
line.
WARNING -
Over loading
Never exceed the GVWR for your vehicle, or the GAWR for
either the front or rear axle.
Do not load your vehicle any heavier than the GVWR, or
either the maximum front or
rear GAWR. If you do, parts on
your vehicle can break, and it
can change the way your vehi-
cle handles. This could cause
you to lose control and crash.
Also, overloading can shorten
the life of your vehicle.
Page 254 of 350
Driving tips44
5
1
2
3
4
5
6
7
8
9
✽ ✽
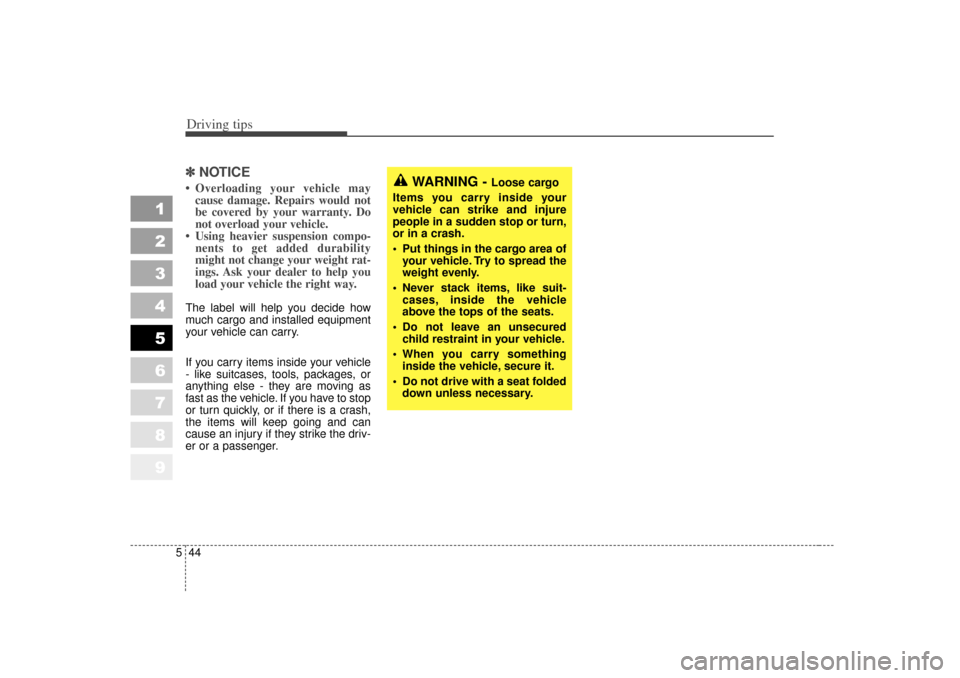
NOTICE• Overloading your vehicle may
cause damage. Repairs would not
be covered by your warranty. Do
not overload your vehicle.
• Using heavier suspension compo- nents to get added durability
might not change your weight rat-
ings. Ask your dealer to help you
load your vehicle the right way.The label will help you decide how
much cargo and installed equipment
your vehicle can carry.
If you carry items inside your vehicle
- like suitcases, tools, packages, or
anything else - they are moving as
fast as the vehicle. If you have to stop
or turn quickly, or if there is a crash,
the items will keep going and can
cause an injury if they strike the driv-
er or a passenger.
WARNING -
Loose cargo
Items you carry inside your
vehicle can strike and injure
people in a sudden stop or turn,
or in a crash.
Put things in the cargo area of your vehicle. Try to spread the
weight evenly.
Never stack items, like suit- cases, inside the vehicle
above the tops of the seats.
Do not leave an unsecured child restraint in your vehicle.
When you carry something inside the vehicle, secure it.
Do not drive with a seat folded down unless necessary.
Page 260 of 350
Driving tips50
5
1
2
3
4
5
6
7
8
9
This device complies with
Industry Canada Standard RSS-
210. Operation is subject to the fol-
lowing two conditions:
1. This device may not cause inter- ference, and
2. This device must accept any inter- ference, including interference that
may cause undesired operation of
the device.
WARNING
Changes or modifications not
expressly approved by the party
responsible for compliance
could void the user’s authority
to operate the equipment.
IC: 4112104541A Gentex
MODEL/FCC ID: NZLSTDHL3
Page 263 of 350
1
2
3
4
5
6
7
8
9
Road warning / 6-2
Overheating / 6-3
Emergency starting / 6-4
Electrical circuit protection / 6-7
Towing / 6-14
If you have a flat tire / 6-19
In case of an emergency
Page 264 of 350
In case of an emergency26ROAD WARNING Hazard warning flasher The hazard warning flasher serves
as a warning to other drivers to exer-
cise extreme caution when
approaching, overtaking, or passing
your vehicle. It should be used when-
ever emergency repairs are being
made or when the vehicle is stopped
near the edge of a roadway.Depress the flasher switch with the
ignition switch in any position. The
flasher switch is located in the center
console switch panel. All turn signal
lights will flash simultaneously.
• The hazard warning flasher oper-
ates whether your vehicle is run-
ning or not.
The turn signals do not work when the hazard flasher is on.
Care must be taken when using the hazard warning flasher while
the vehicle is being towed.
1
2
3
4
5
6
7
8
9
1KMN2109