Page 264 of 325

In case of an emergency16
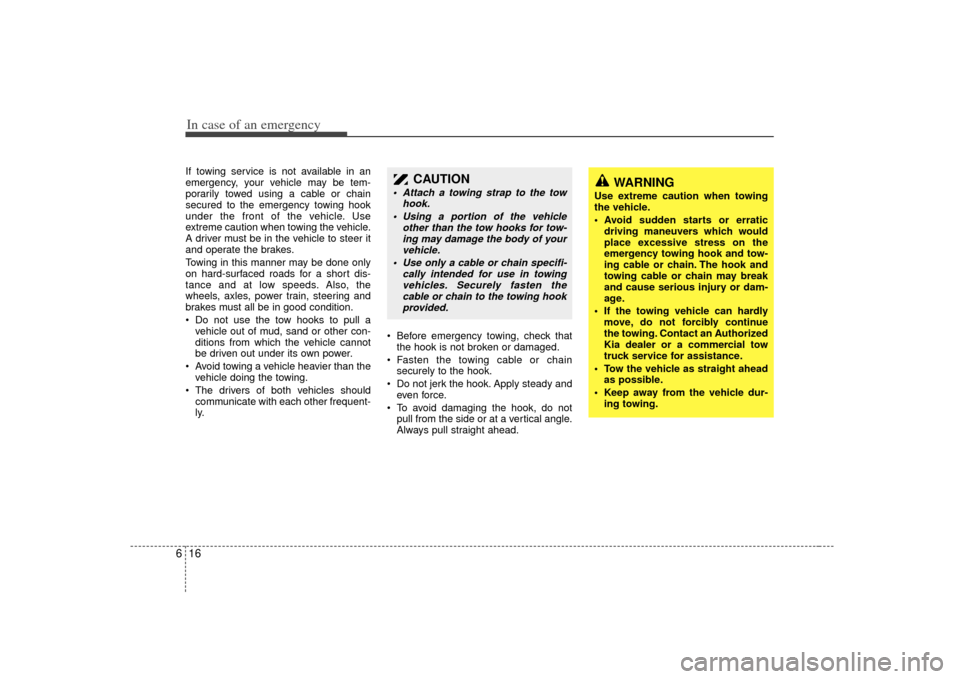
6If towing service is not available in an
emergency, your vehicle may be tem-
porarily towed using a cable or chain
secured to the emergency towing hook
under the front of the vehicle. Use
extreme caution when towing the vehicle.
A driver must be in the vehicle to steer it
and operate the brakes.
Towing in this manner may be done only
on hard-surfaced roads for a short dis-
tance and at low speeds. Also, the
wheels, axles, power train, steering and
brakes must all be in good condition.
Do not use the tow hooks to pull a
vehicle out of mud, sand or other con-
ditions from which the vehicle cannot
be driven out under its own power.
Avoid towing a vehicle heavier than the vehicle doing the towing.
The drivers of both vehicles should communicate with each other frequent-
ly. Before emergency towing, check that
the hook is not broken or damaged.
Fasten the towing cable or chain securely to the hook.
Do not jerk the hook. Apply steady and even force.
To avoid damaging the hook, do not pull from the side or at a vertical angle.
Always pull straight ahead.
CAUTION
Attach a towing strap to the tow hook.
Using a portion of the vehicle other than the tow hooks for tow-ing may damage the body of yourvehicle.
Use only a cable or chain specifi- cally intended for use in towingvehicles. Securely fasten the cable or chain to the towing hookprovided.
WARNING
Use extreme caution when towing
the vehicle.
driving maneuvers which would
place excessive stress on the
emergency towing hook and tow-
ing cable or chain. The hook and
towing cable or chain may break
and cause serious injury or dam-
age.
If the towing vehicle can hardly move, do not forcibly continue
the towing. Contact an Authorized
Kia dealer or a commercial tow
truck service for assistance.
Tow the vehicle as straight ahead as possible.
Keep away from the vehicle dur- ing towing.
Page 276 of 325
73
Maintenance
MAINTENANCE SCHEDULE Engine control system
MAINTENANCEINTERVALS
MAINTENANCE
ITEM
Replace every 160,000 km
Kilometers or time in months, whichever comes first
× 1,000 km 8 16 24 32 40 48 56 64 72 80 88 96 104 112 120 128
# Months 4 8 12 16 20 24 28 32 36 40 44 48 52 56 60 64
Engine oil & engine oil filter (1) R R R R R R RRRRRRR RRR
Drive belts (tension) I I I I
Cooling system hoses & connections I I I I I
Engine coolant (1) I I I I I R IIIIIRI III
Fuel filter R R
Fuel tank cap, lines, EVAP canister and hoses I I
Fuel tank air filter I R I R I
Air cleaner element (2) I I I I I R IIIIIRI III
Ignition wires I I
Spark plugs
PCV valve (if equipped) I I I I
Idle speed I I I I I
Valve clearance (1) I
Page 279 of 325
Maintenance67Chart Symbols:I- Inspect these items and their related parts. If necessary, correct, clean, refill, adjust of replace.
R- Replace or change
L- Lubricate.(1) Refer to the lubricant and coolant specifications in the Owner’s Manual.
(2) More frequent maintenance is required if driving under dusty conditions.
(3) More frequent maintenance is required if the vehicle is operated under any of the following conditions: a. Short-distance driving
b. Driving on dusty roads.
c. Extensive idling or slow-speed driving in stop-and-go traffic.
(4) If necessary, rotate and balance the wheels.
* Note: Check the engine oil and coolant levels every week.
Page 289 of 325

Maintenance16
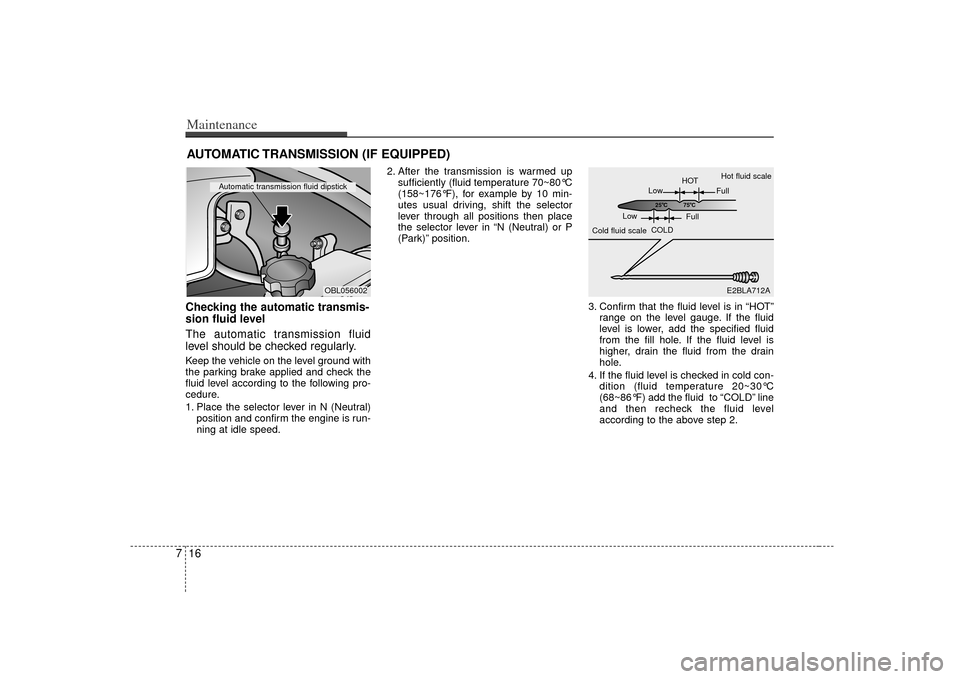
7AUTOMATIC TRANSMISSION (IF EQUIPPED)Checking the automatic transmis-
sion fluid level
The automatic transmission fluid
level should be checked regularly.Keep the vehicle on the level ground with
the parking brake applied and check the
fluid level according to the following pro-
cedure.
1. Place the selector lever in N (Neutral)
position and confirm the engine is run-
ning at idle speed. 2. After the transmission is warmed up
sufficiently (fluid temperature 70~80°C
(158~176°F), for example by 10 min-
utes usual driving, shift the selector
lever through all positions then place
the selector lever in “N (Neutral) or P
(Park)” position.
3. Confirm that the fluid level is in “HOT”range on the level gauge. If the fluid
level is lower, add the specified fluid
from the fill hole. If the fluid level is
higher, drain the fluid from the drain
hole.
4. If the fluid level is checked in cold con- dition (fluid temperature 20~30°C
(68~86°F) add the fluid to “COLD” line
and then recheck the fluid level
according to the above step 2.
OBL056002
Automatic transmission fluid dipstick
25 C
75 C
E2BLA712A
Low
HOT
COLD Full
Low
Cold fluid scale Hot fluid scale
Full
Page 298 of 325

725
Maintenance
TIRES AND WHEELS
Tires care For proper maintenance, safety, and
maximum fuel economy, you must
always maintain recommended tire
inflation pressures and stay within
the load limits and weight distribution
recommended for your vehicle.Inflation pressures All tire pressures (including the
spare) should be checked every day
when the tires are cold. “Cold Tires”
means the vehicle has not been driv-
en for at least three hours or driven
less than 1.6 km (one mile).
Recommended pressures must be
maintained for the best ride, top vehi-
cle handling, and minimum tire wear.
(Refer to “Tires” in section 8,
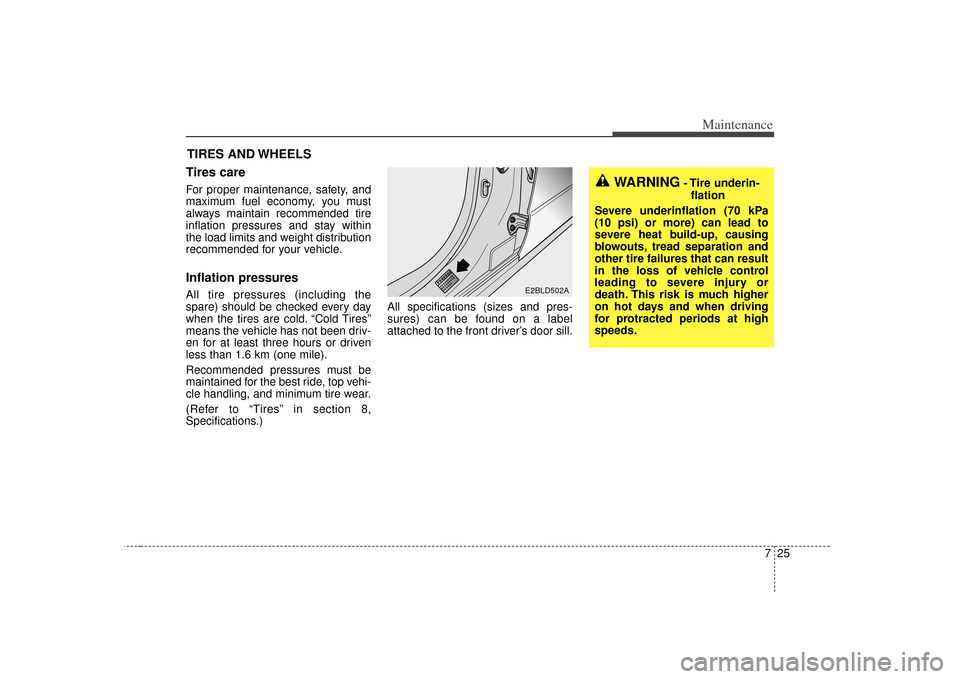
Specifications.) All specifications (sizes and pres-
sures) can be found on a label
attached to the front driver’s door sill.
WARNING
- Tire underin-
flation
Severe underinflation (70 kPa
(10 psi) or more) can lead to
severe heat build-up, causing
blowouts, tread separation and
other tire failures that can result
in the loss of vehicle control
leading to severe injury or
death. This risk is much higher
on hot days and when driving
for protracted periods at high
speeds.
E2BLD502A
Page 302 of 325

729
Maintenance
Wheel alignment and tire
balance The wheels on your vehicle were
aligned and balanced carefully at the
factory to give you the longest tire life
and best overall performance.
In most cases, you will not need to
have your wheels aligned again.
However, if you notice unusual tire
wear or your vehicle pulling one way
or the other, the alignment may need
to be reset.
If you notice your vehicle vibrating
when driving on a smooth road, your
wheels may need to be rebalanced.
WARNING -
Replacing
tires
Driving on worn-out tires is very hazardous and will
reduce braking effectiveness,
steering accuracy, and trac-
tion.
Your vehicle is equipped with tires designed to provide for
safe ride and handling capa-
bility. Do not use a size and
type of tire and wheel that is
different from the one that is
originally installed on your
vehicle. It can affect the safety
and performance of your vehi-
cle, which could lead to han-
dling failure or rollover and
serious injury. When replacing
the tires, be sure to equip all
four tires with the tire and
wheel of the same size, type,
tread, brand and load-carrying
capacity.
(Continued)
(Continued)If you nevertheless decide to
equip your vehicle with any
tire/wheel combination not
recommended by Kia for off
road driving, you should not
use these tires for highway
driving.
The use of any other tire size or type may seriously affect
ride, handling, ground clear-
ance, stopping distance, body
to tire clearance, snow tire
clearance, and speedometer
reliability.
It is best to replace all four tires at the same time. If that is
not possible, or necessary,
then replace the two front or
two rear tires as a pair.
Replacing just one tire can
seriously affect your vehicle’s
handling.
CAUTION
Improper wheel weights candamage your vehicle's alu-minum wheels. Use onlyapproved wheel weights.
Page 303 of 325

Maintenance30
7Wheel replacement When replacing the metal wheels for
any reason, make sure the new
wheels are equivalent to the original
factory units in diameter, rim width
and offset.
Tire sidewall labelingFederal law requires tire manufactur-
ers to place standardized information
on the sidewall of all tires. This infor-
mation identifies and describes the
fundamental characteristics of the
tire and also provides the tire identifi-
cation number (TIN) for safety stan-
dard certification. The TIN can be
used to identify the tire in case of a
recall.
1. Manufacturer or brand nameManufacturer or Brand name is
shown.2. Tire size designation A tire’s sidewall is marked with a tire
size designation. You will need this
information when selecting replace-
ment tires for your car. The following
explains what the letters and num-
bers in the tire size designation
mean.
WARNING
A wheel that is not the correct
size may adversely affect wheel
and bearing life, braking and
stopping abilities, handling
characteristics, ground clear-
ance, body-to-tire clearance,
snow chain clearance,
speedometer calibration, head-
light aim and bumper height.
I030B04JM
1
1
2
34
5,6
7
Page 304 of 325

731
Maintenance
Example tire size designation:
(These numbers are provided as an
example only; your tire size designa-
tor could vary depending on your
vehicle.)
P245/70R16 106T
P - Applicable vehicle type (tiresmarked with the prefix “P’’ are
intended for use on passenger
cars or light trucks; however, not
all tires have this marking).
245 - Tire width in millimeters.
70 - Aspect ratio. The tire’s section height as a percentage of its
width.
R - Tire construction code (Radial).
16 - Rim diameter in inches.
106 - Load Index, a numerical code associated with the maximum
load the tire can carry.
T - Speed Rating Symbol. See the speed rating chart in this section
for additional information. Wheel size designation
Wheels are also marked with impor-
tant information that you need if you
ever have to replace one. The follow-
ing explains what the letters and
numbers in the wheel size designa-
tion mean.
Example wheel size designation:
7.0 JJX16
7.0 - Rim width in inches.
JJ - Rim contour designation.
16 - Rim diameter in inches.
Tire speed ratings
The chart below lists many of the dif-
ferent speed ratings currently being
used for passenger cars. The speed
rating is part of the tire size designa-
tion on the sidewall of the tire. This
symbol corresponds to that tire's
designed maximum safe operating
speed.
S 180 km/h (112 mph)
T 190 km/h (118 mph)
H 210 km/h (130 mph) V 240 km/h (149 mph)Z Above 240 km/h (149 mph)
Maximum Speed
Speed
Rating
Symbol